The floats (amas) are key structural components of the trimaran, providing buoyancy, stability, and load transfer into the folding system and crossbeams. This build log documents the construction of the port and starboard floats for Fram, an Ian Farrier F-39 trimaran, with an emphasis on composite boatbuilding techniques and controlled vacuum infusion.
Floats – Build Log
The preparations for this boatbuilding adventure were both enjoyable and inspiring. Designer Ian Farrier put me in touch with a fellow builder here in the Netherlands, who was in the process of building an F-36 trimaran, named Noreen, just an hour’s drive from my hometown. The builder kindly invited me to assist him and his wife during the lamination of the fiberglass layers on the exterior of the F-36 main hull, giving me the opportunity to gain valuable hands-on experience.
Laminating a hull of this size proved to be an extremely instructive exercise. It also made clear how challenging such work would be to execute in my own small workshop—essentially a converted garage. Combined with my limited experience in extensive hand lay-up laminating, this confirmed my decision to approach the construction differently. This is where controlled vacuum infusion (CVI) becomes a key part of the project. My considerations and reasoning are discussed in more detail in the "all about vacuum" and CVI chapter.
These were my first careful steps toward realizing Fram—exciting, educational, and highly motivating.
The construction of the floats followed a largely identical process for both sides, but was documented separately to reflect differences in timing, execution, and minor design decisions. Below, the build log is therefore split into the port float and starboard float sections.
Building of the Port Float
The port float was built first and served as the primary learning platform for tooling, laminating strategy, and controlled vacuum infusion techniques. Many of the methods refined here were later applied to the starboard float.
- Setup of the strongback ~11 photos
- Thermoforming the vertical foam strips ~25 photos
- Controlled vacuum infusion ~25 photos
- Keel laying ~20 photos
- Bulkheads ~12 photos
- Carbon chainplates ~13 photos
- Unmoulding and planking the second hull half ~24 photos
- The next resin infusion party ~41 photos
- Vacuum pump and resin trap setup ~9 photos
- Making a tube ~18 photos
- Port float assembly ~57 photos
- External laminate in one infusion shot ~70 photos
- Finishing the hull construction ~48 photos
- Design change ~36 photos
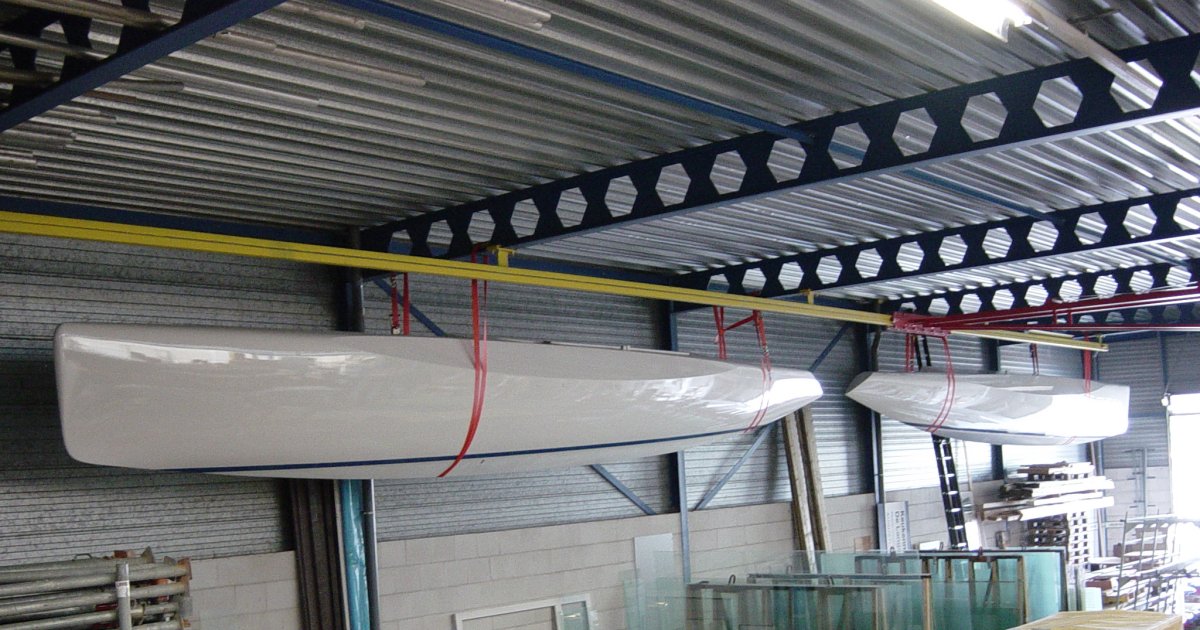
- Final paint work and storage ~23 photos
- Starboard float – the beginnings ~55 photos
- The last float half~40 photos
- Starboard float assembly
- assembling ~42 photos
- post-curing and finishing ~50 photos
- one-shot infusion ~42 photos
- Starboardfloat final paint work and storage ~49 photos
Building of the Starboard Float
The starboard float benefitted directly from the experience gained during the construction of the port float. The process was therefore more streamlined, with fewer iterations and a higher level of confidence in tooling and infusion setup.