After the first hull, one lesson stood out above all others: even the smallest vacuum leak will ruin an otherwise perfect resin infusion.
Next resin infusion party
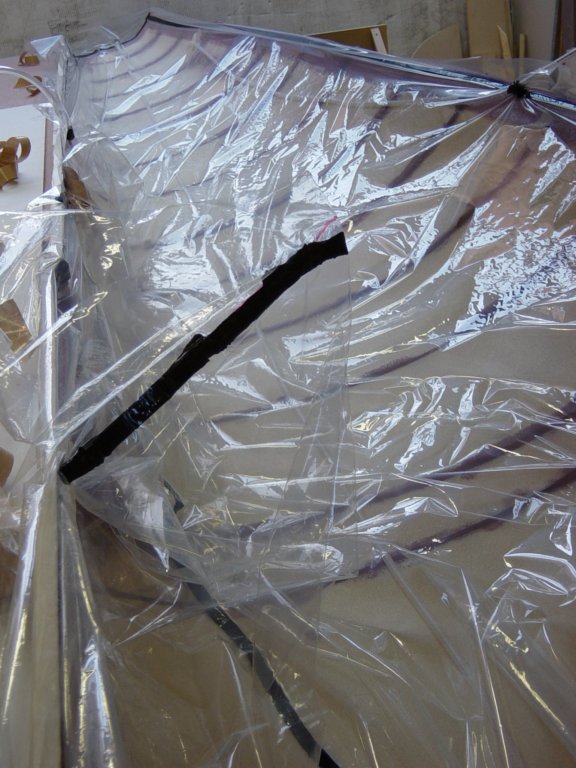
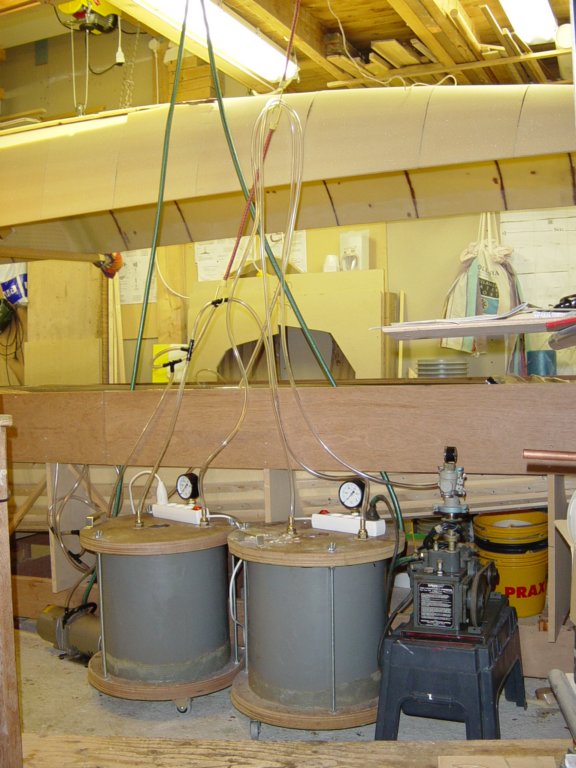
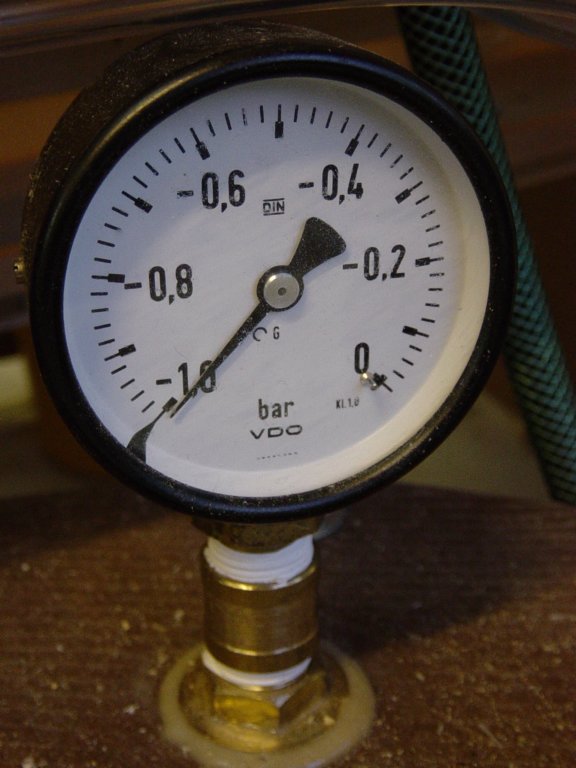
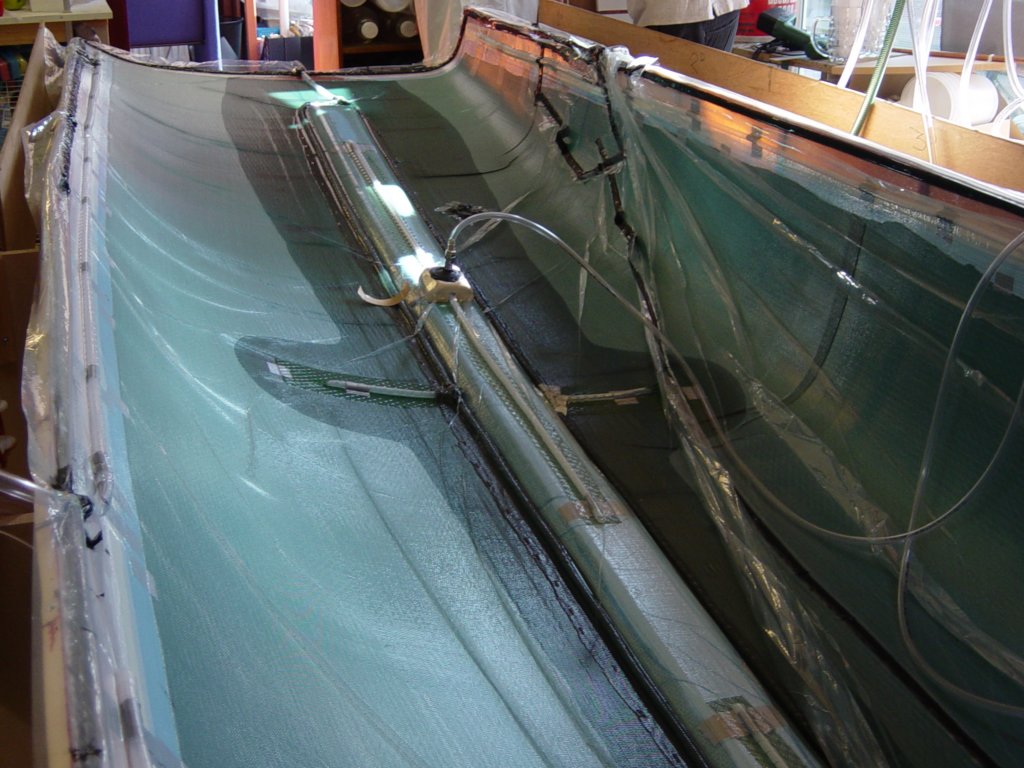
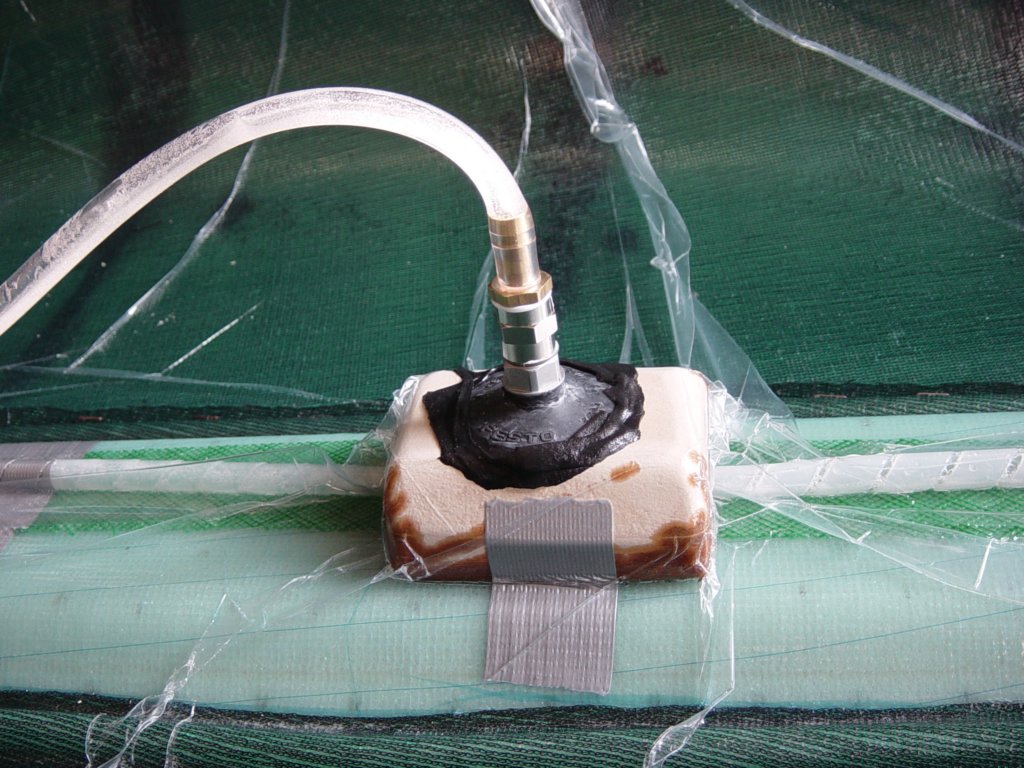
The most important lesson learned so far is that any vacuum leak is a complete no-go. What I initially thought was an unnecessary gadget—an ultrasonic leak detector—quickly proved its value. I eventually bought one from Airtech to track down the tiniest leaks: almost impossible to notice at this stage, yet perfectly capable of spoiling the infusion later on. Extra care with the sealant tape pays off immediately. Unlike hand lay-up vacuum bagging, there is no curing laminate here that forces you to rush.
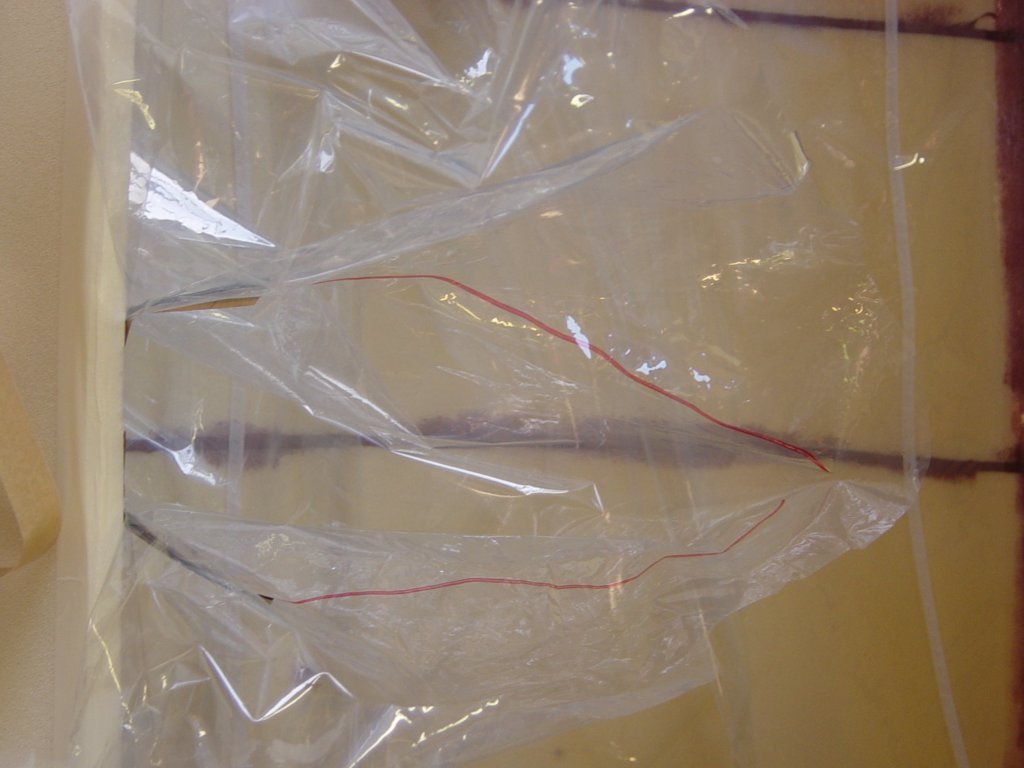
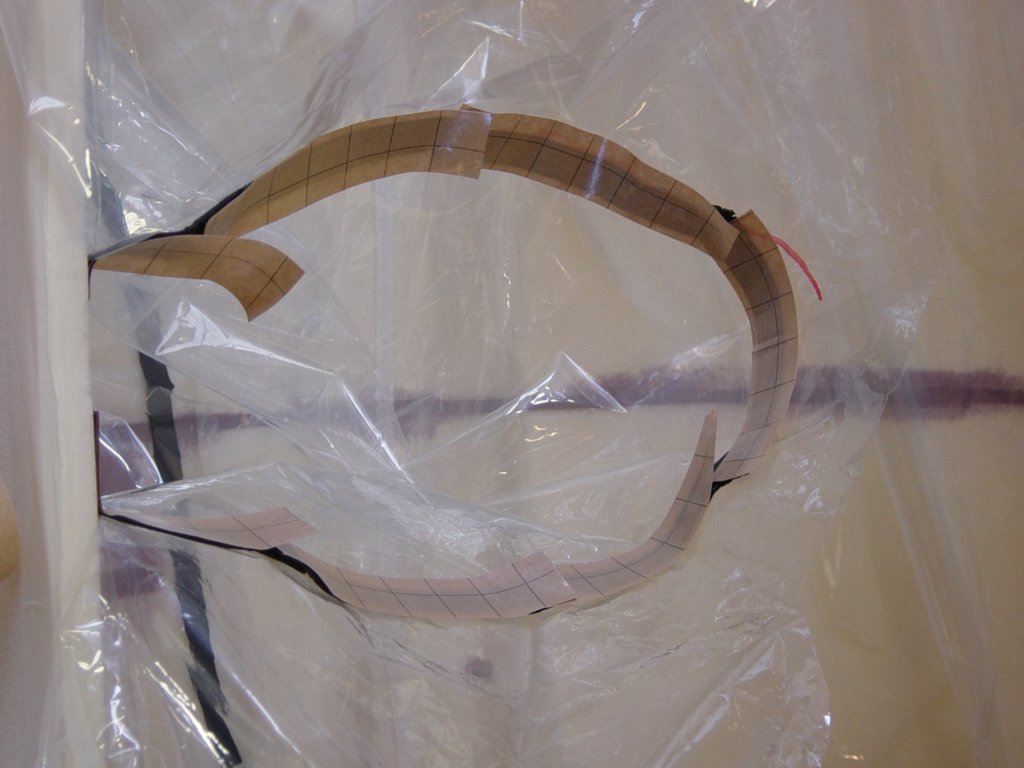
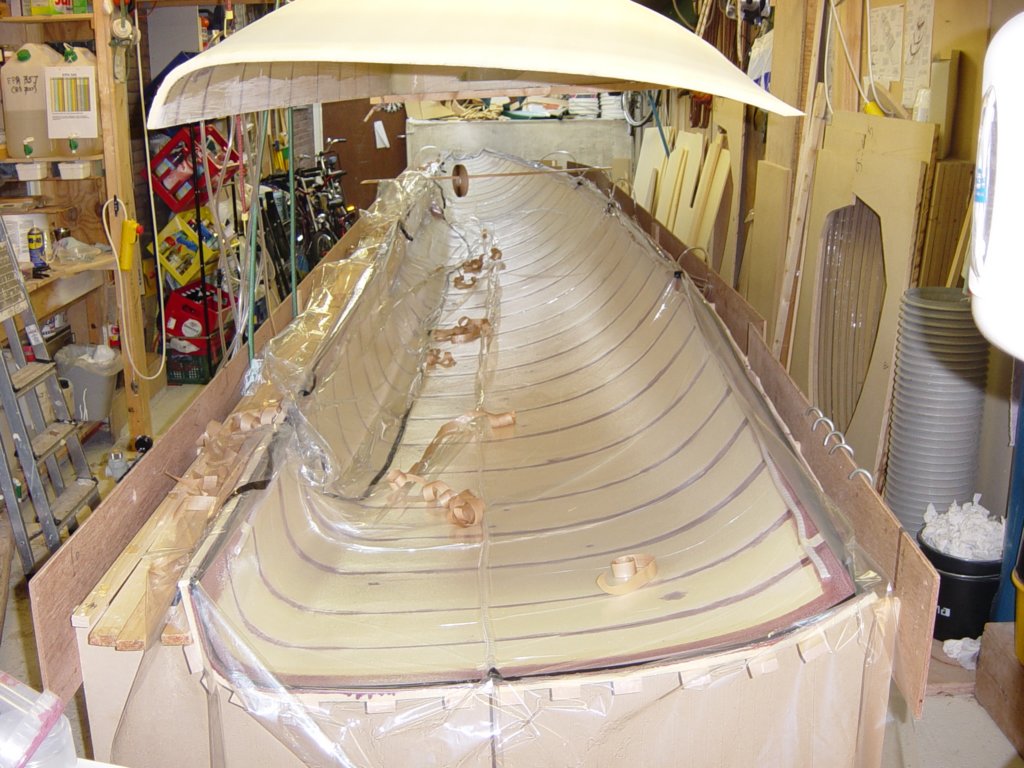
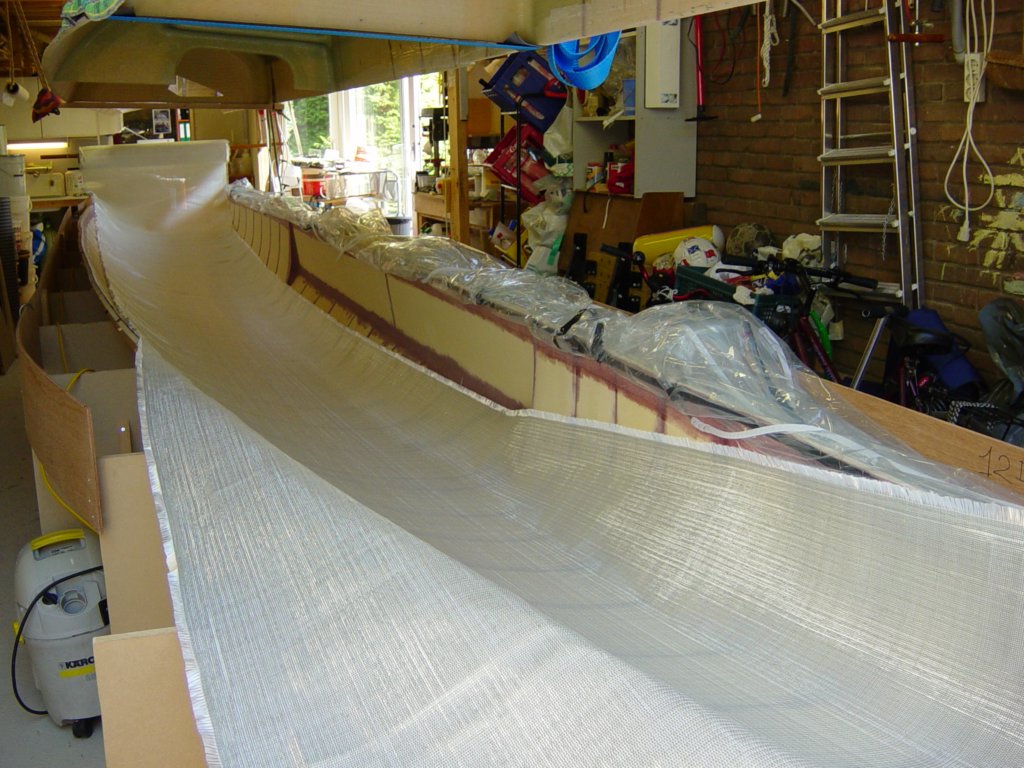
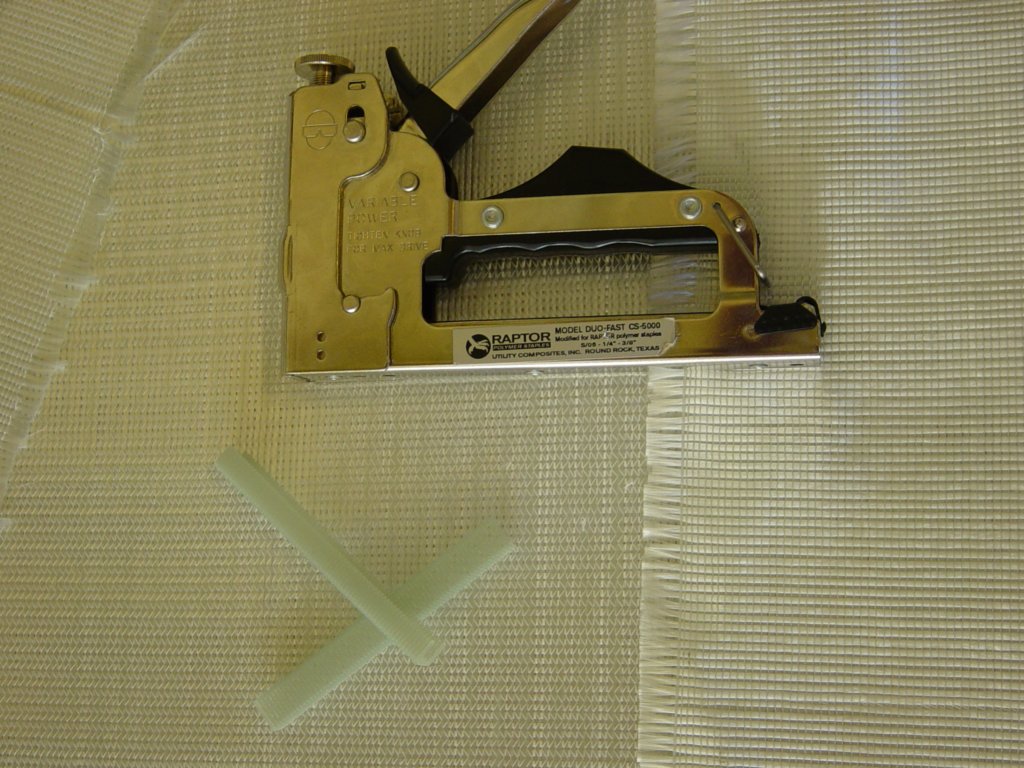
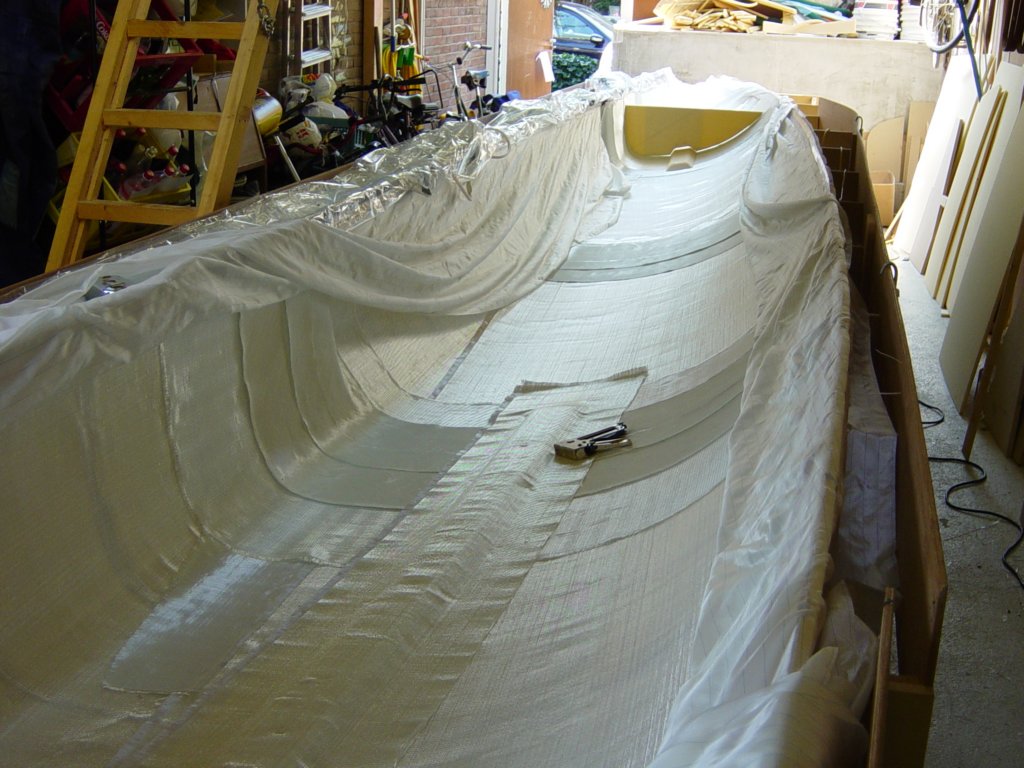
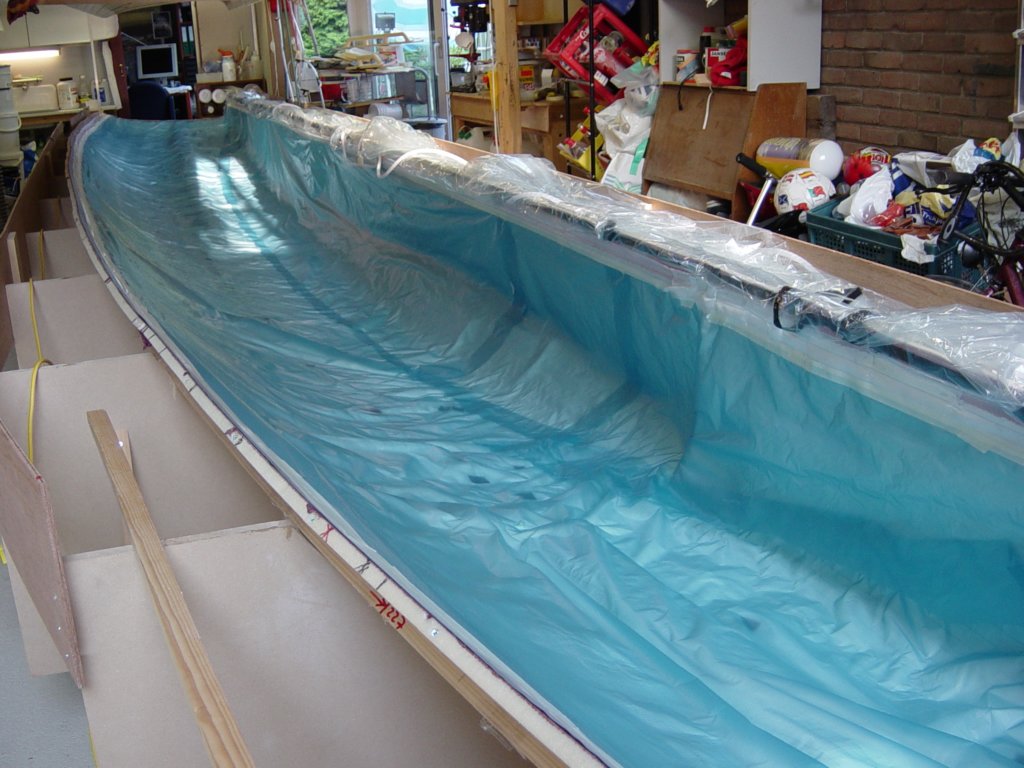
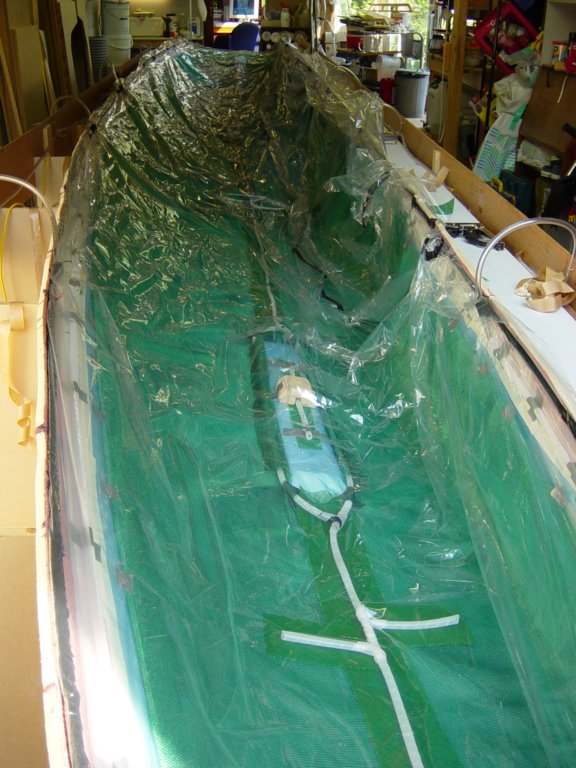
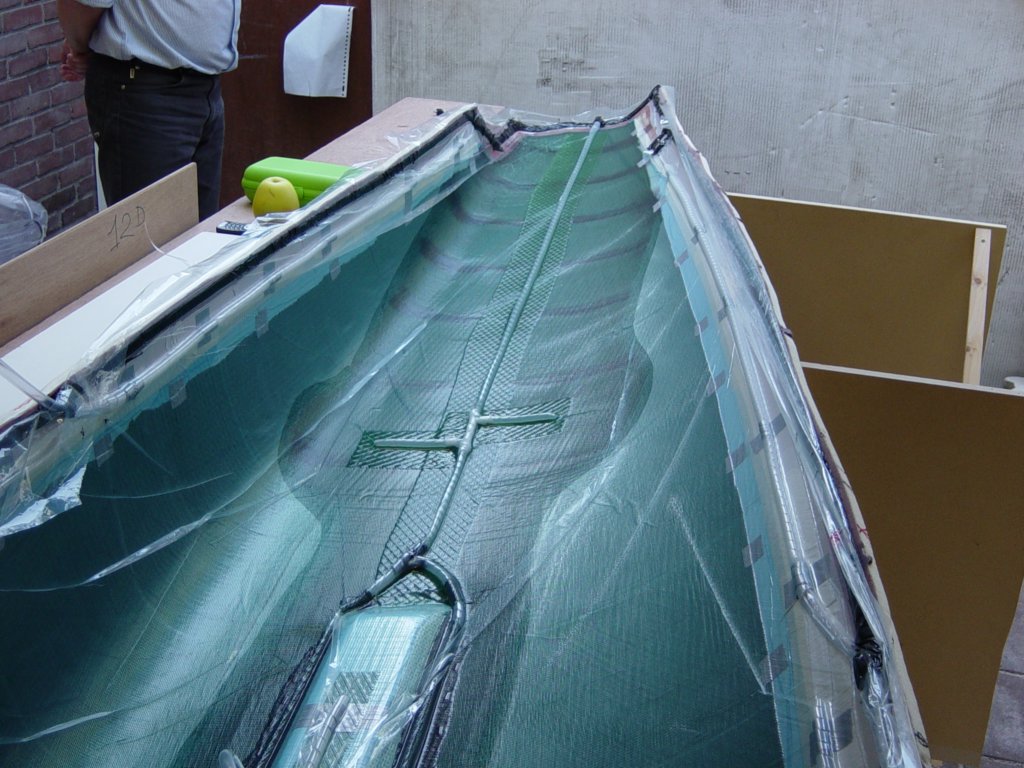
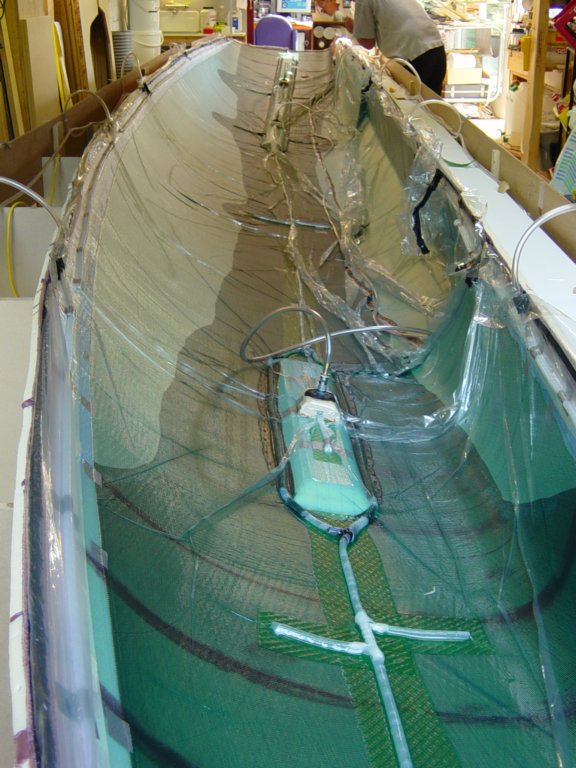
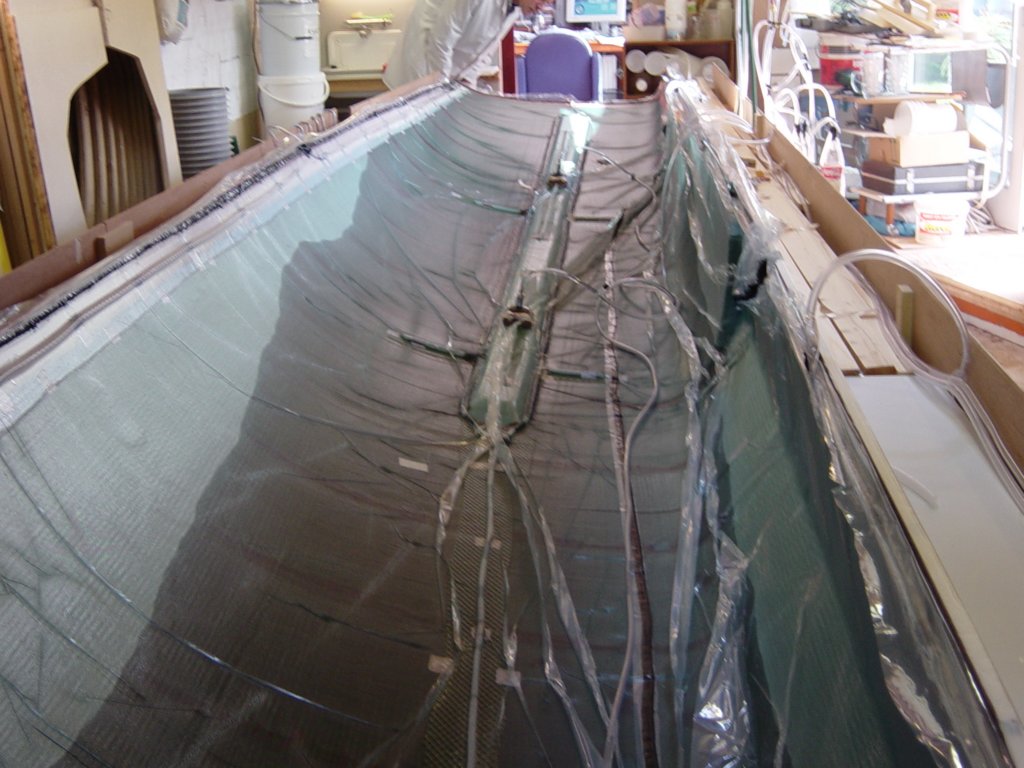
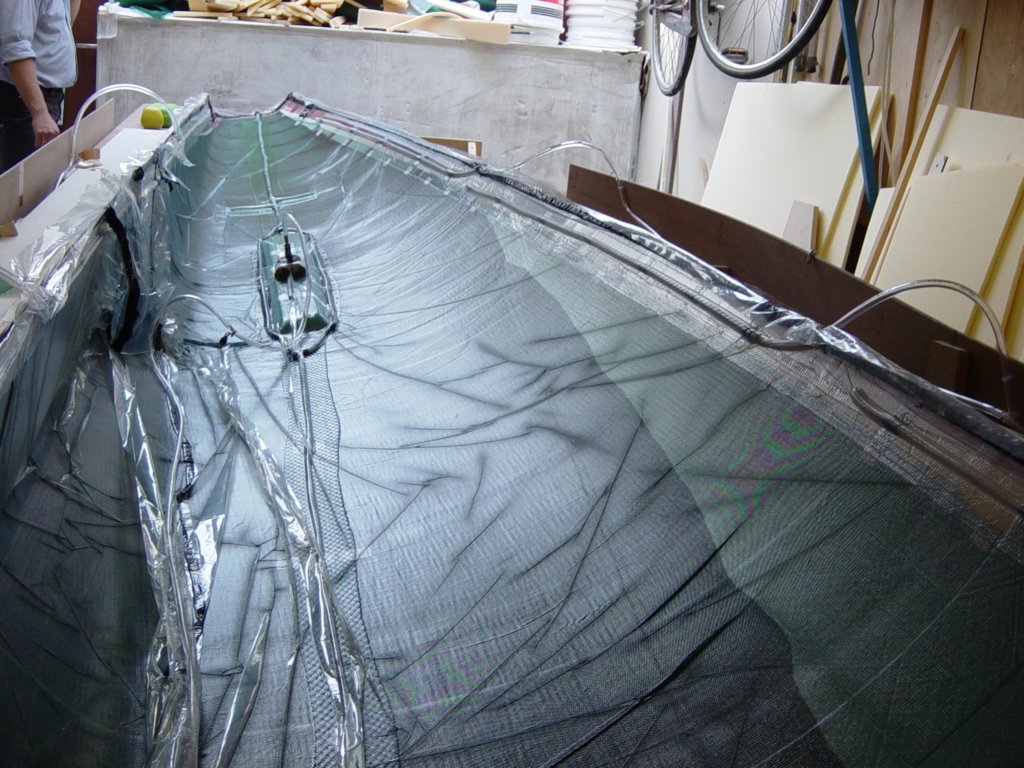
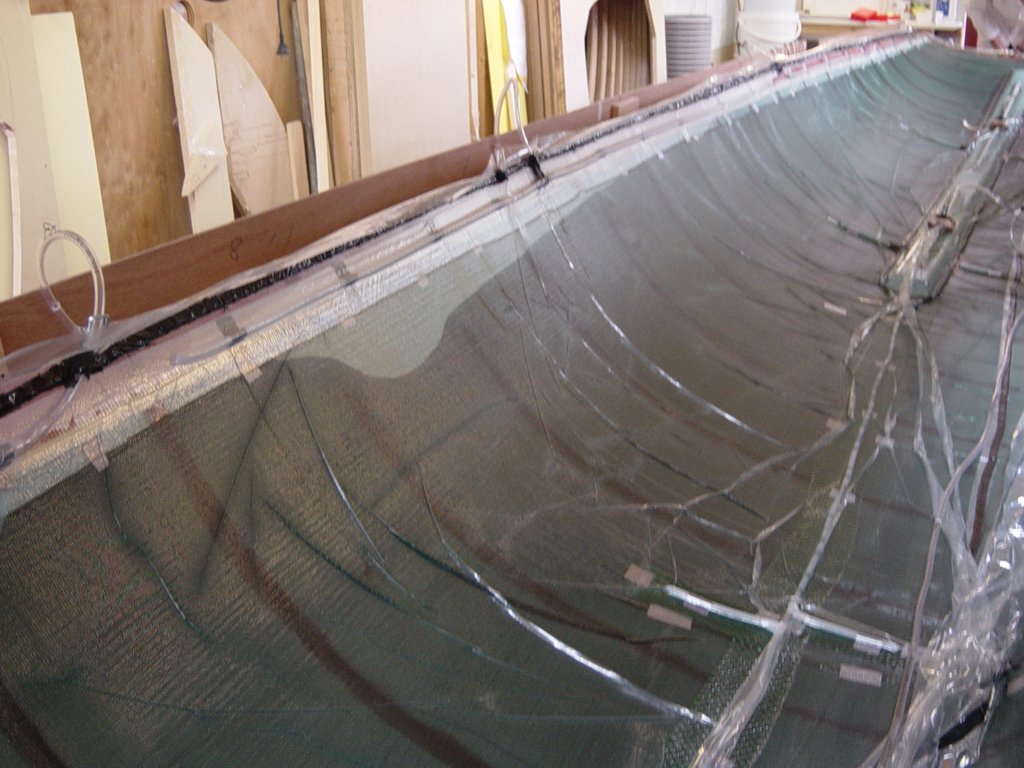
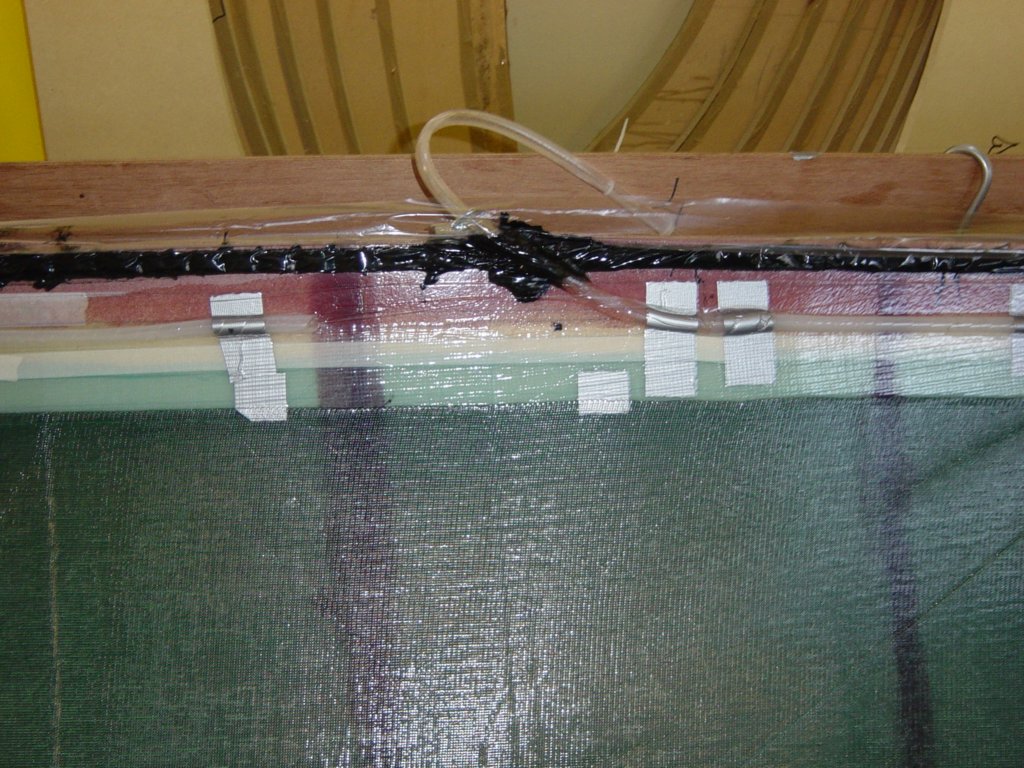
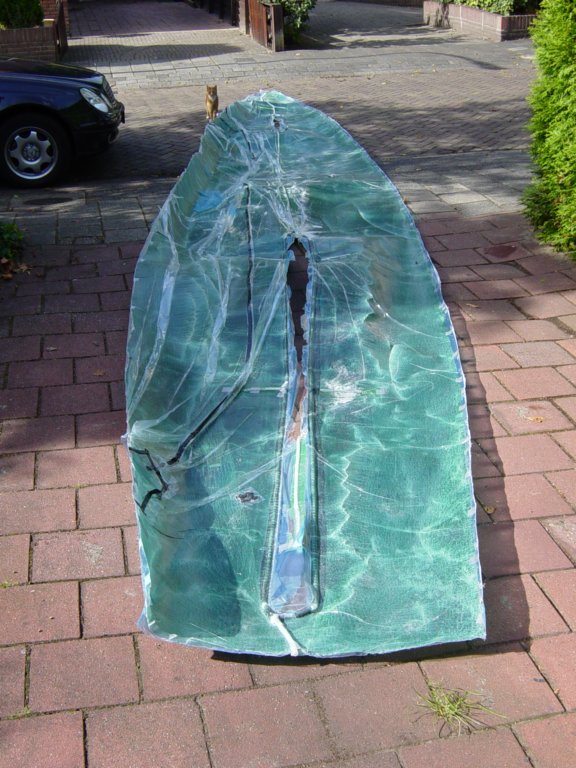
Pleats in the vacuum bag are unavoidable—and actually essential—to prevent bridging. A generously sized bag is never a problem; a tight one always is. These pleats are therefore double-sealed with tacky tape. Making them is not difficult, but it does require patience and a bit of dexterity. Once properly sealed, every pleat is airtight. If leaks do occur, however, this is always the first place to investigate.
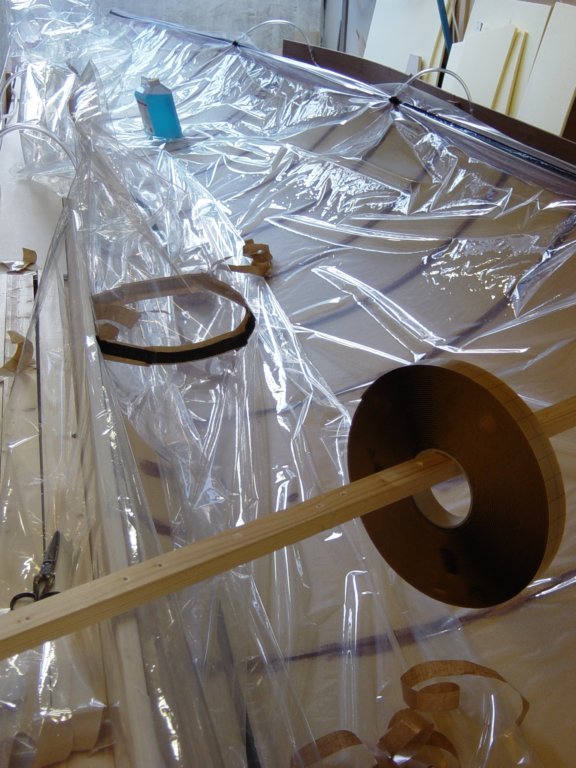
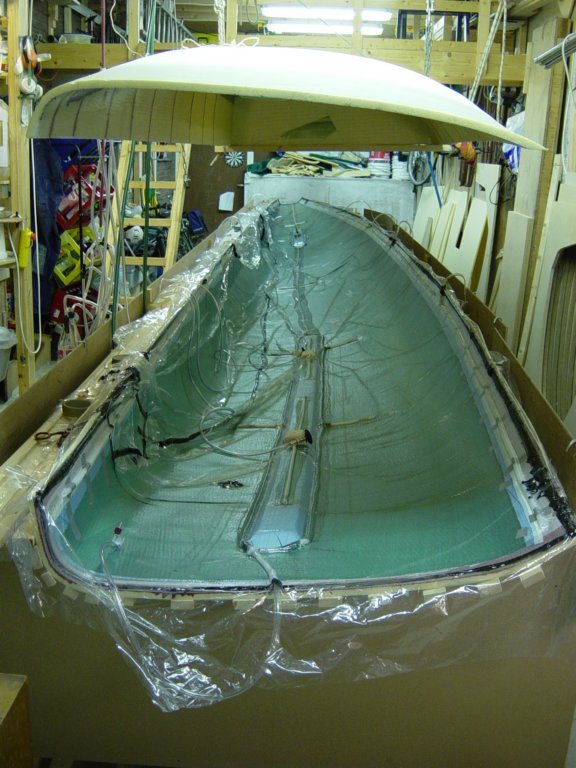
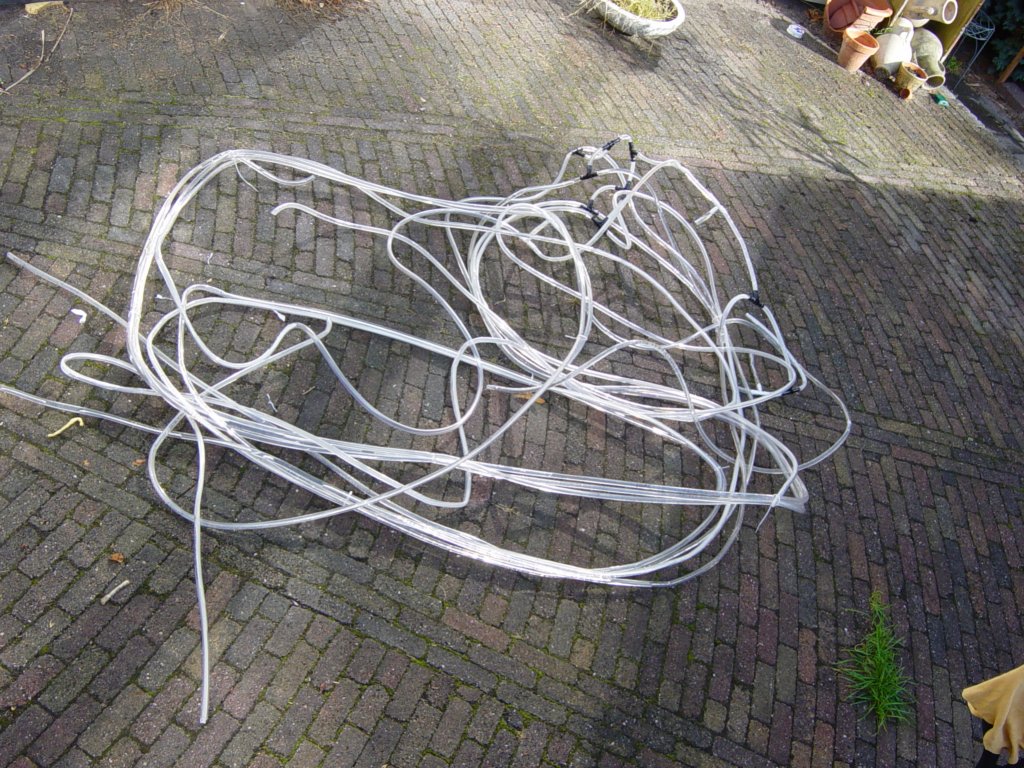
For a vacuum bag of this size only dedicated materials will do: proper vacuum film and a specialised sealant tape. Household PVC or PE sheets, window seals, or duct tape may look tempting, but they are a waste of time and money. I tried PVC for the first bag—it simply didn’t work.
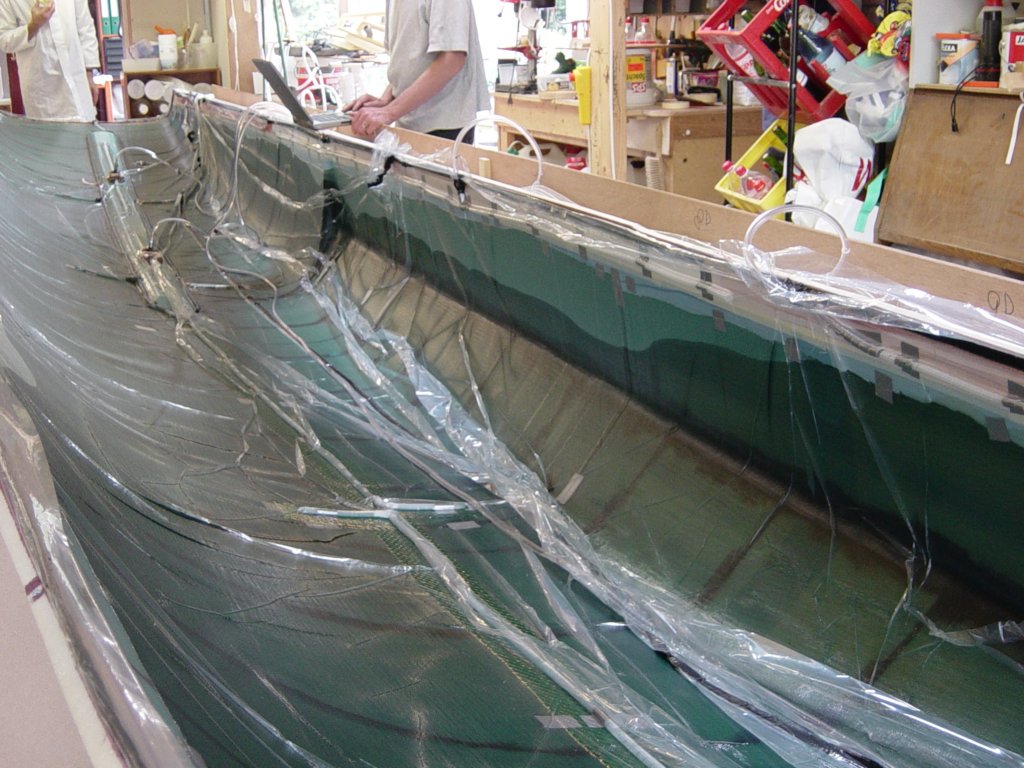
I recorded a video of the infusion of the second hull half. At the request of a member of the Multihull Boatbuilders List, I added a John Williams soundtrack to enhance the atmosphere. For reference: the videos on this page are identical to those on the Controlled Vacuum Infusion page.
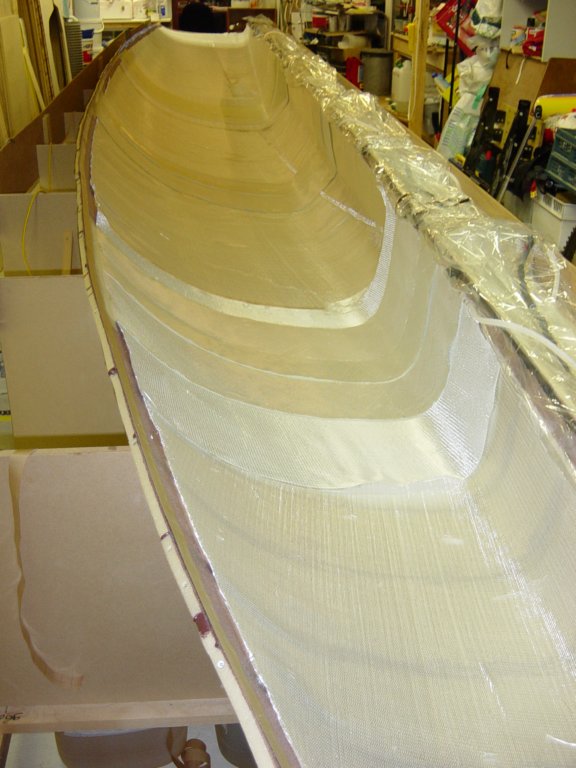
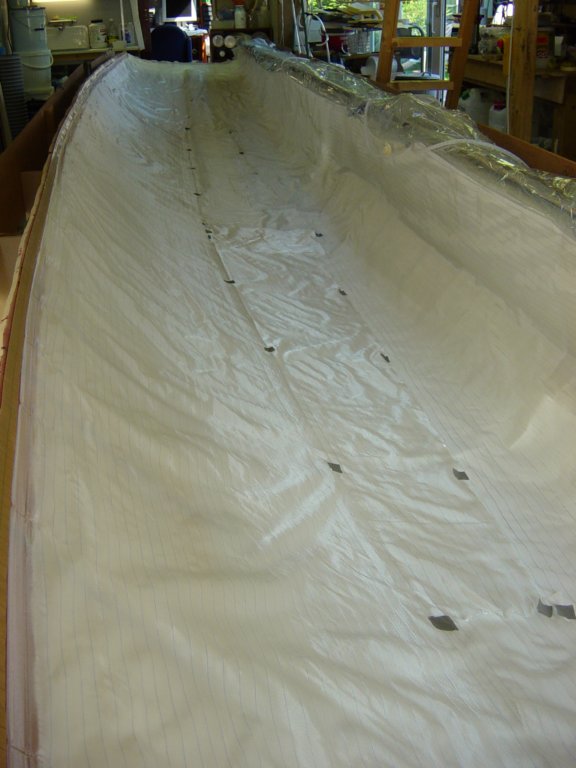
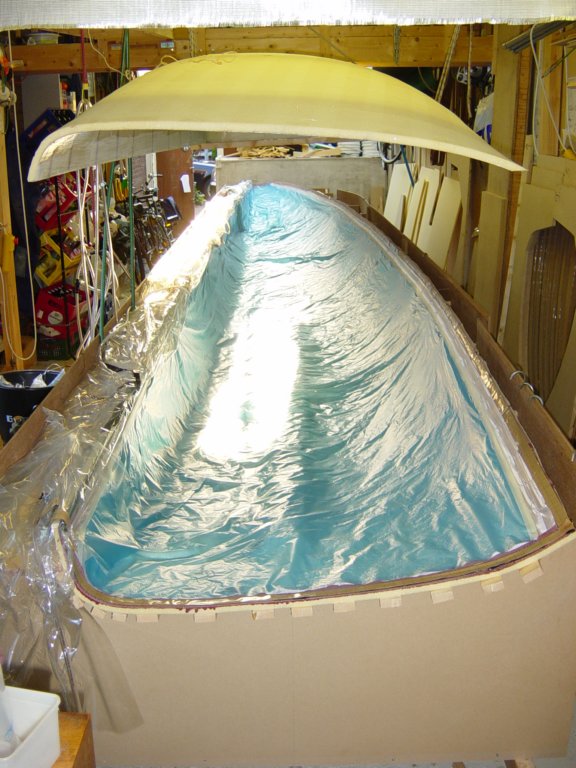
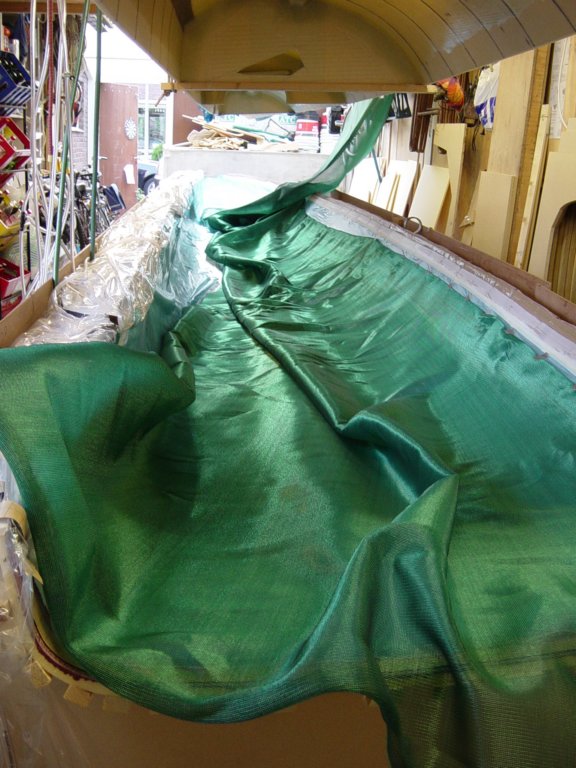
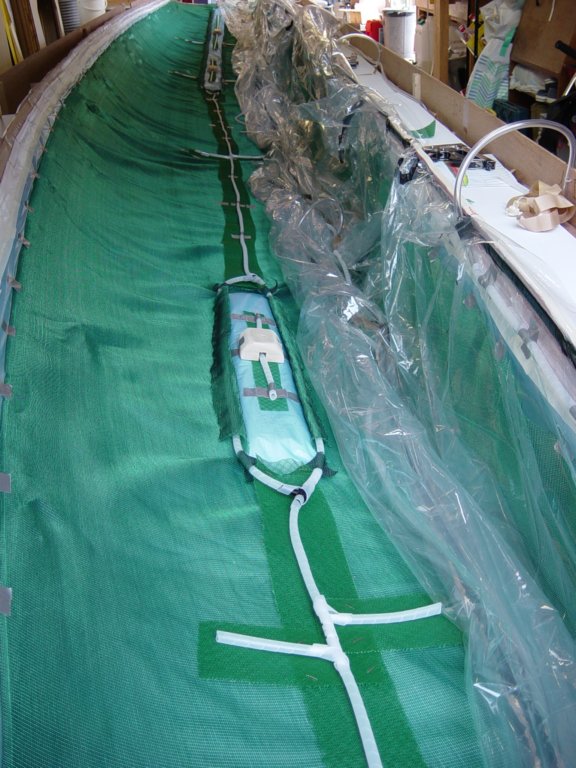
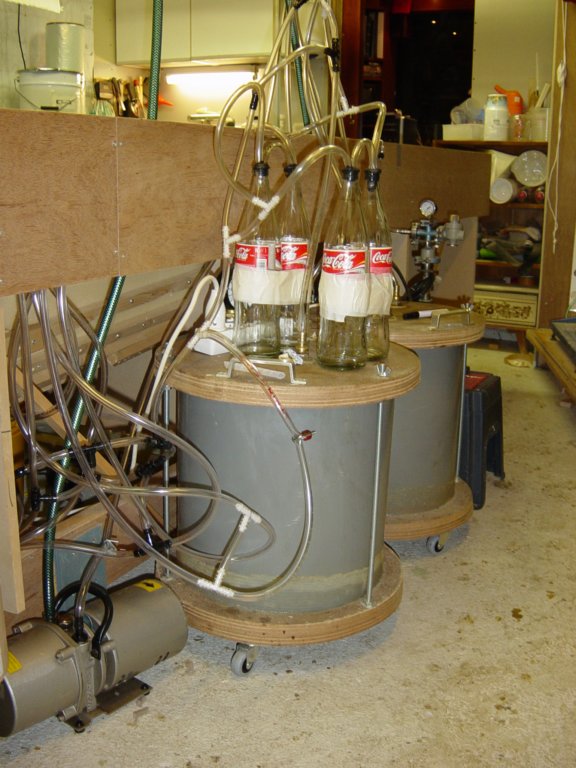
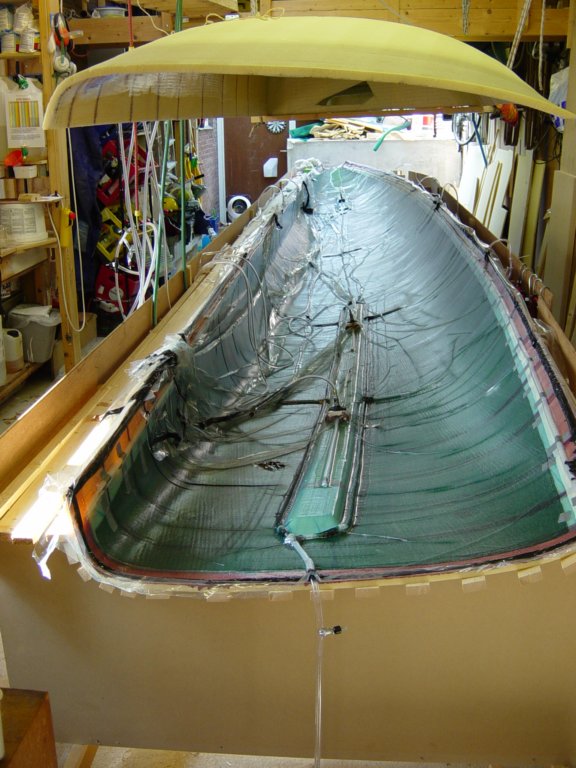
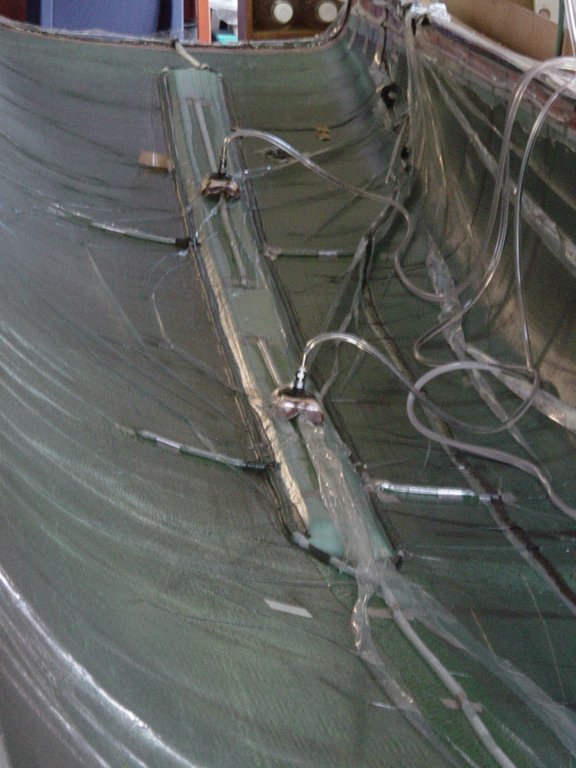
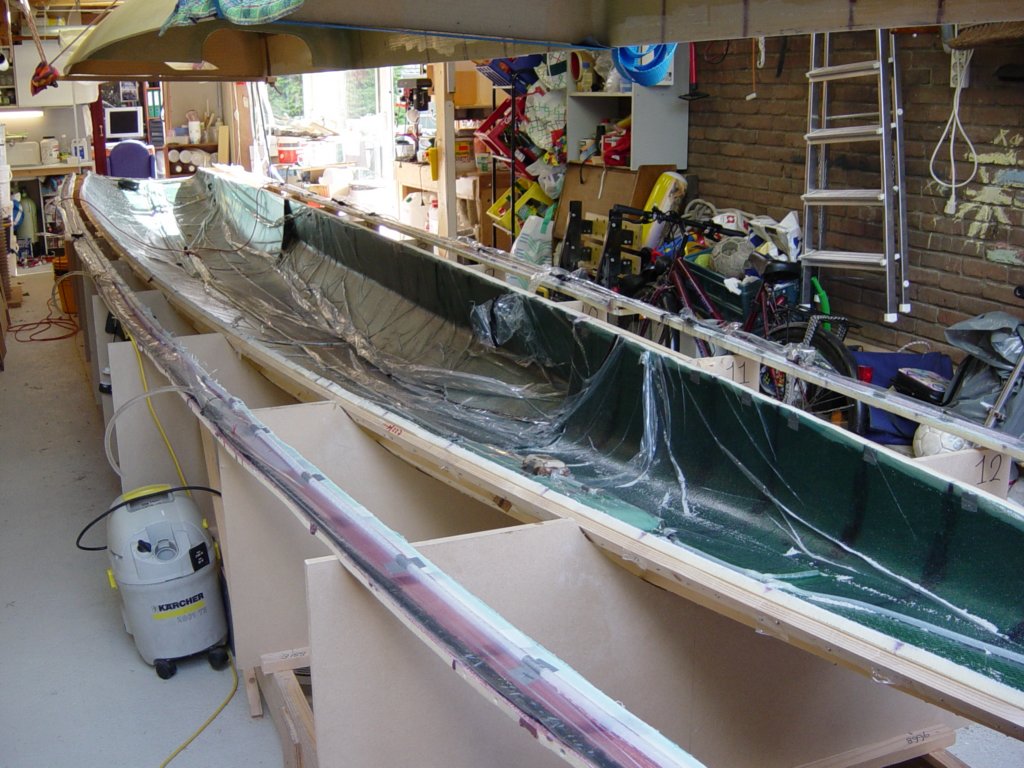
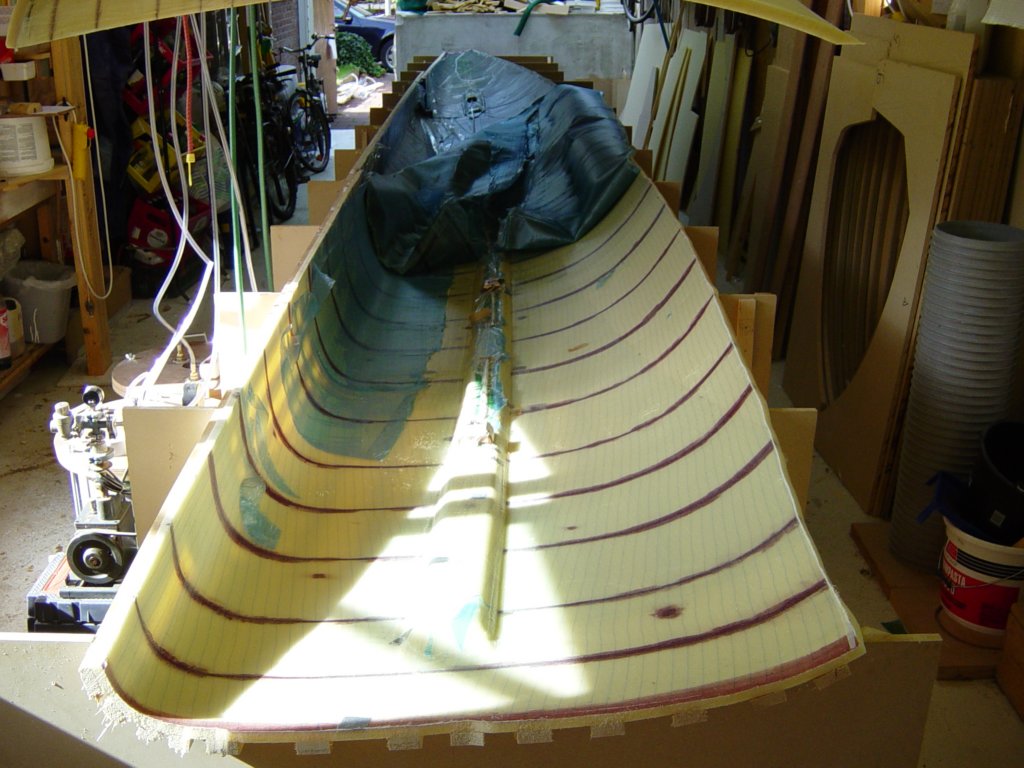
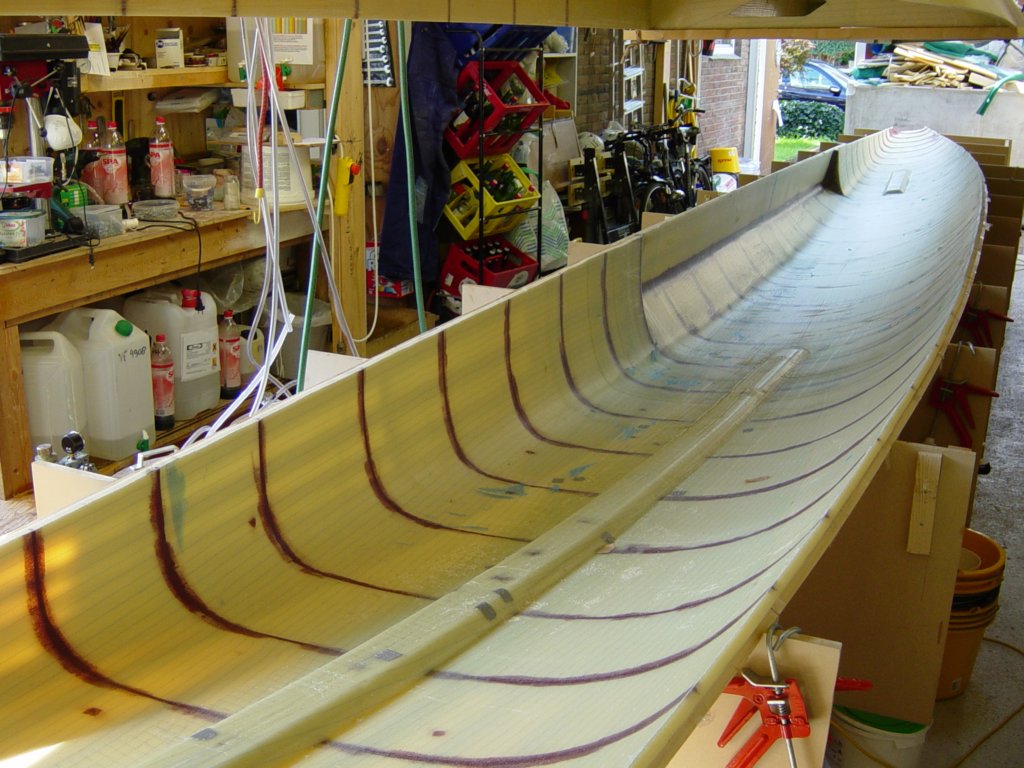
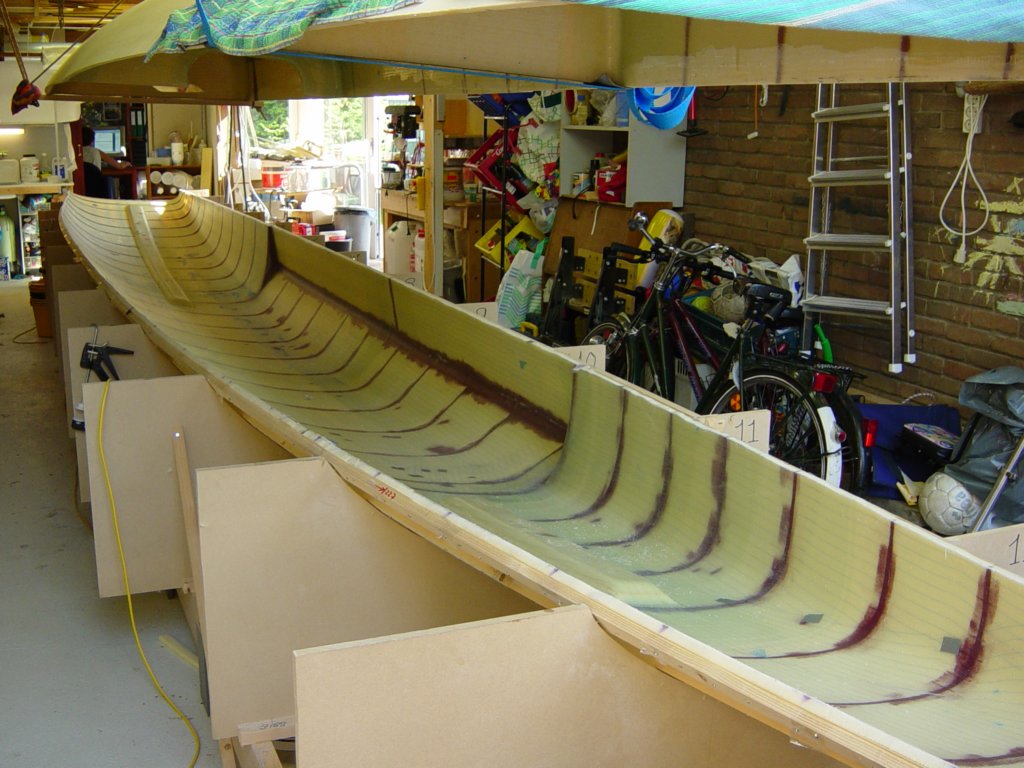
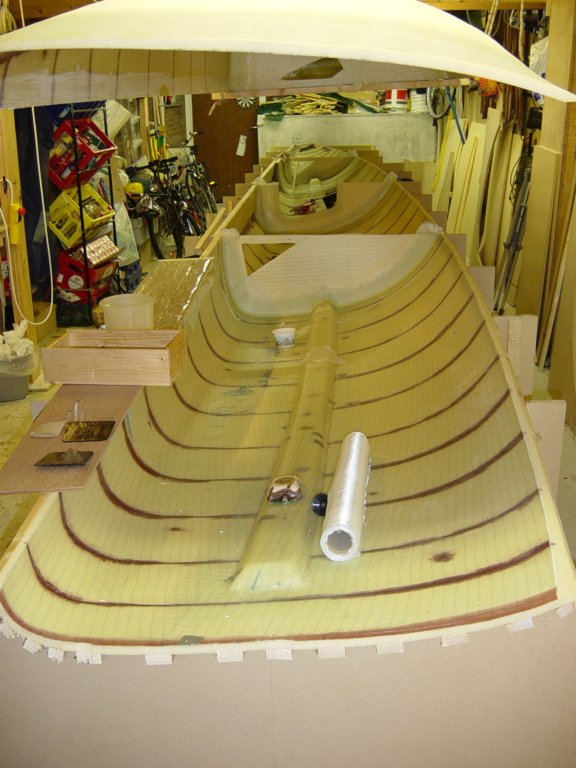
This photo gallery (41 images) documents the full preparation and execution of the resin infusion: from vacuum testing and pleat sealing to resin flow progression and final demoulding.

