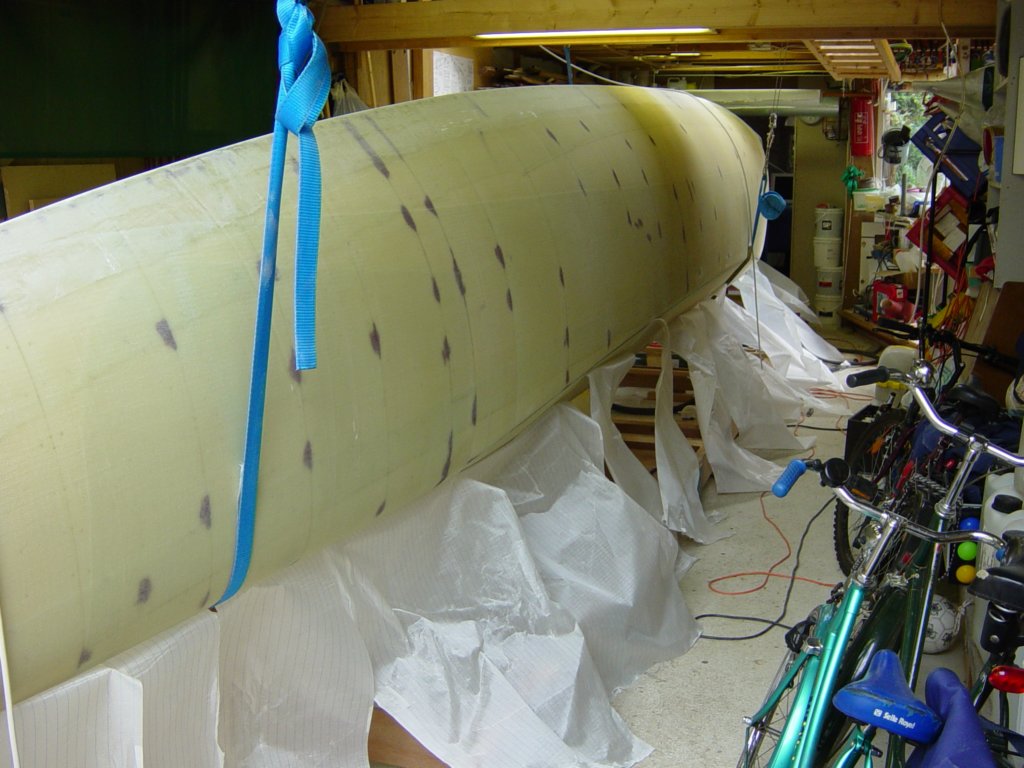
The final construction details of the float hull: integrated lashing rails, deck hatches, post curing, and the long road toward a fair surface.
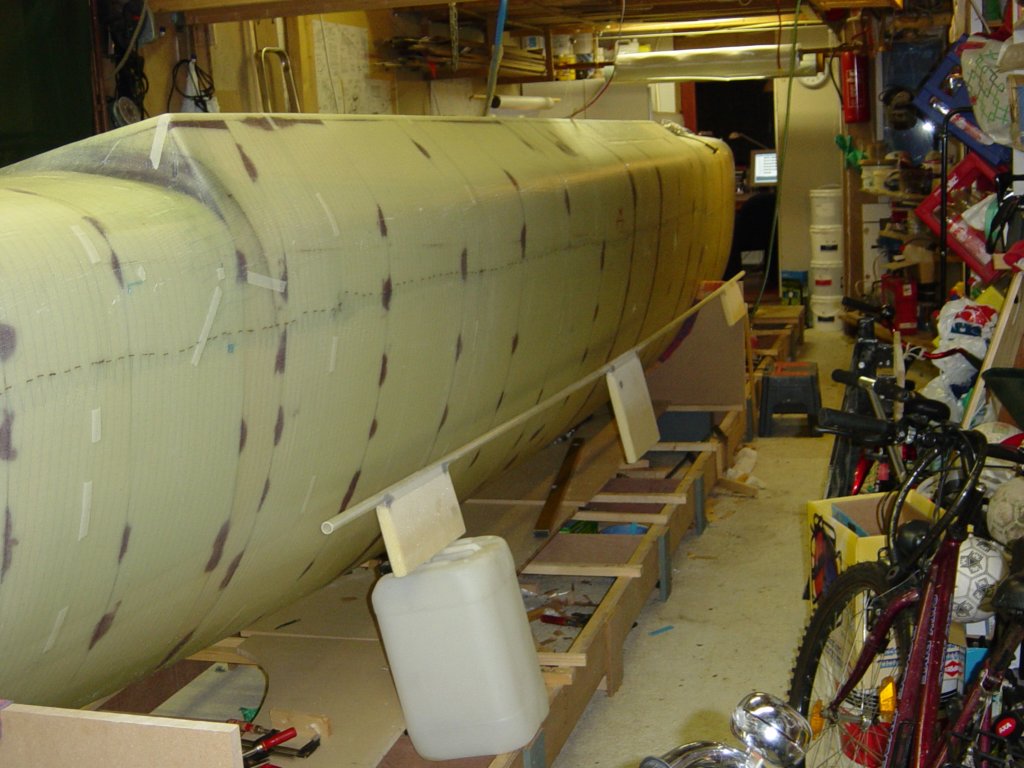
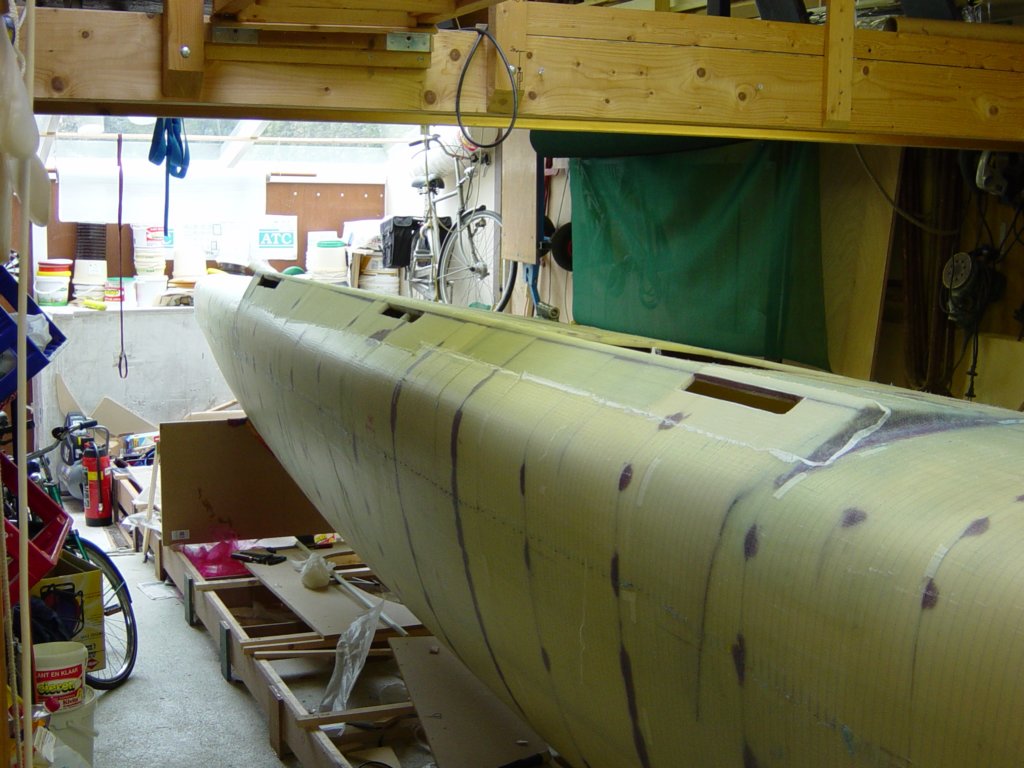
Finishing the hull construction
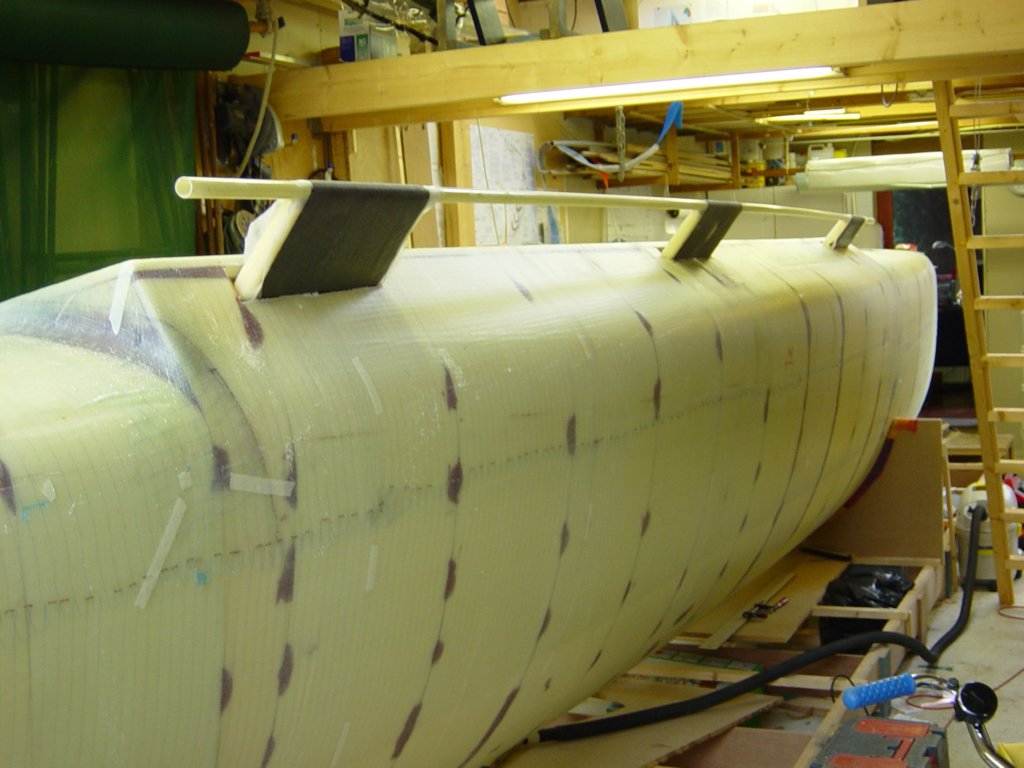
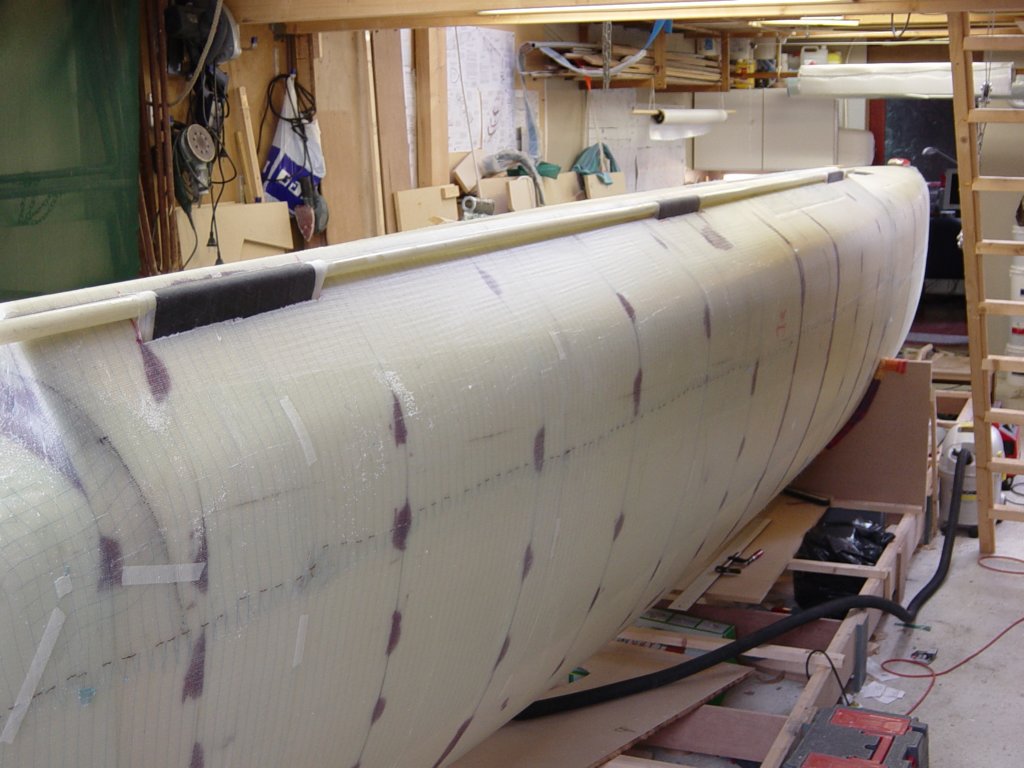
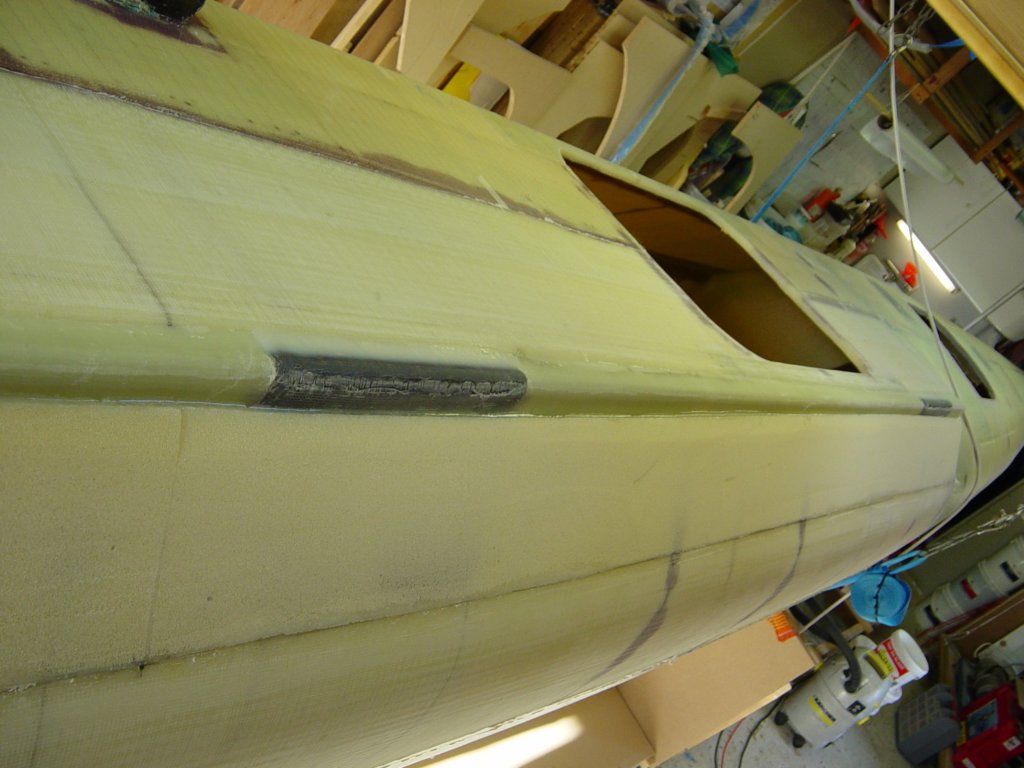
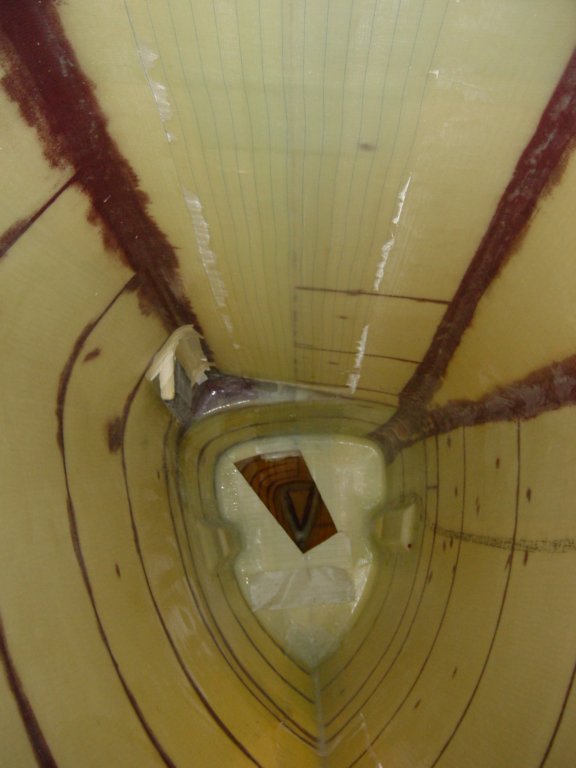
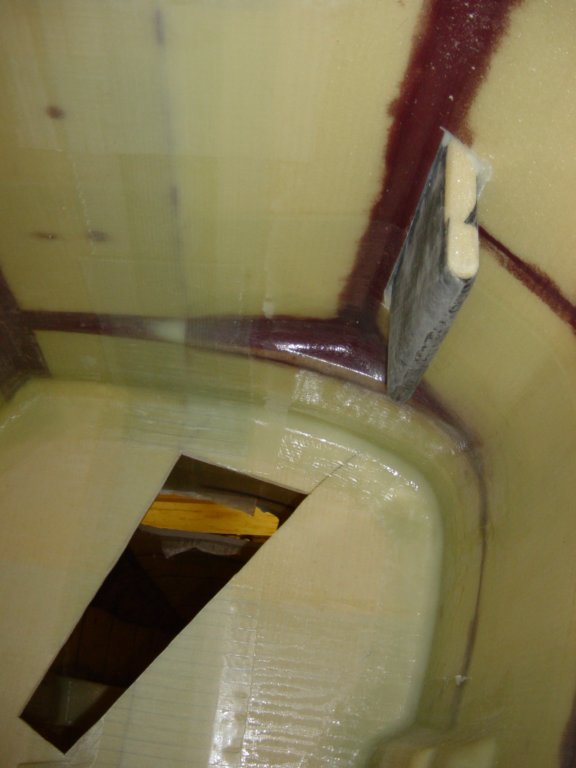
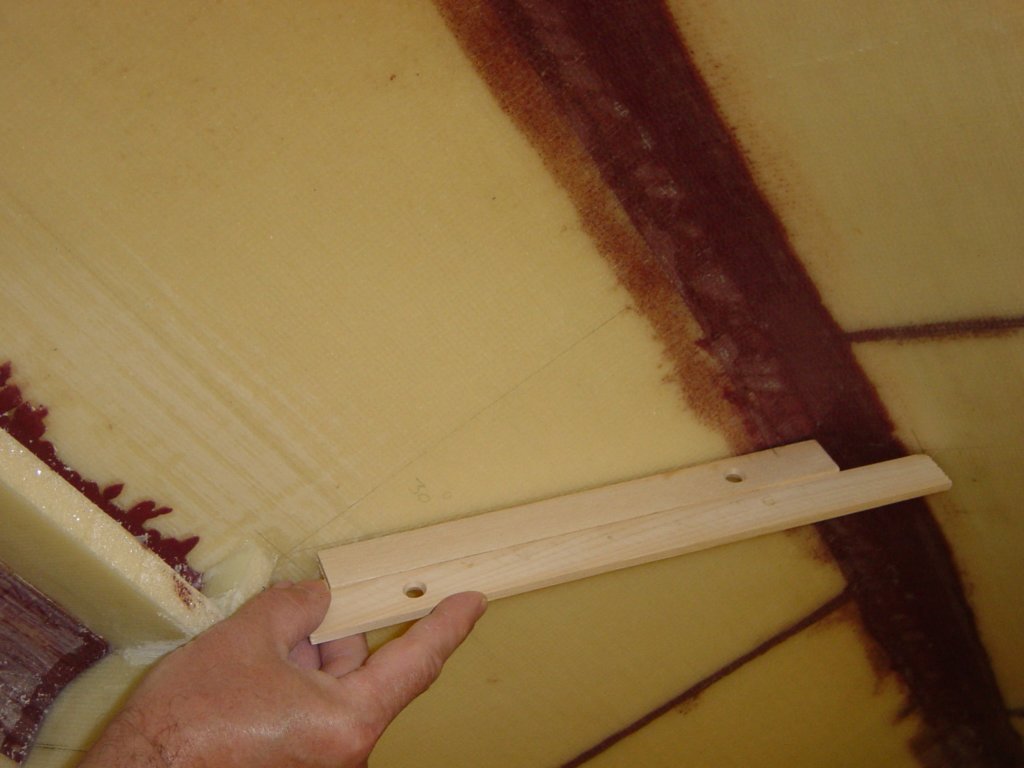
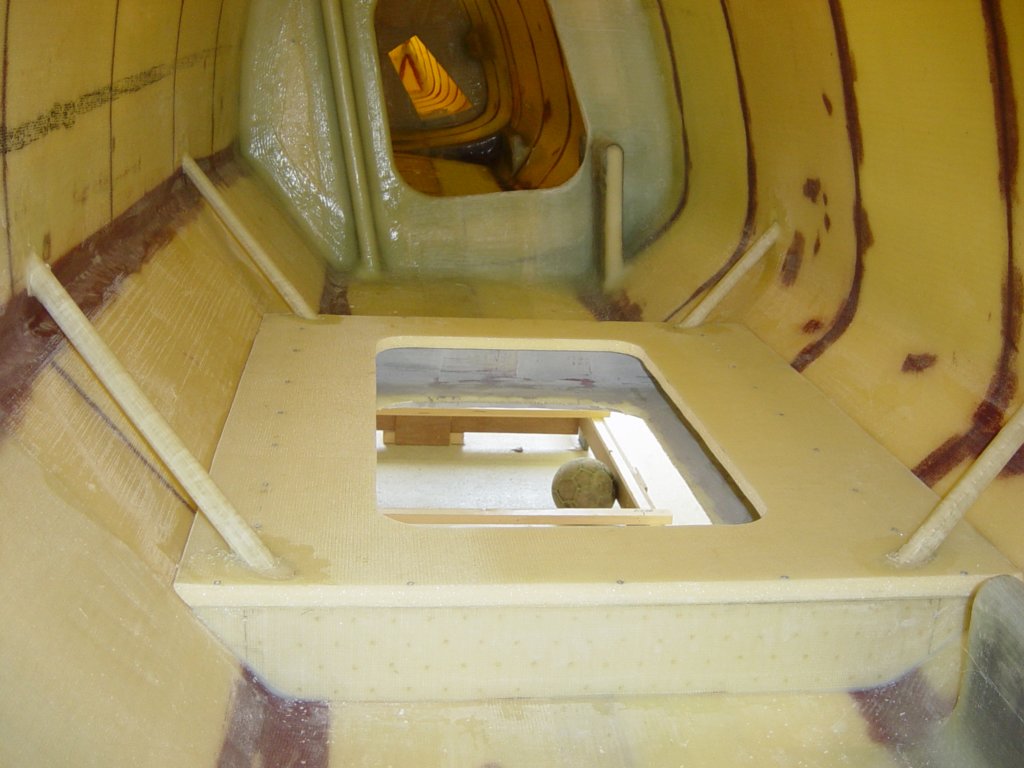
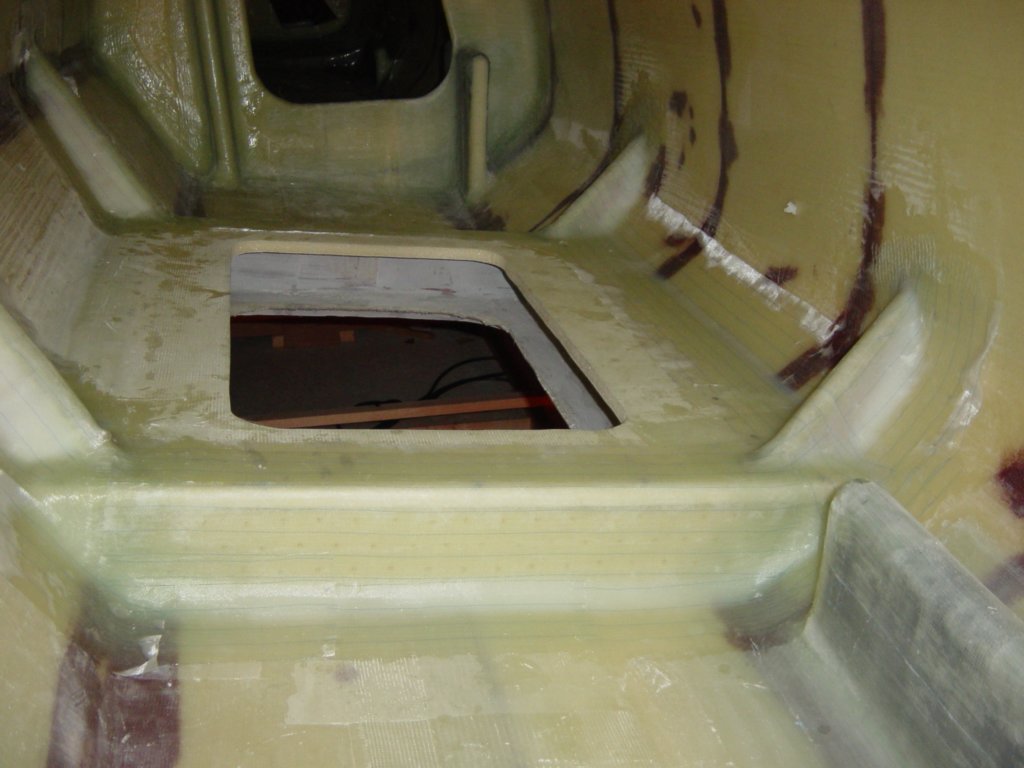
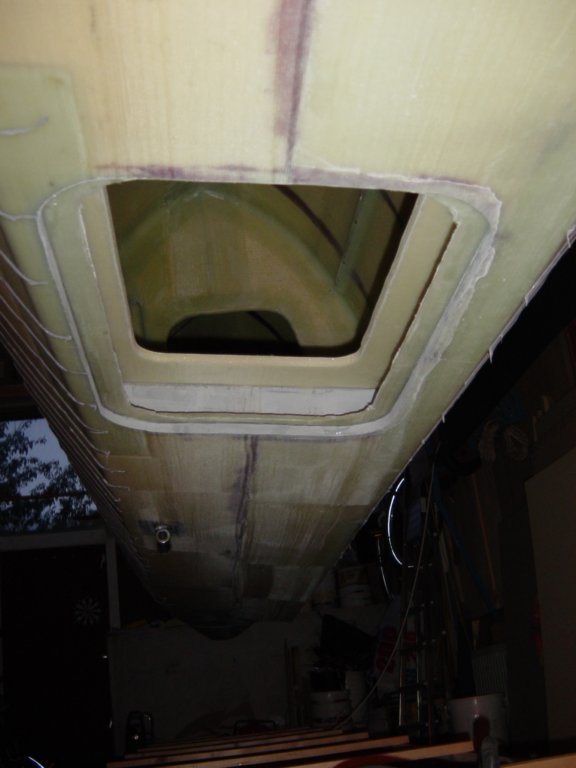
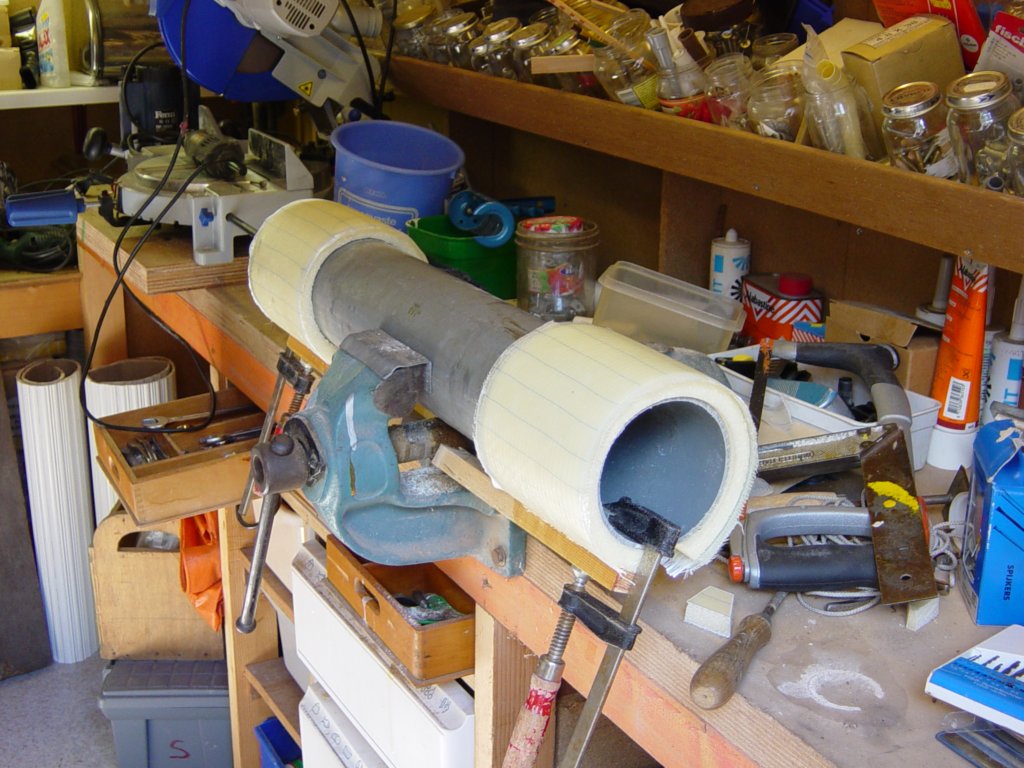
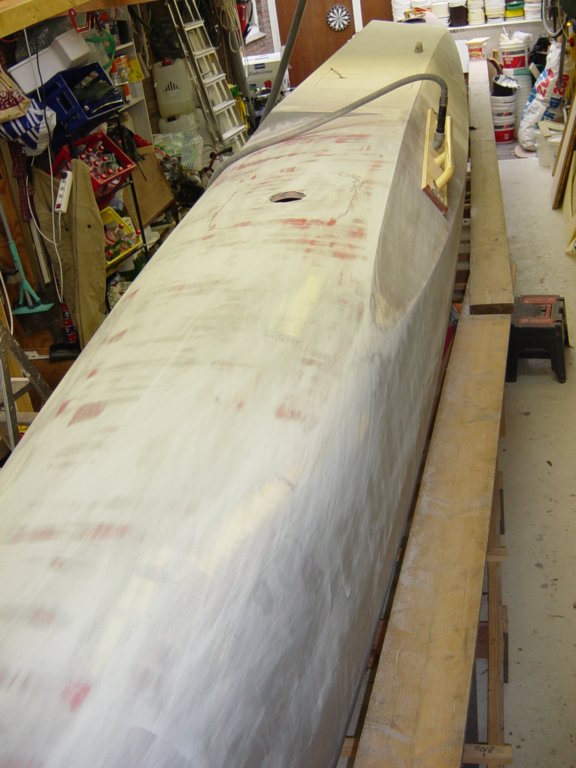
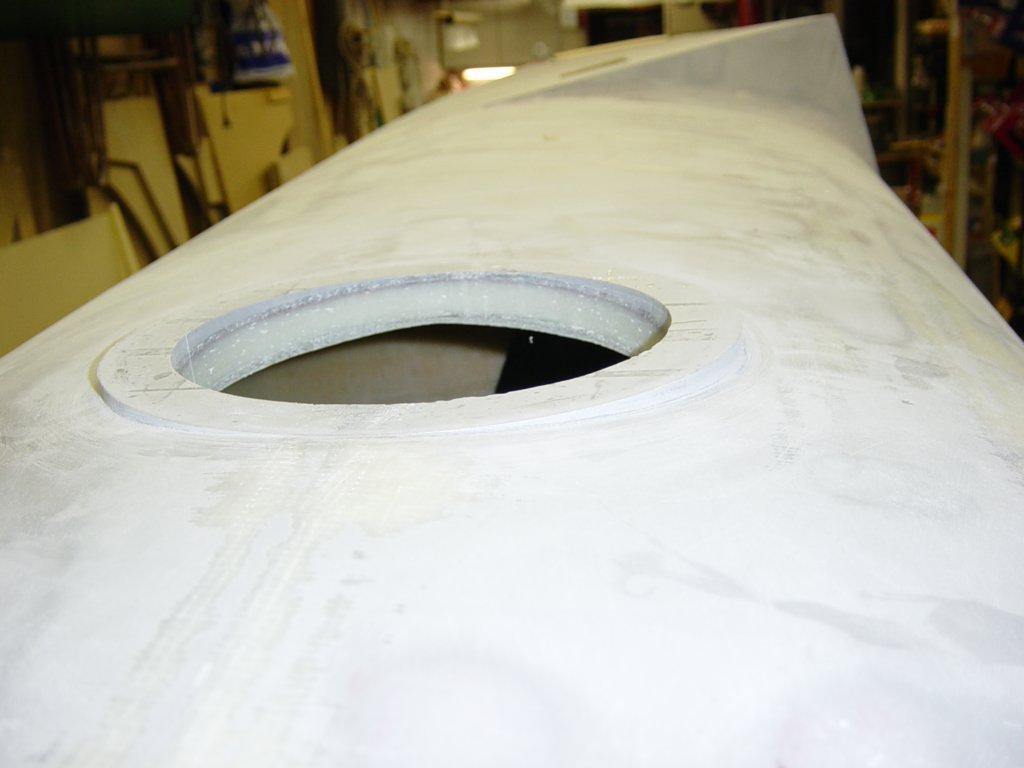
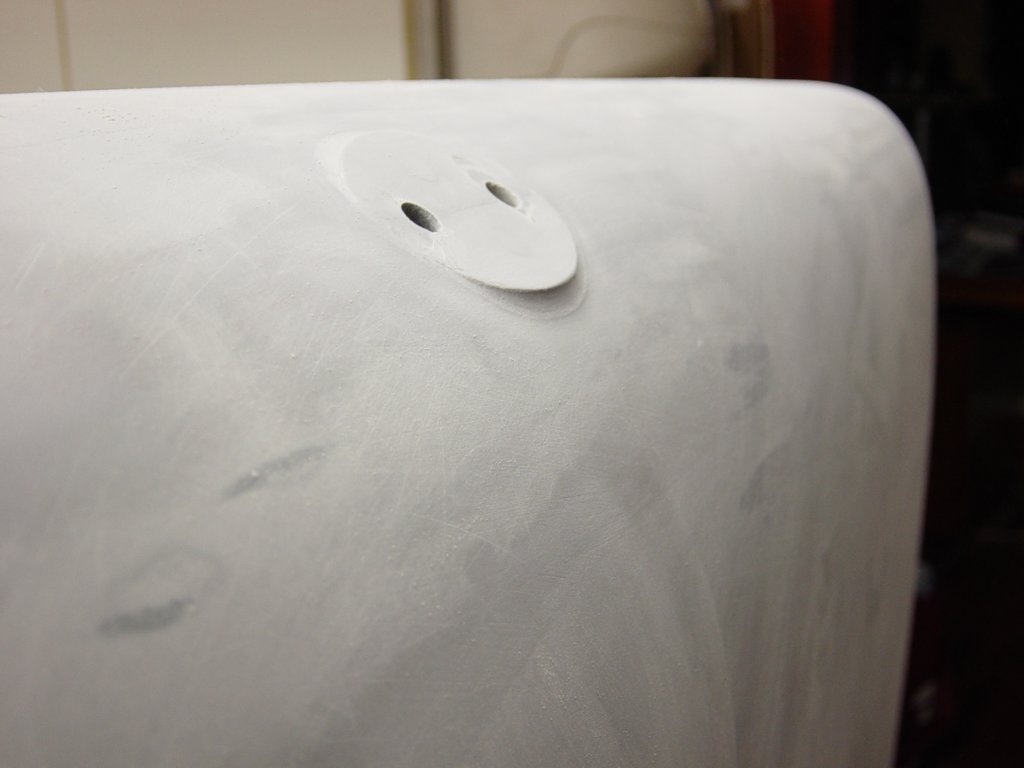
Wingnet fastening is done using an integrated moulded lashing rail made from a glassfibre tube. An additional advantage of this rail is that it creates three very strong deck attachment points, eliminating the need for bolted stainless-steel pad eyes. The required strength is achieved with carbon-reinforced foam pads that pass through the hull and are laminated on the inside; the middle pad is also tied into the shroud bulkhead.
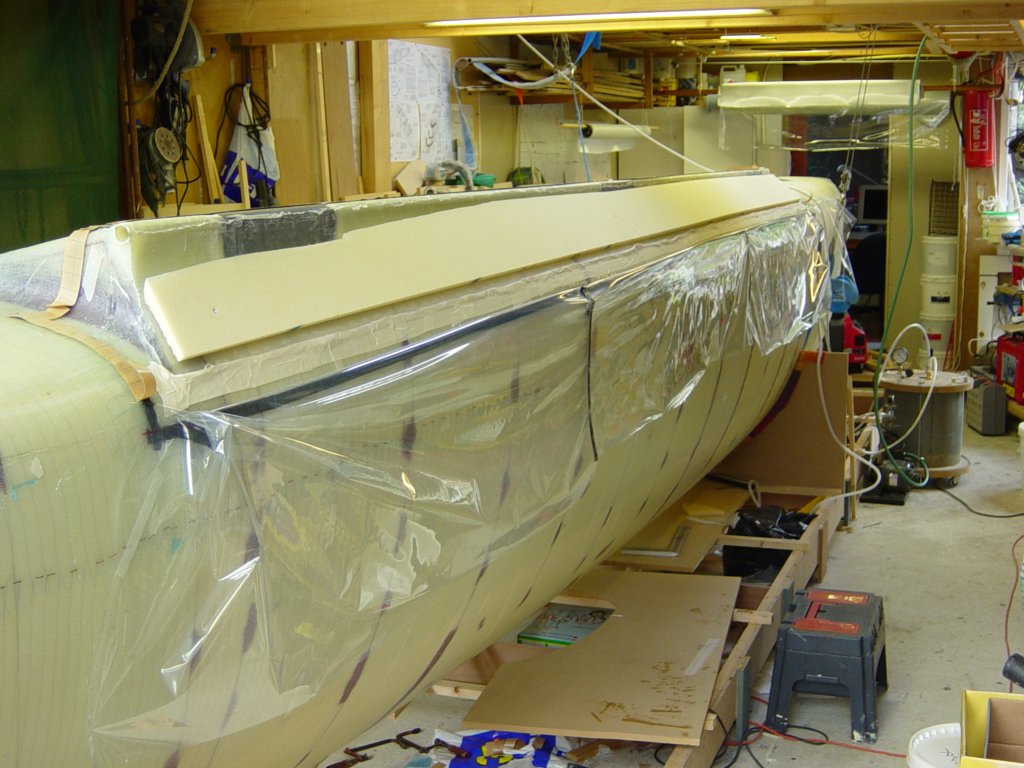
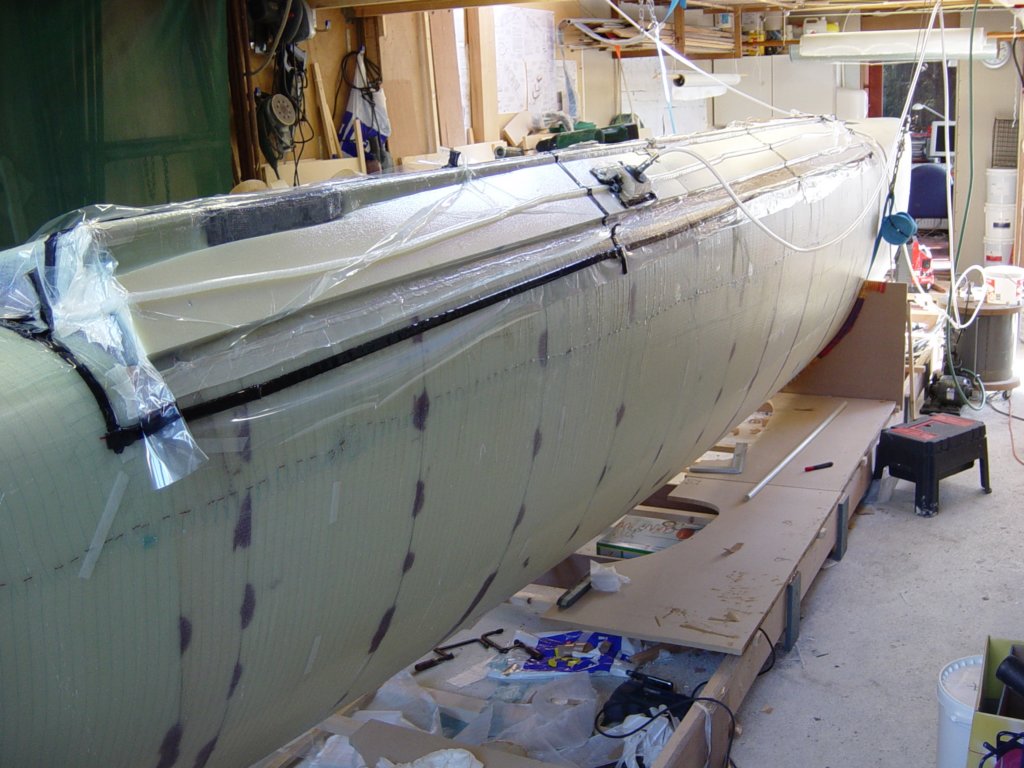
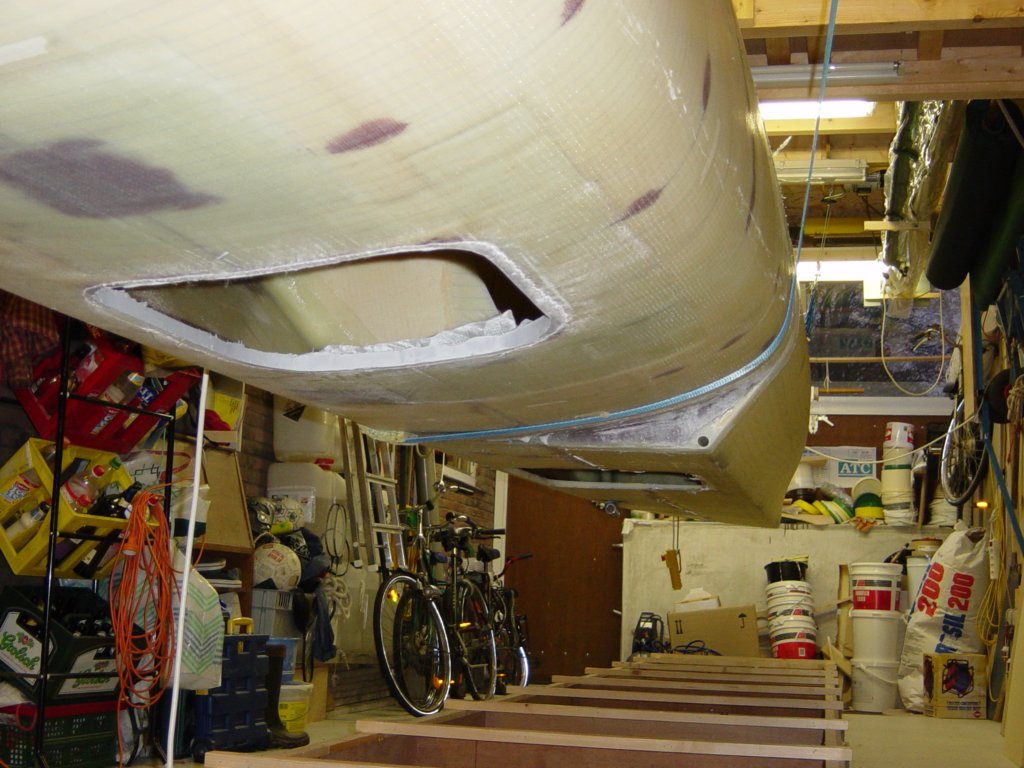
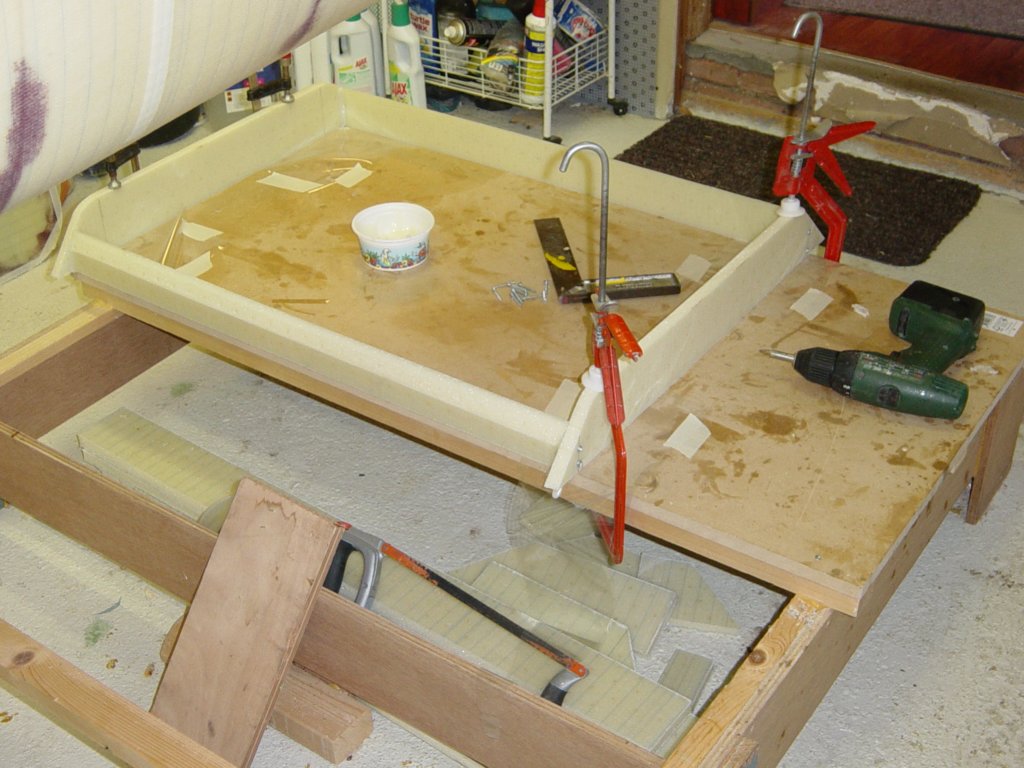
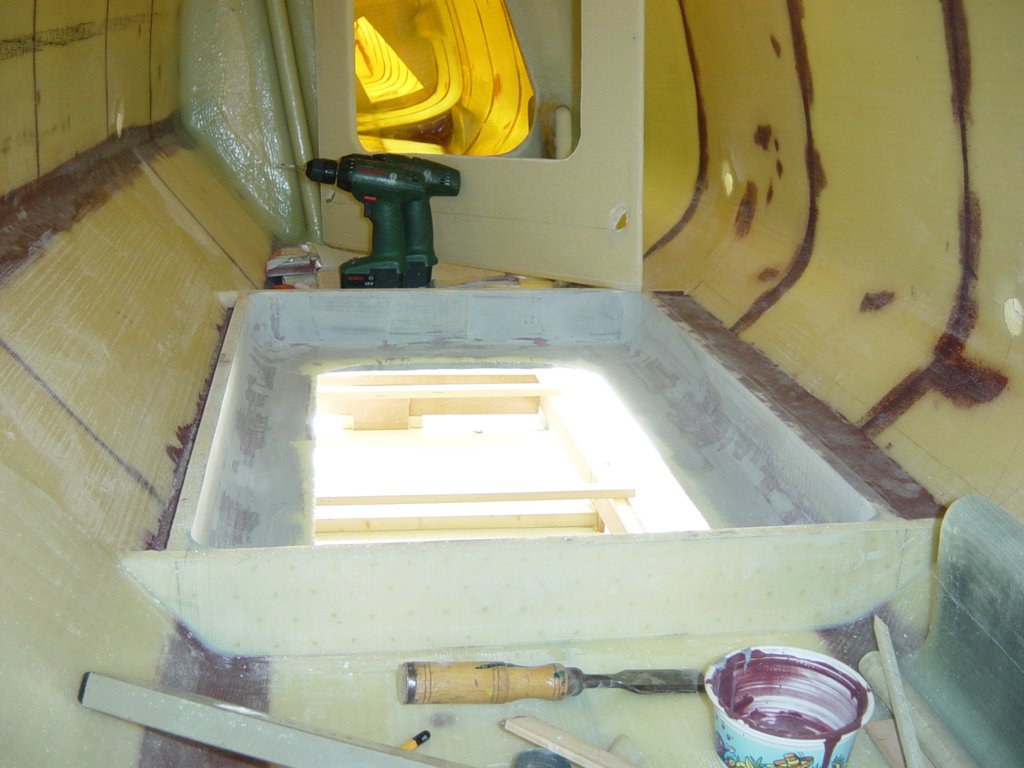
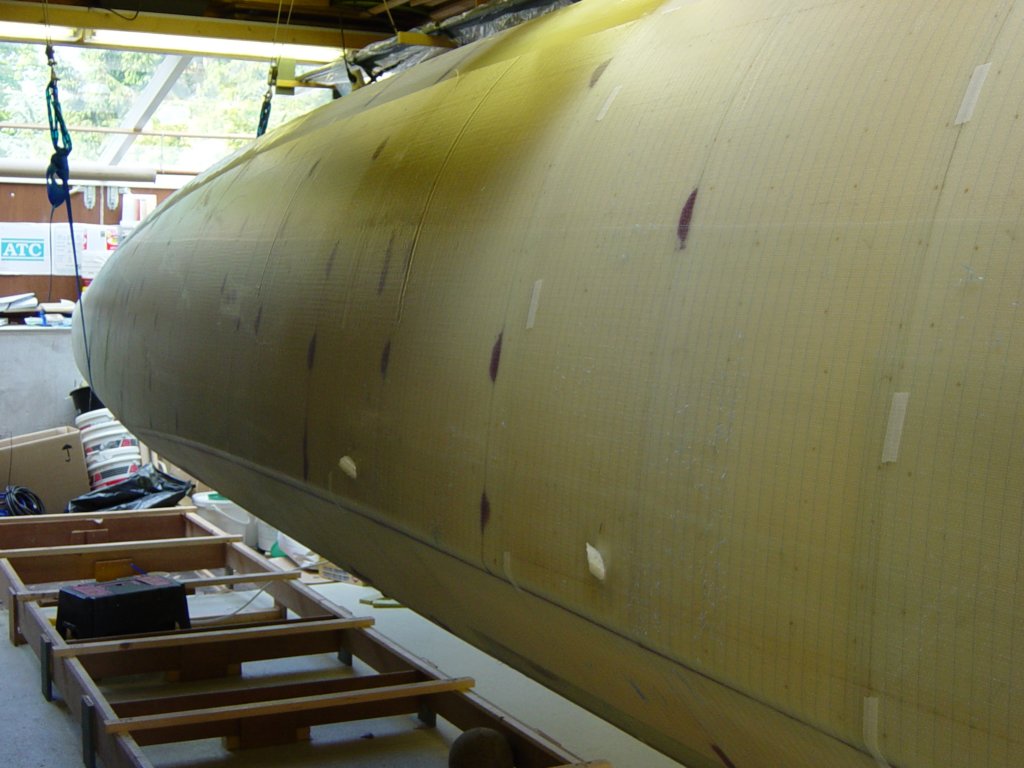
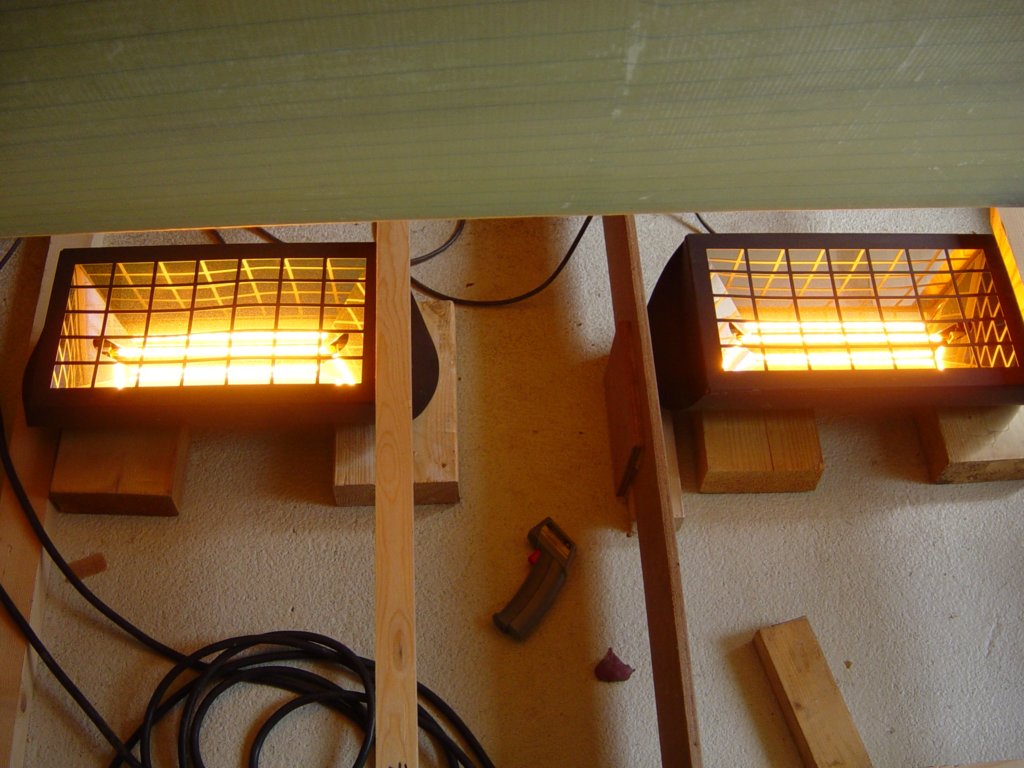
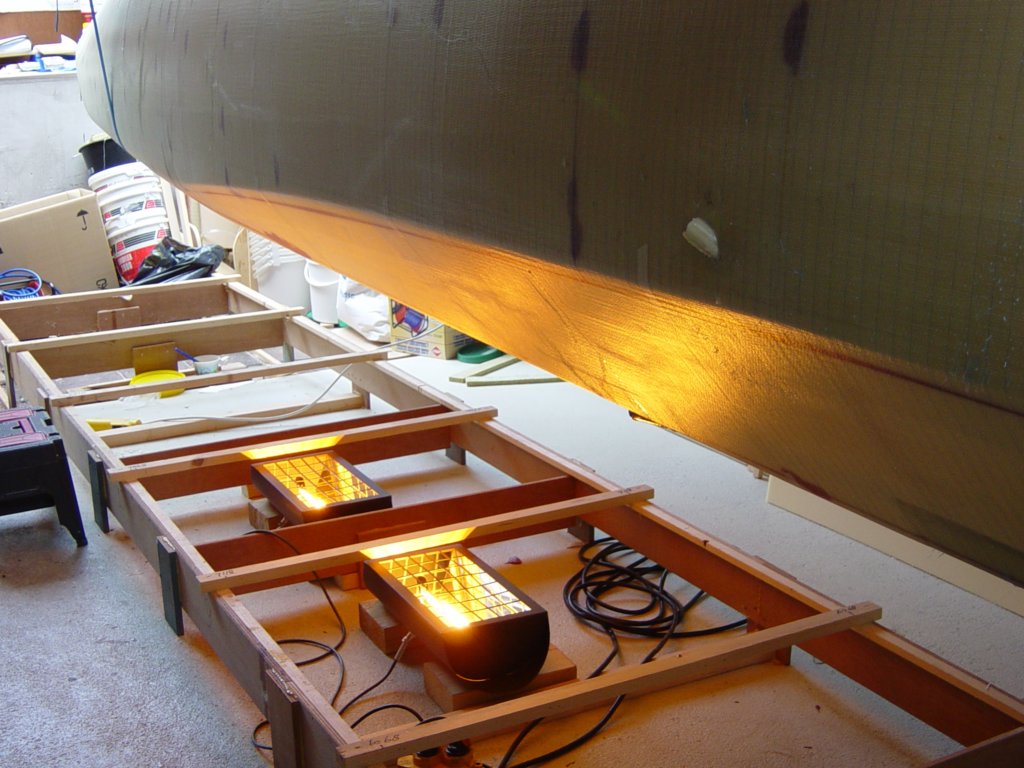
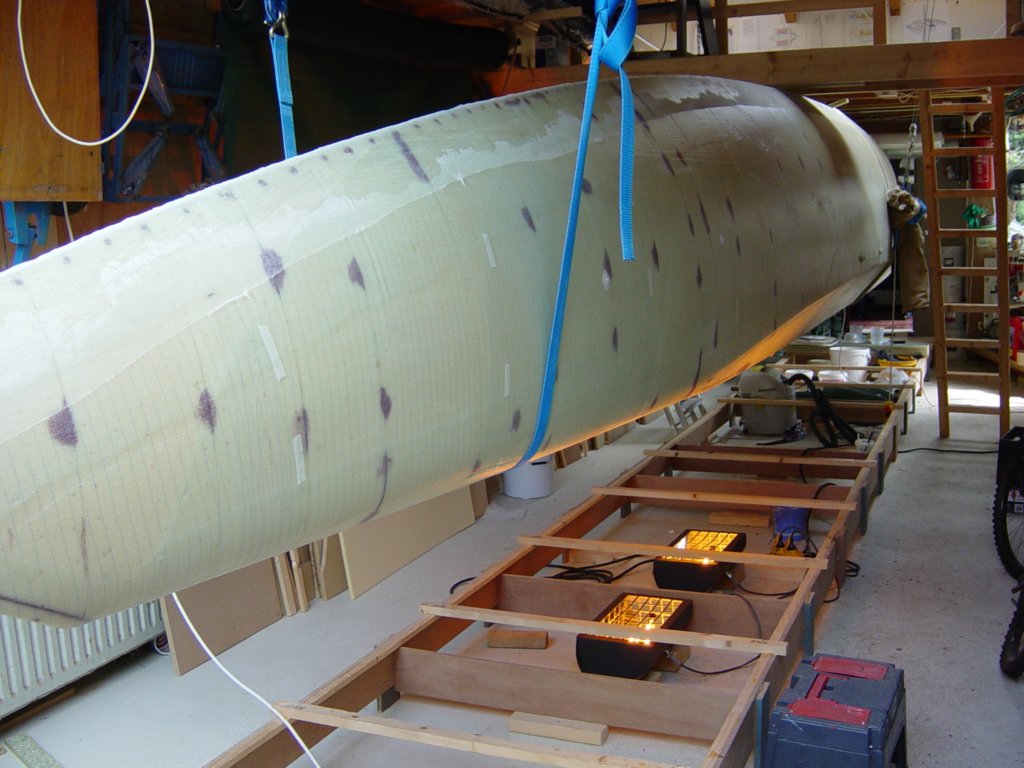
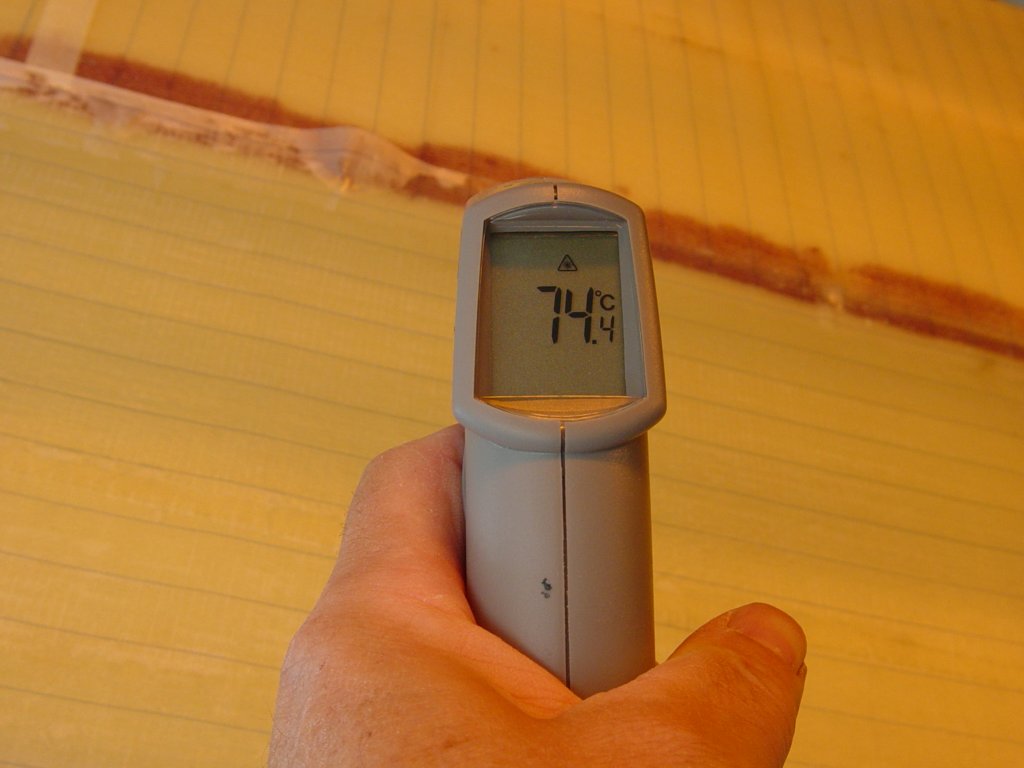
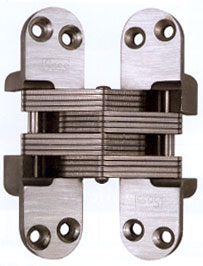
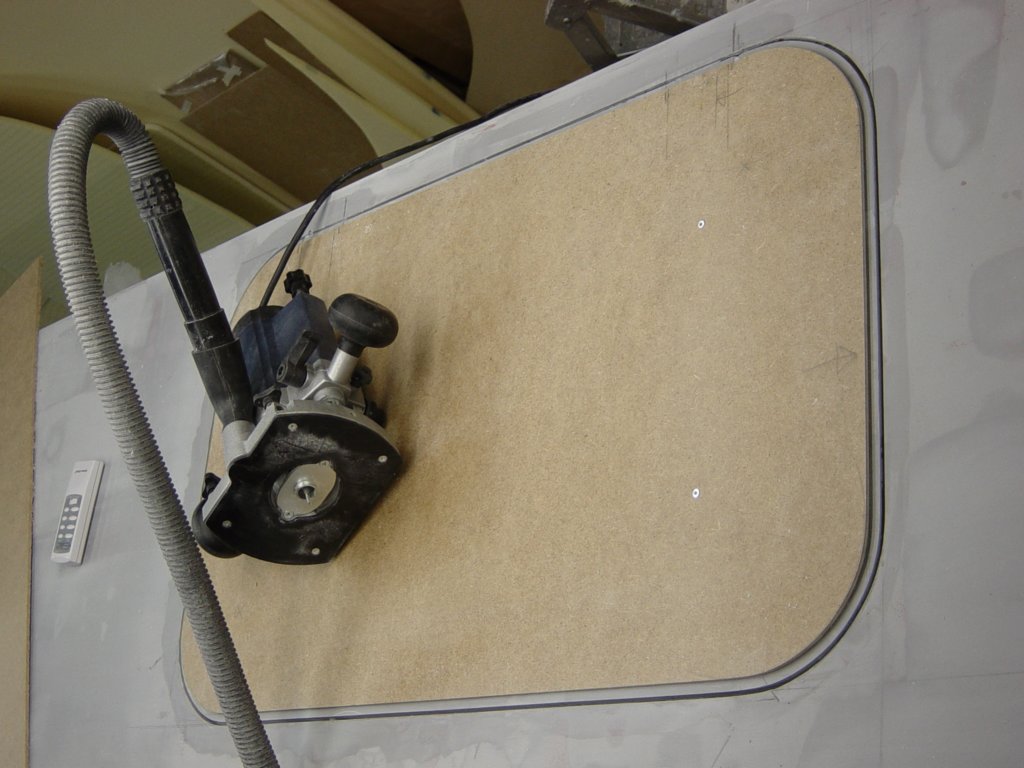
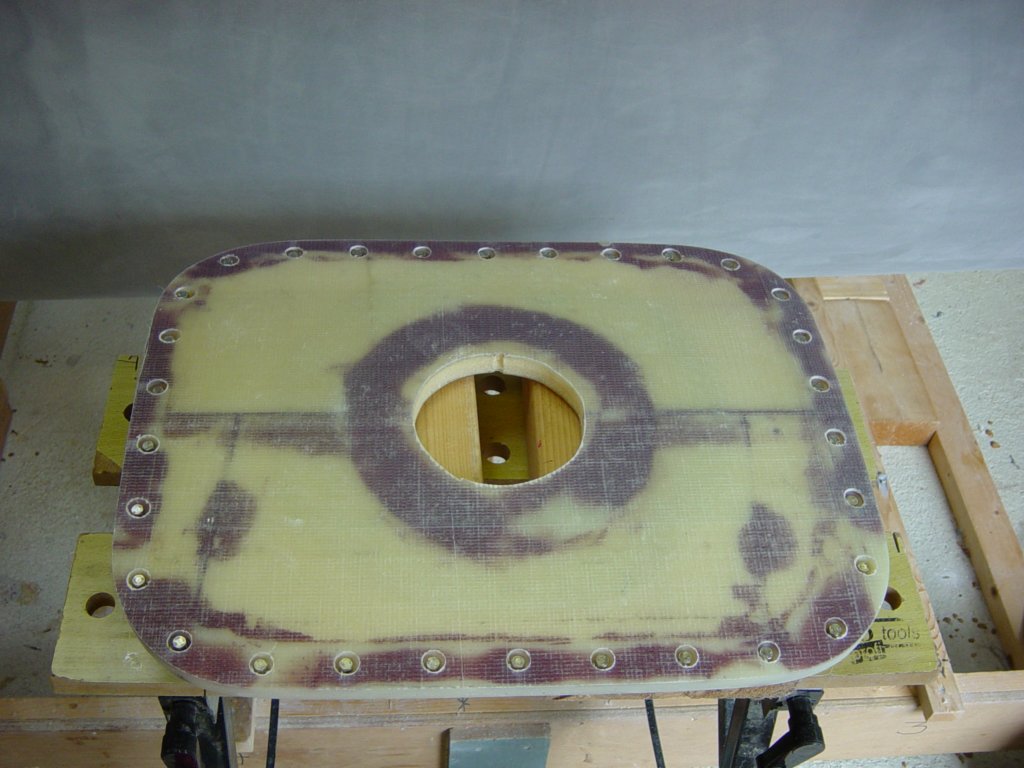
Further in this chapter, the making of two deck hatches is covered, including the use of invisible hinges. After all glasswork is completed, the entire hull is post-cured before starting the fairing work.
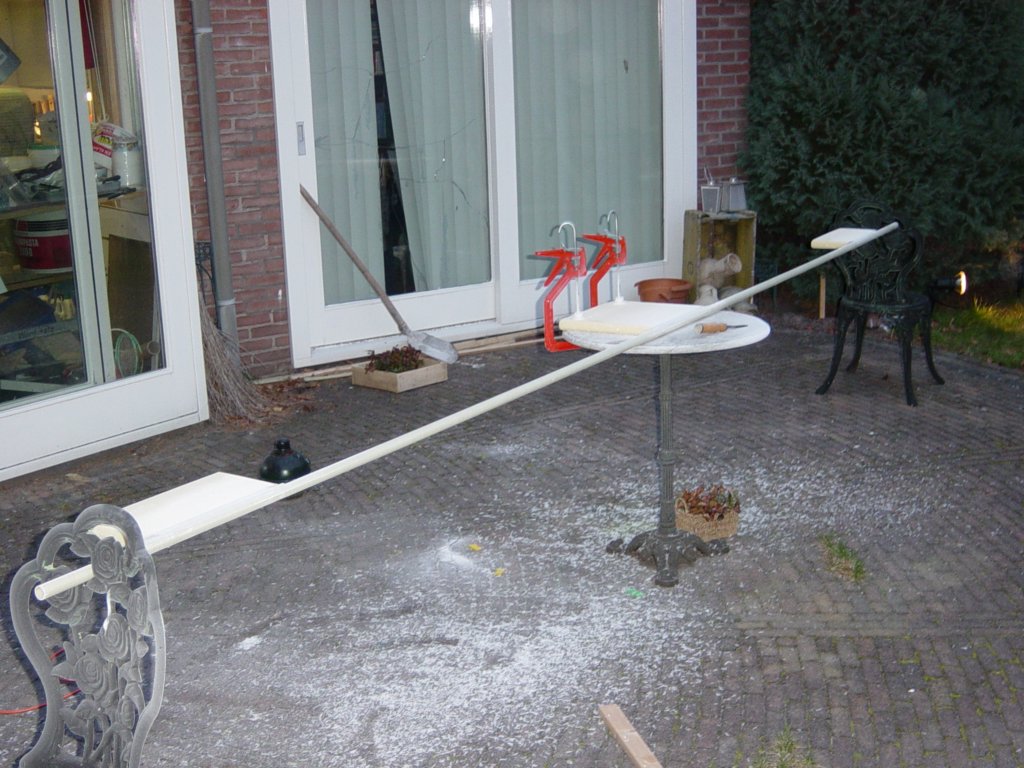
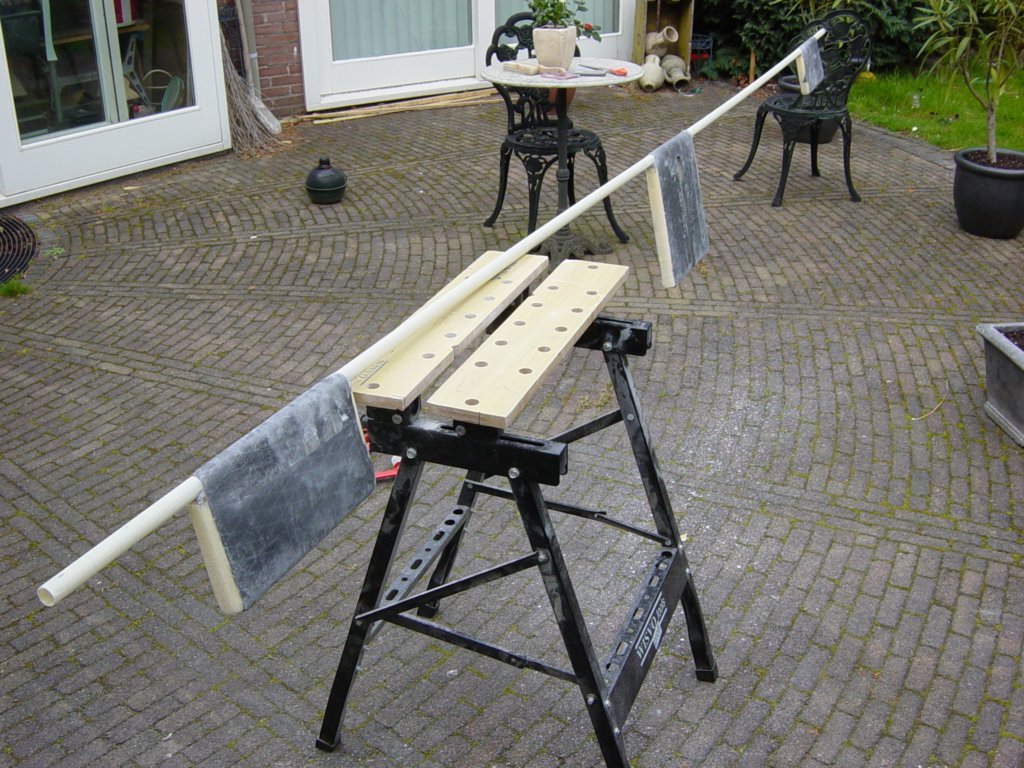
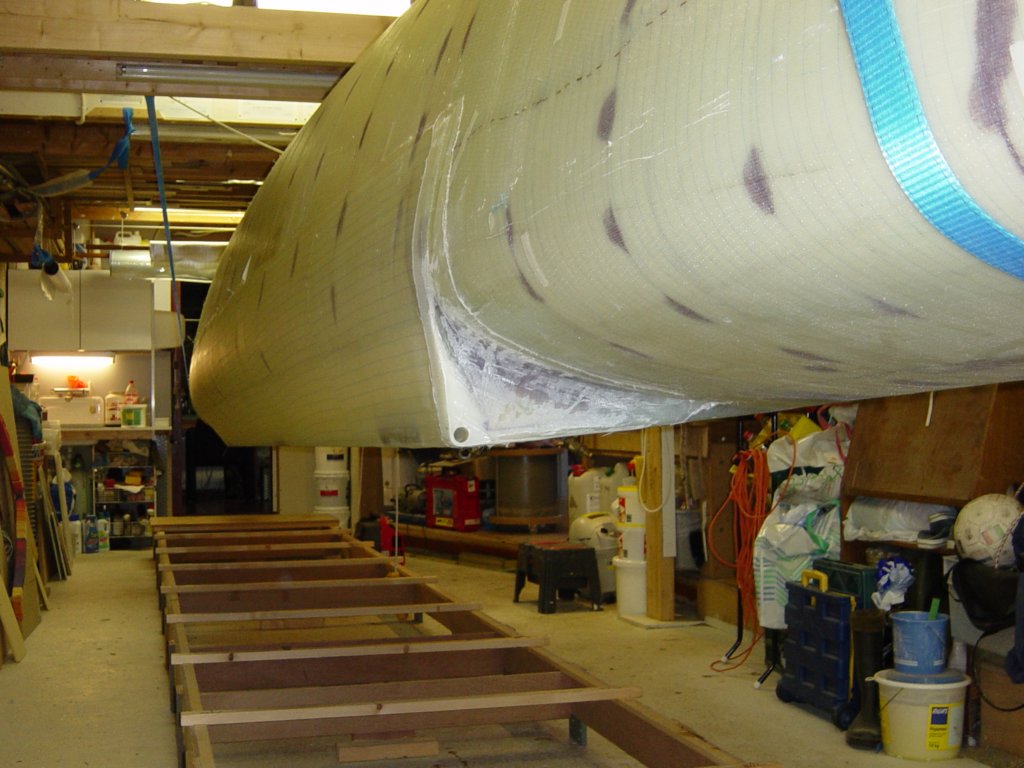
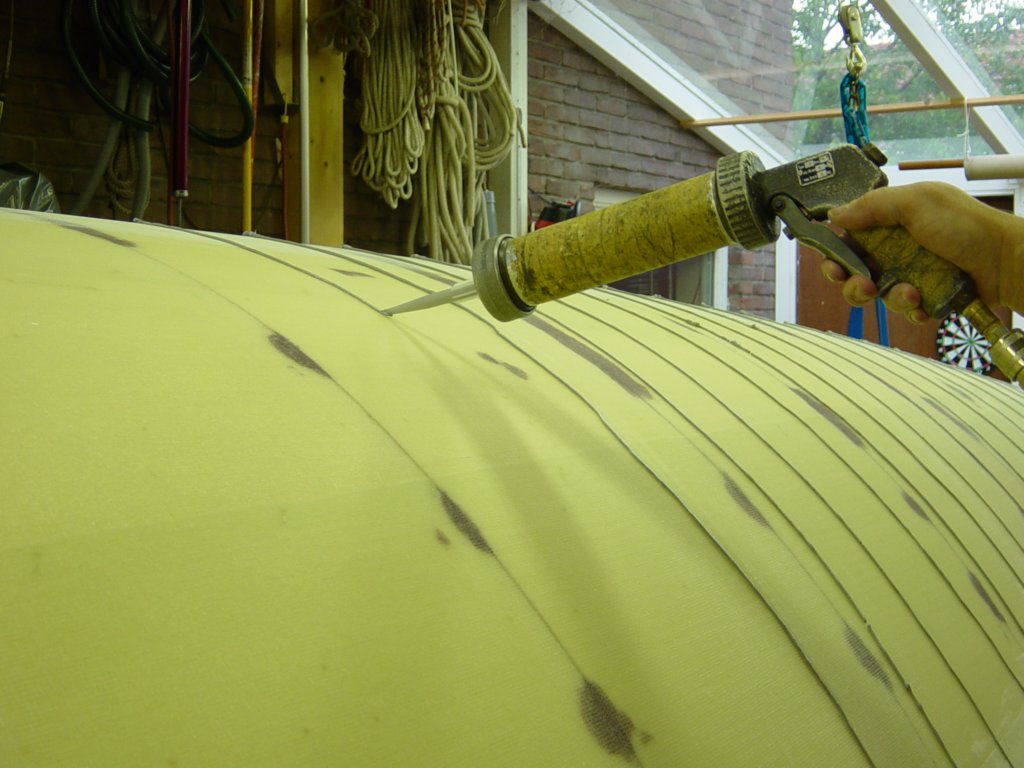
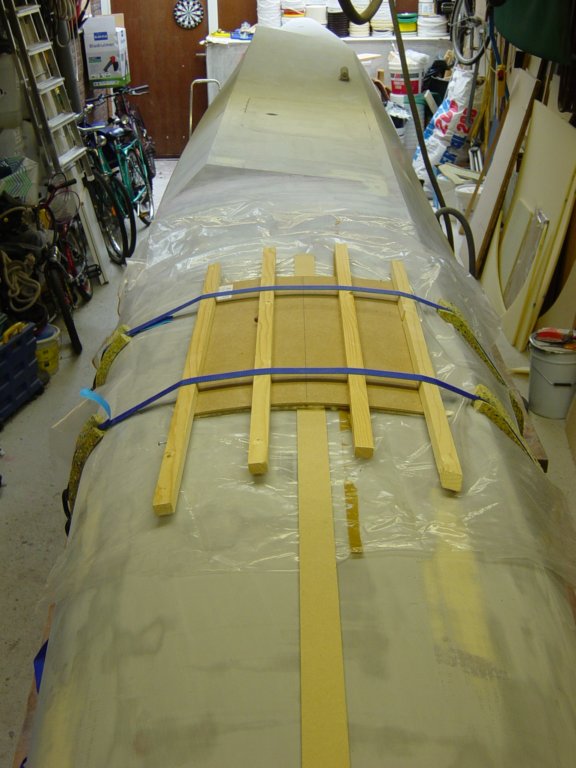
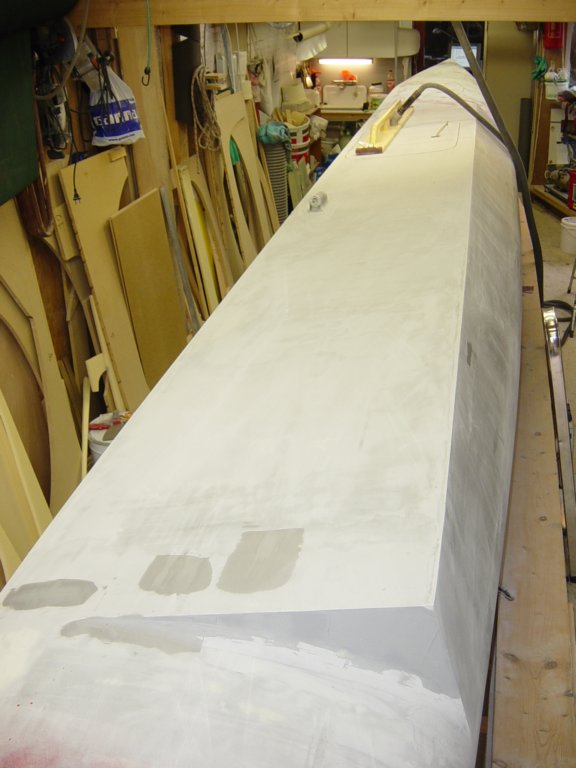
Fairing and sanding turned out to be a serious investment in learning time and physical effort. Progress came only through persistence. Ironically, it was the last 300 grams of fairing compound that required the most work. The sanding longboard earned a nickname: my PFD (Personal Fitness Device).
Note: much later in the project, while finishing the main hull, I developed a different method for filling and fairing the hull. That approach requires significantly less effort and produces results much faster.
The finishing of this first hull was ultimately successful. Unfortunately, my sense of accomplishment was soon followed by a major disappointment—but that is a subject for the next chapter.
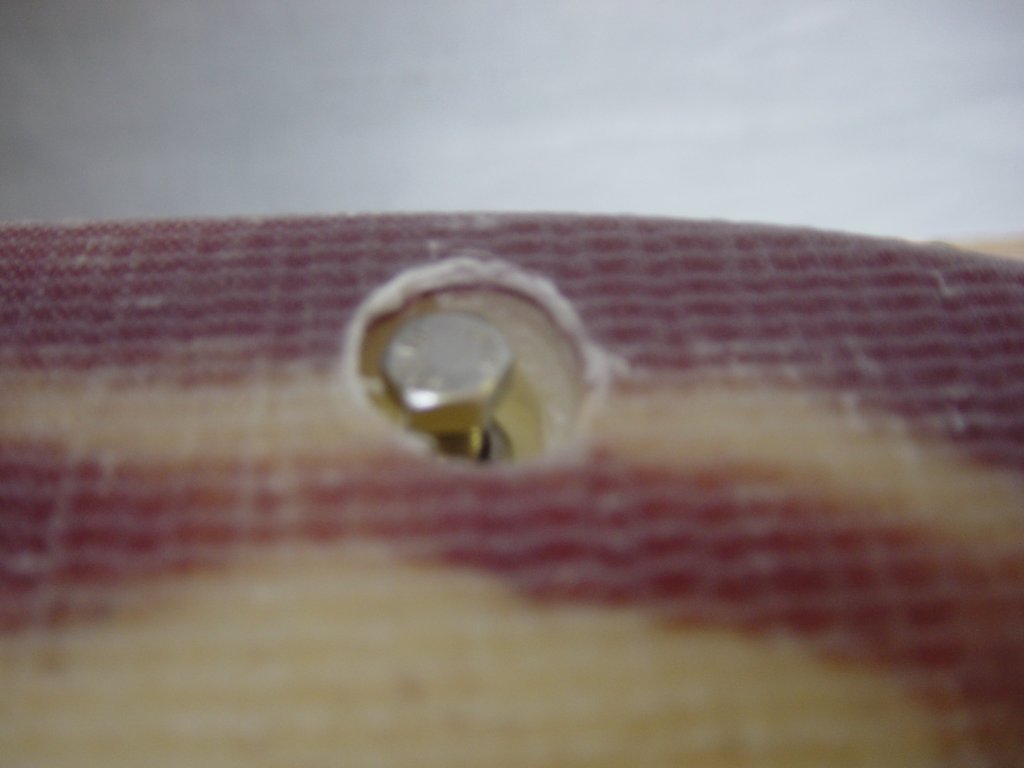
This photo gallery (48 images) documents the final construction phase of the float: installation of the wingnet lashing rail, deck hatches, post curing with infrared heating, and the first extensive fairing and sanding work.
