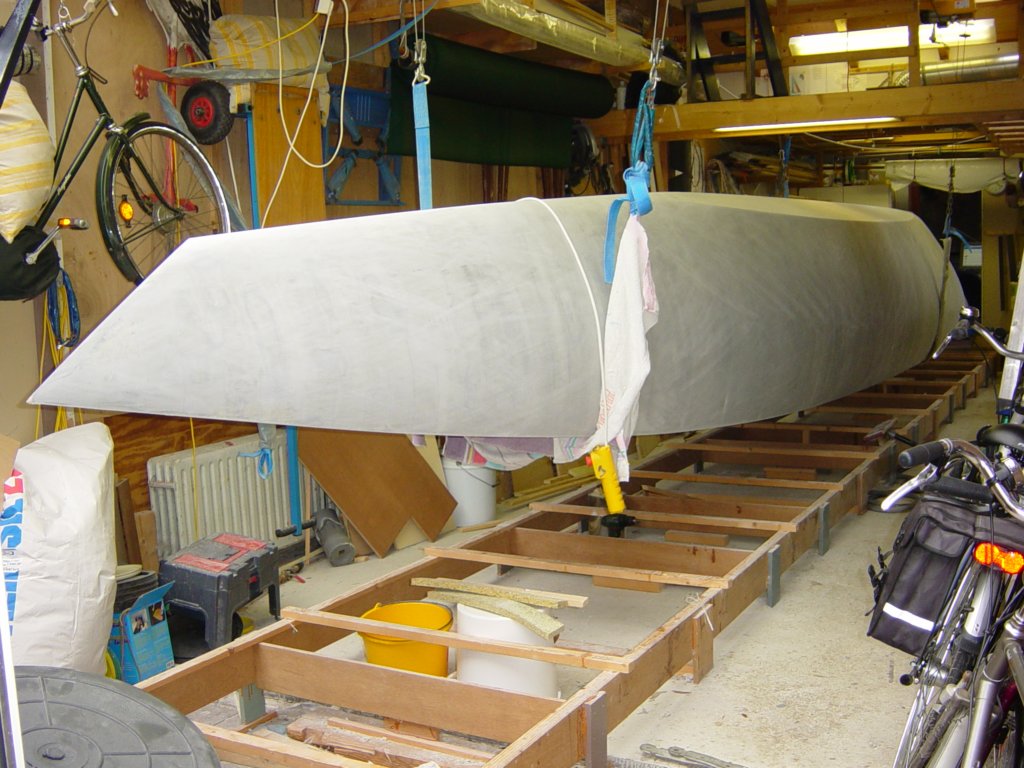
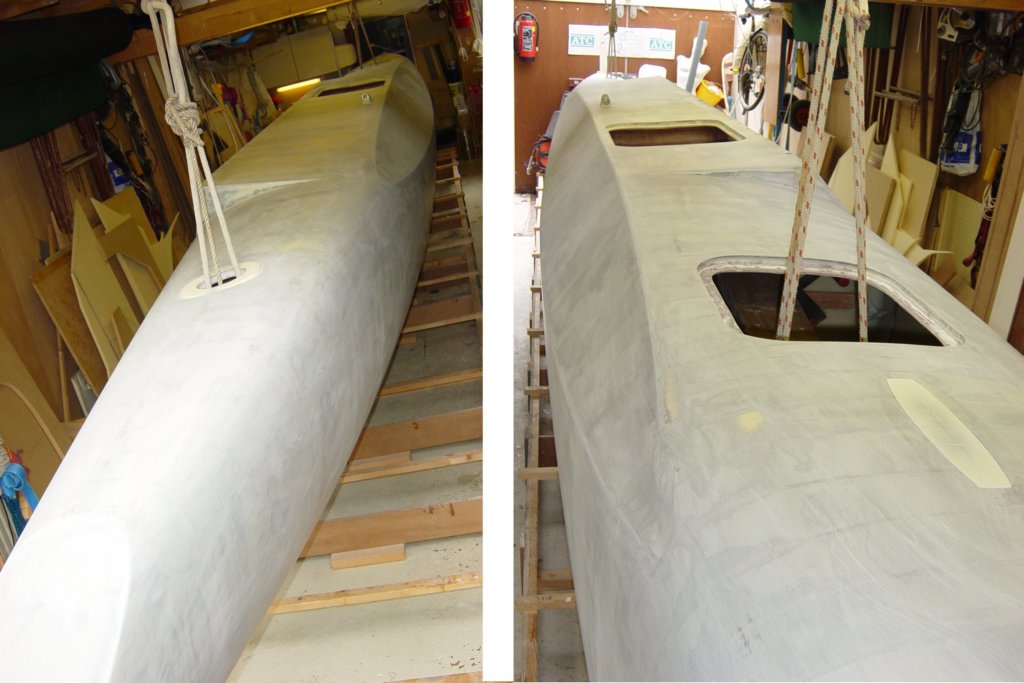
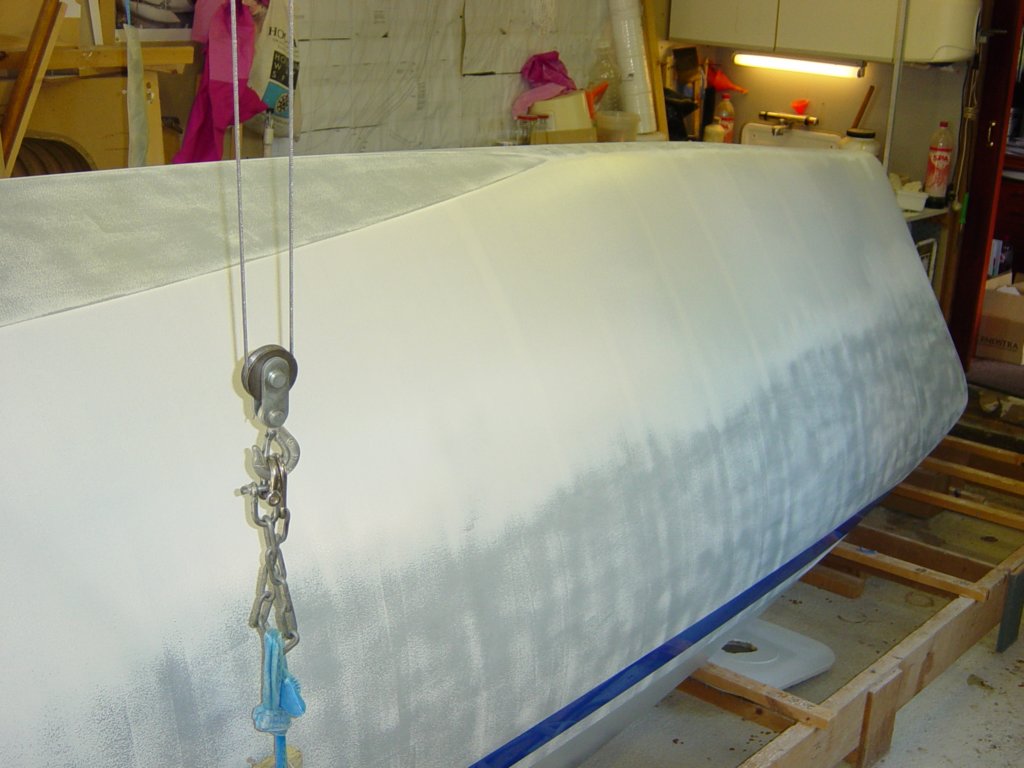
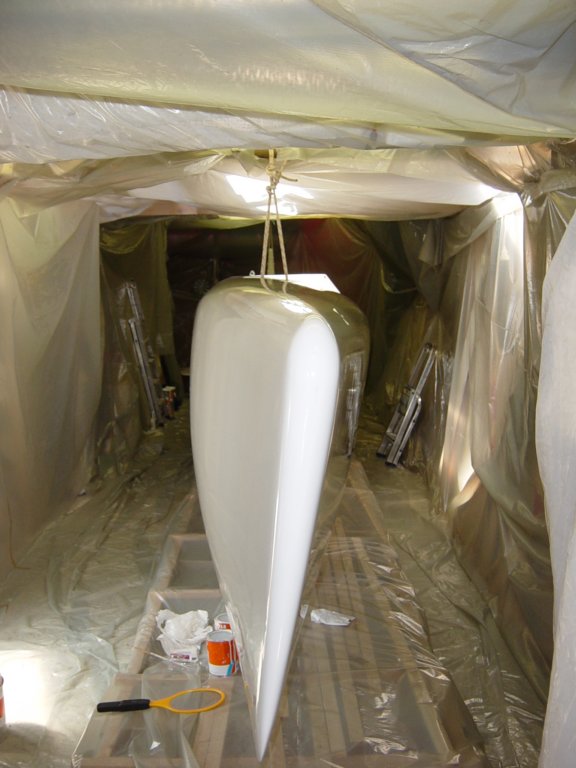
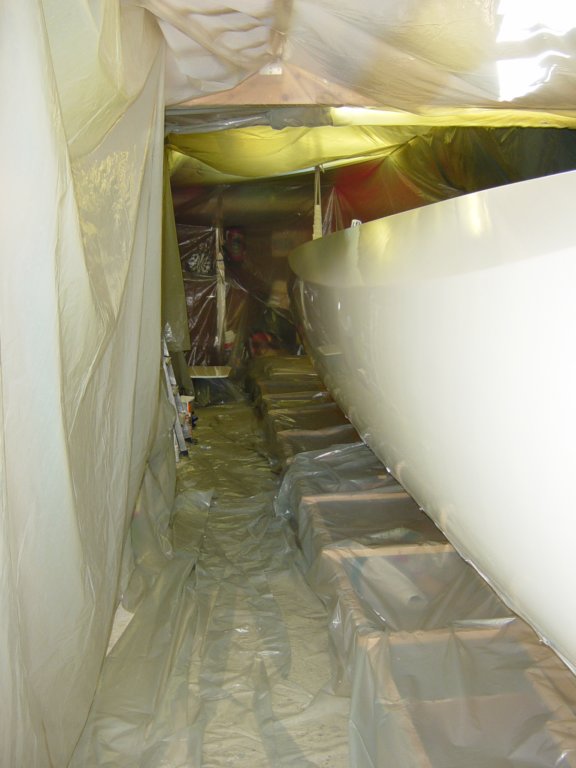
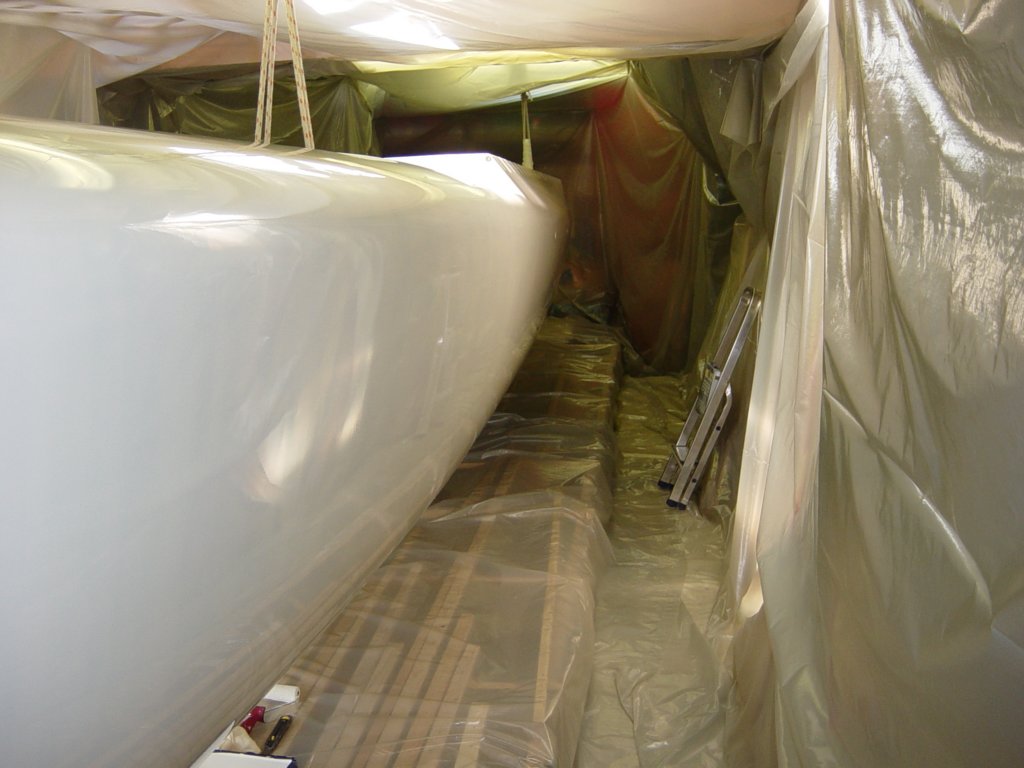
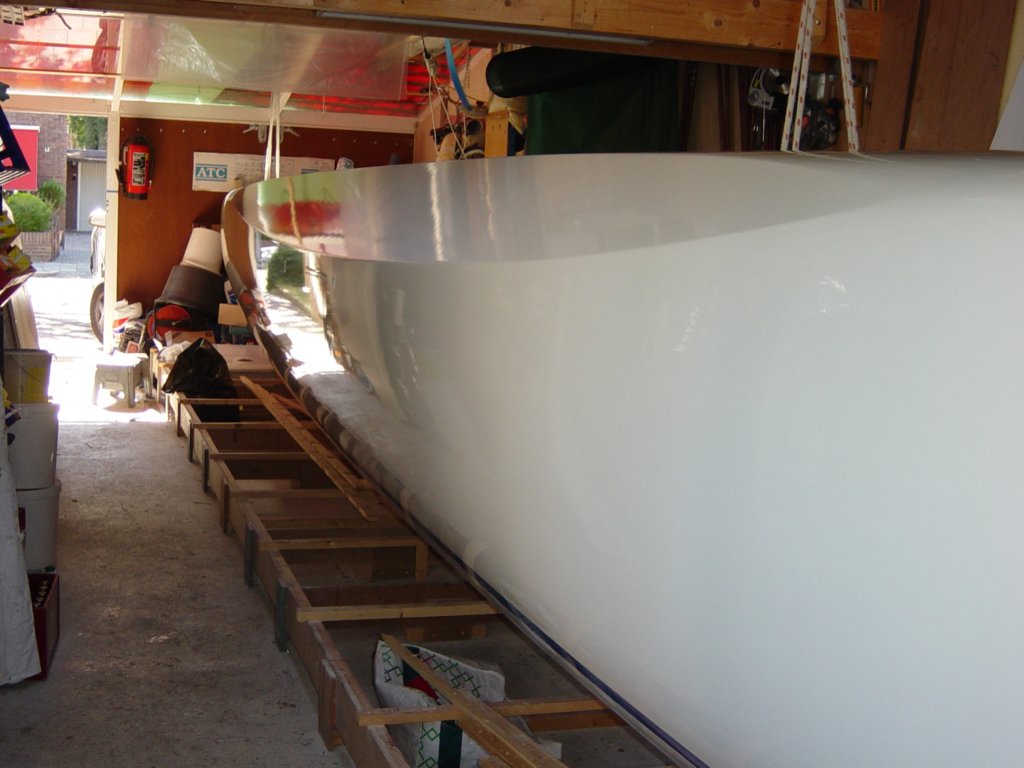
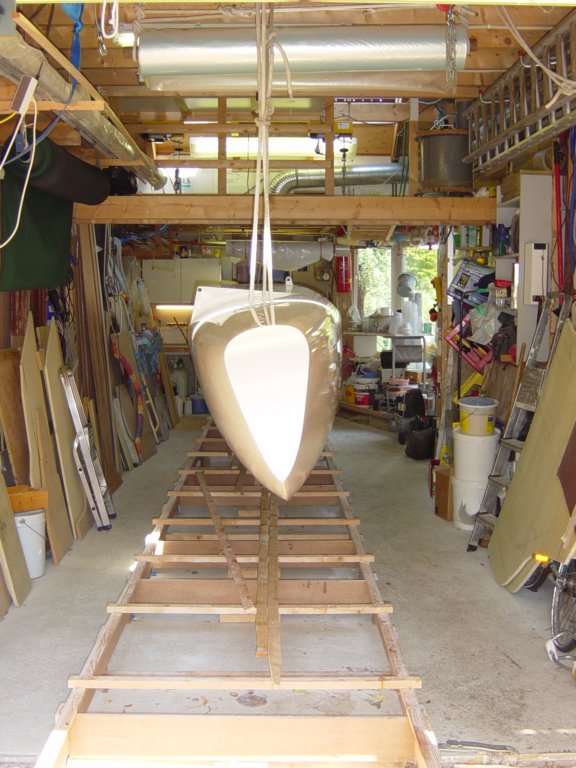
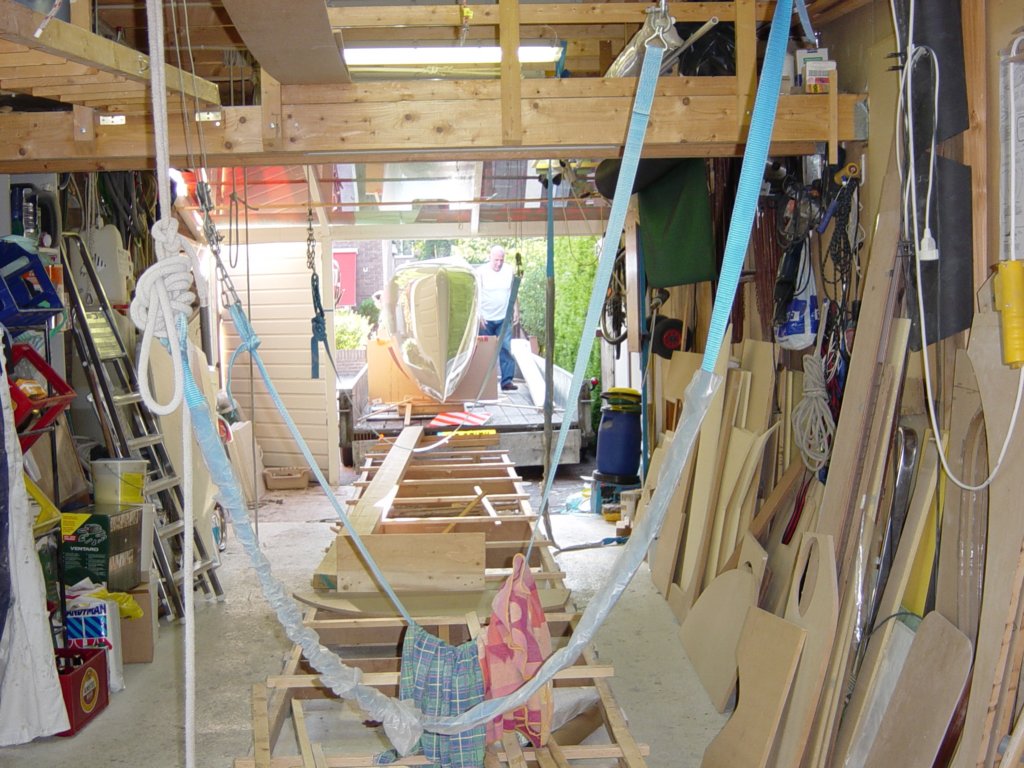
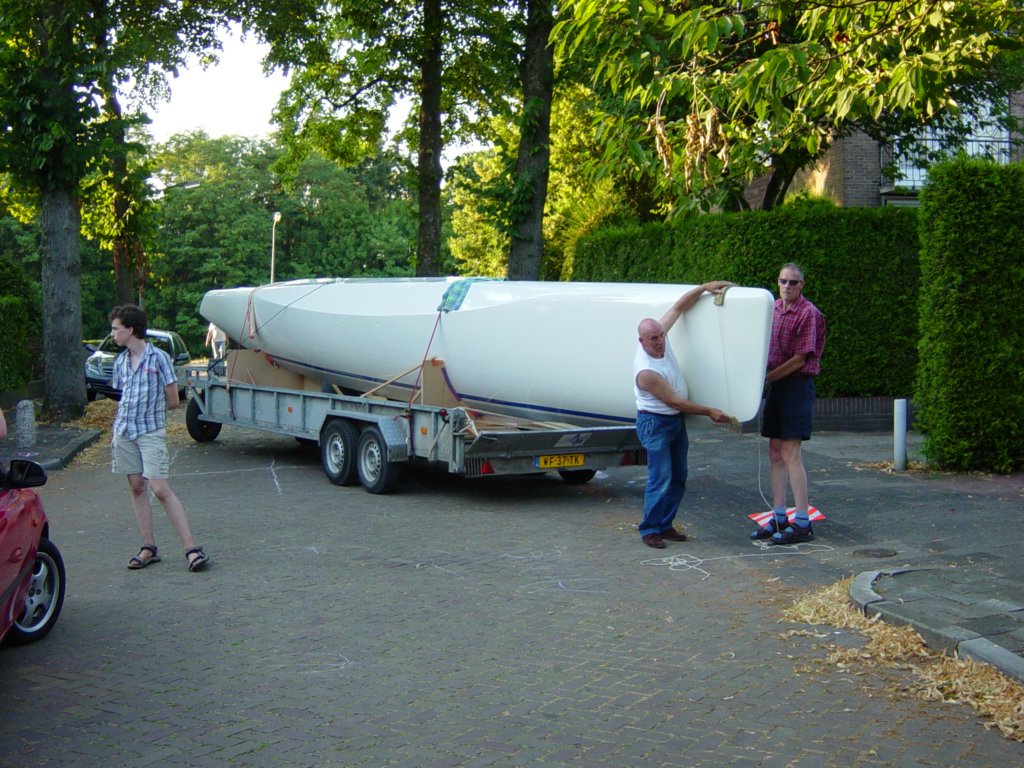
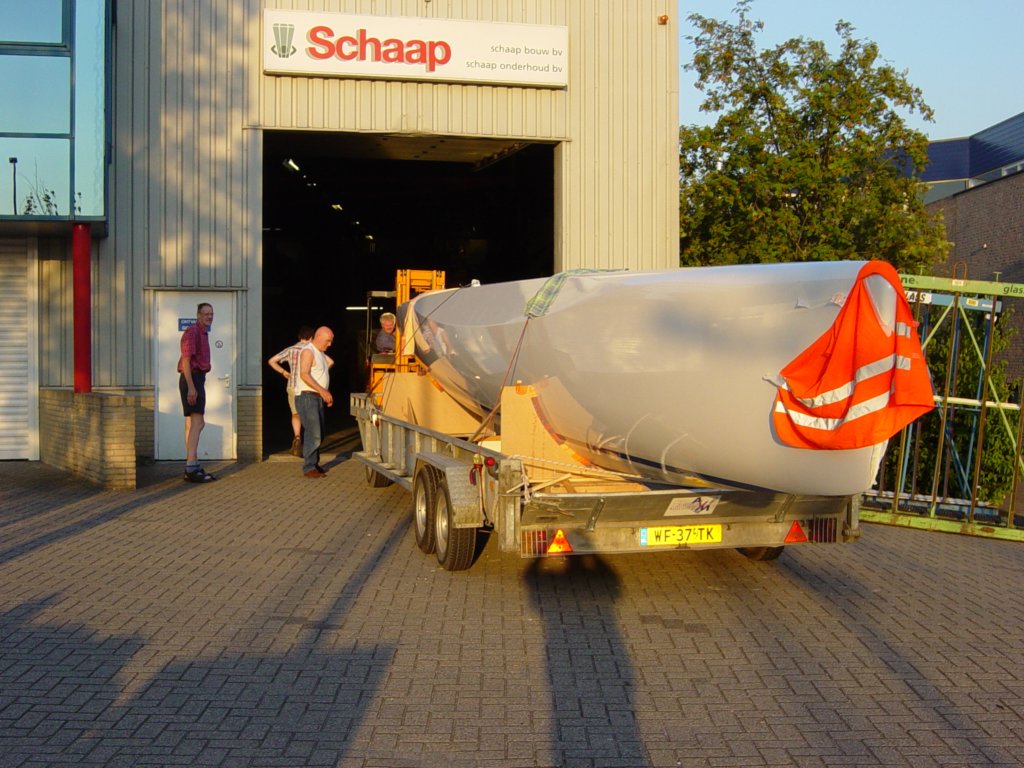
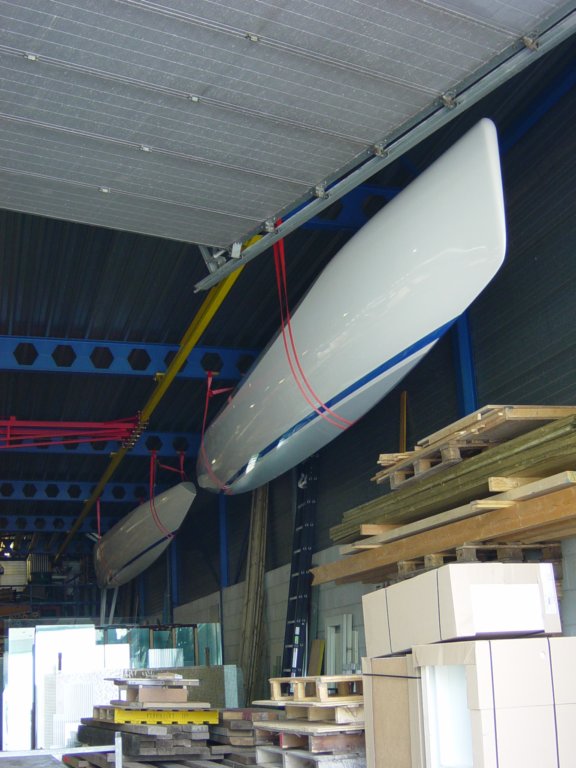
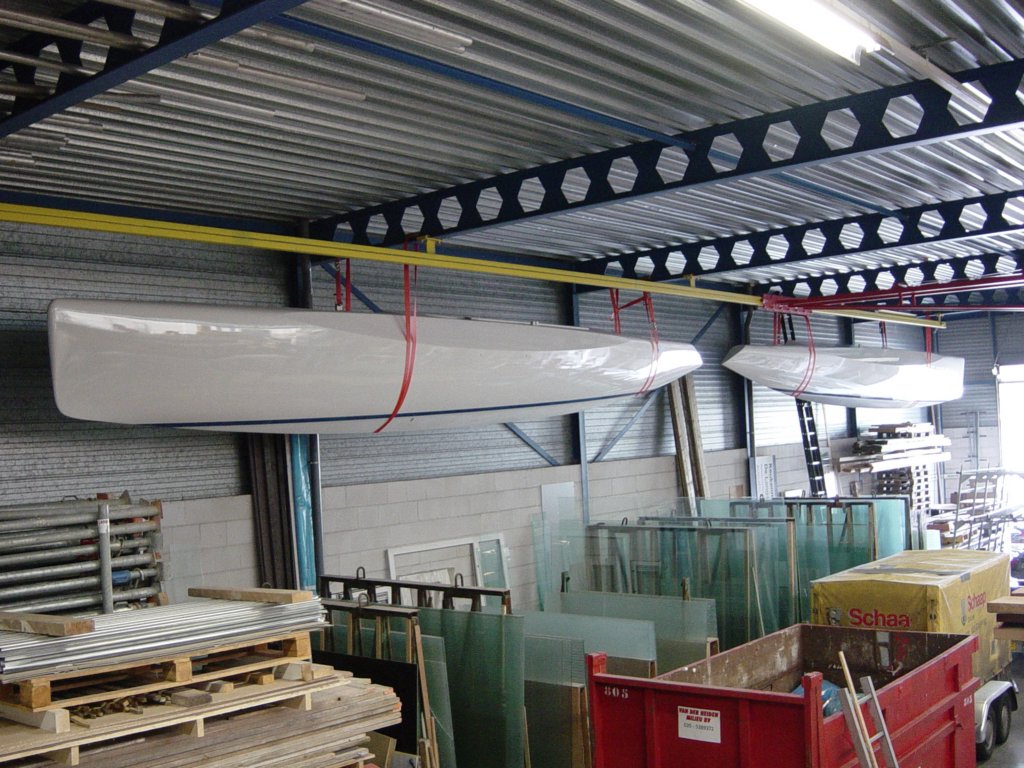
The final chapter of the float construction: intensive fairing, high-gloss painting and storage of both finished floats, awaiting the main hull and beams to complete the trimaran.
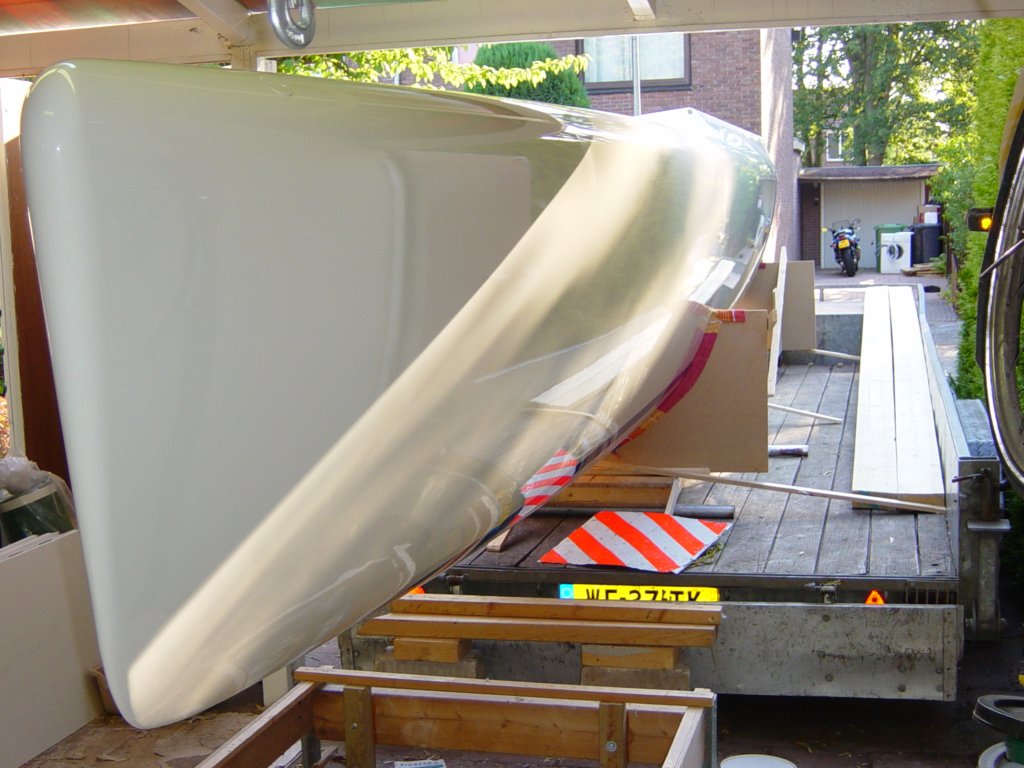
Starboard float final paint work and storage
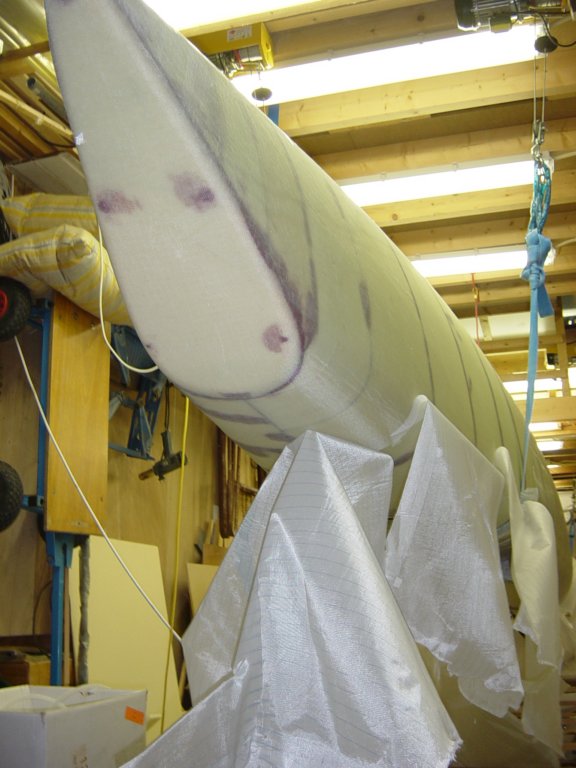
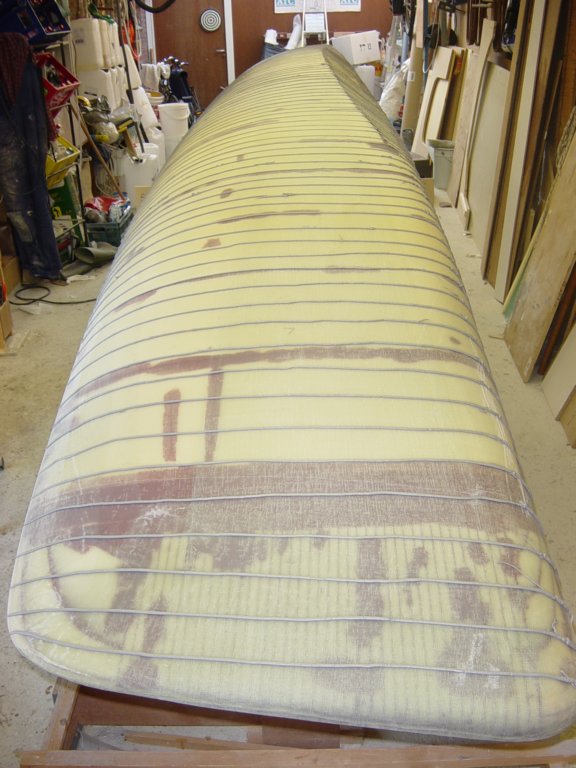
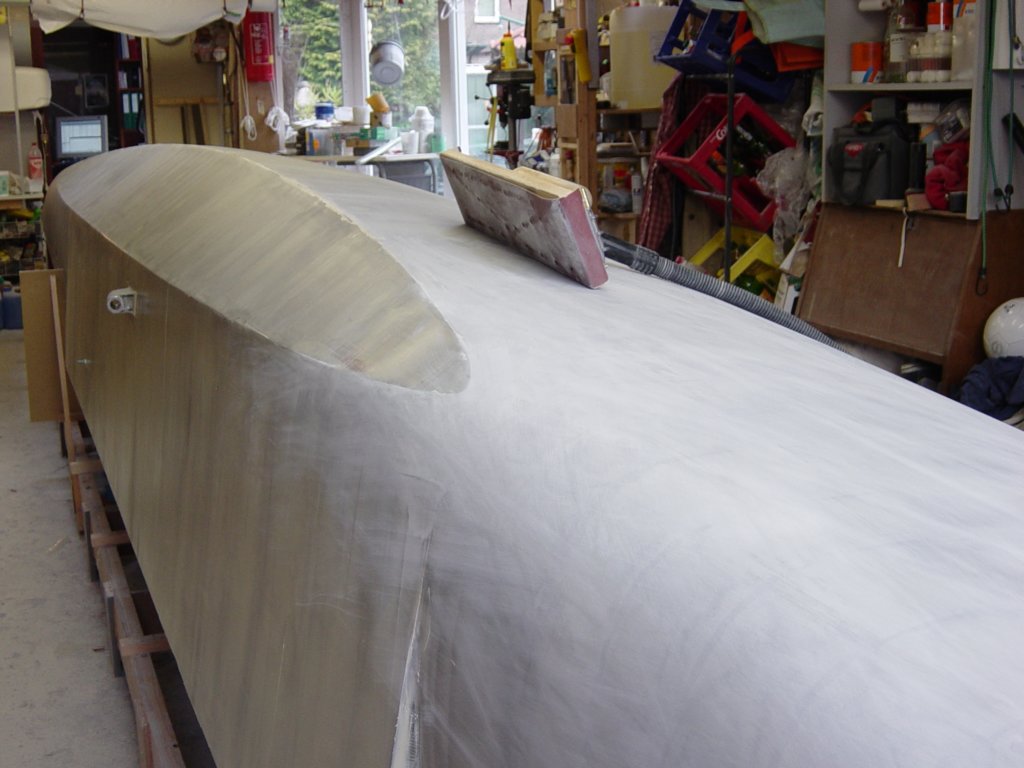
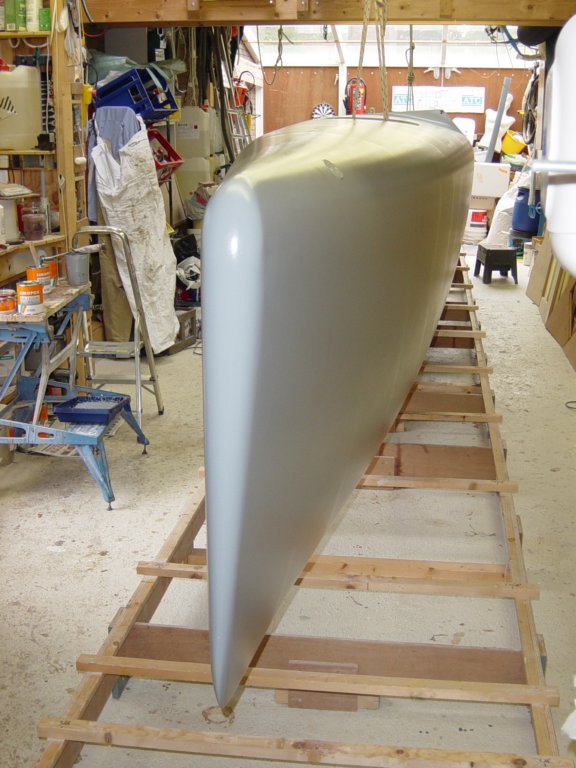
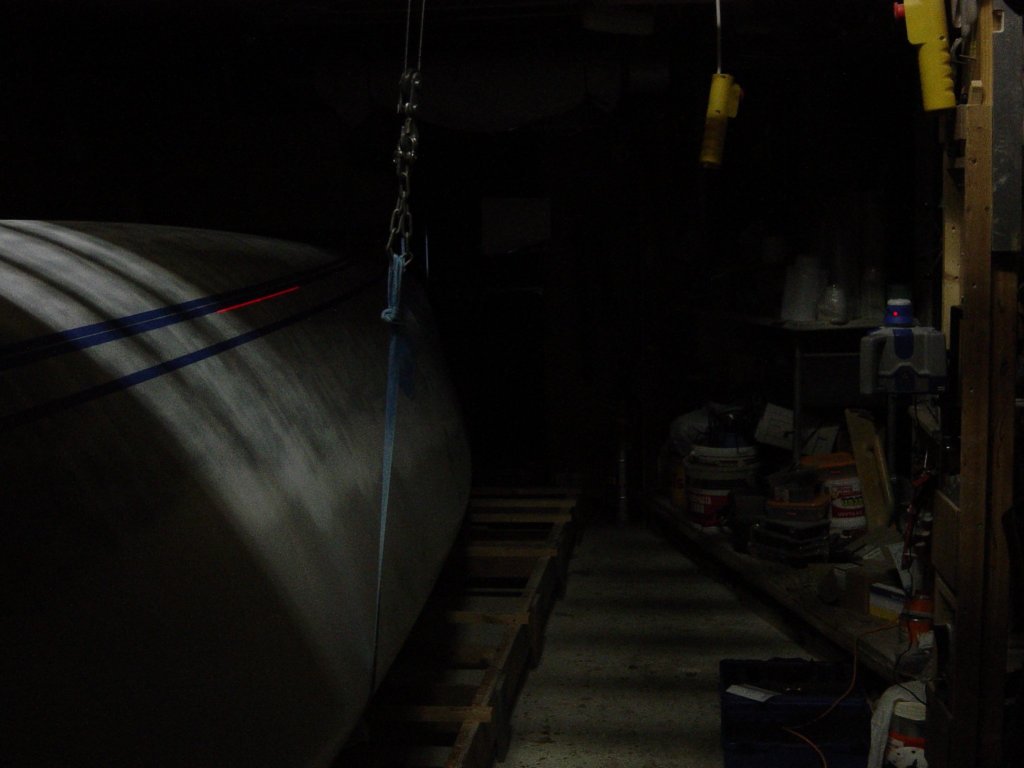
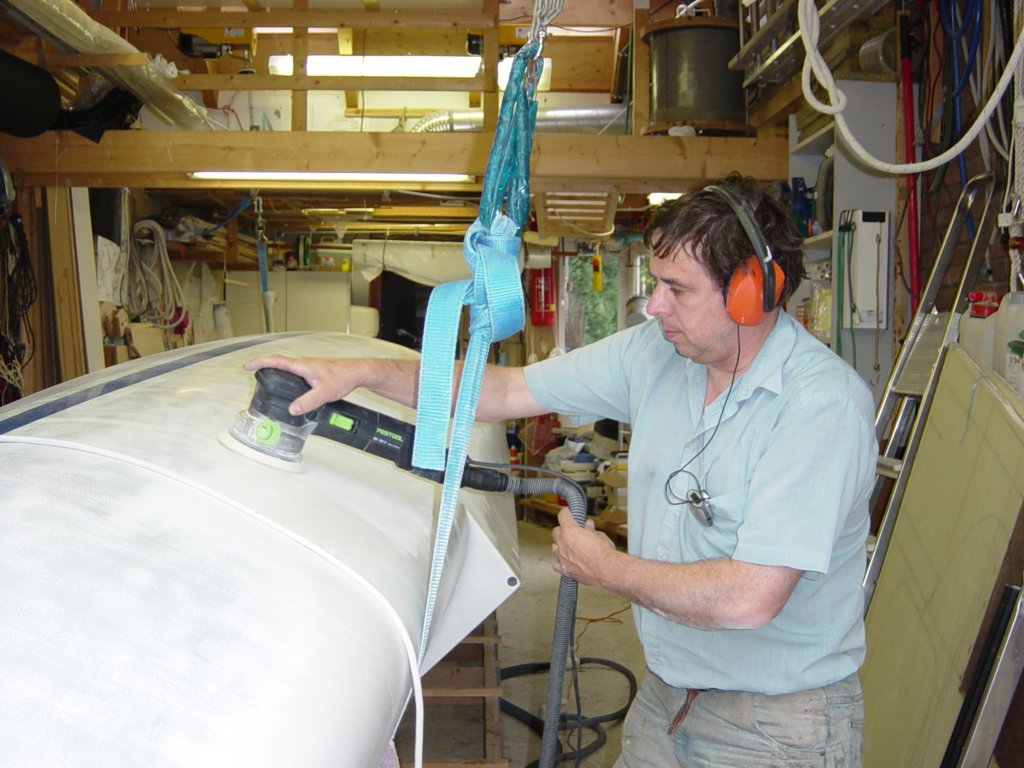
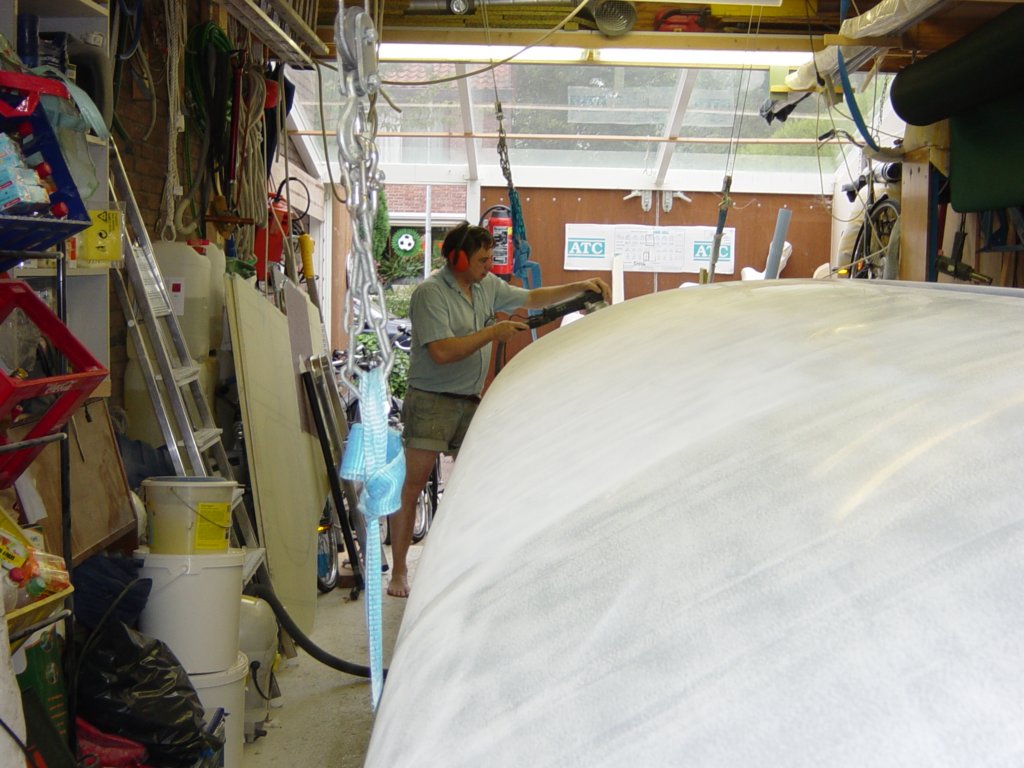
This is the final chapter of the construction of both floats. In the photo gallery I focus on the labour-intensive fairing and sanding process, aimed at achieving a smooth and fair hull without dents or bumps. Comparable to automotive bodywork: even the smallest imperfection becomes visible, especially in grazing light.
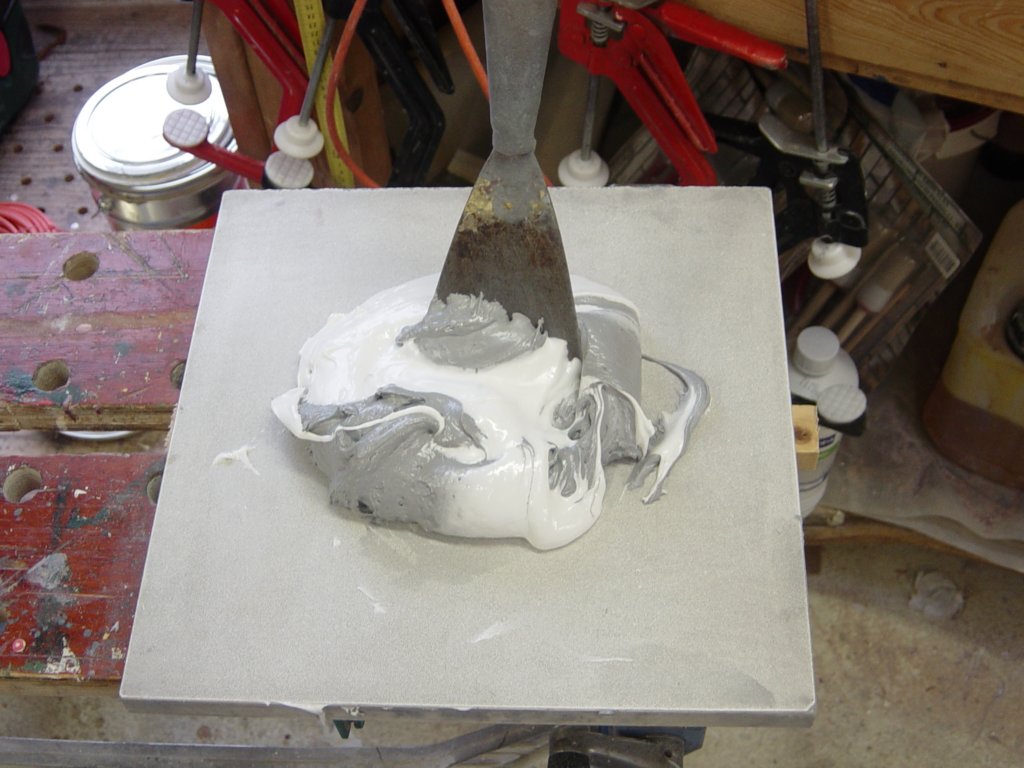
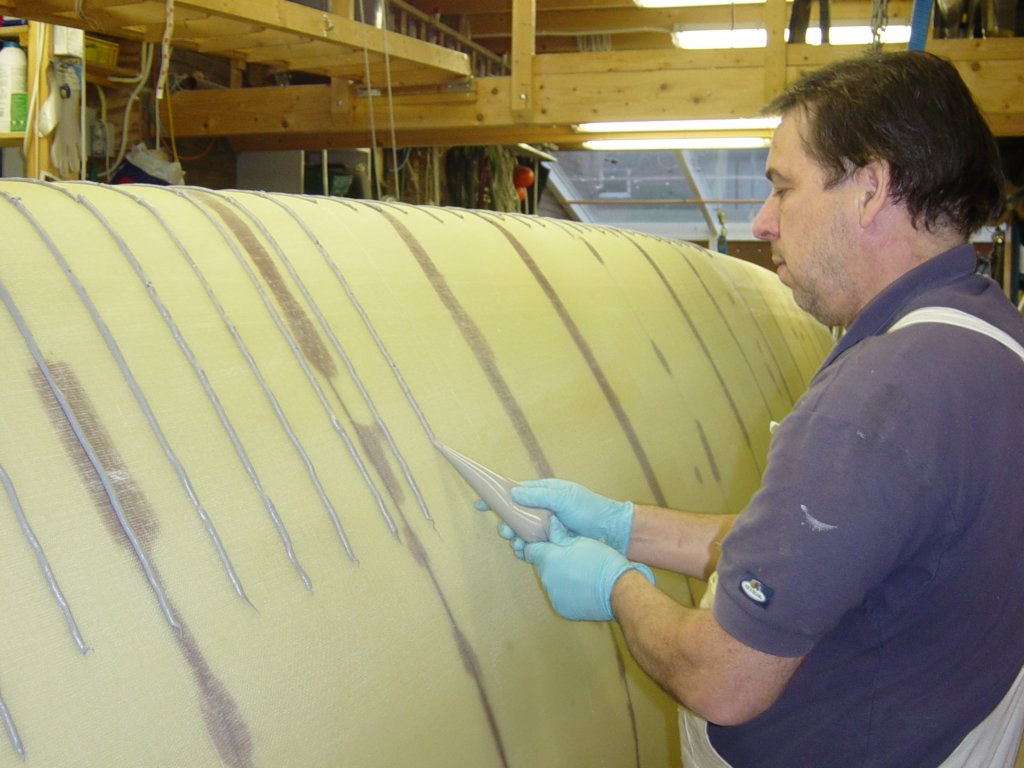
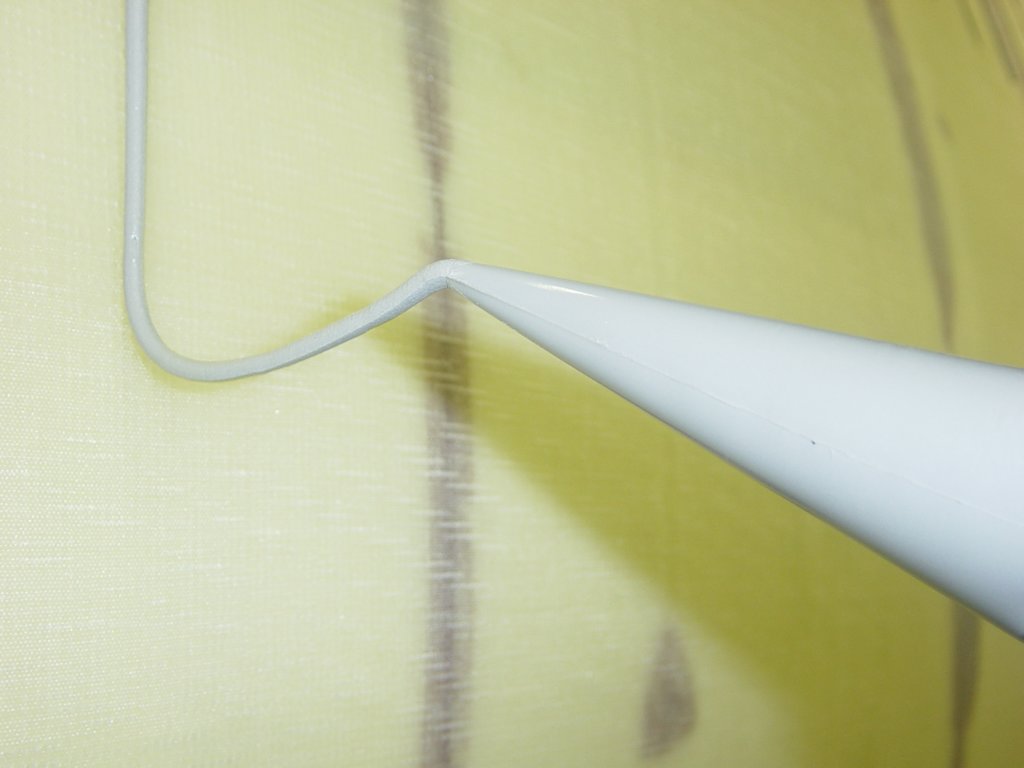
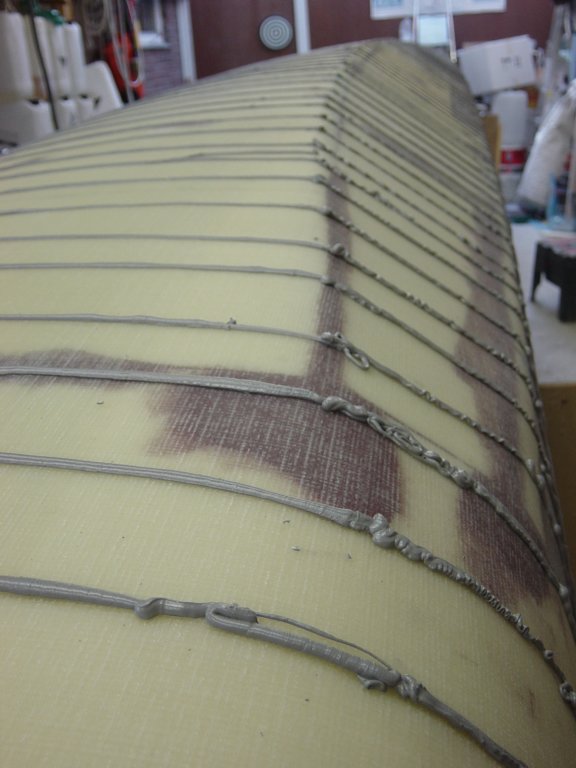
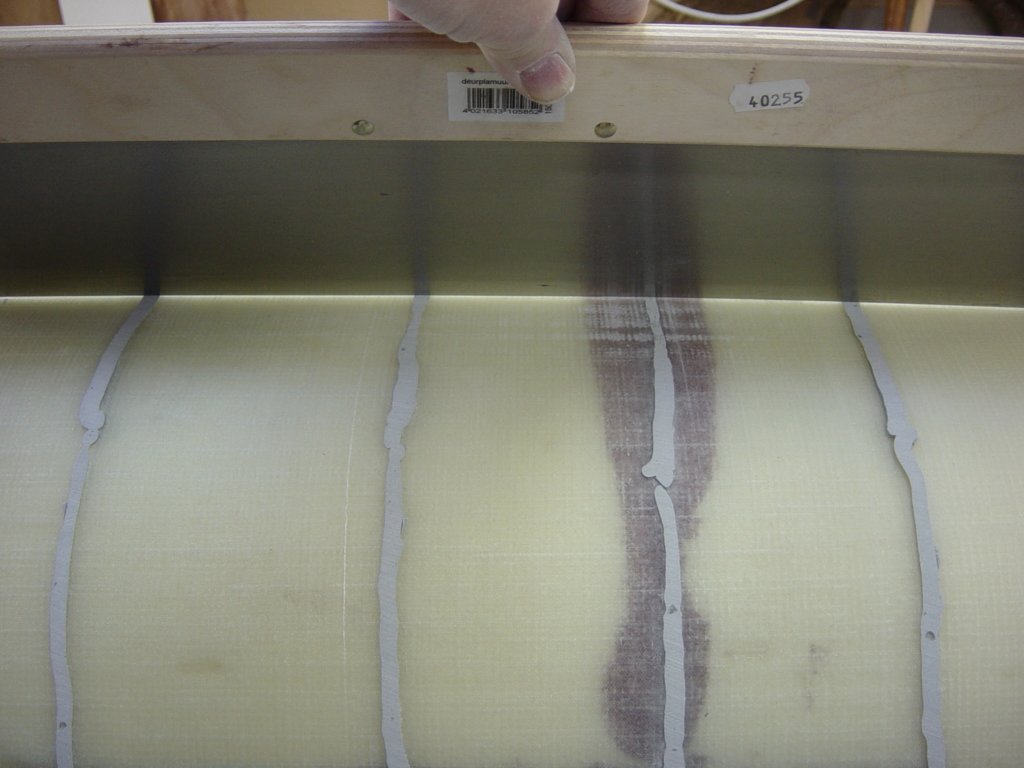
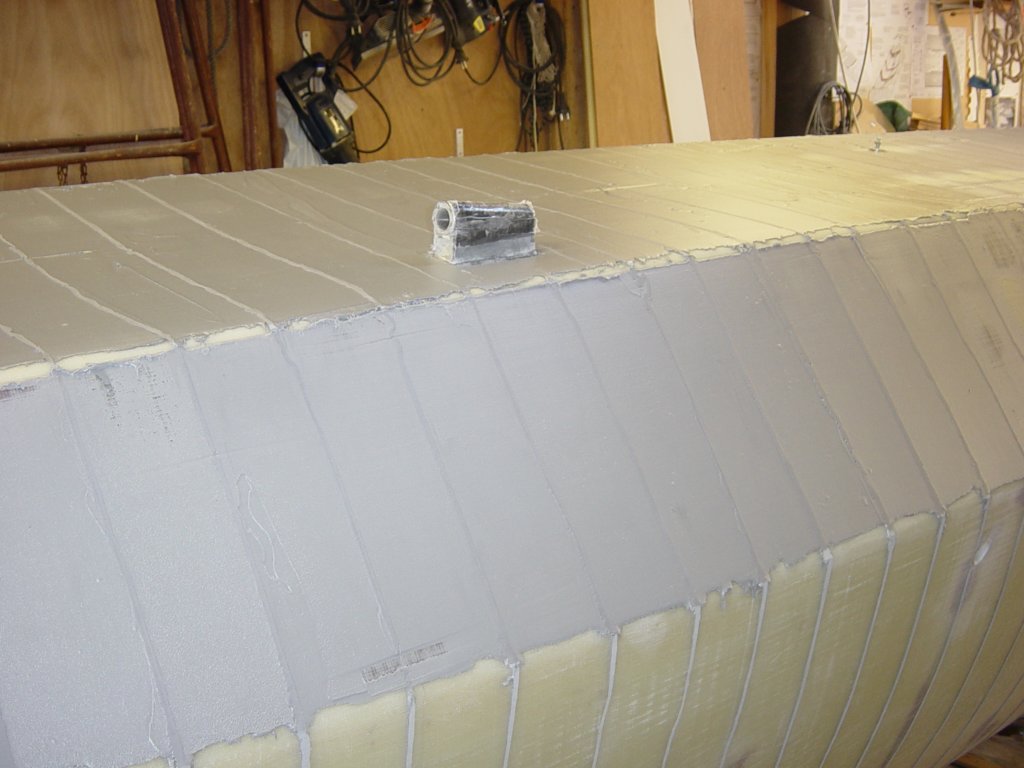
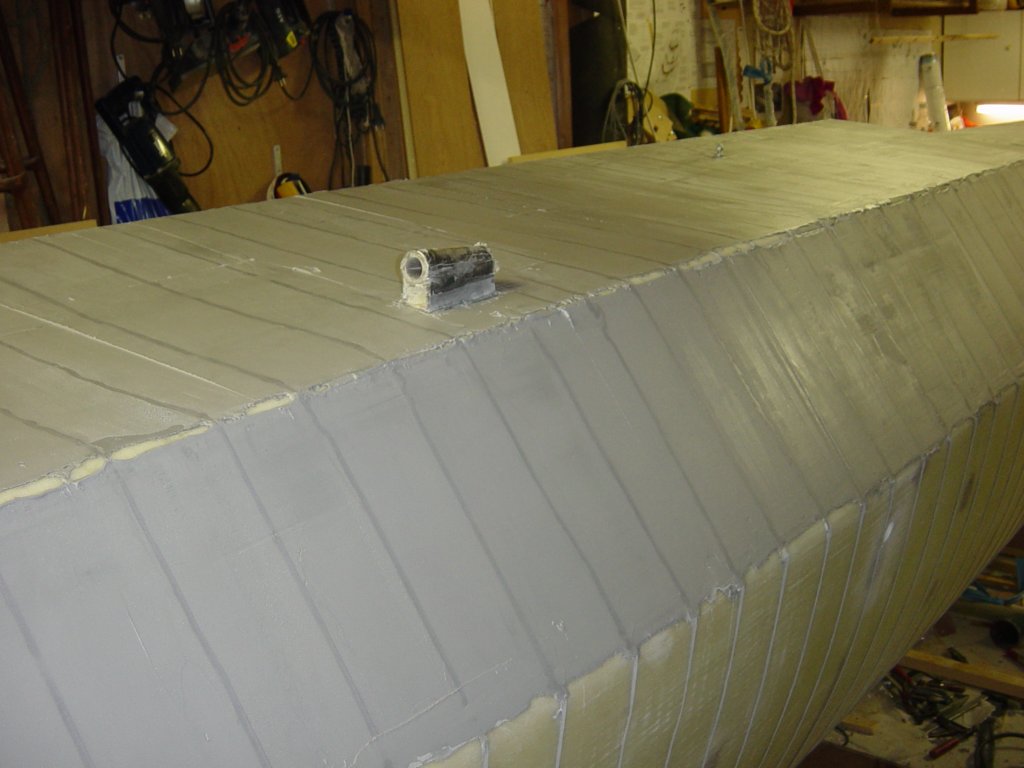
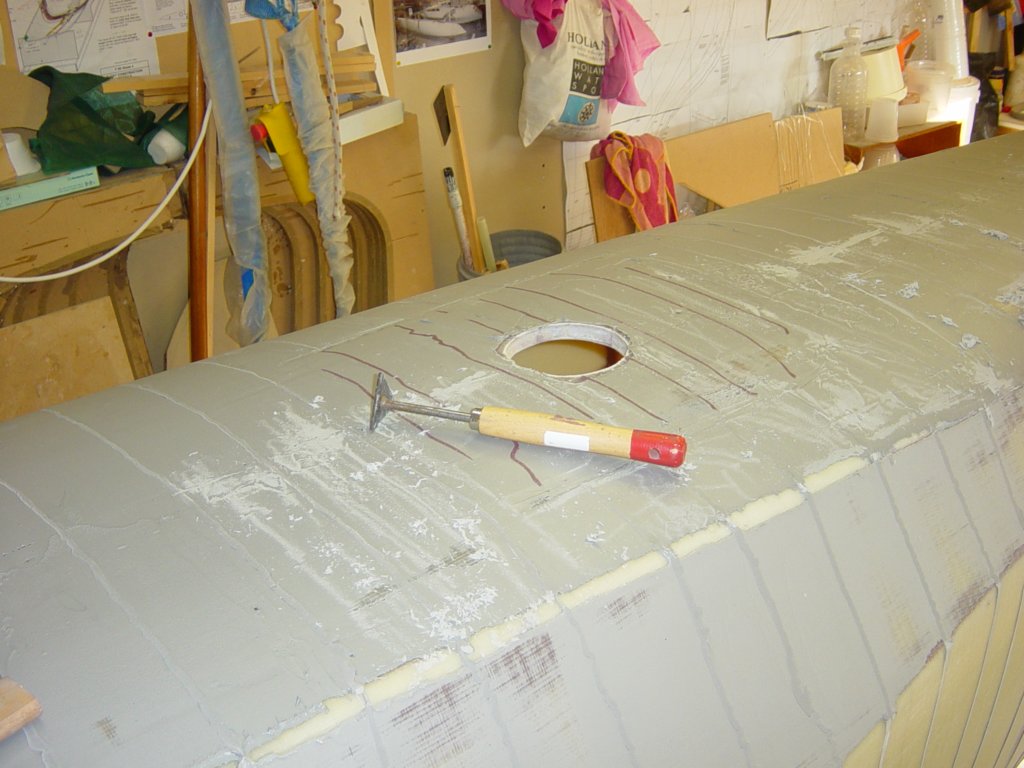
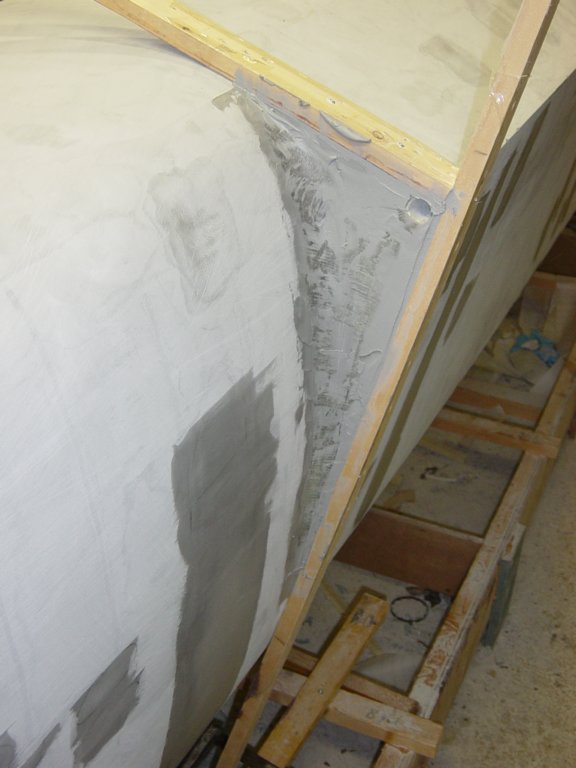
I still start by applying fairing compound in ridges, spaced roughly 10 cm apart. This method immediately controls the fairing thickness during the first sanding pass. Weight matters, so the compound must not be too thick. Too thin, however, risks leaving visible hard spots. The thinnest ridge should just remain visible. Overall, I estimate an average fairing thickness of about half a millimetre, helped significantly by the build method and infusion technique, which already deliver a very fair base hull.
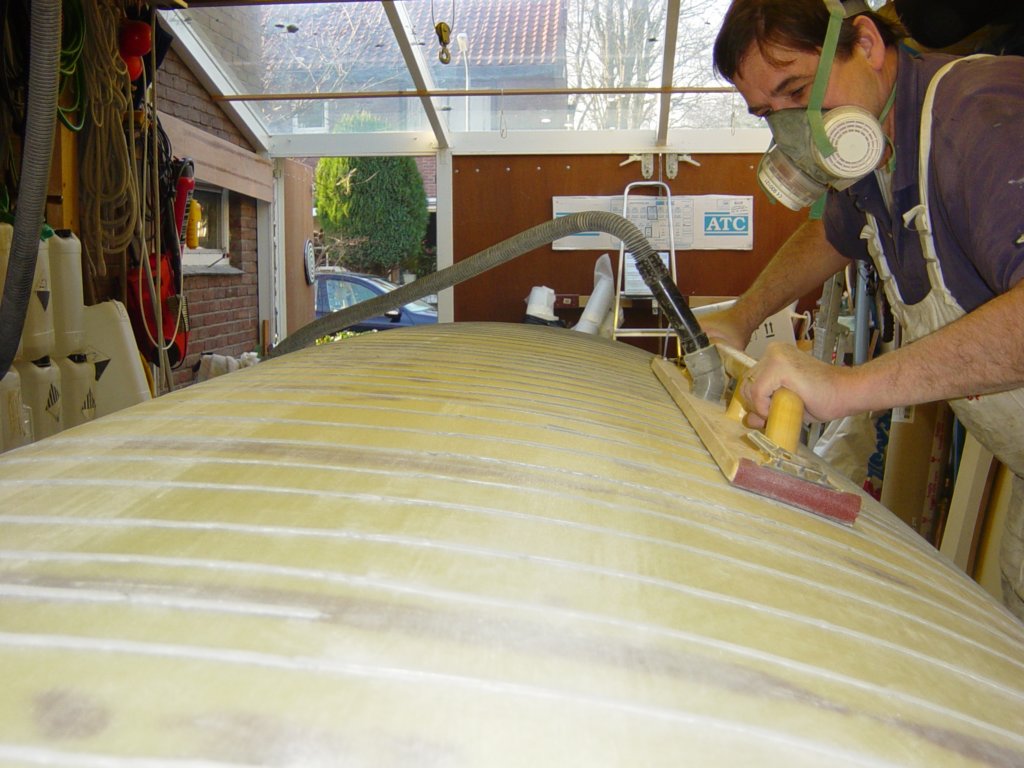
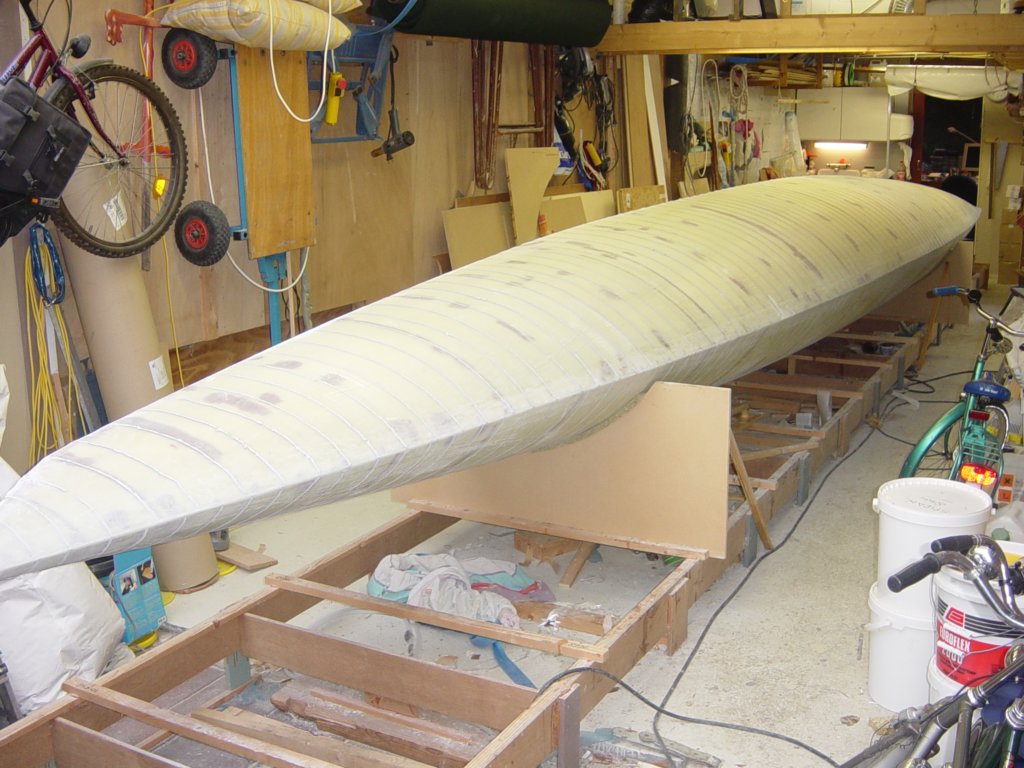
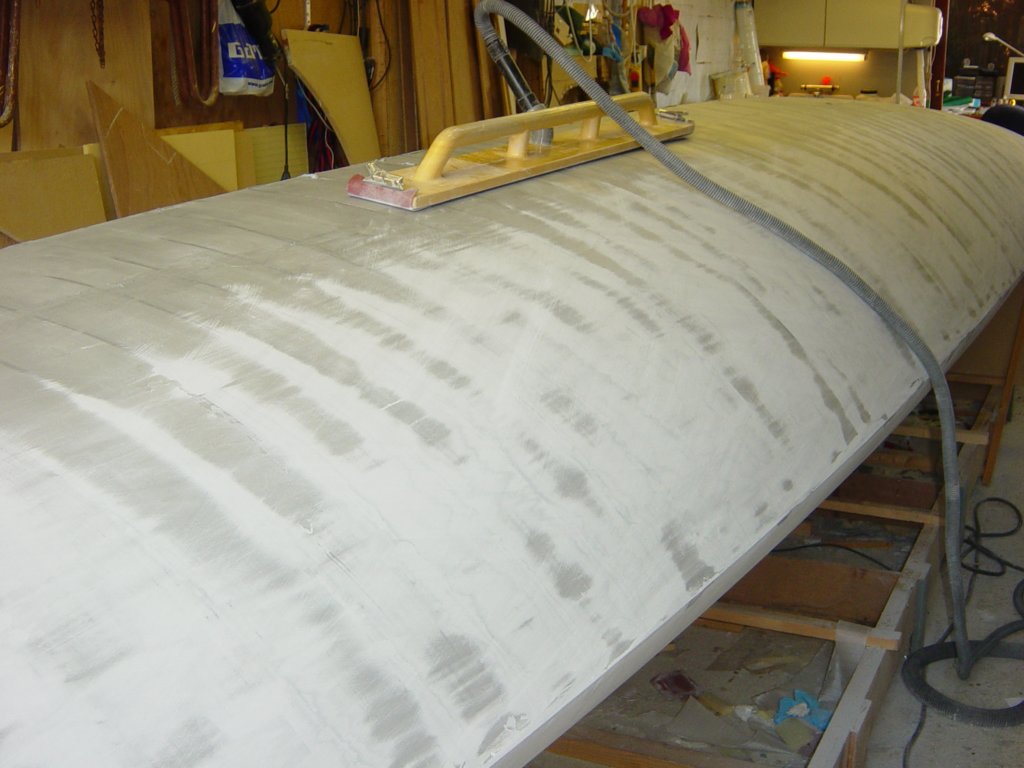
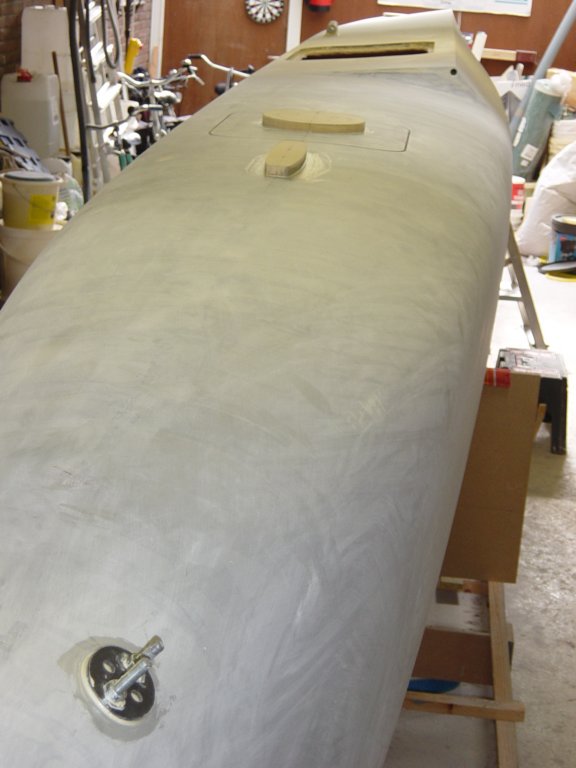
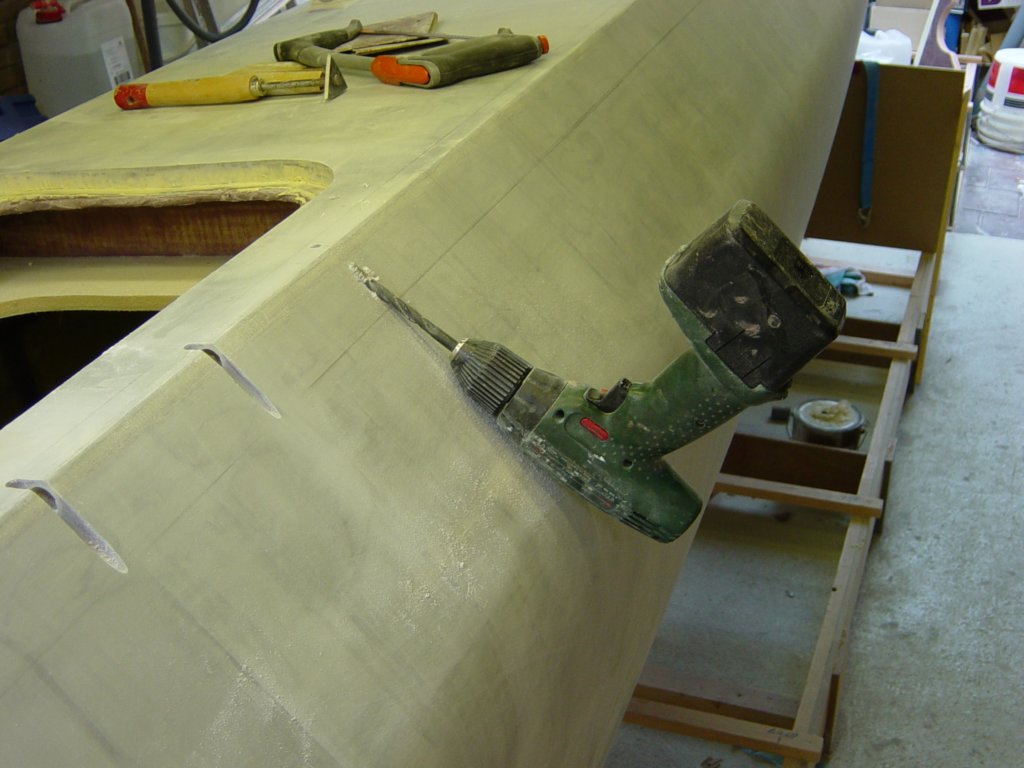
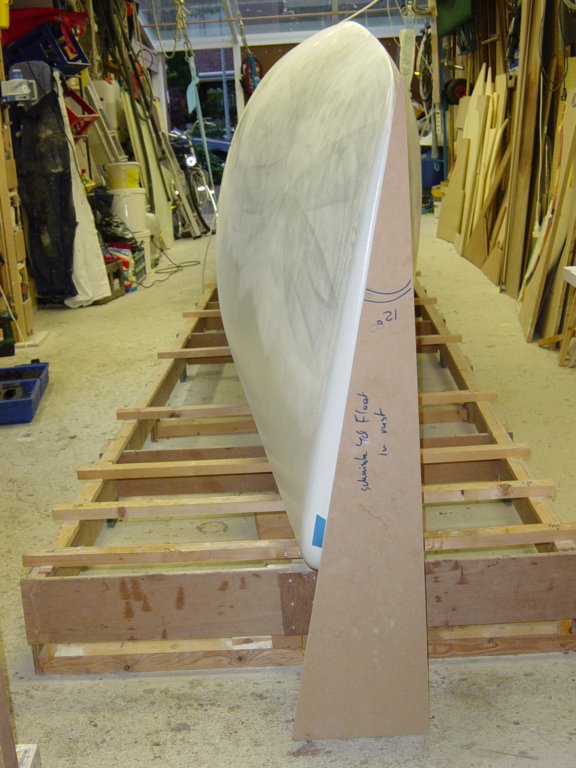
At this sanding stage, the matte surface makes it difficult to judge flatness. The 120 cm long sanding board is both my best friend and my PFD (Personal Fitness Device). In other words: heavy work. When is it good enough? For me, it is when the hull no longer looks like a home-built boat. In practice, this standard results in a professional surface quality that easily stands up to scrutiny.
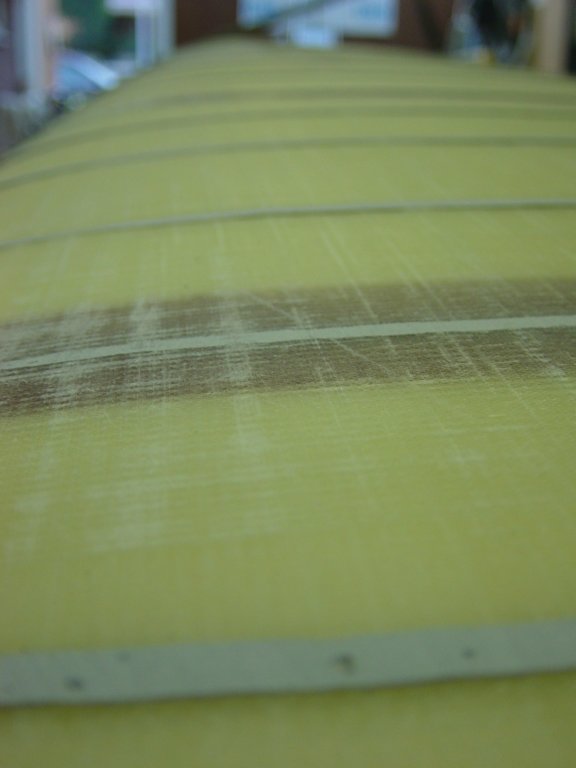
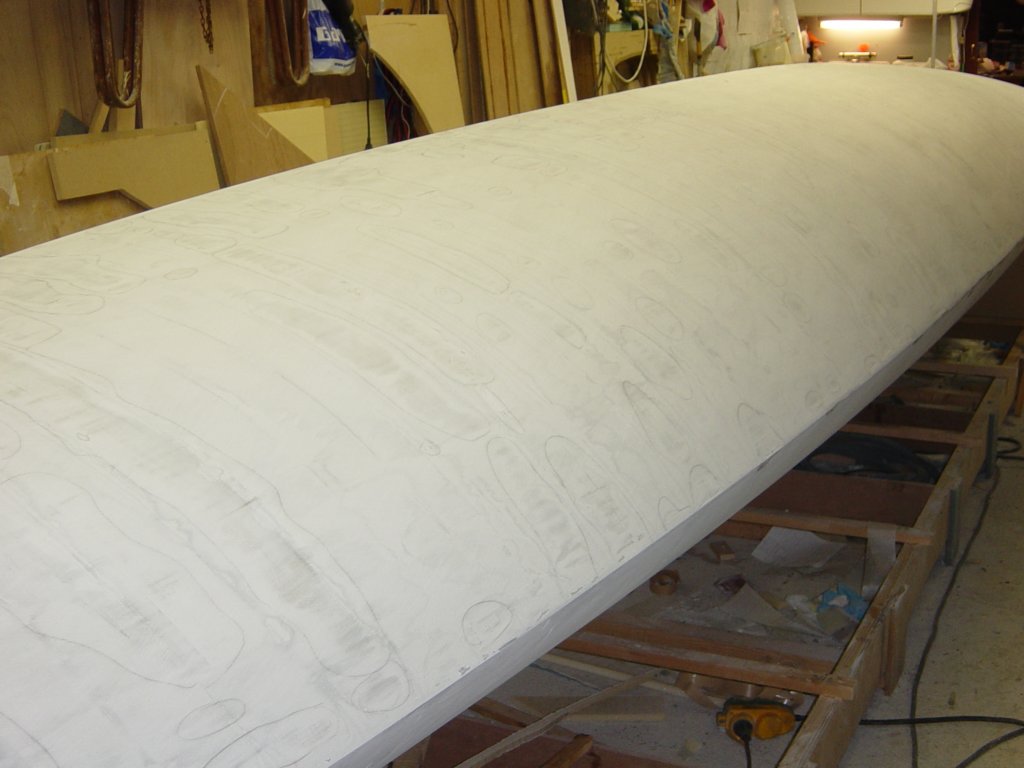
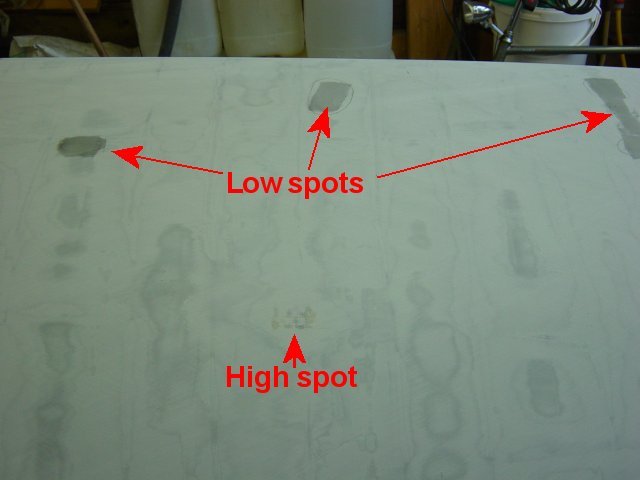
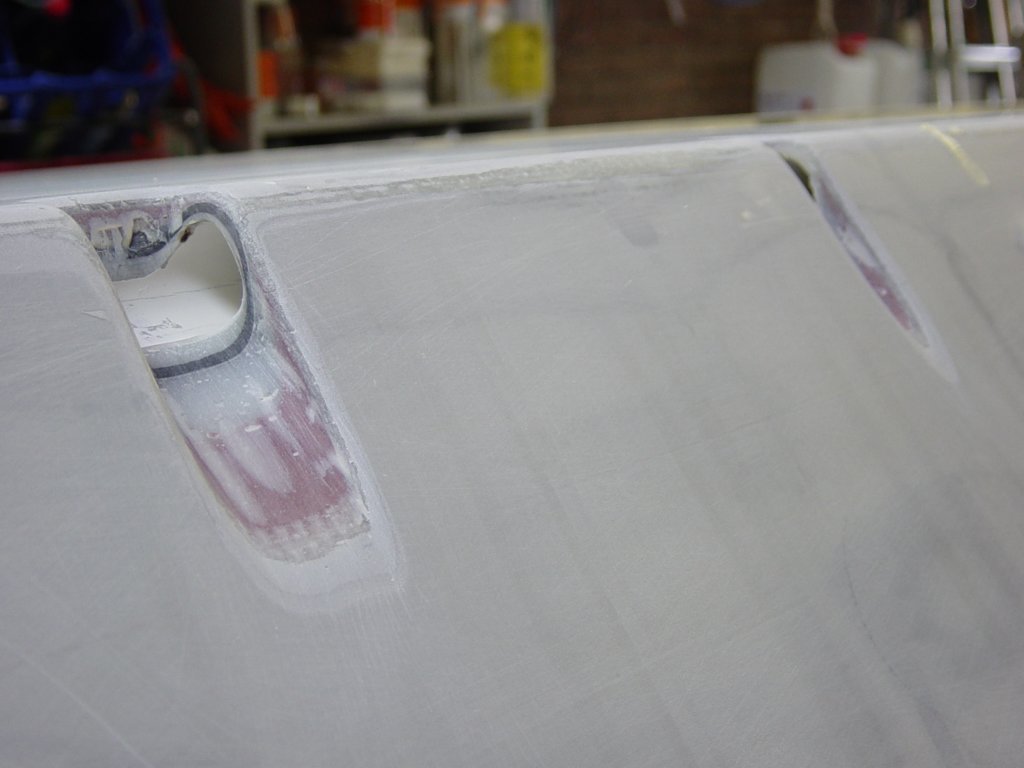
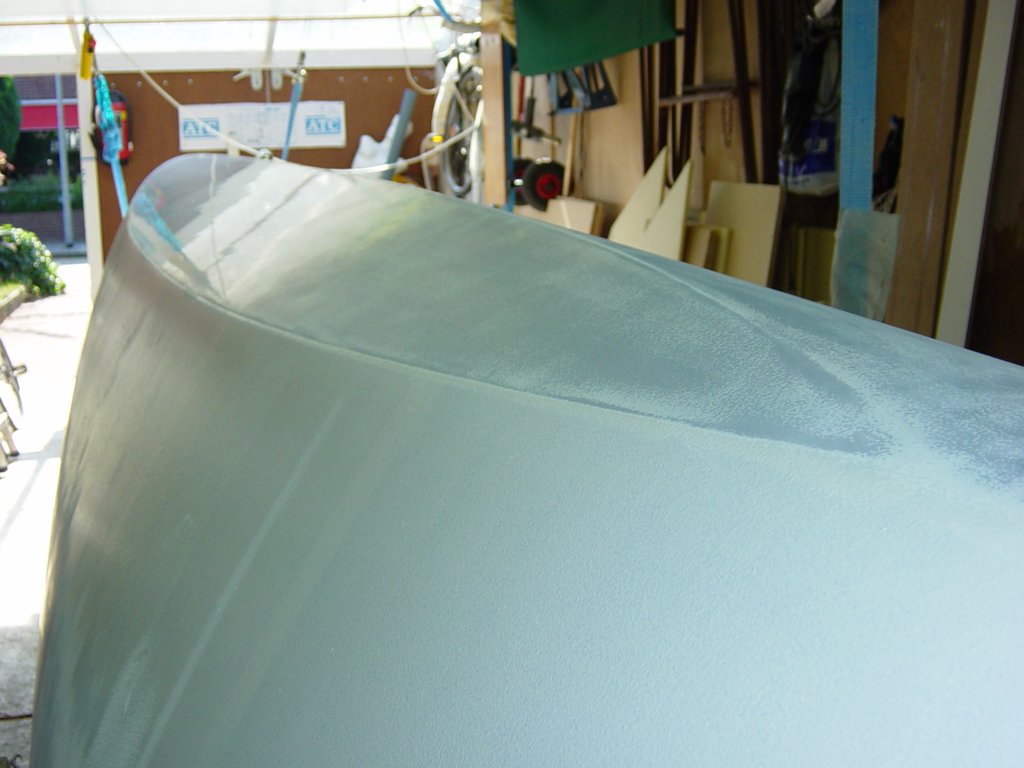
Wetting the dull fairing surface with a sponge creates a temporary sheen, making imperfections visible in grazing light. Feeling the surface with the palm of the hand, eyes closed, also works remarkably well.
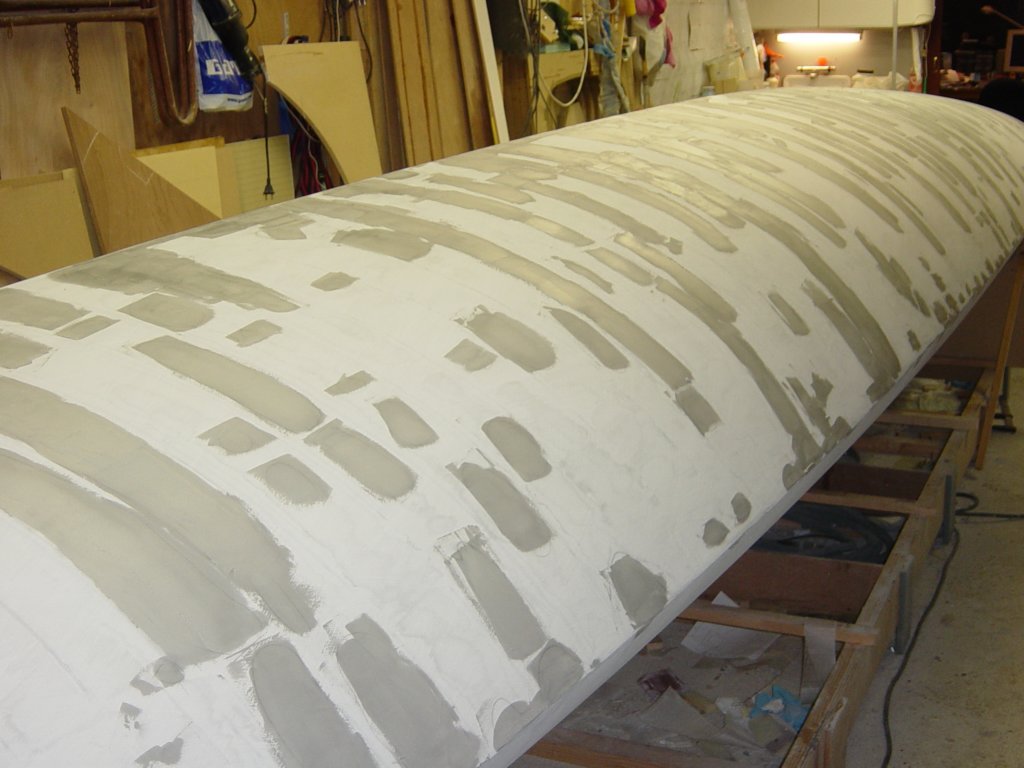
A very thin mist coat in a contrasting colour is another known technique: sanding leaves paint in the low spots. Unfortunately, I never achieved good results this way and therefore stick to wetting the surface or tactile inspection.
On the first hull I made the mistake of sanding with grit that was too fine. A professional automotive painter taught me to start much coarser, around grit 40. Once the surface is fair, the final step is a thin finishing layer of fine fairing compound to fill all sanding scratches.
The float hull shapes are still relatively simple. The main hull will be far more complex to fair. For that reason, I plan to develop a different fairing and sanding method, aiming for the same high-quality result with less time on the sanding board. More on that later.
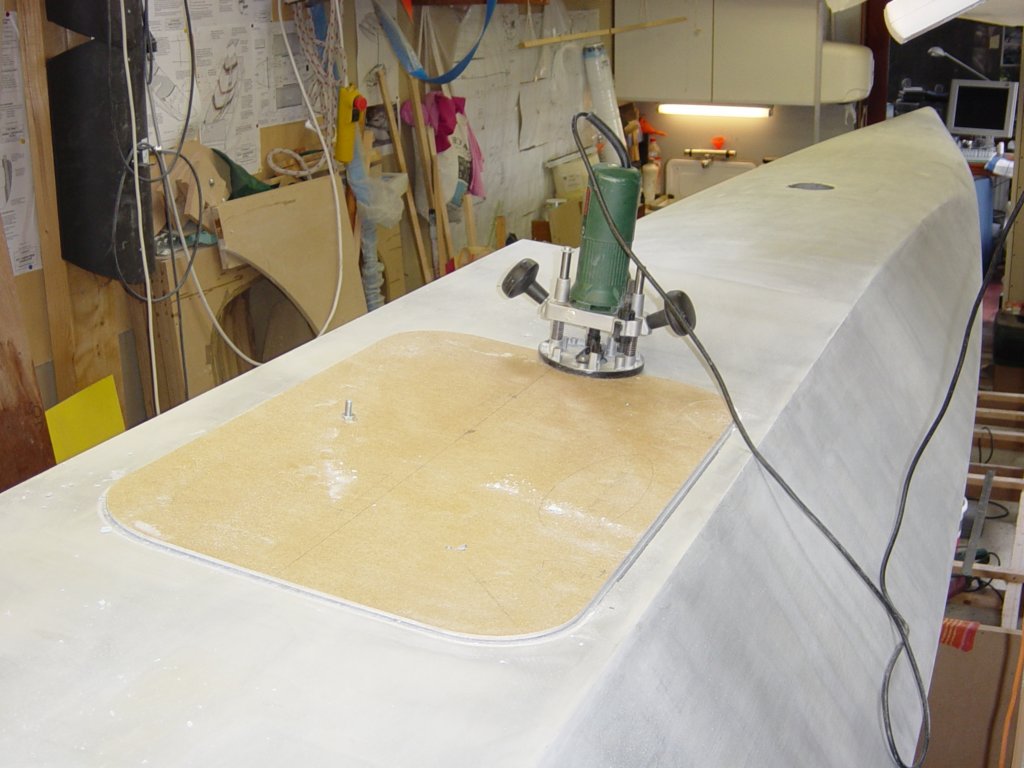
This photo gallery (49 images) documents the final fairing, painting and storage of both floats, from peelply removal to high-gloss finish and long-term storage awaiting the main hull.
