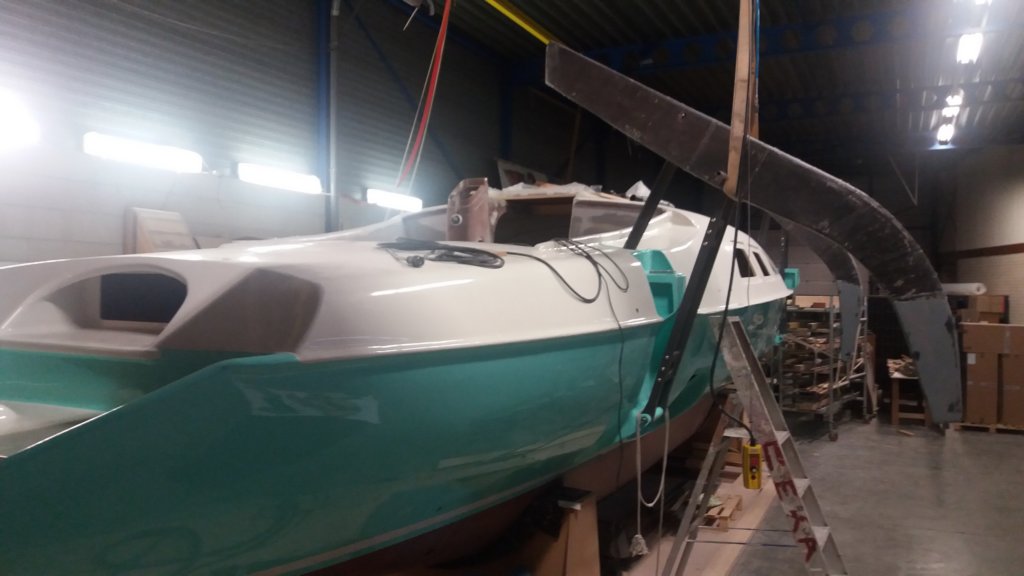
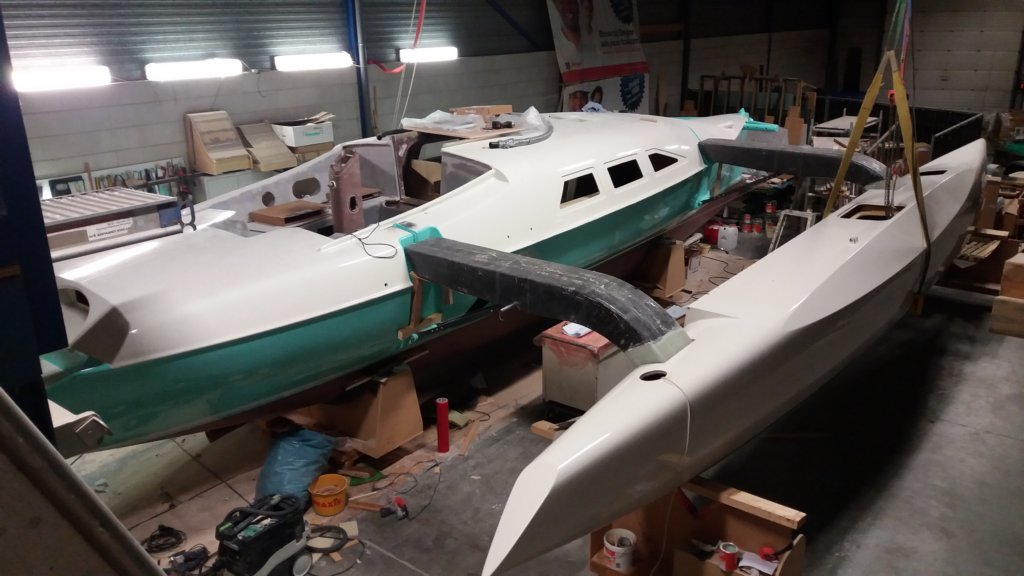
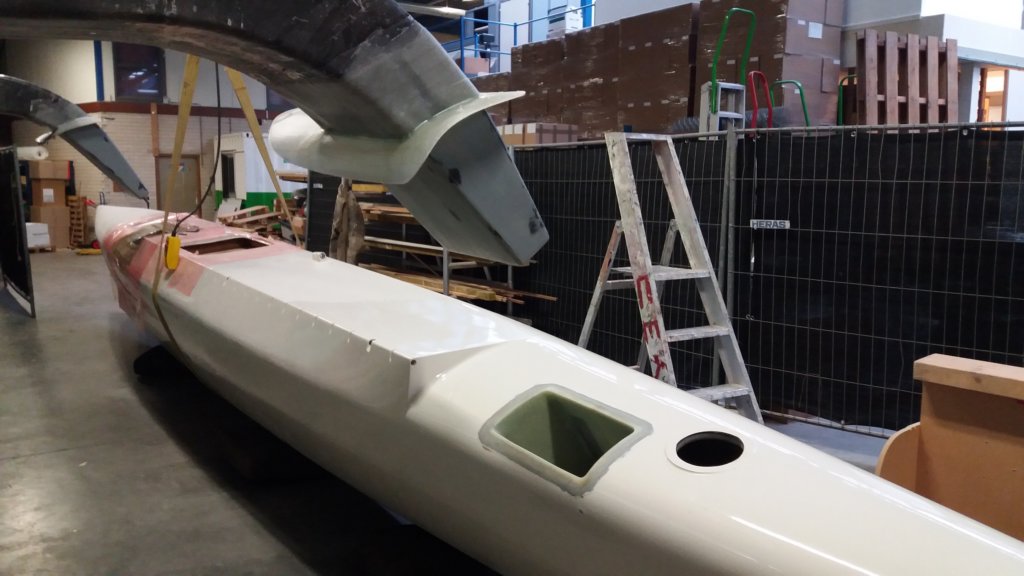
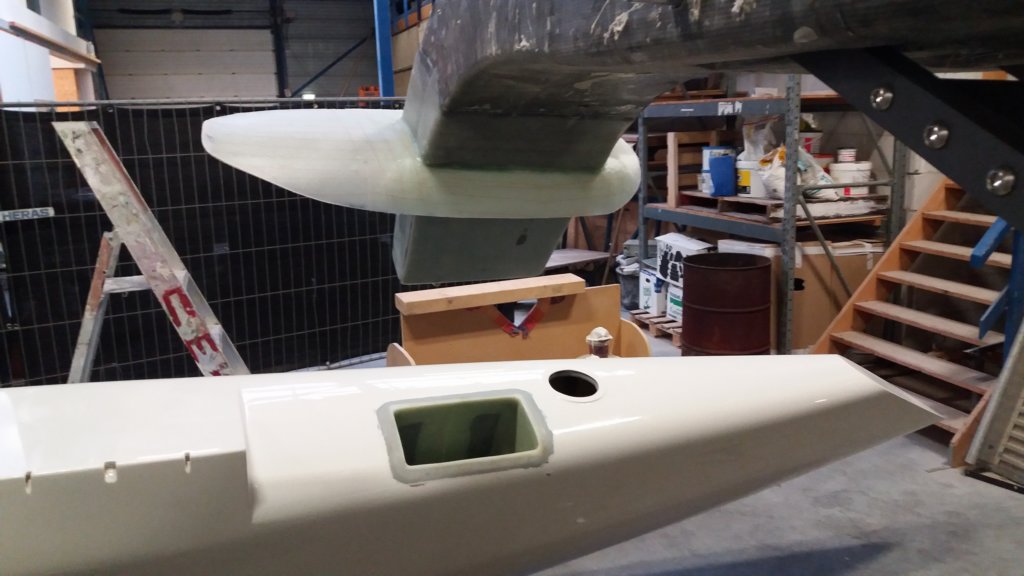
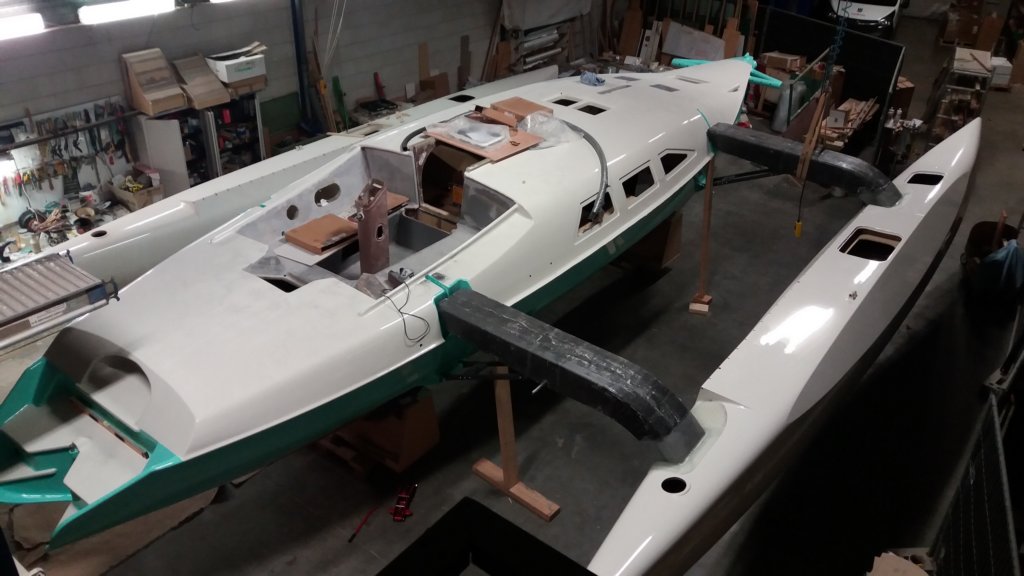
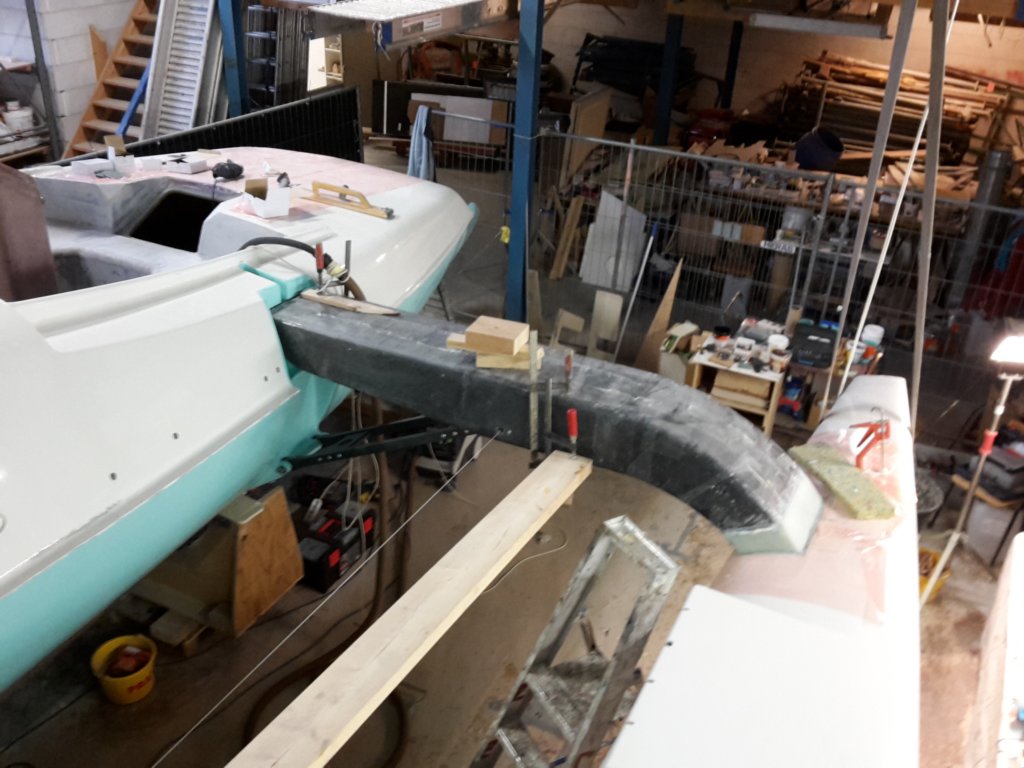
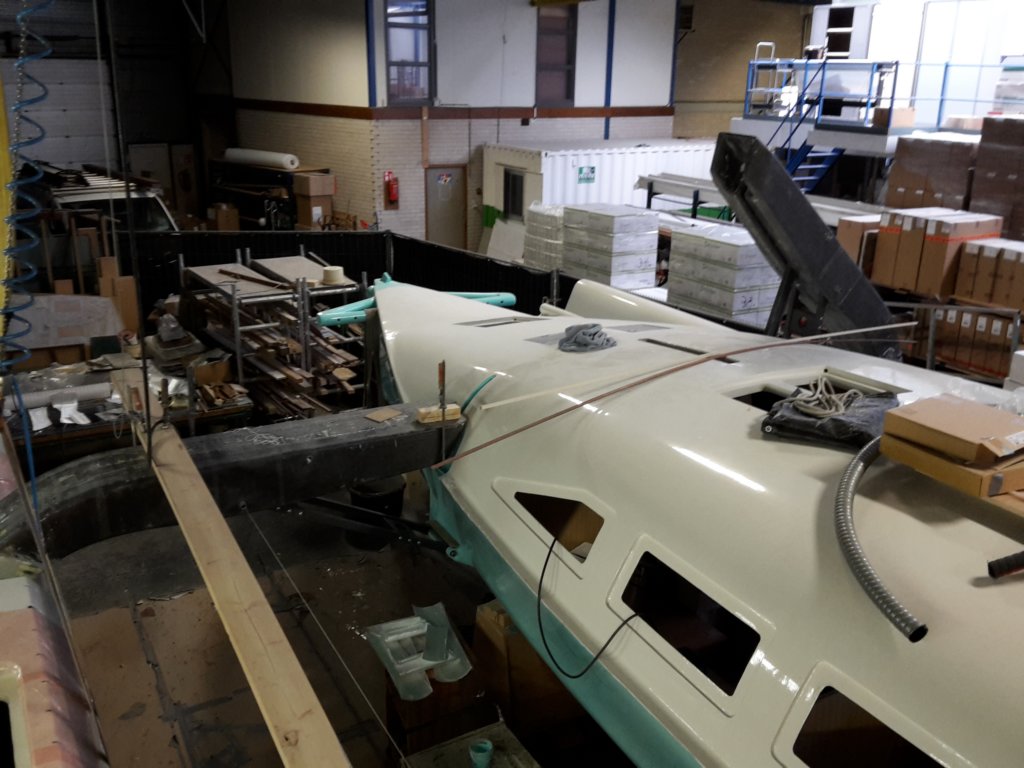
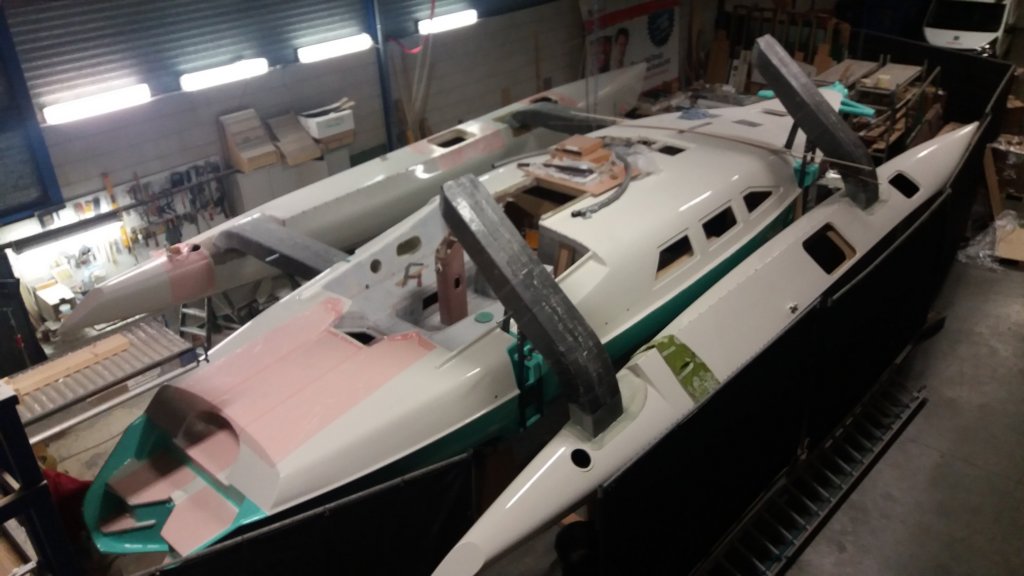
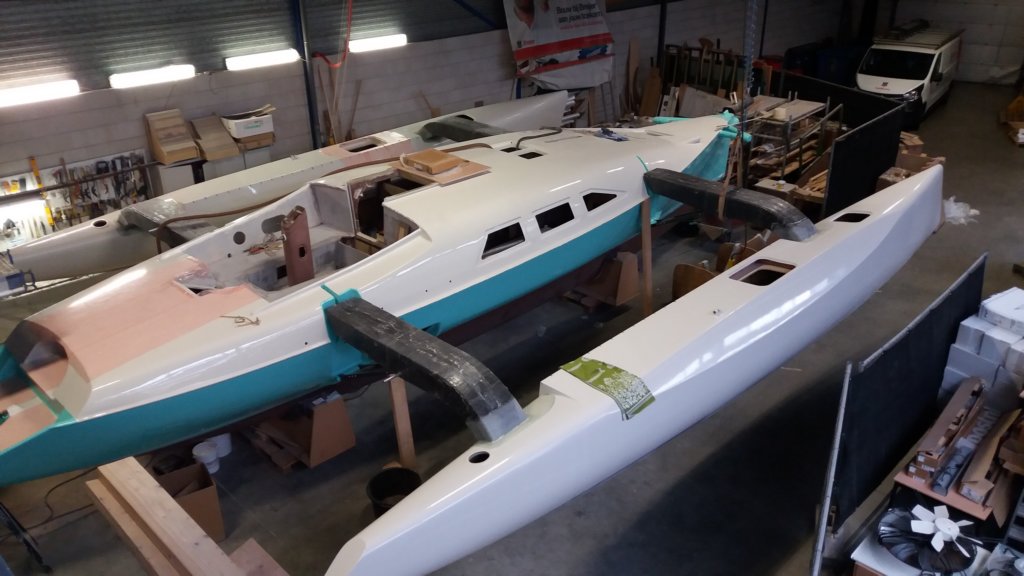
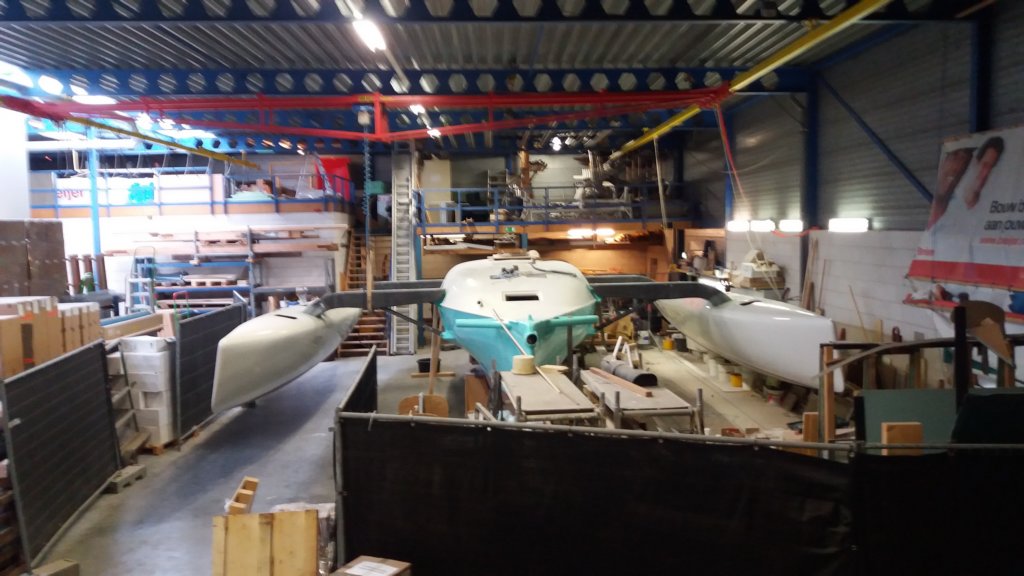
The moment of truth: after years of hanging in the rafters, the floats finally came down and the first beams went on. Seeing three hulls and four beams turn into a trimaran was pure climax—plus a big relief when the folding system alignment proved spot-on, within just a few millimetres.
Three hulls coming together
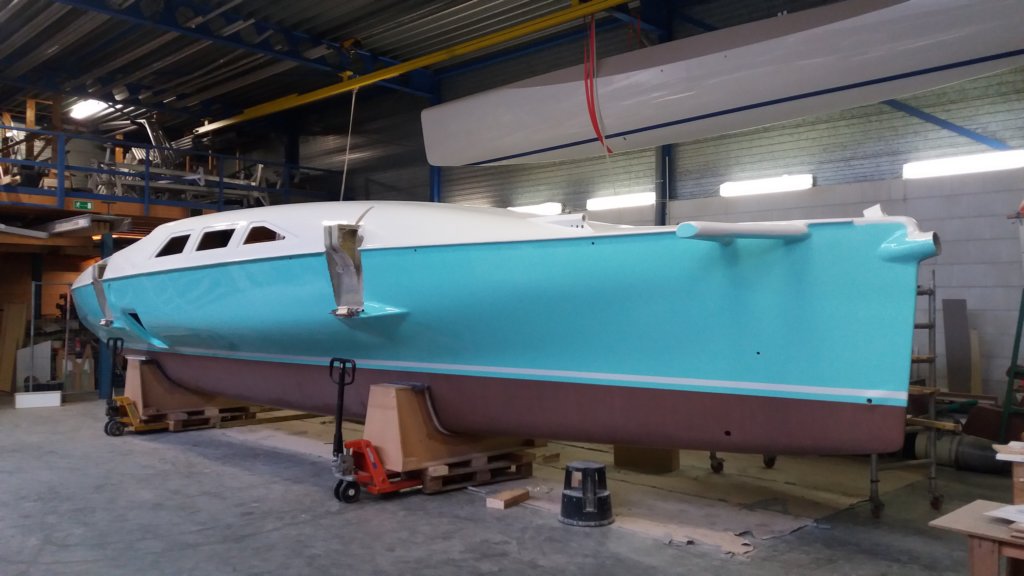
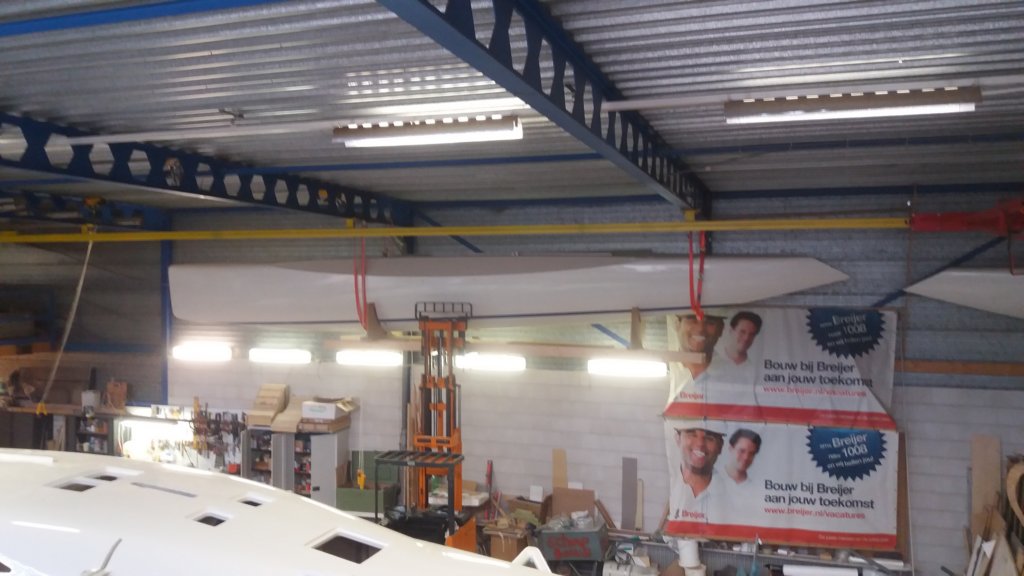
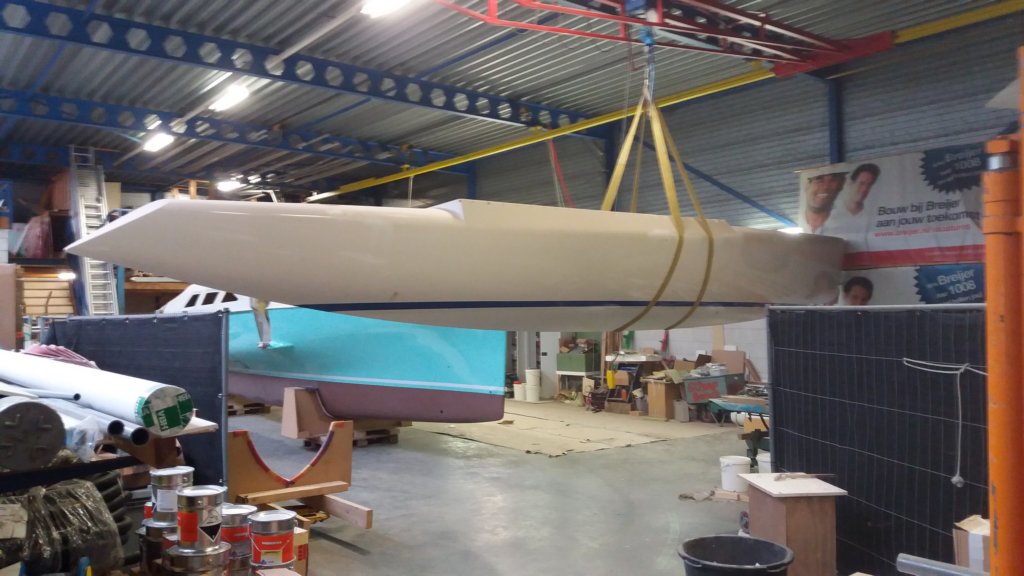
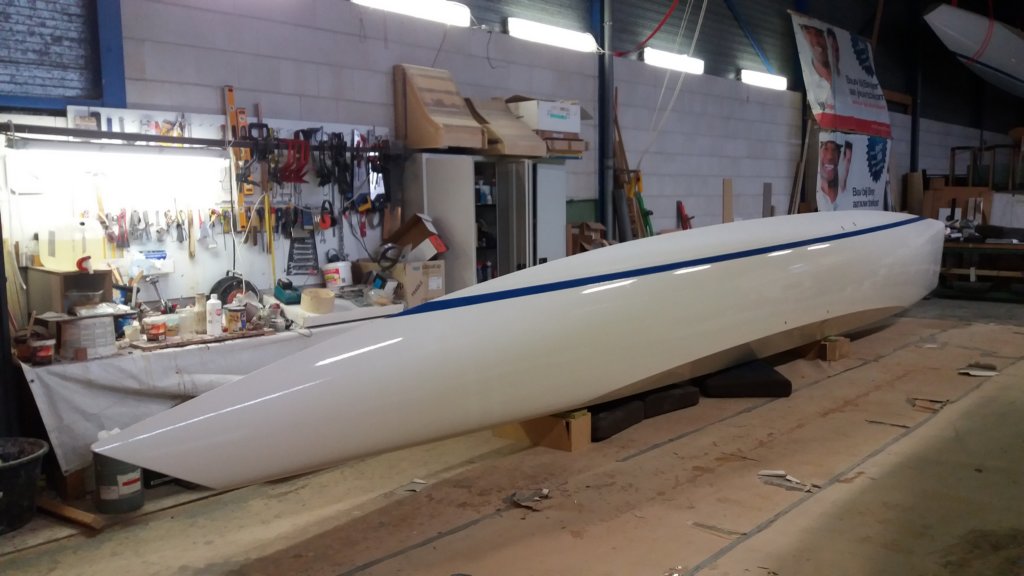
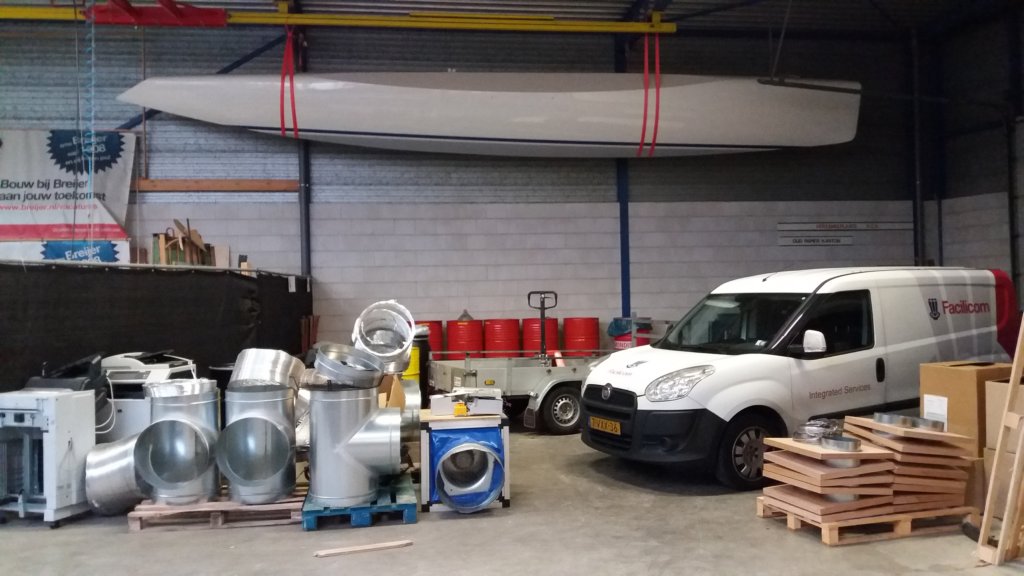
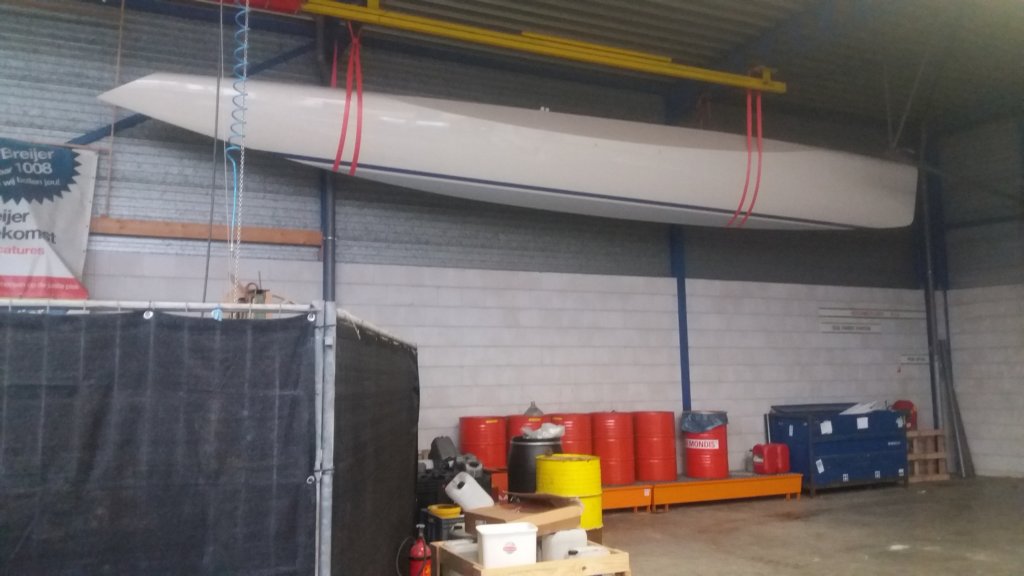
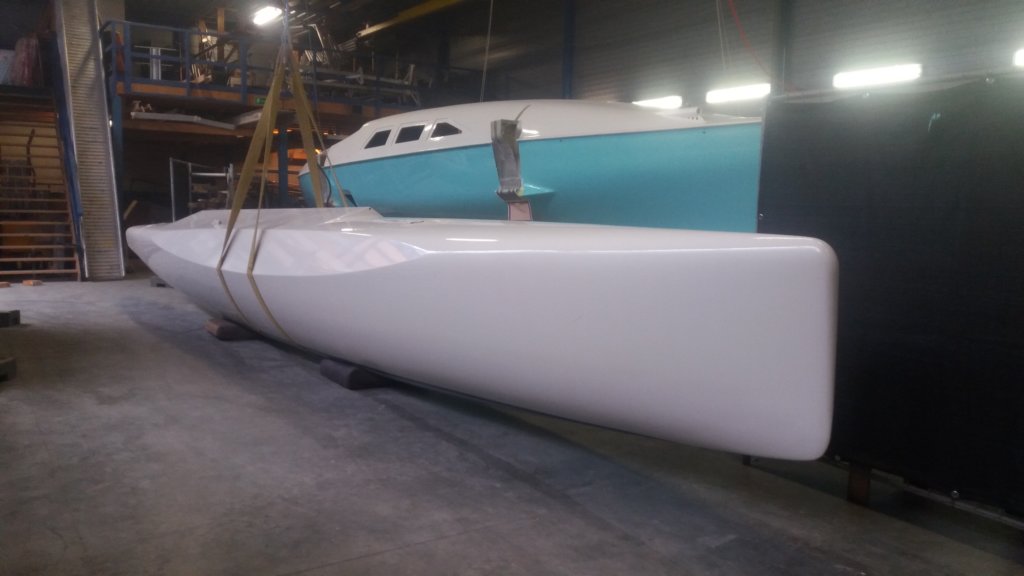
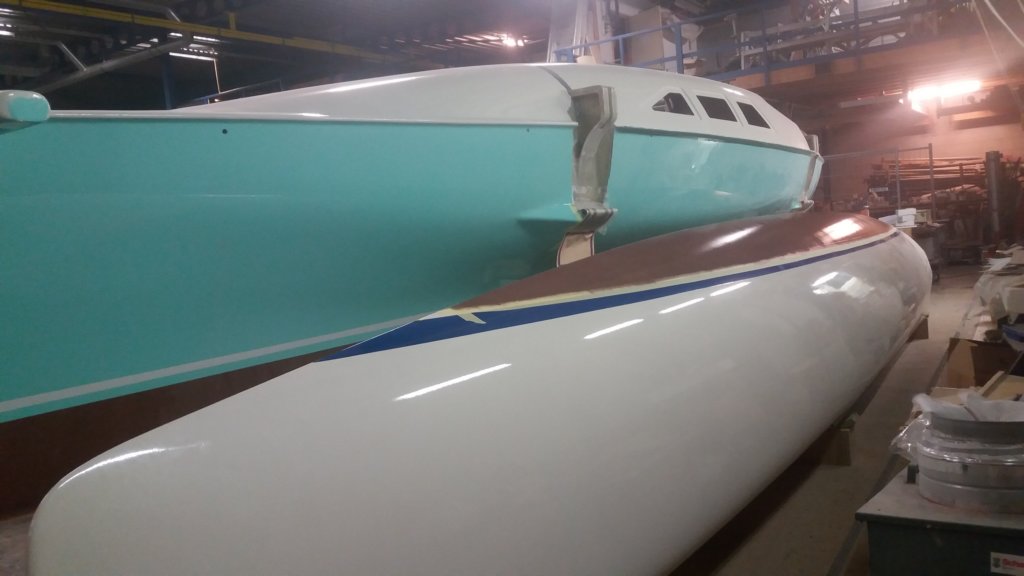
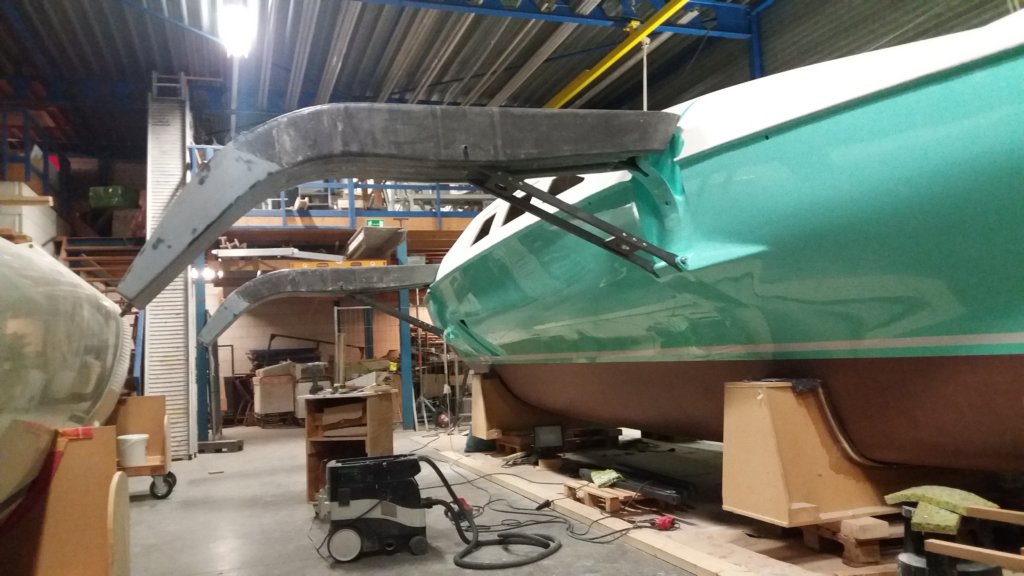
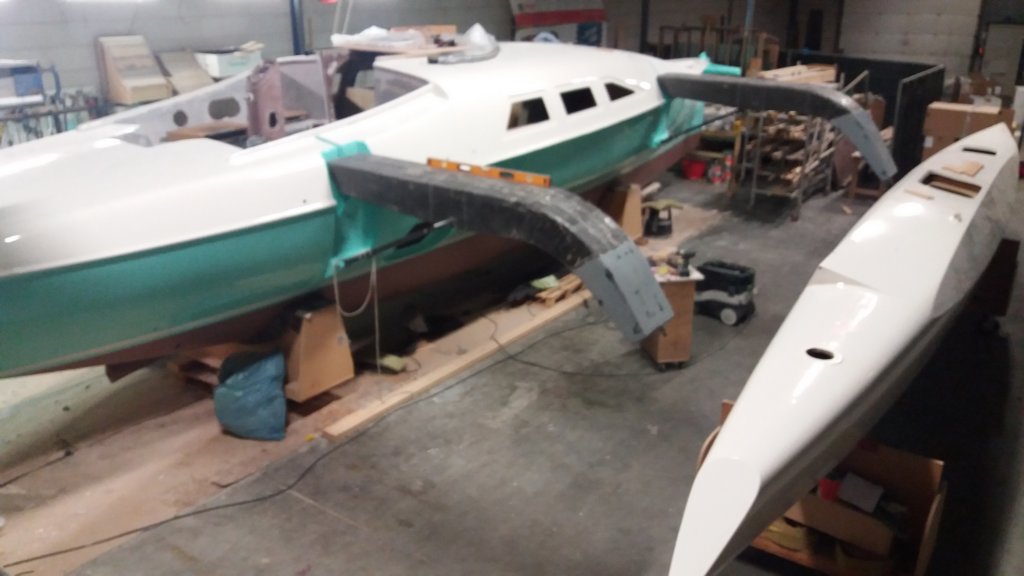
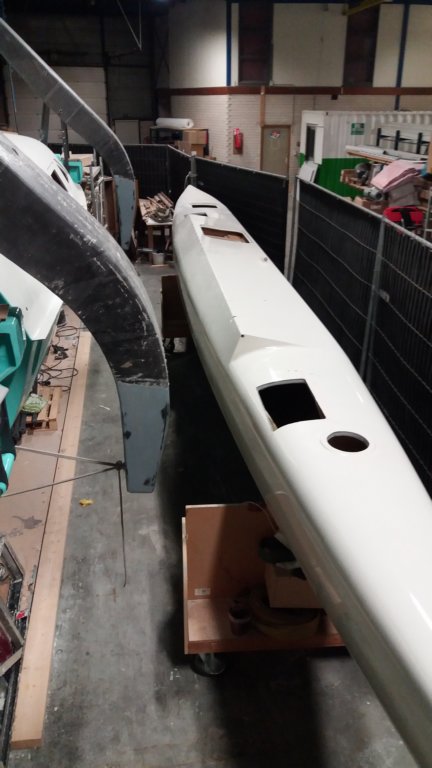
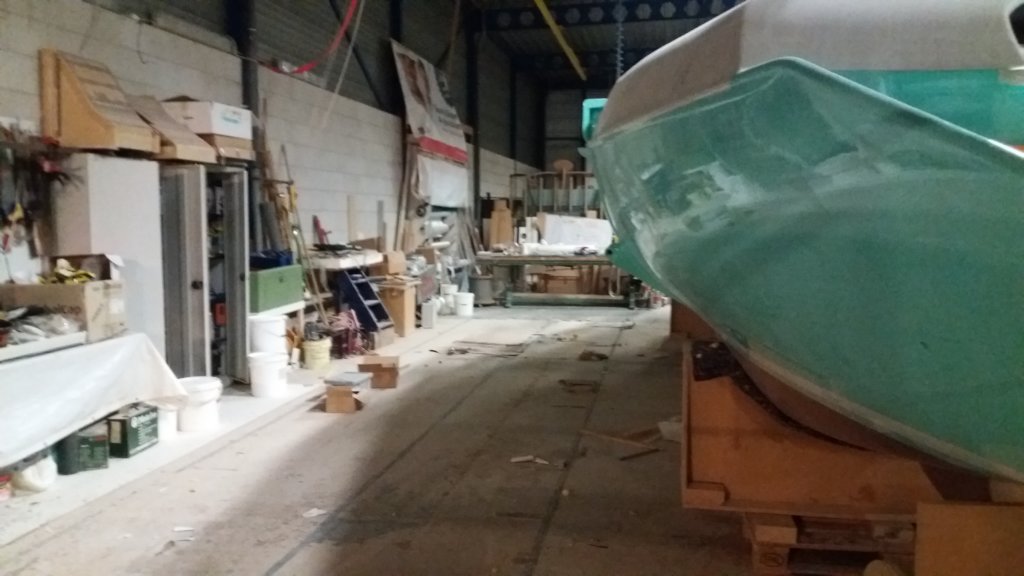
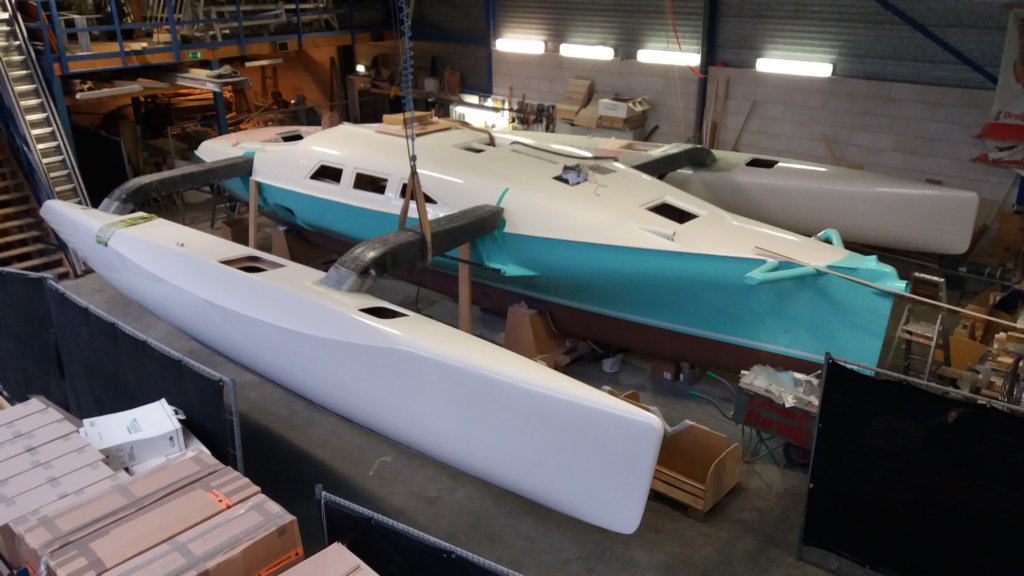
The final assembly of my trimaran. The transformation of three hulls and four beams into a boat is the climax of the construction. Finally, everything comes together and leads to the trimaran I dreamed of. It is definitely a highlight of the build so far. But first things first: bringing the floats down to earth. It had been a long time since we hung the first float under the roof, followed by the second one. Over the years they collected nothing but dust—now it was time to bring them down again.
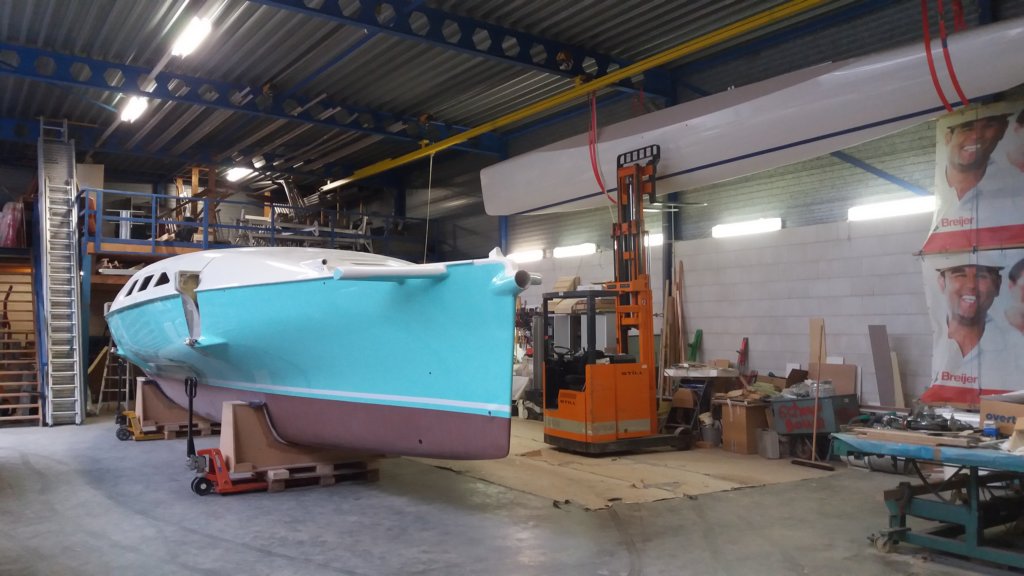
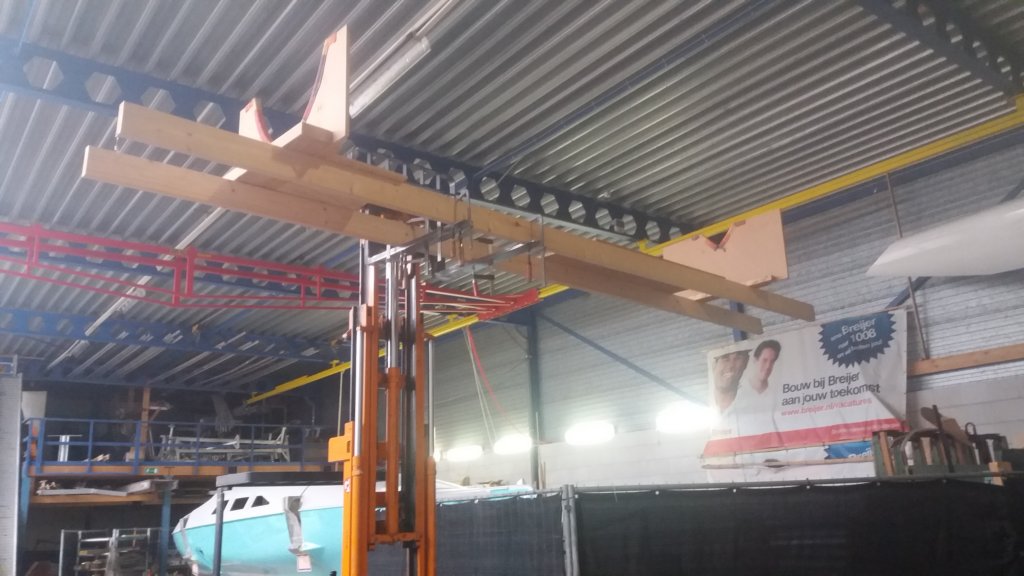
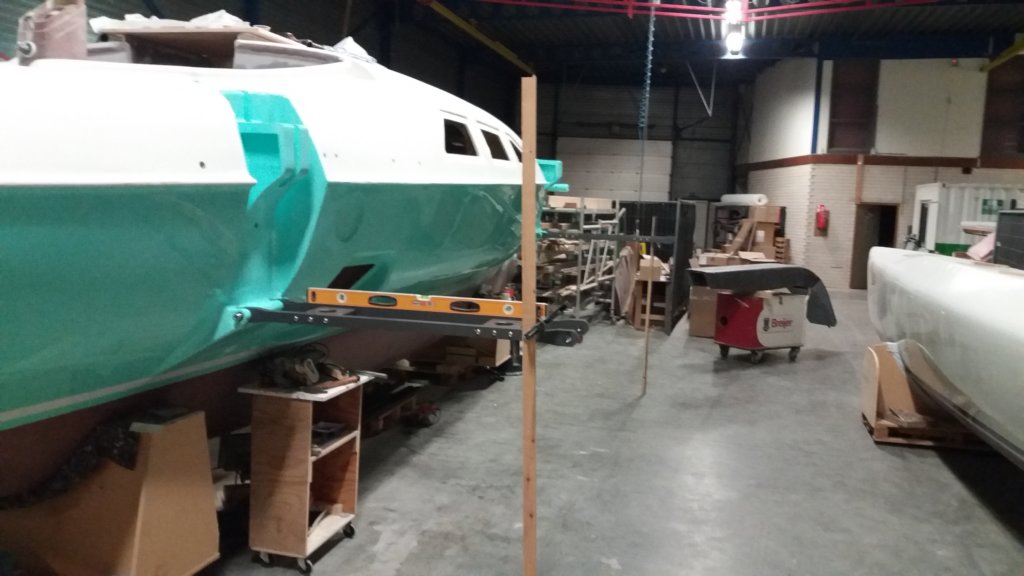
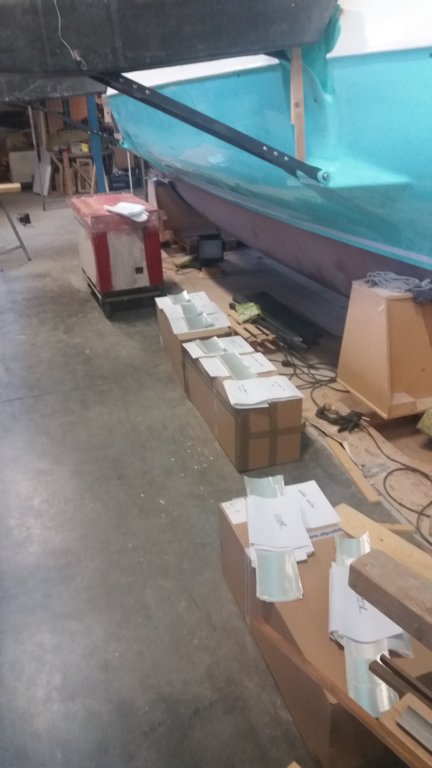
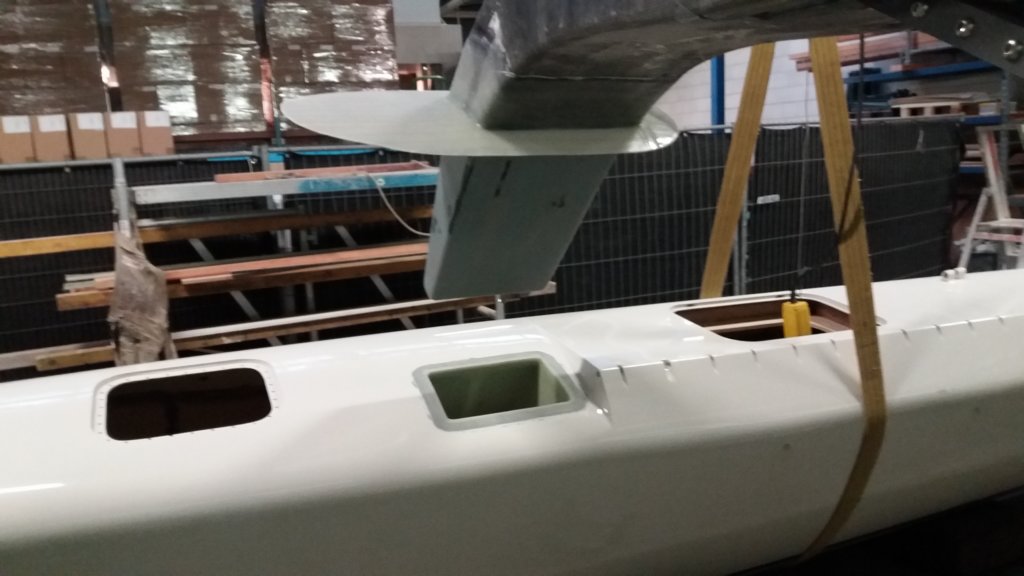
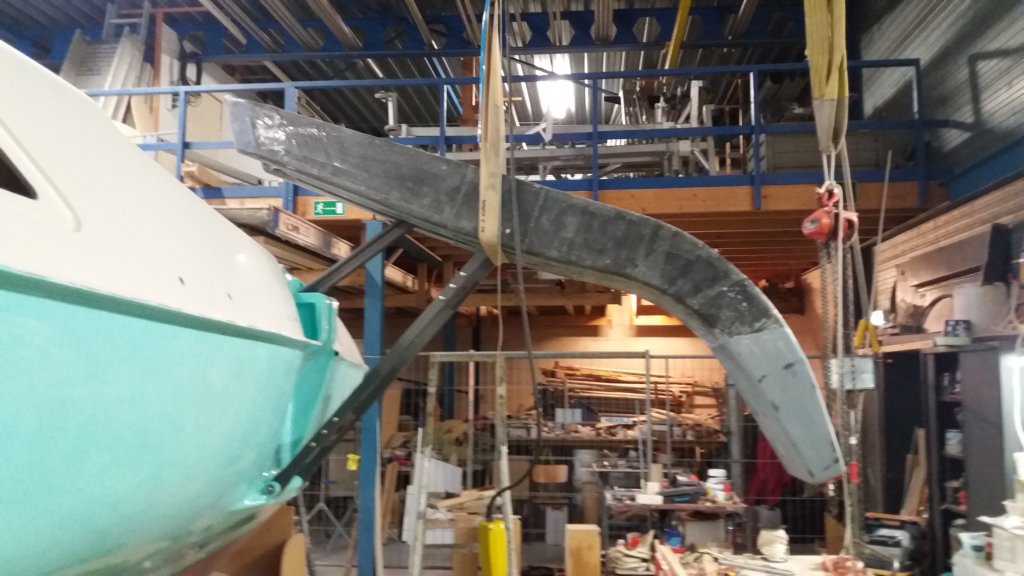
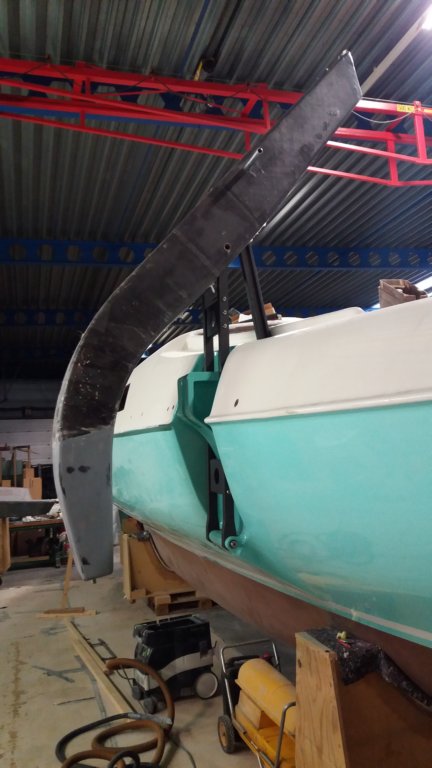
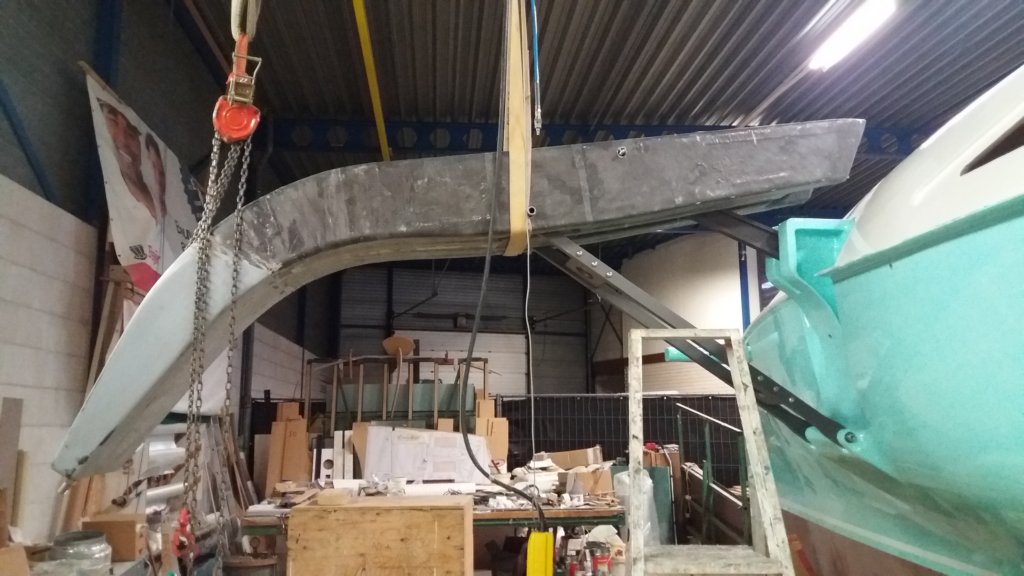
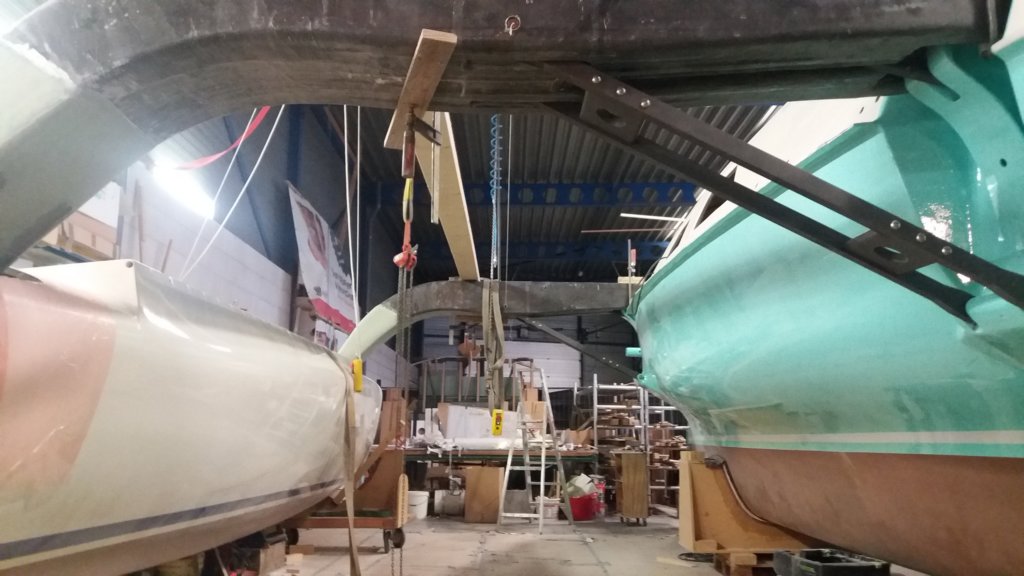
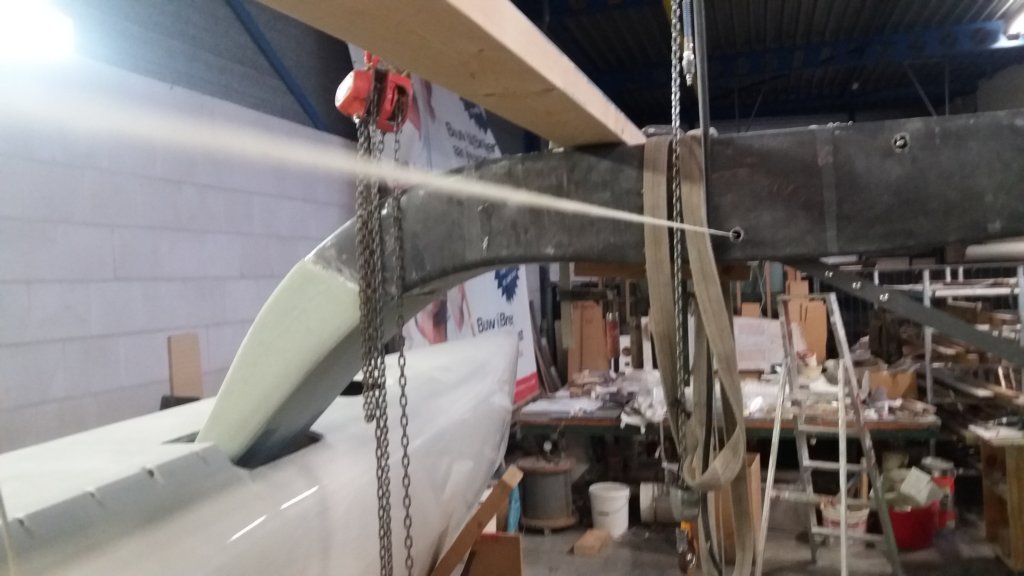
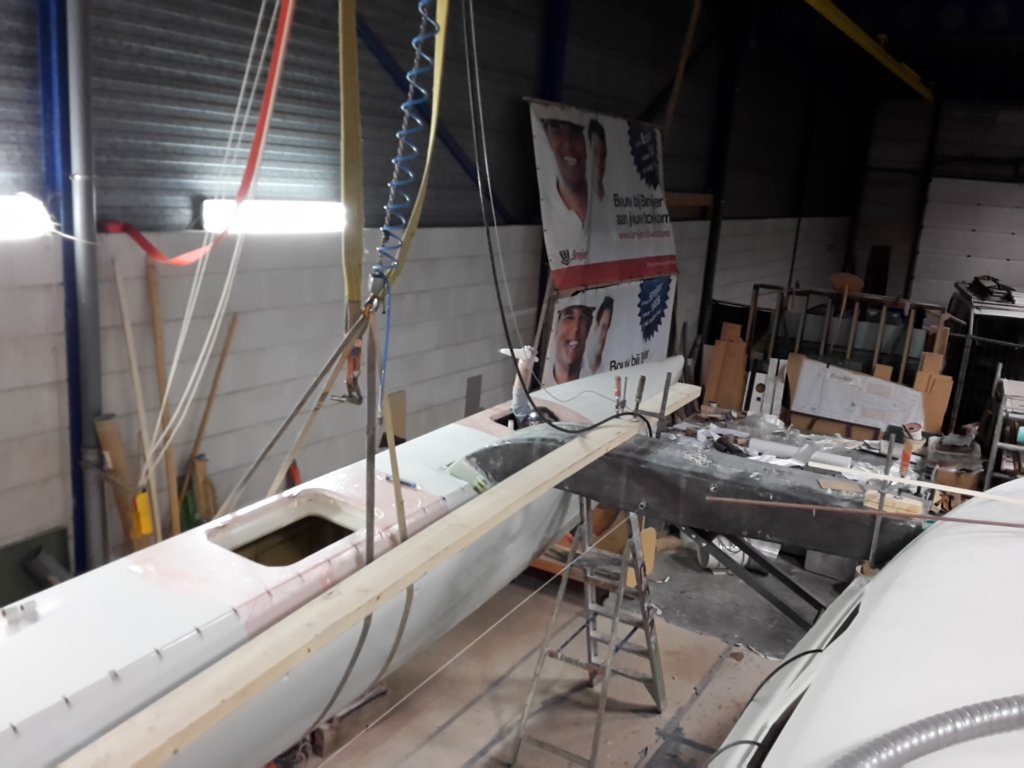
The port float was hanging above and behind the boat. To lower it I first had to make room next to the main hull. The boat had to slide sideways to create enough manoeuvring space for the forklift. With the help of two pallet jacks the main hull moved surprisingly easily. With a makeshift boat stand clamped to the forklift, I carefully lifted the float, removed the tensioning straps it had been hanging in, and lowered it to the ground.
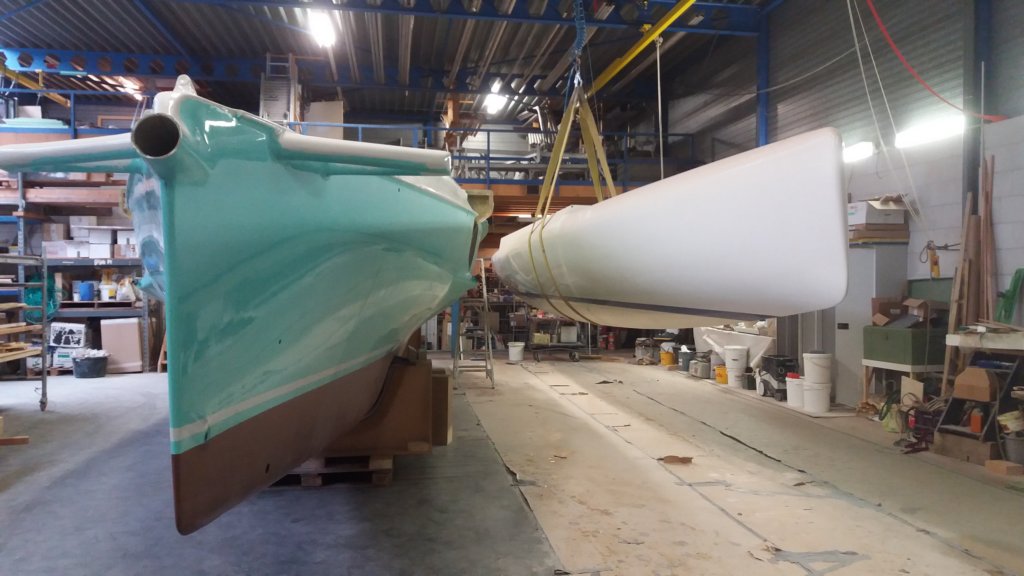
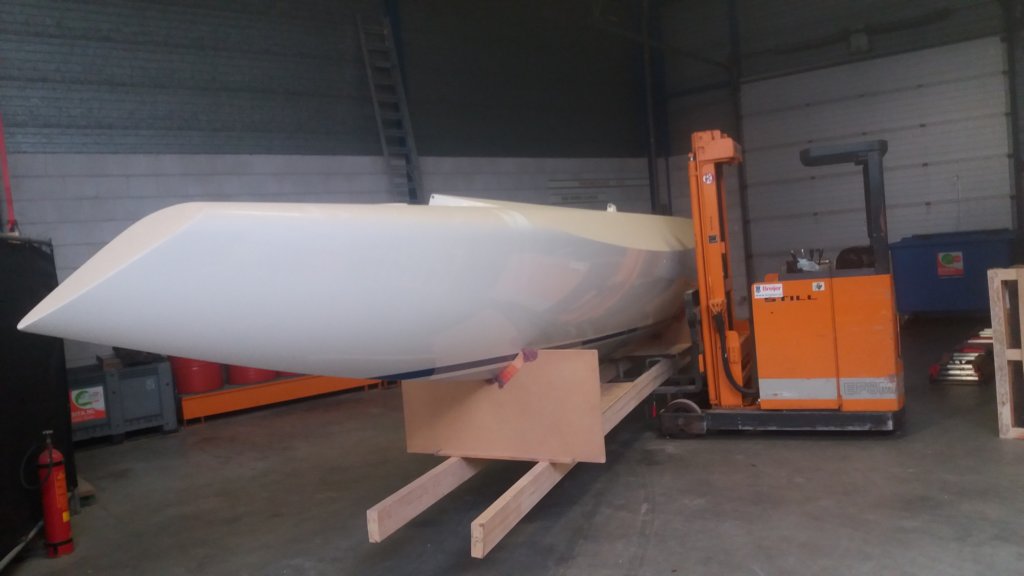
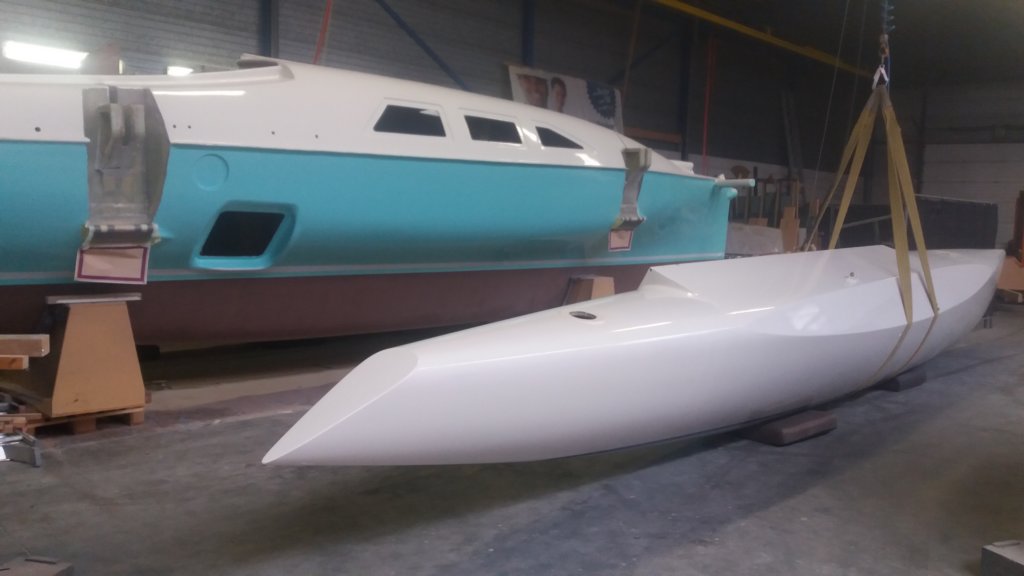
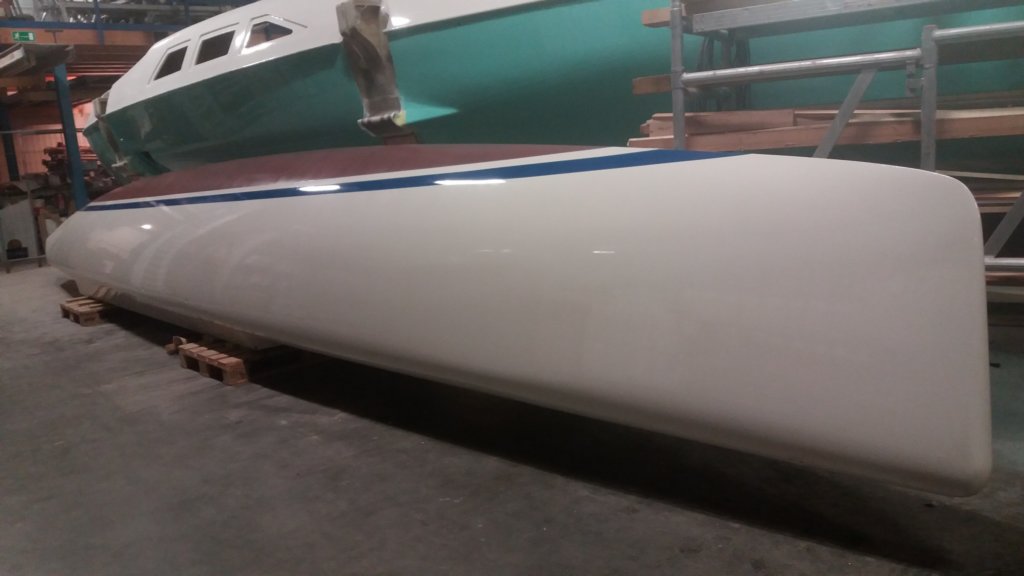
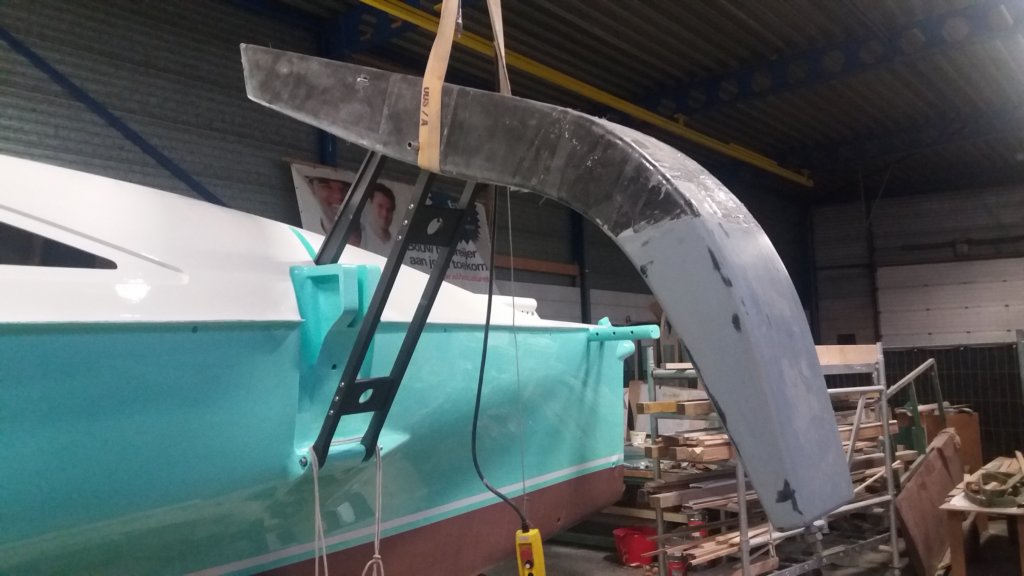
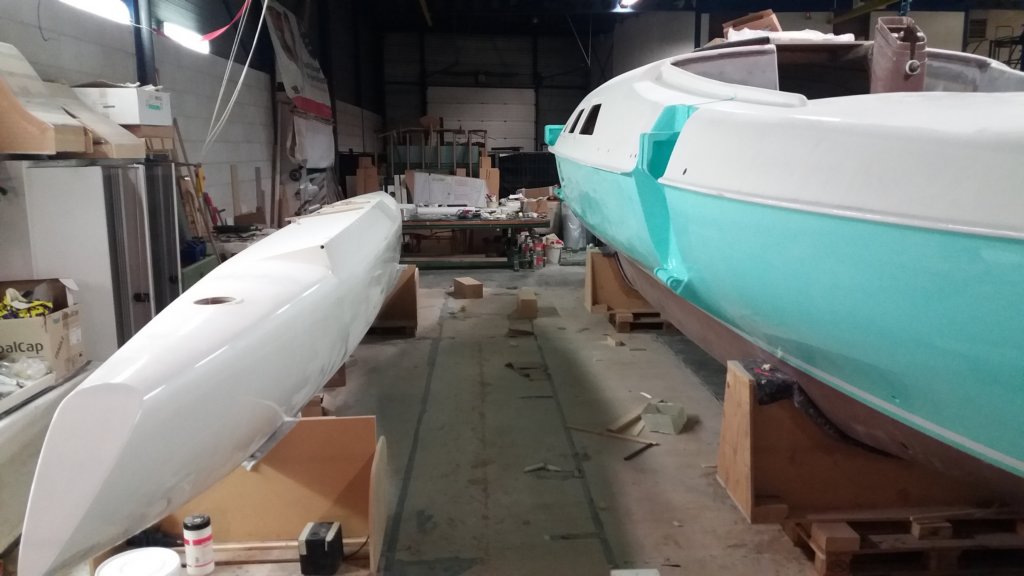
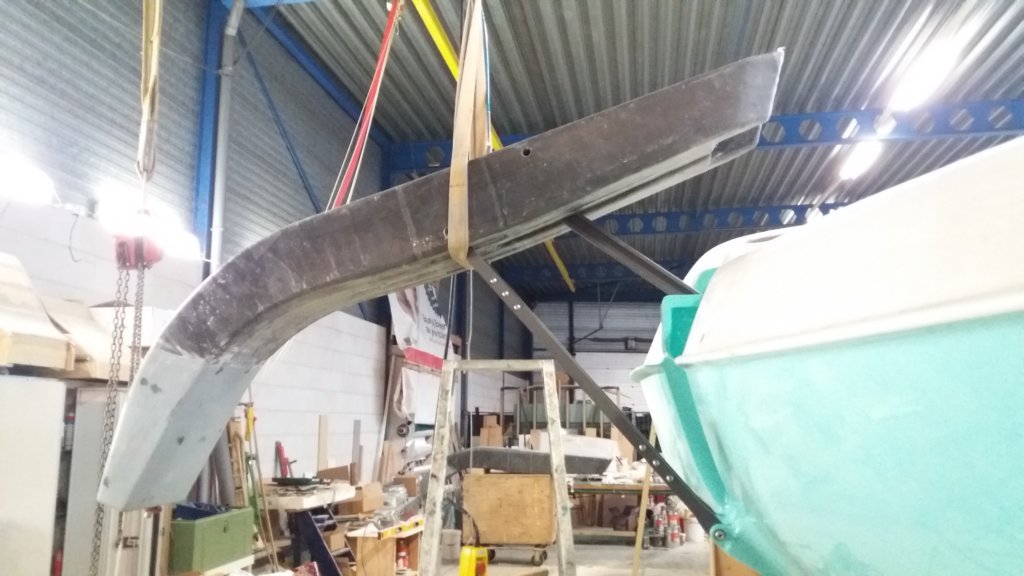
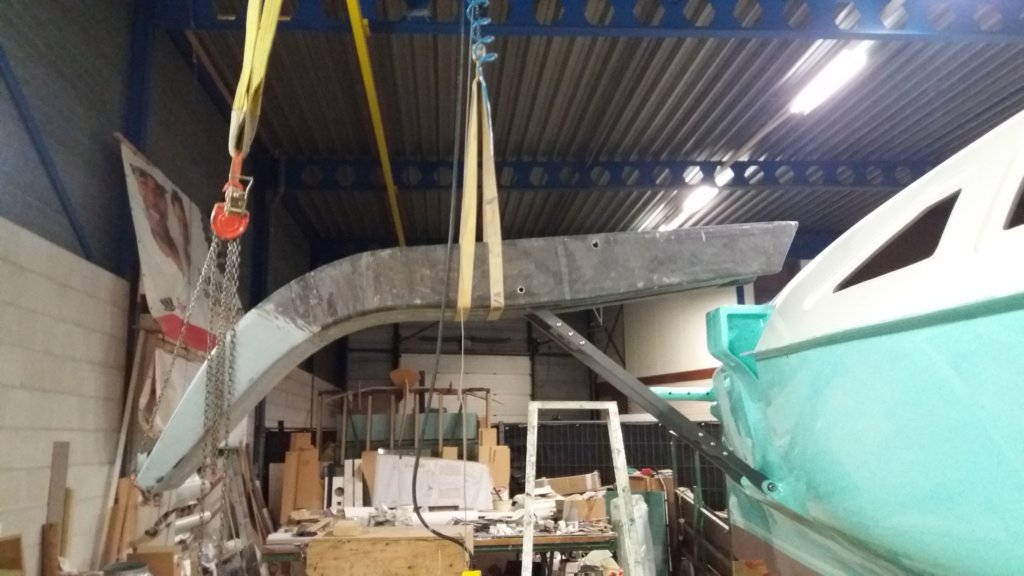
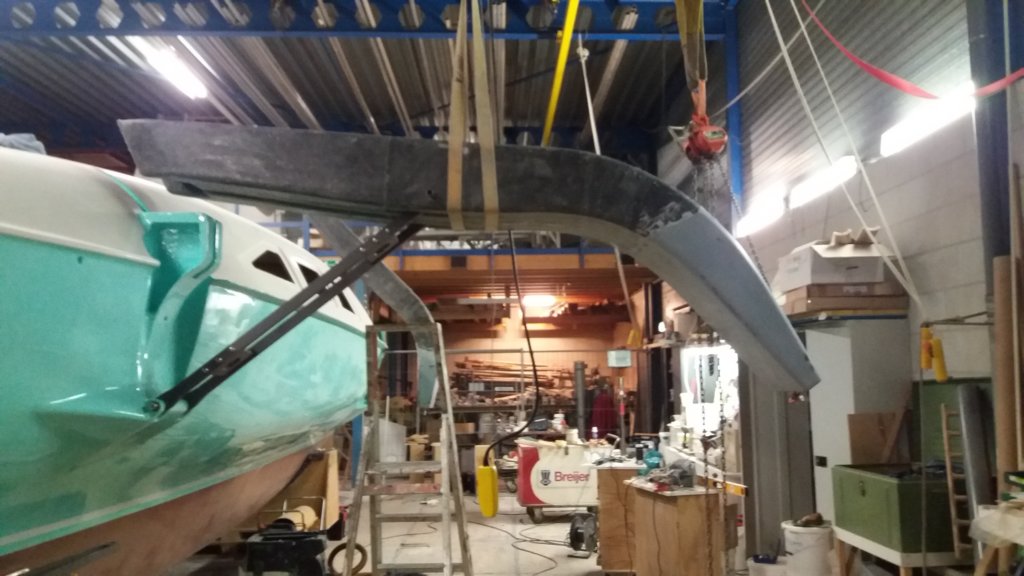
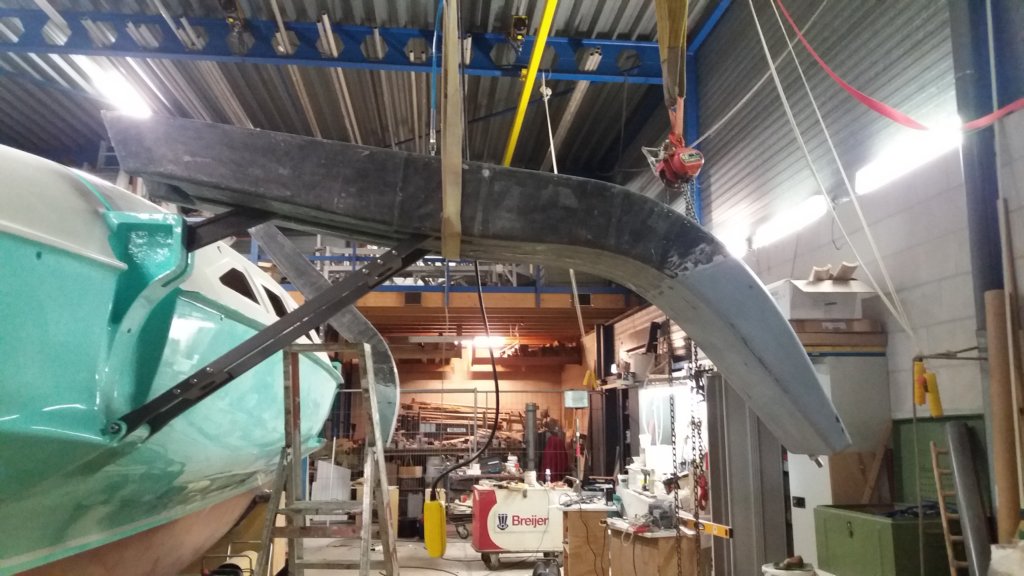
Maneuvering a float on a forklift only works in one direction. The port float was still facing the wrong way, but turning it was impossible due to the lack of space. The workshop crane solved that problem. In the free space somewhere in the middle of the shop I could lift and rotate the float, then bring it back to the port side of the main hull in the correct orientation.
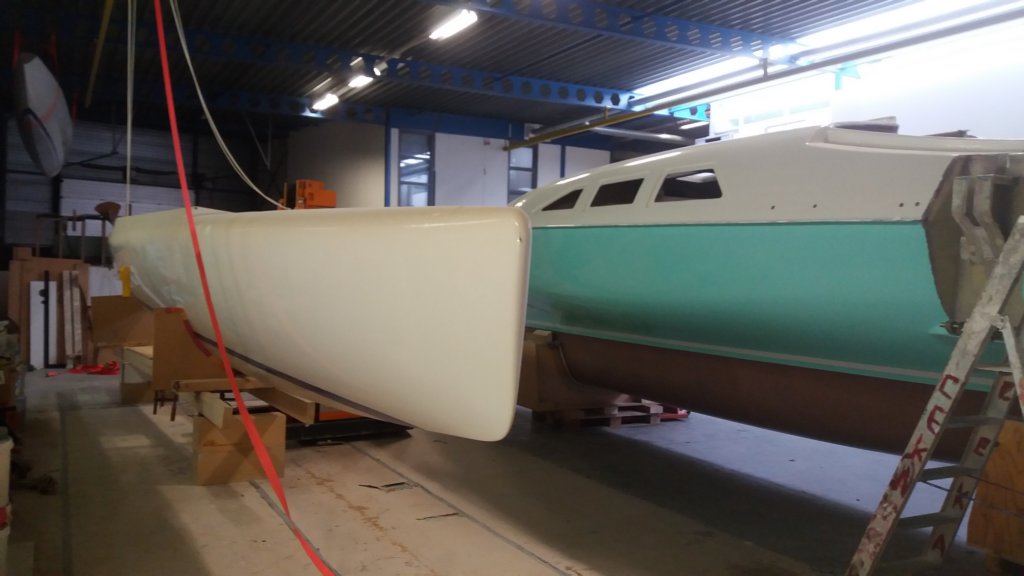
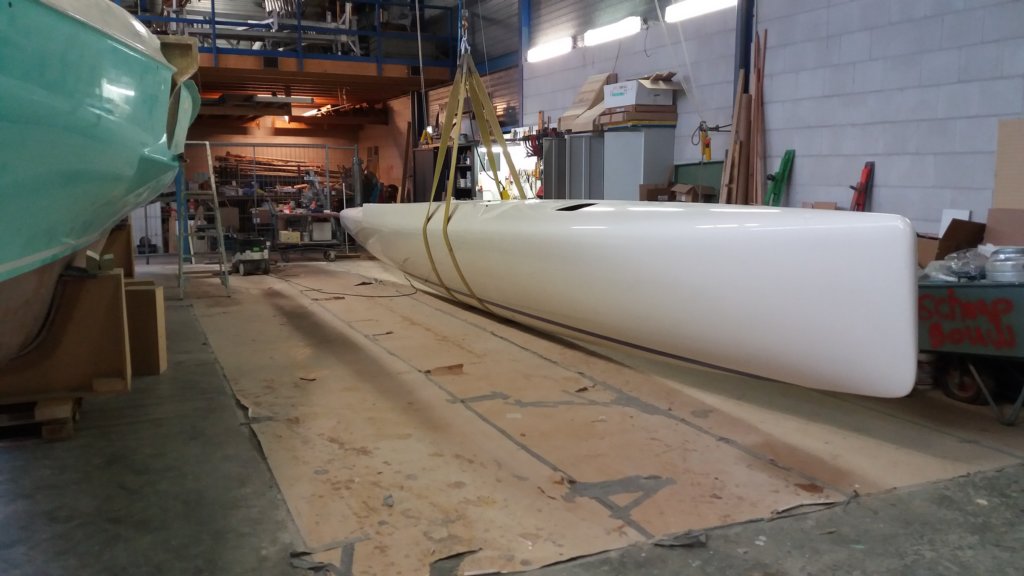
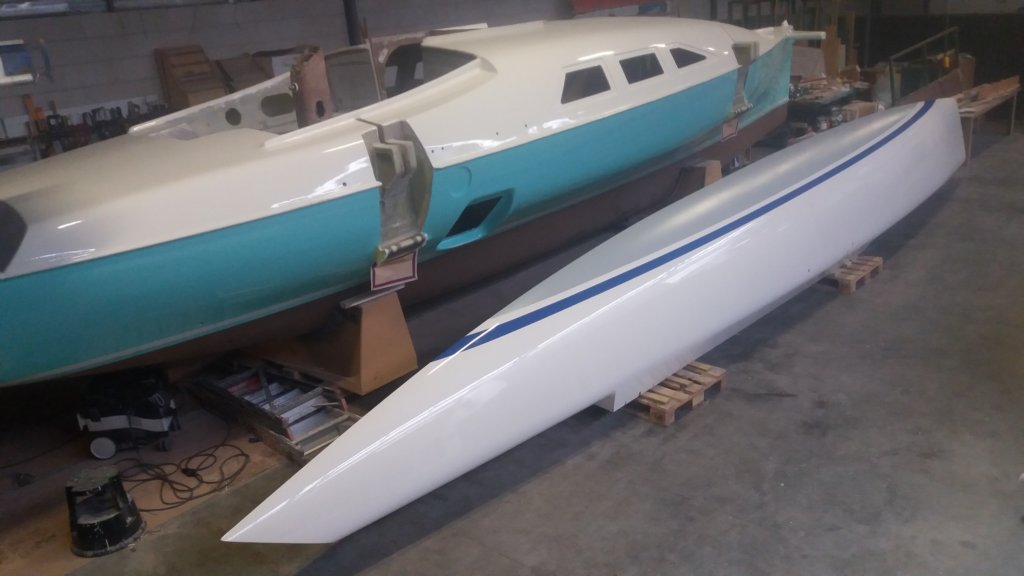
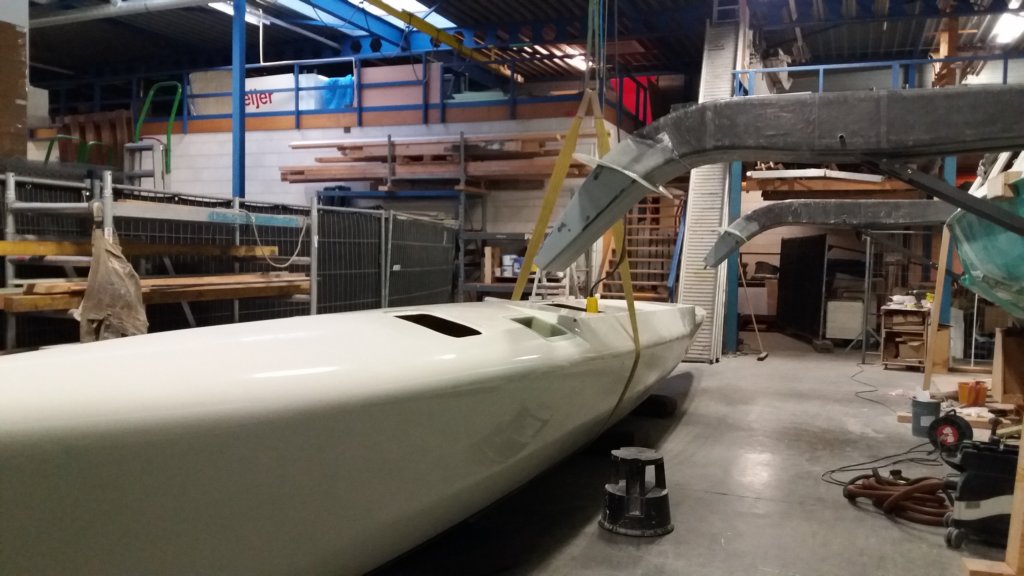
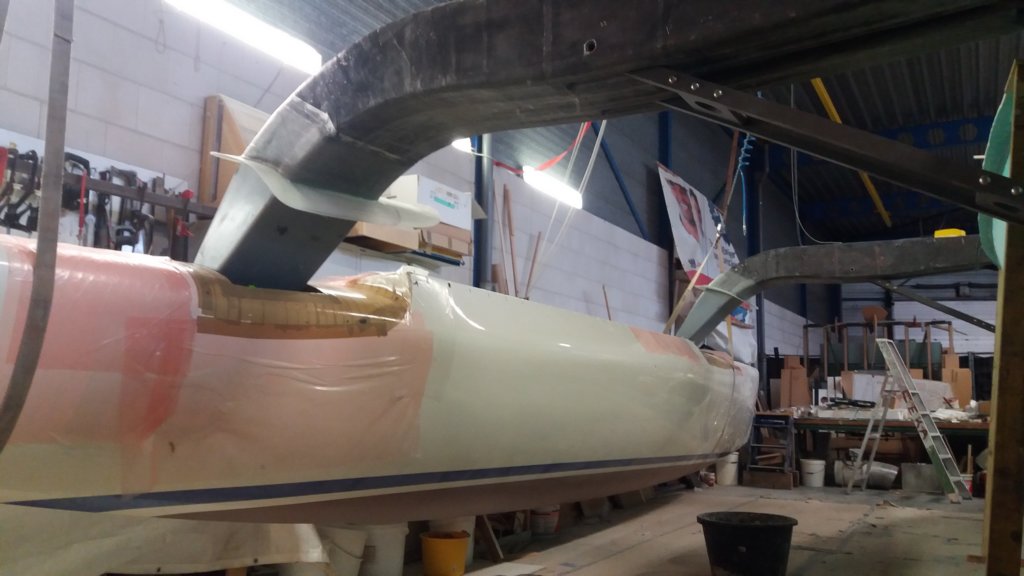
Fortunately, the other float was much easier to reach and was already hanging the right way round. There still was not enough manoeuvring space for the forklift, but handing it over to the workshop crane brought the float into position on the starboard side of the centre hull.
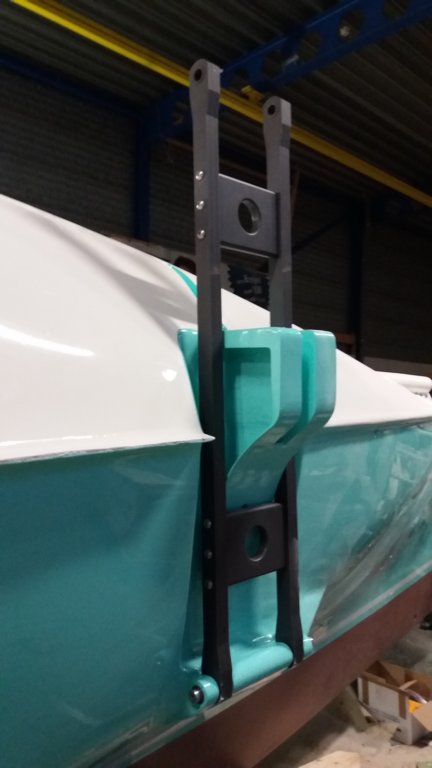
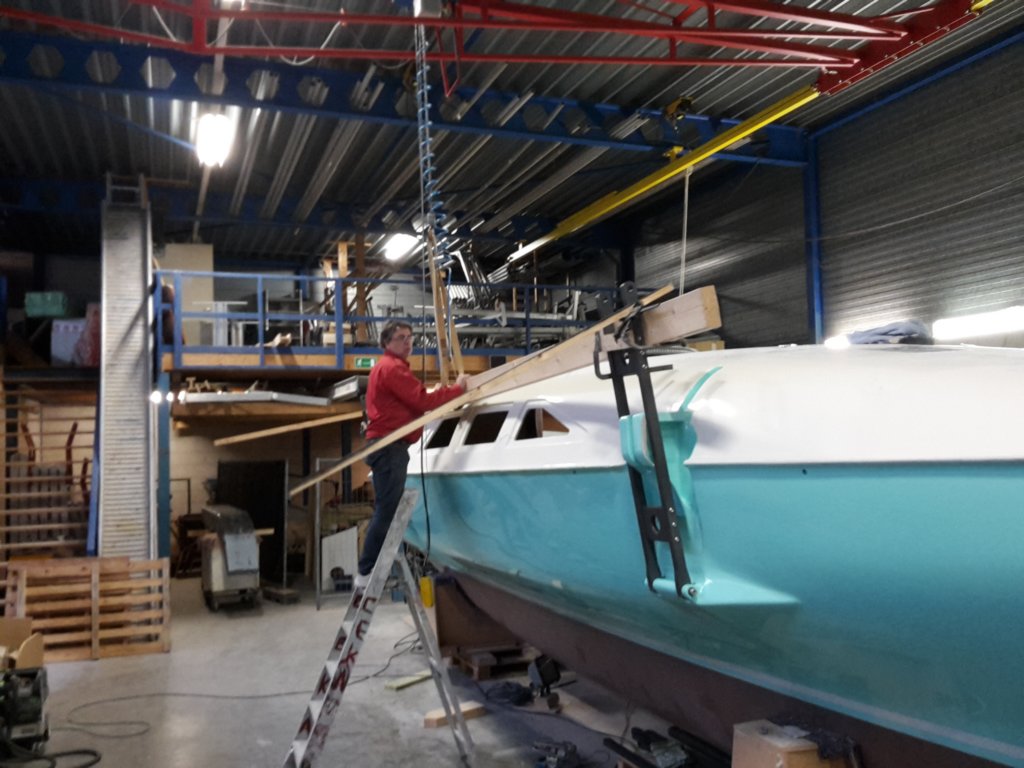
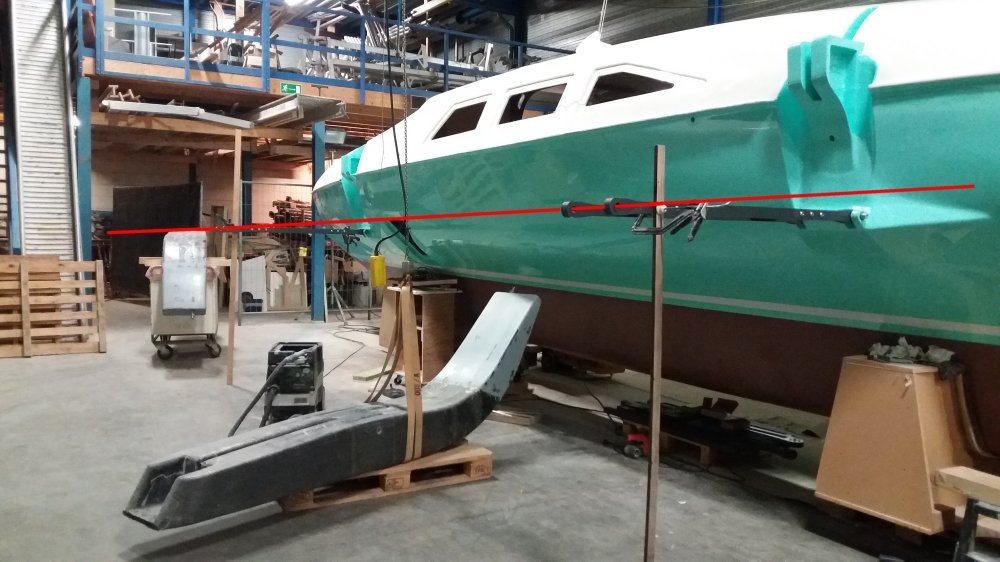
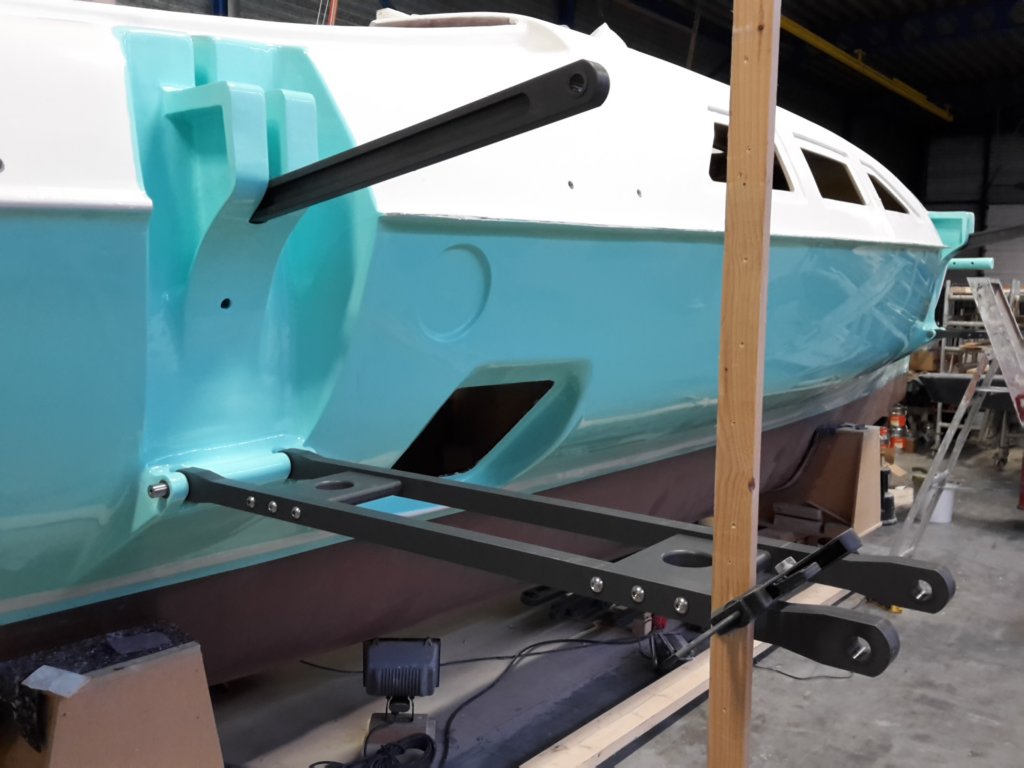
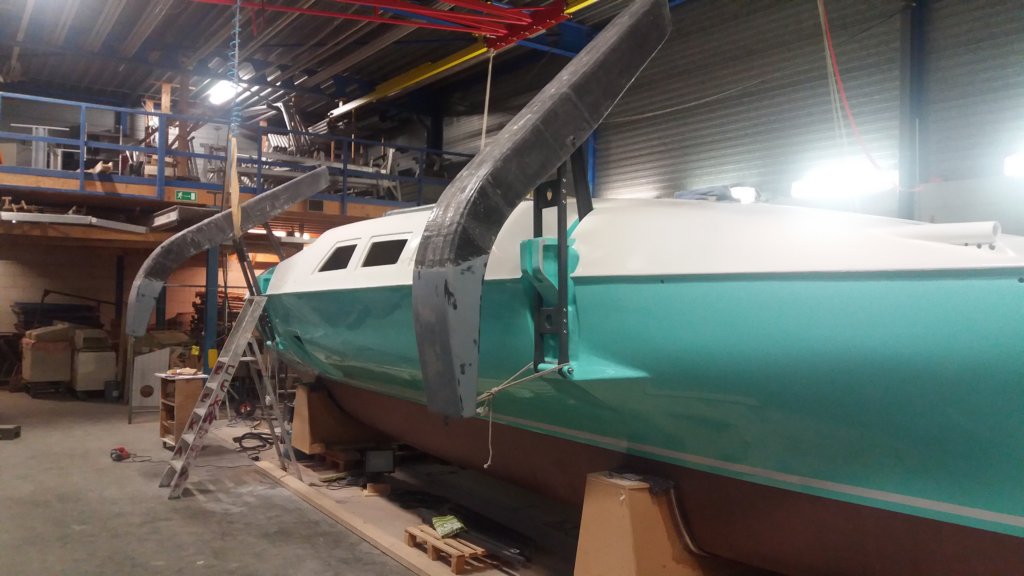
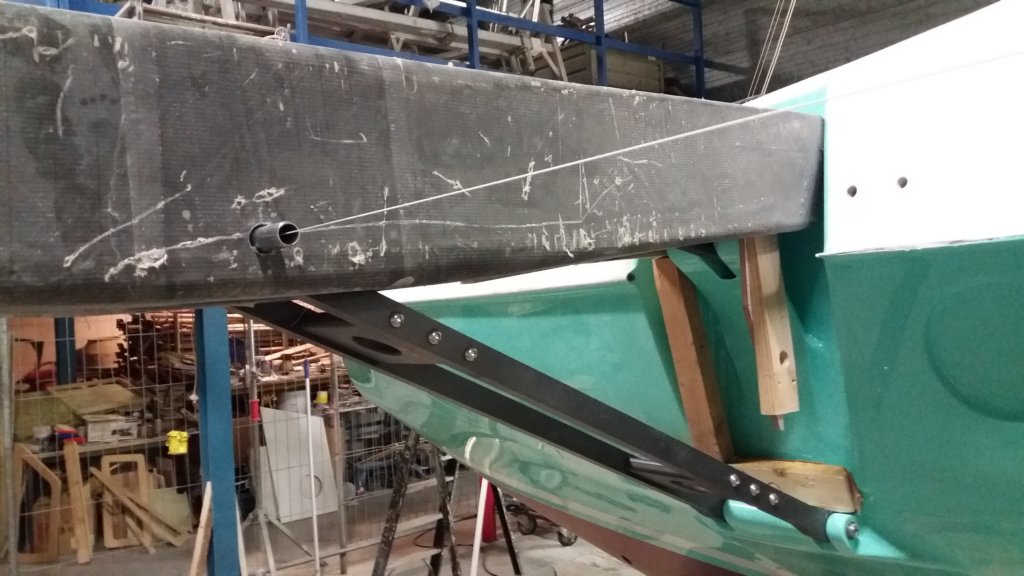
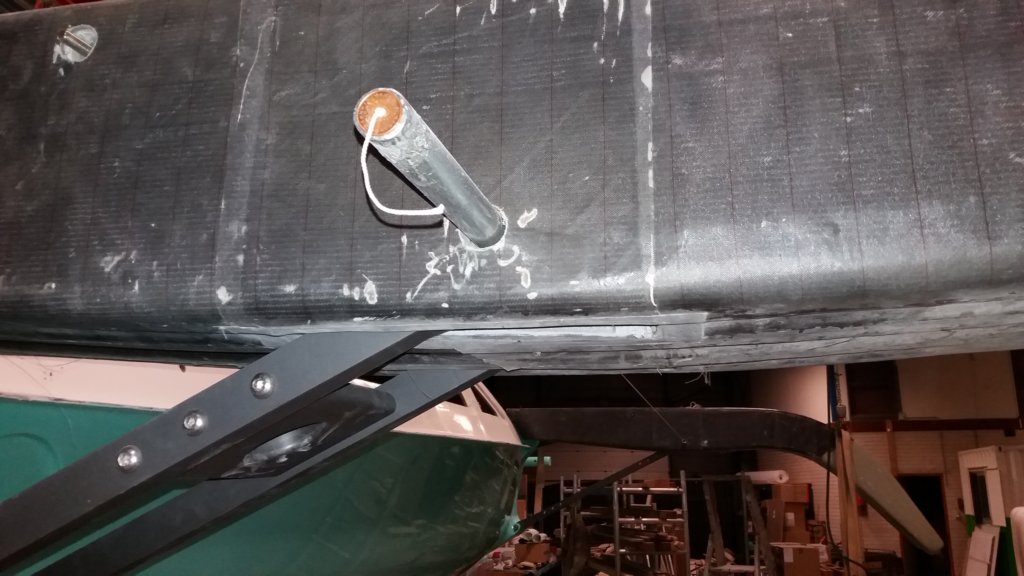
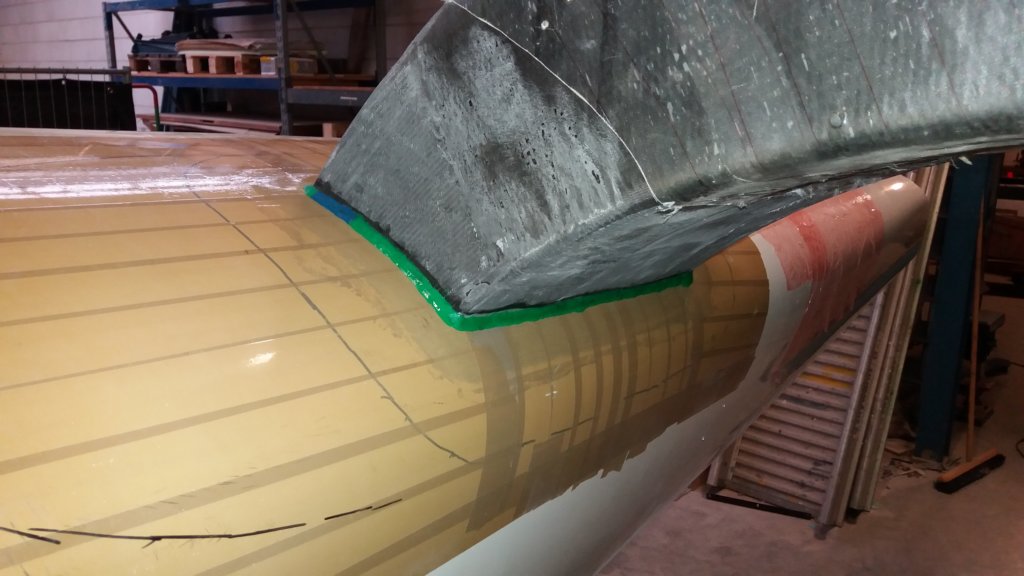
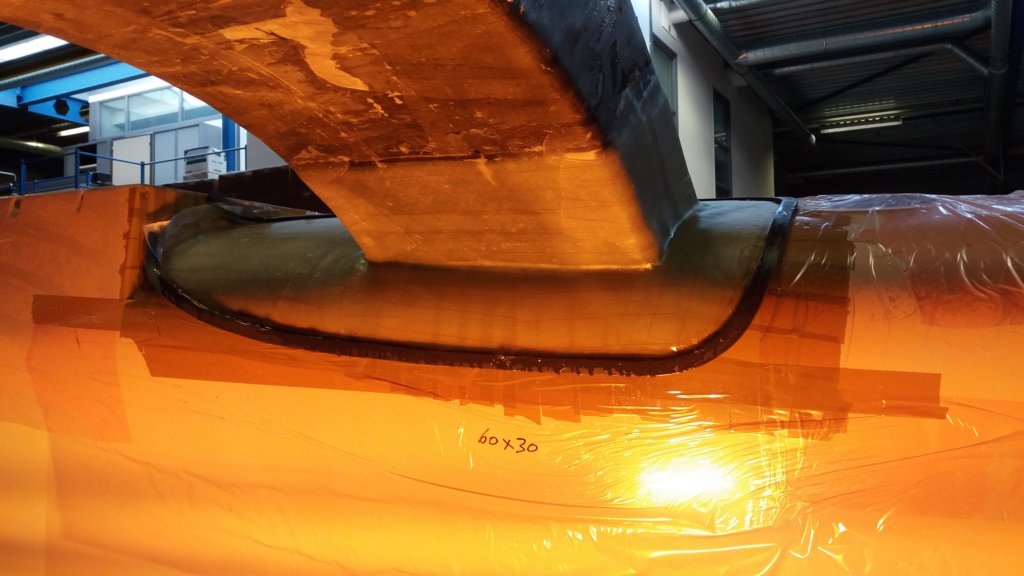
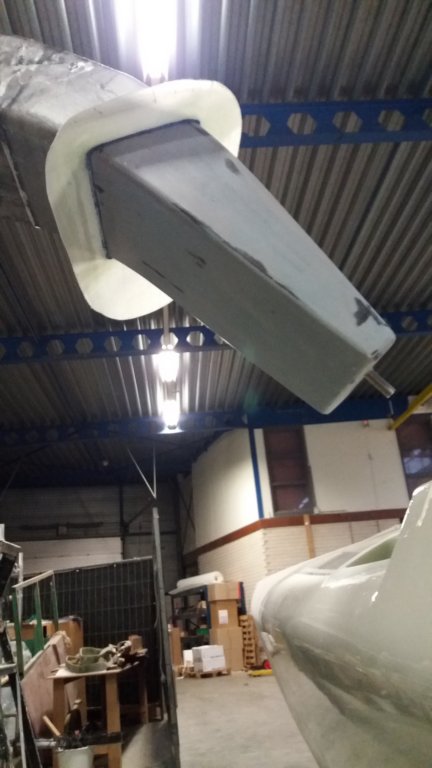
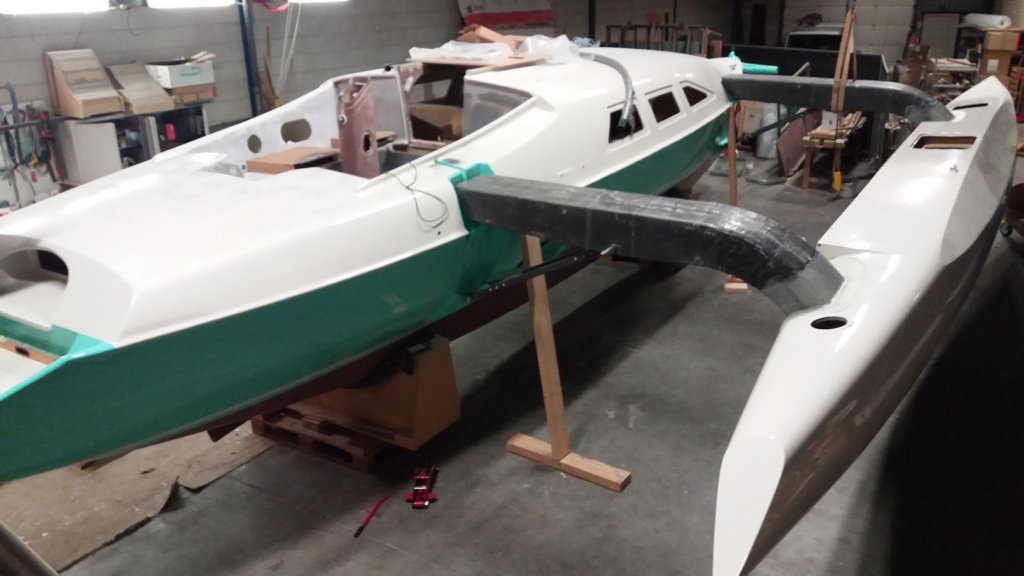
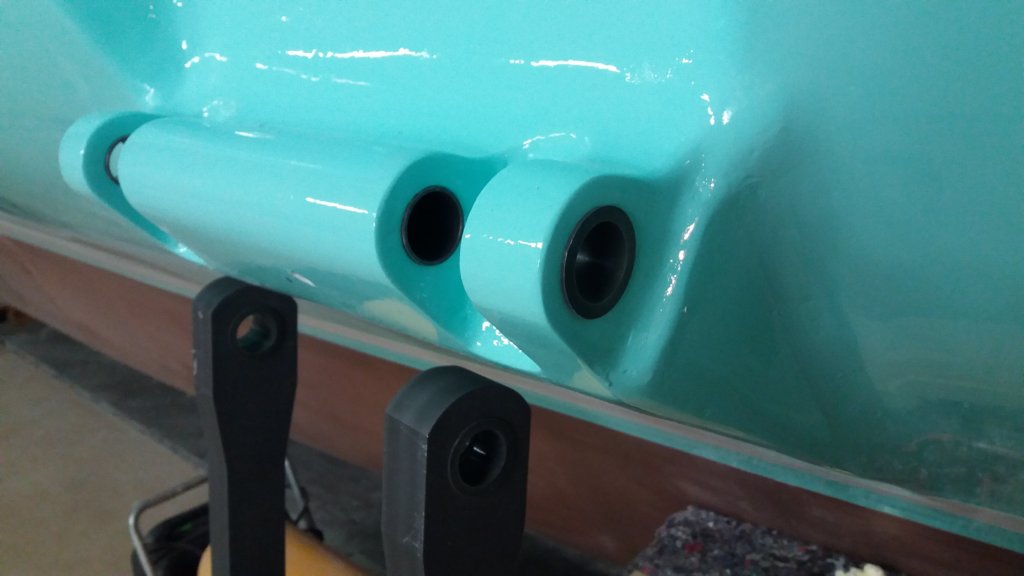
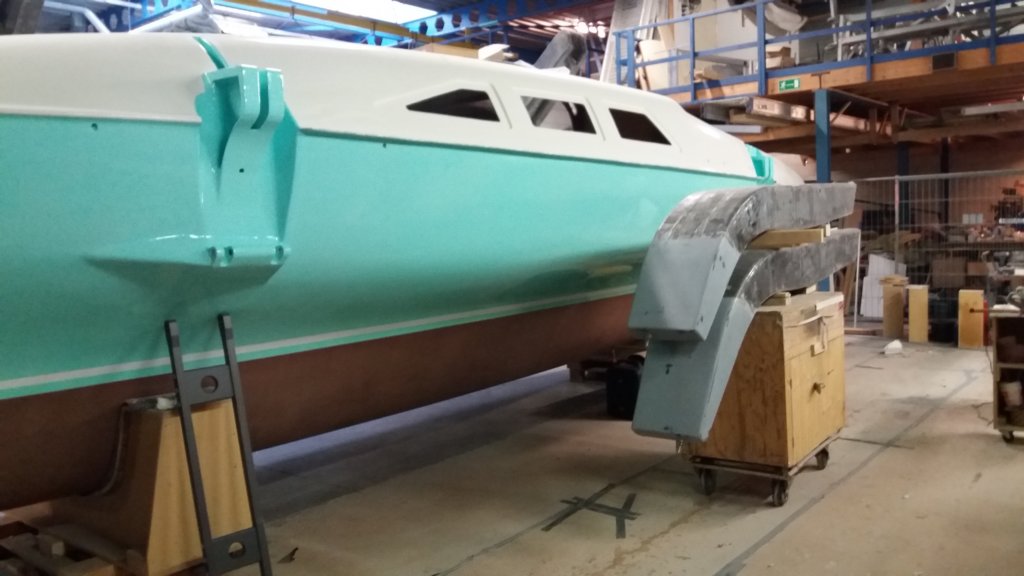
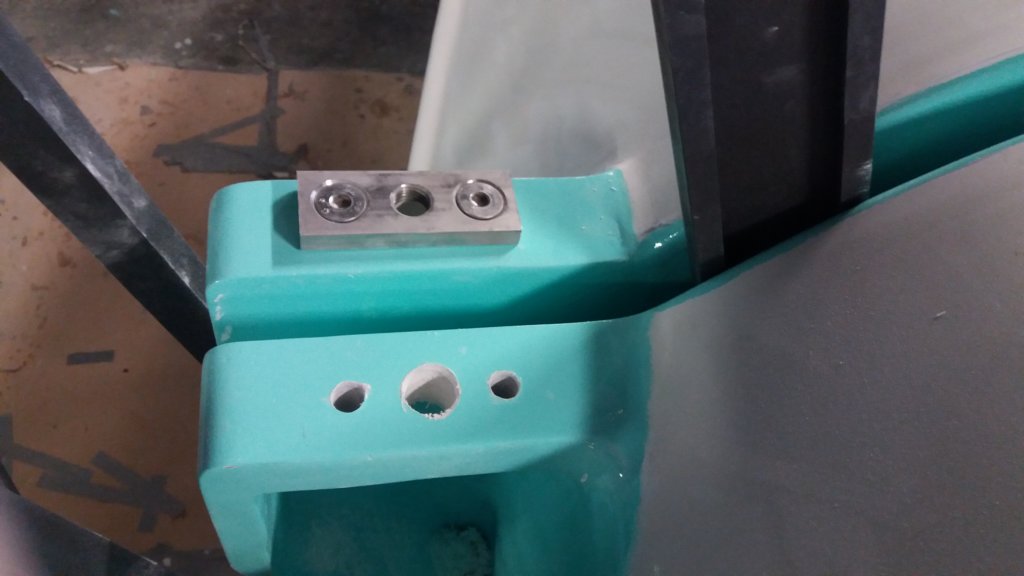
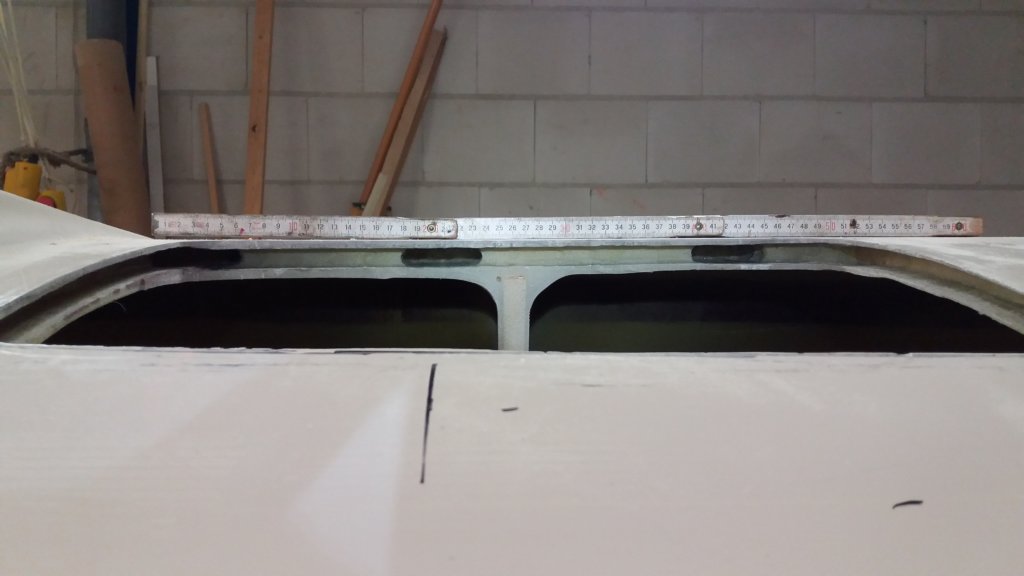
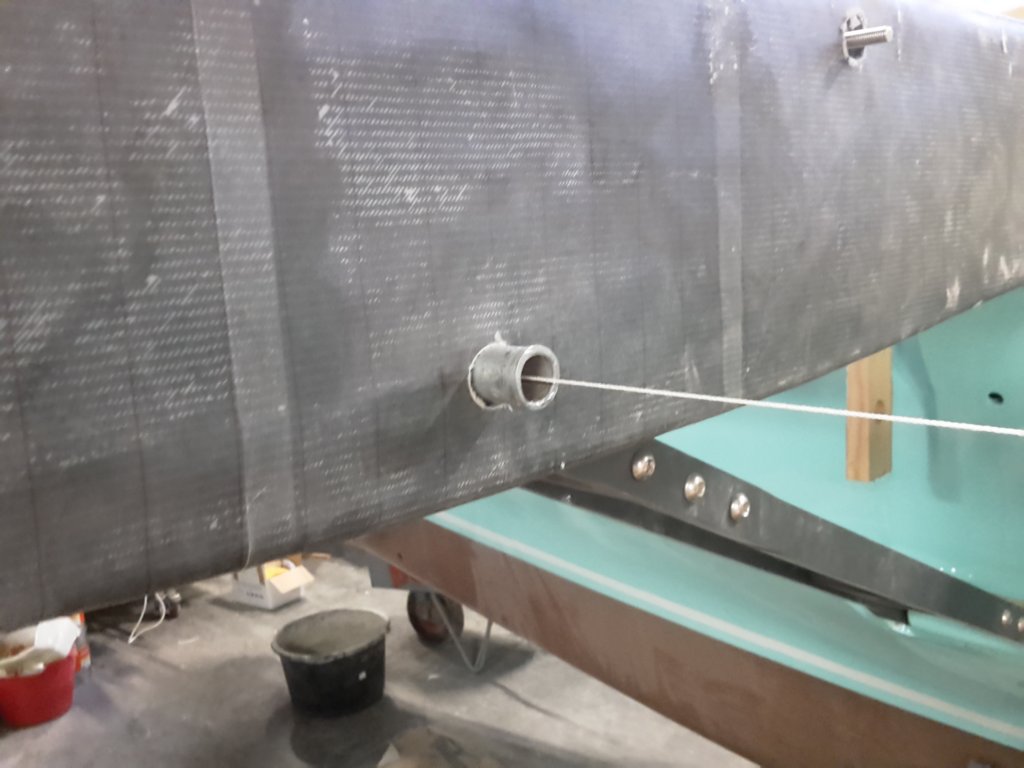
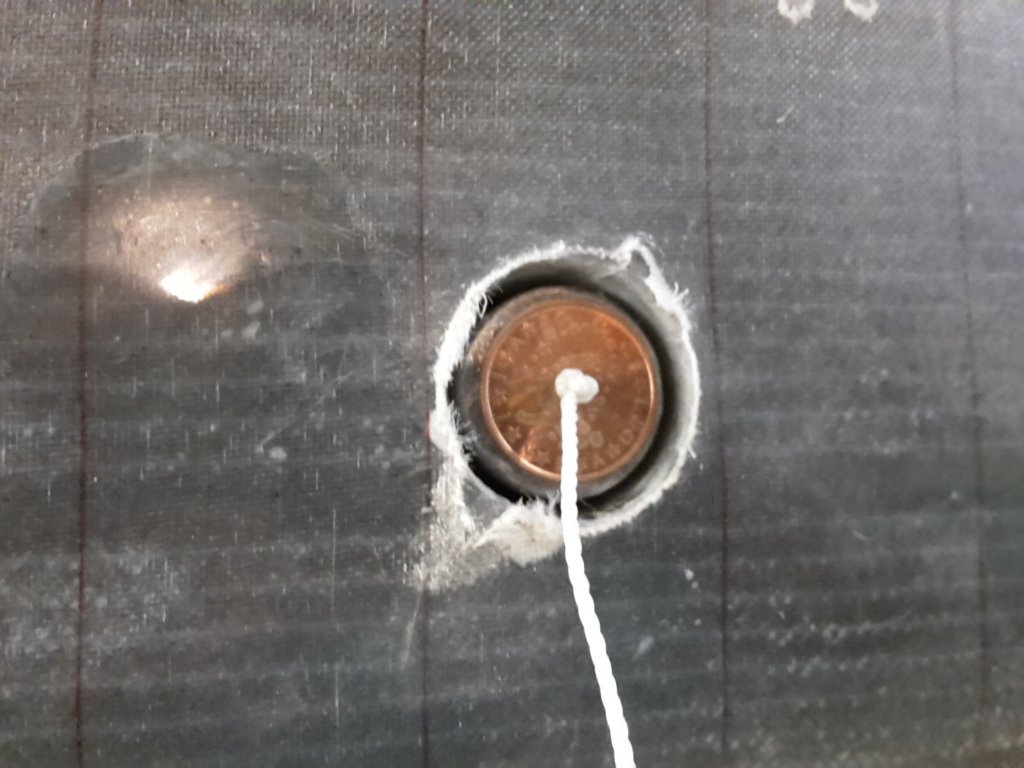
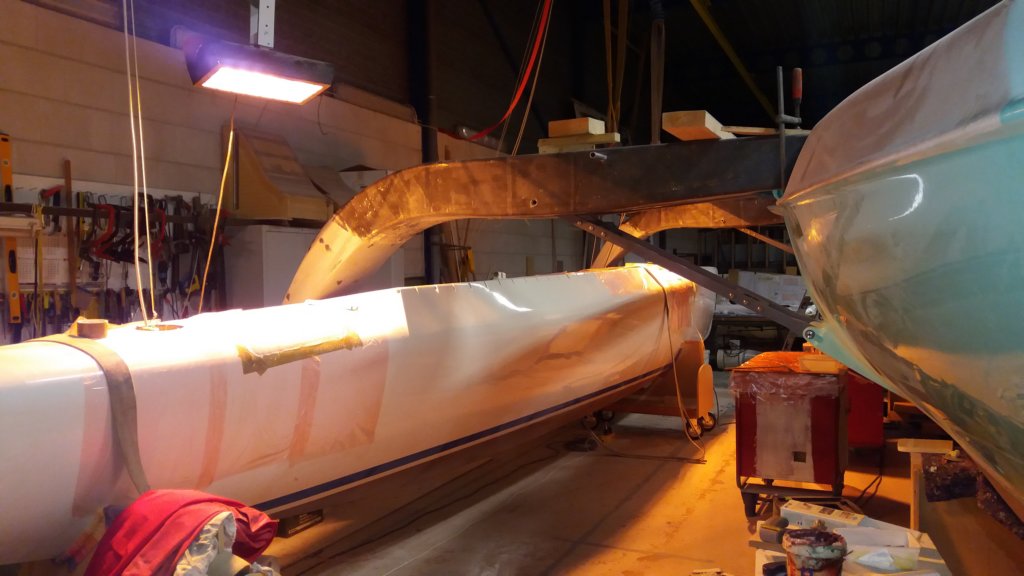
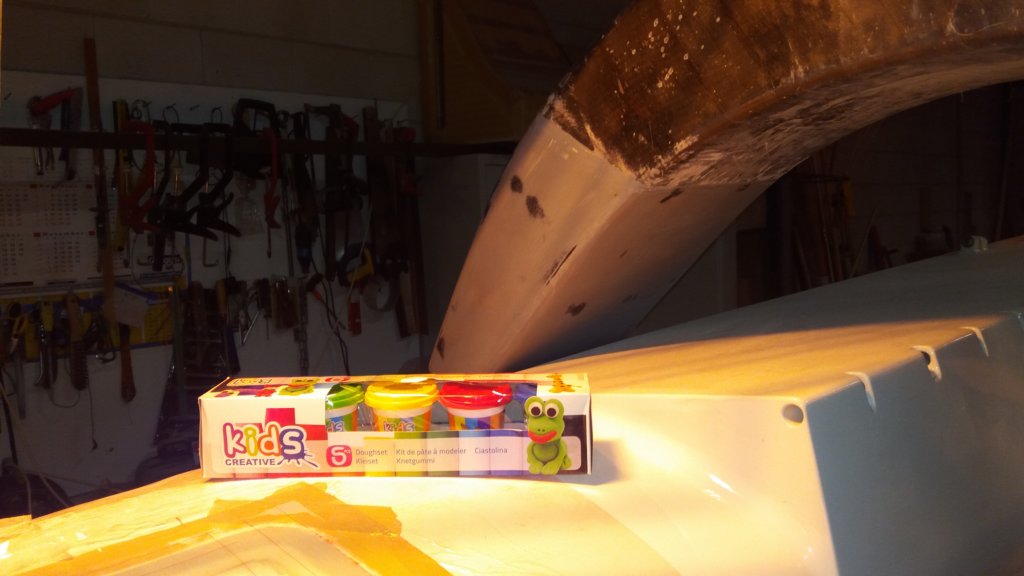
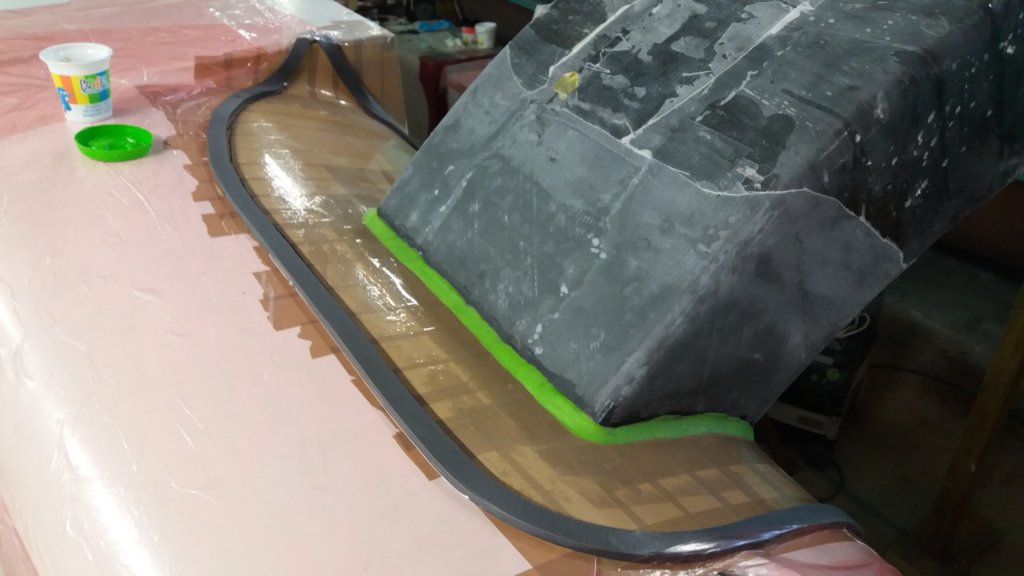
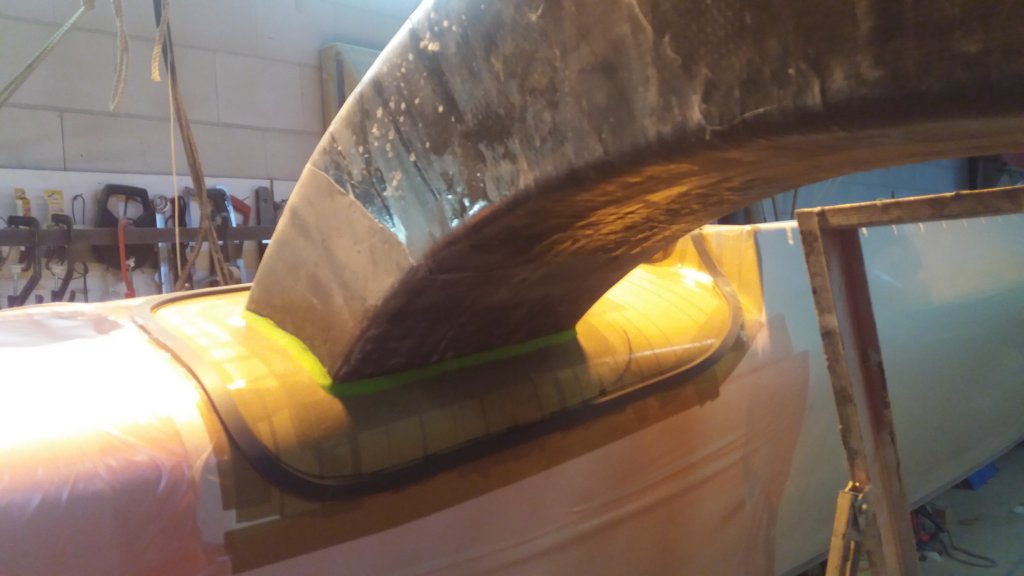
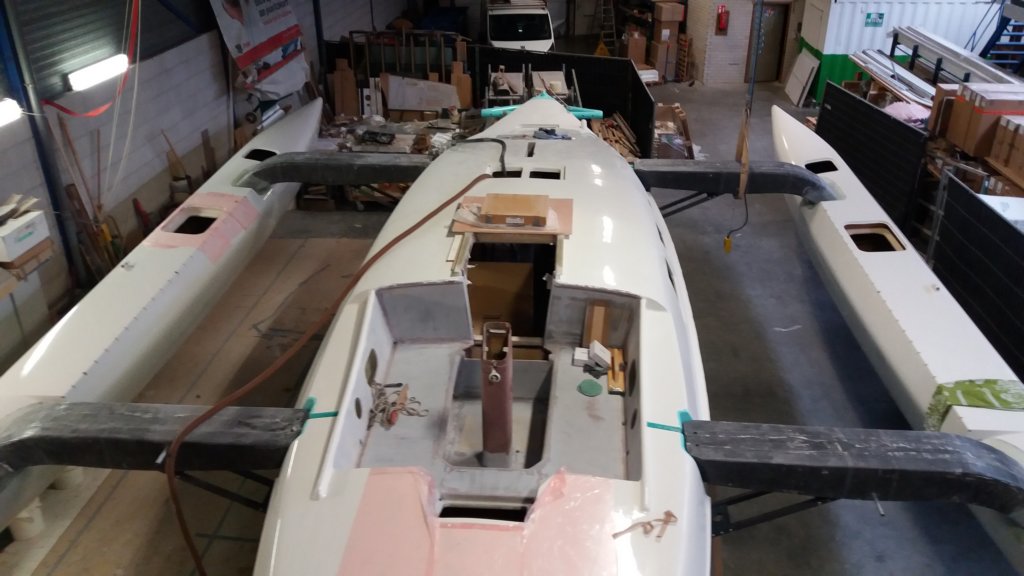
This stage is also the real moment of truth. Parts that were built years apart now meet for the first time. I had a few sleepless nights about the alignment of the beams and the folding system. During the build there was never a proper opportunity to check it—only rough estimates. And there is no adjustment possible in the solid carbon anchors.
Mounting the first two beams on starboard was, indeed, an exciting moment. Fortunately all my worries proved unnecessary. There was practically no deviation in alignment—just a few millimetres—and that was a huge relief. Kudos again to designer Ian Farrier.
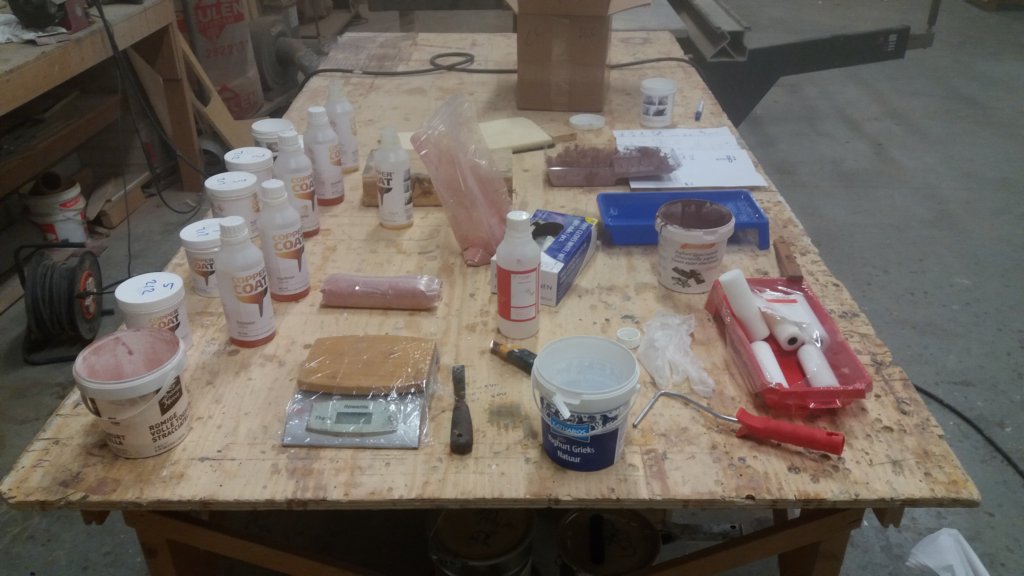
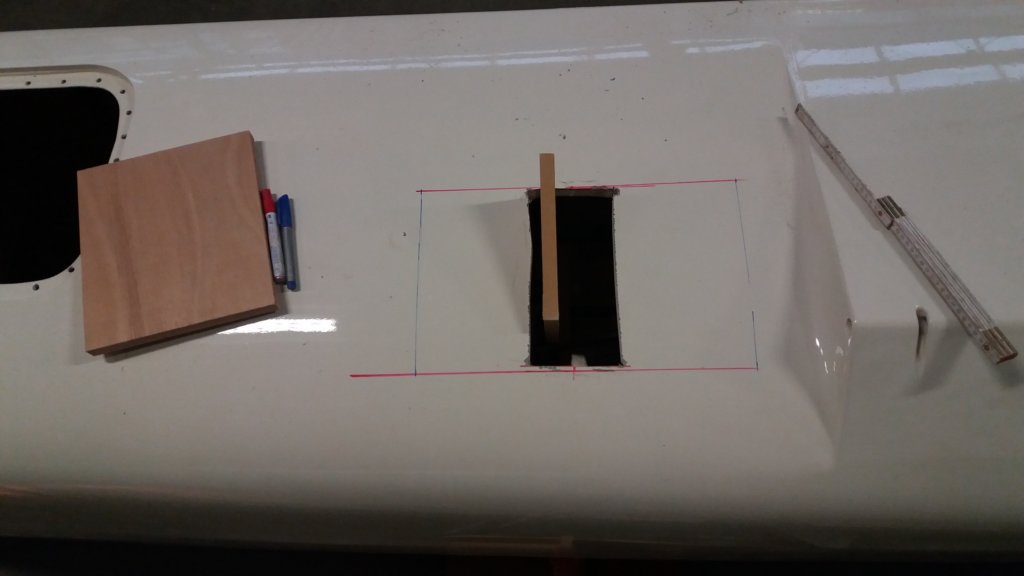
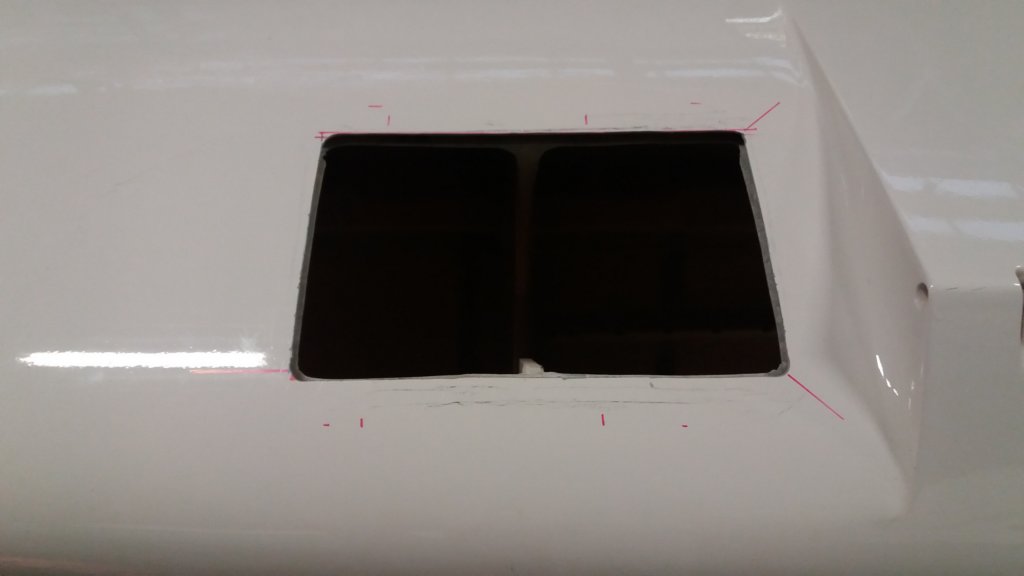
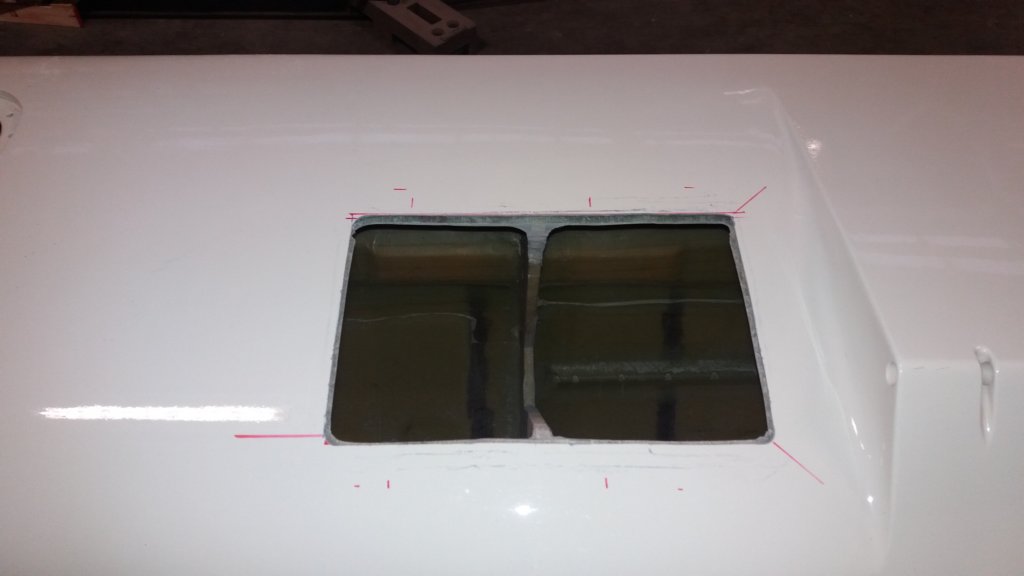
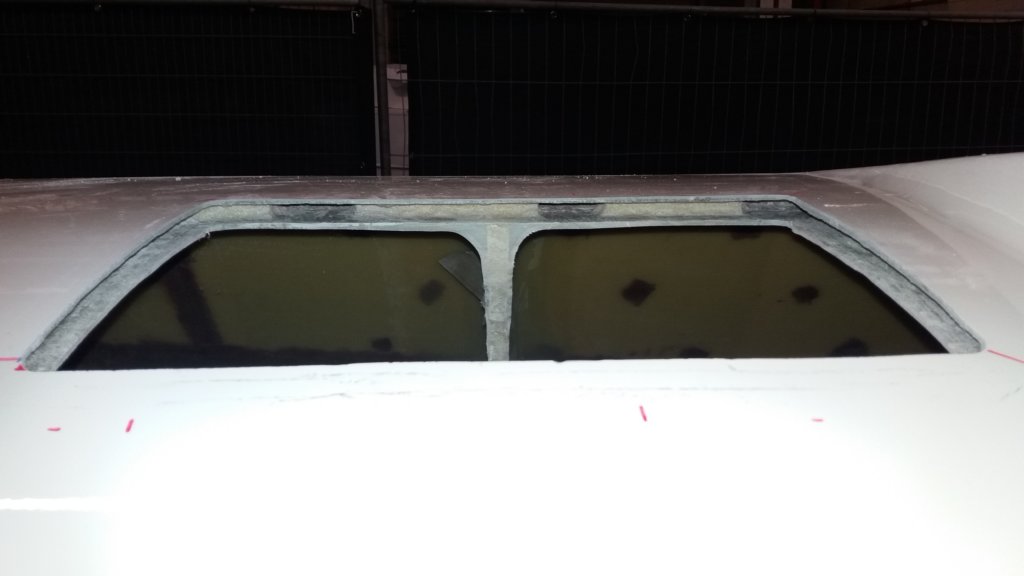
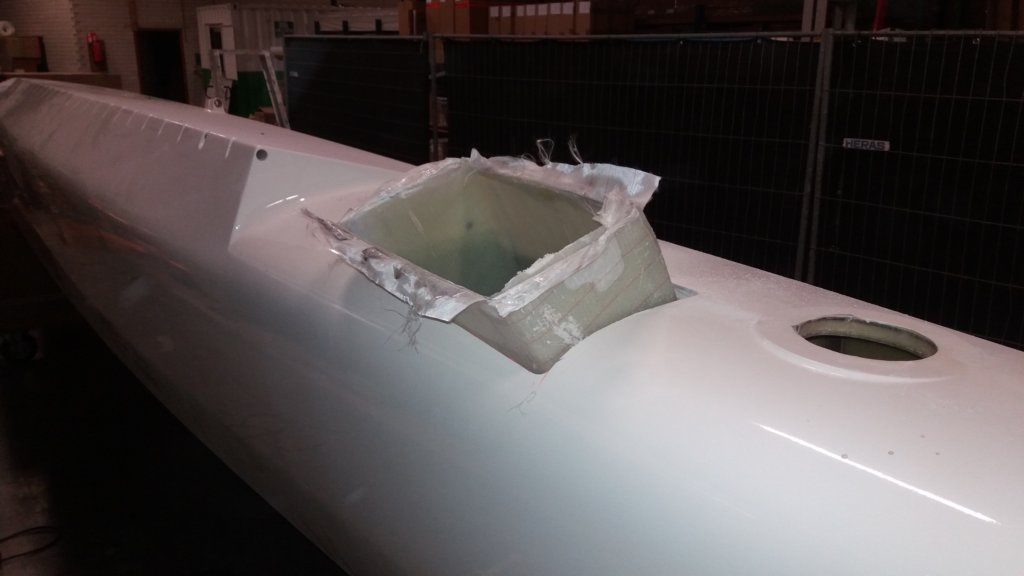
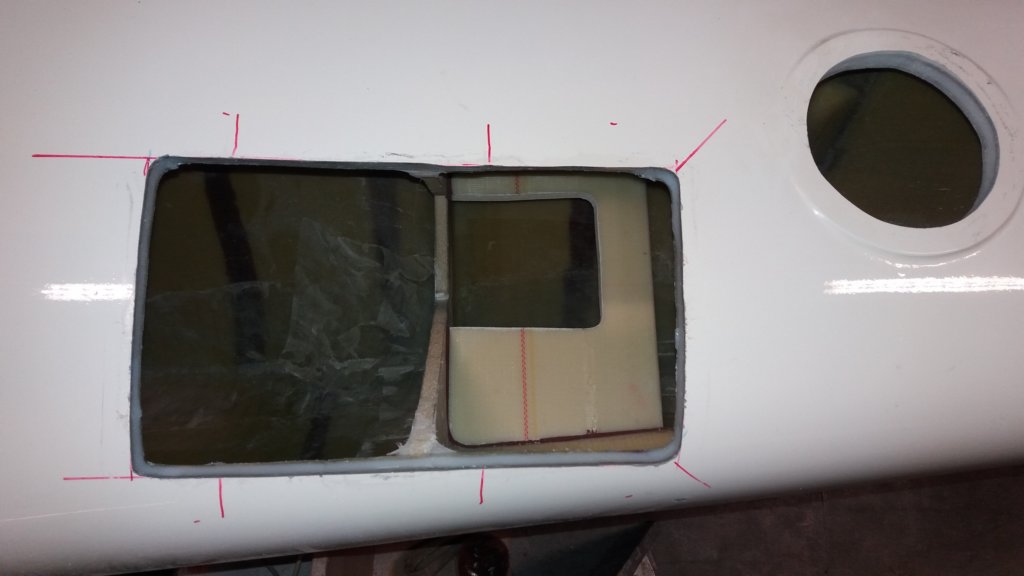
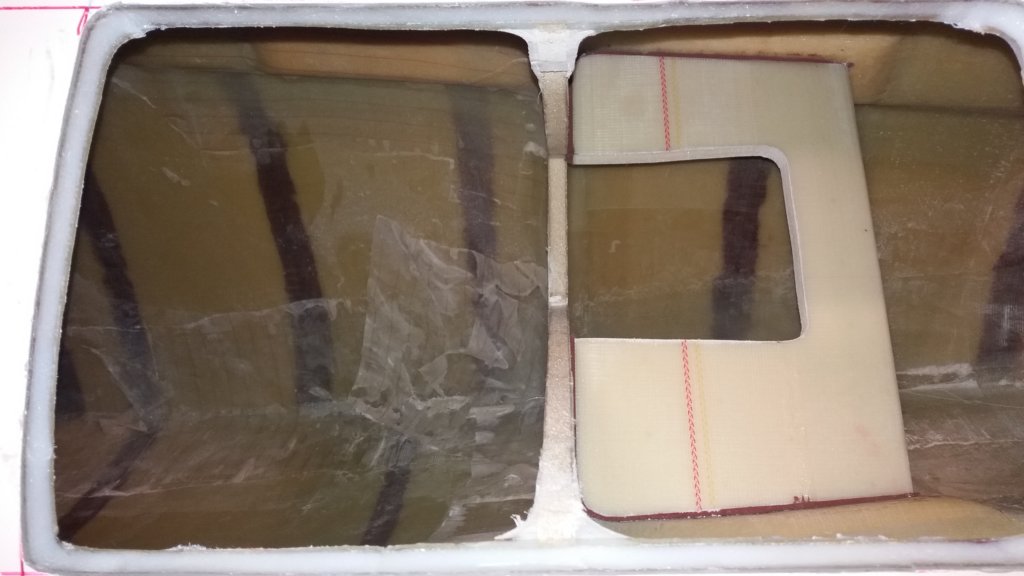
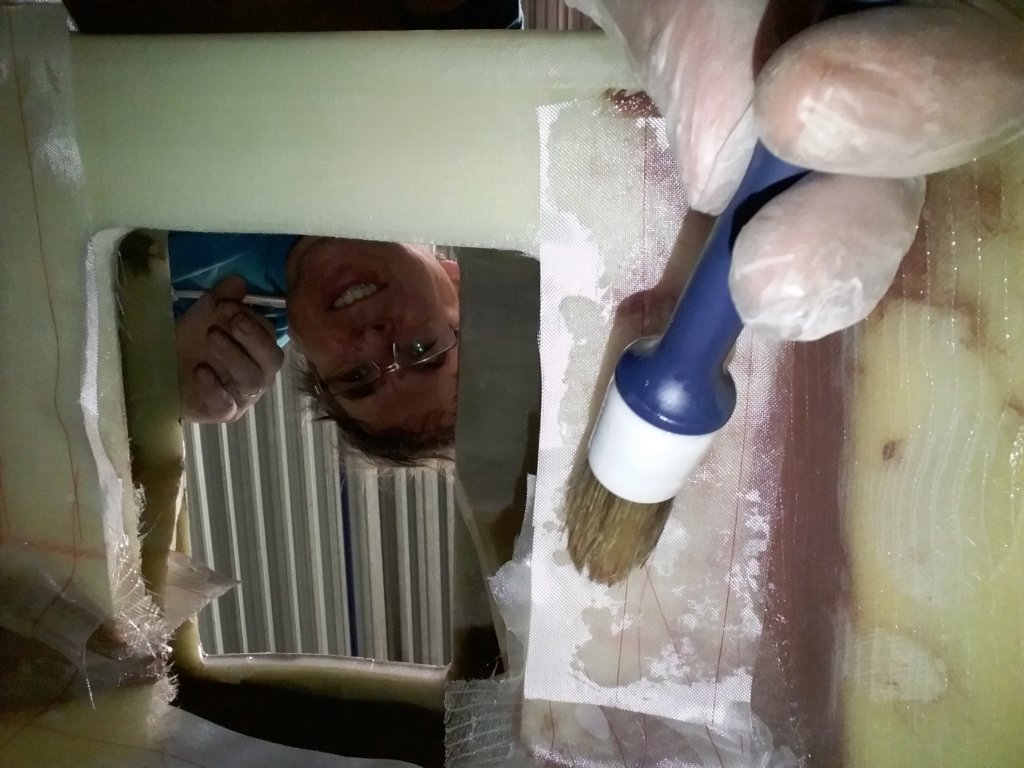
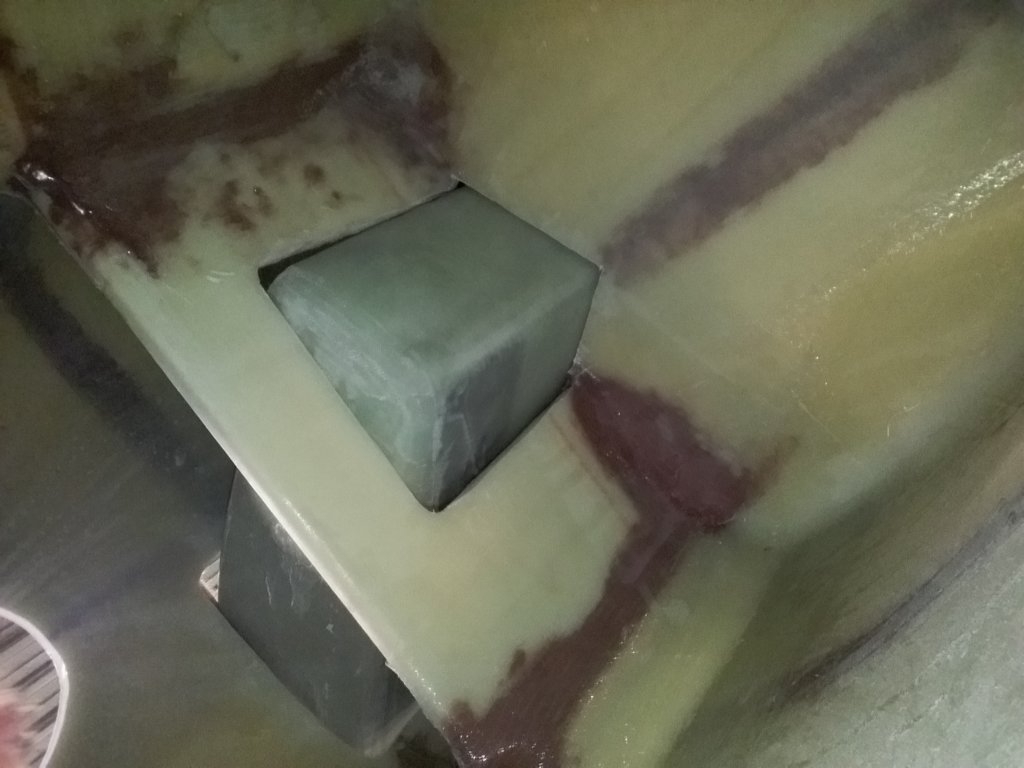
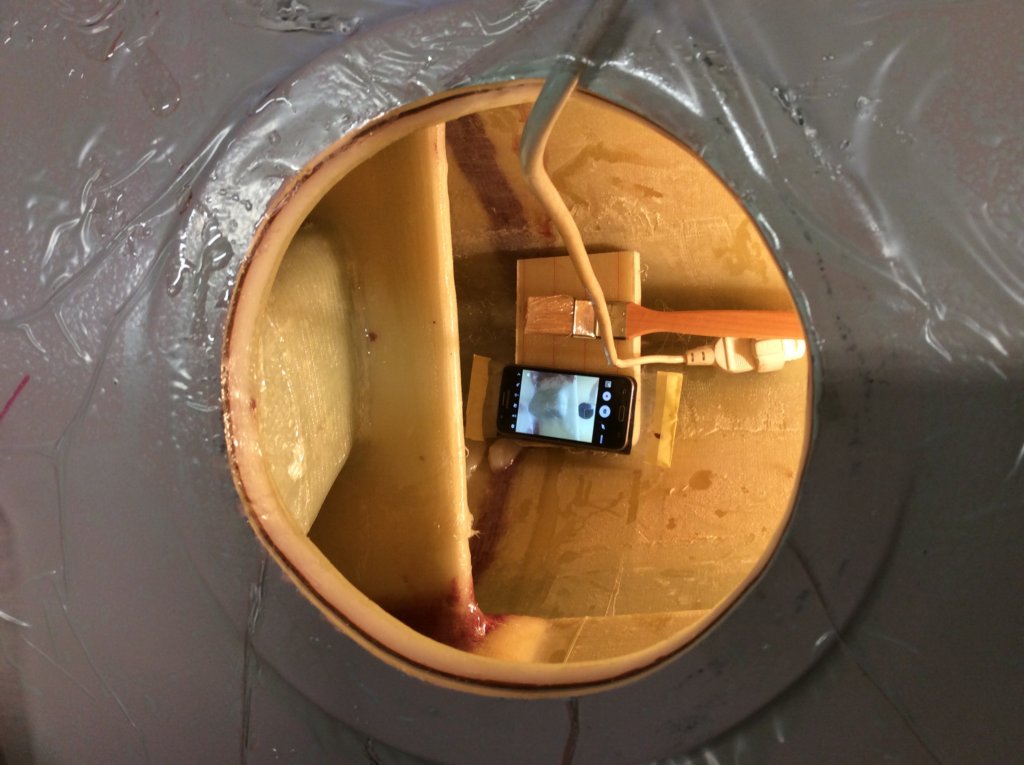
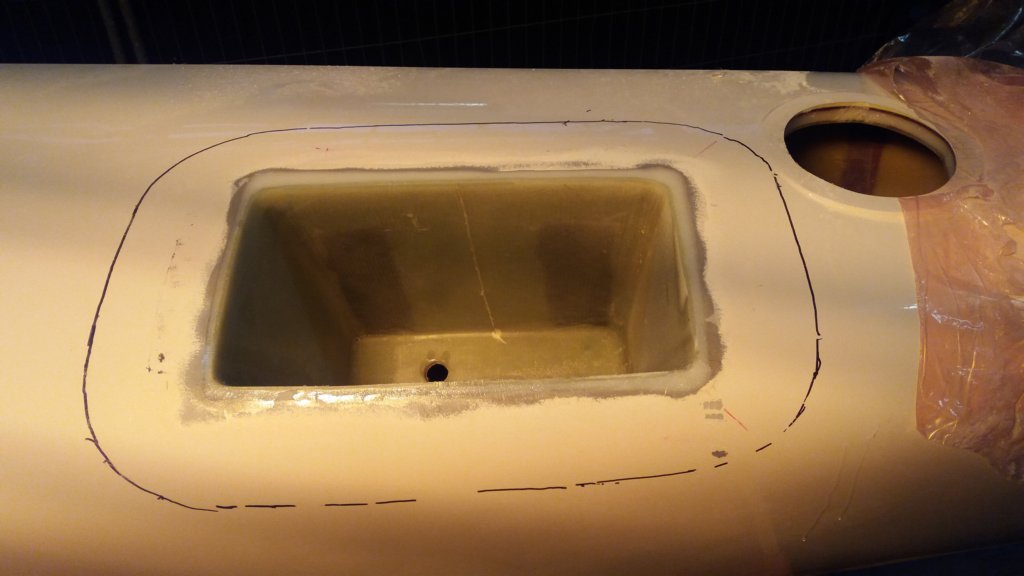
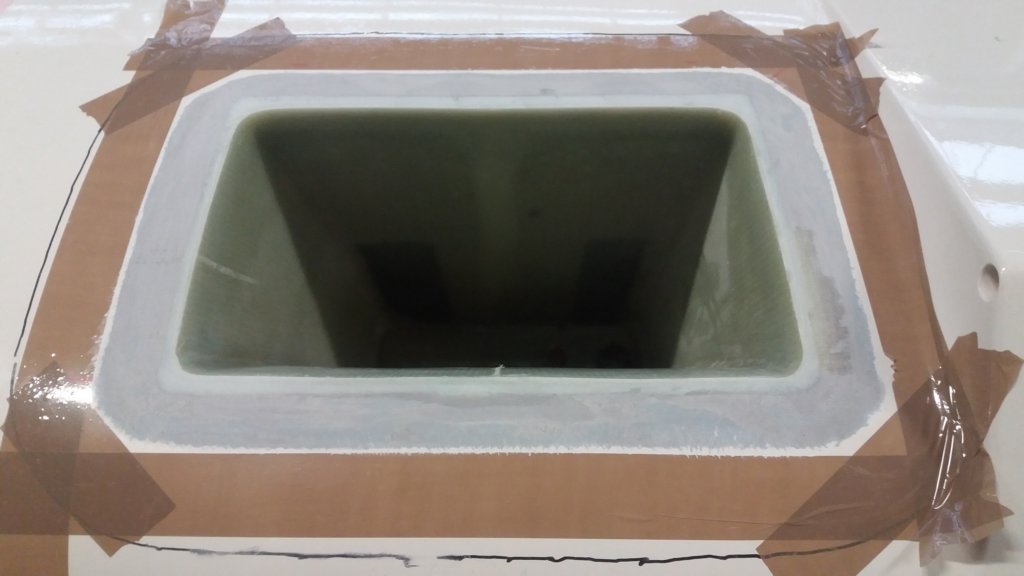
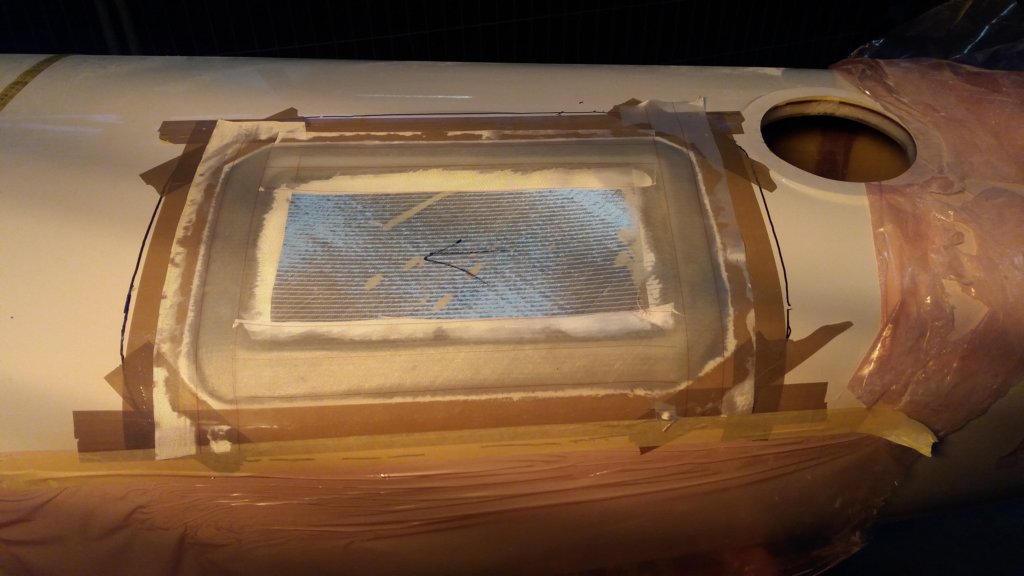
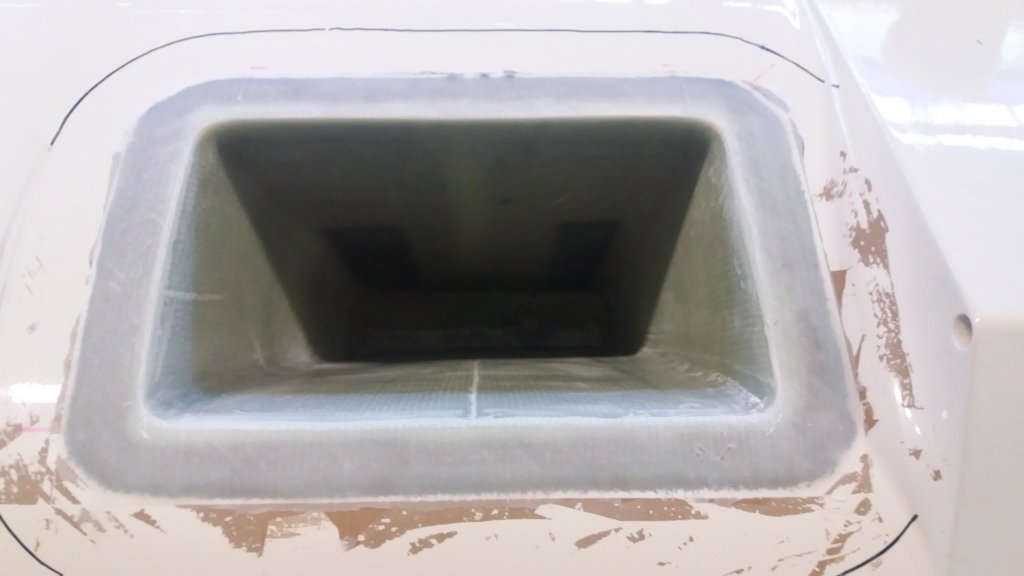
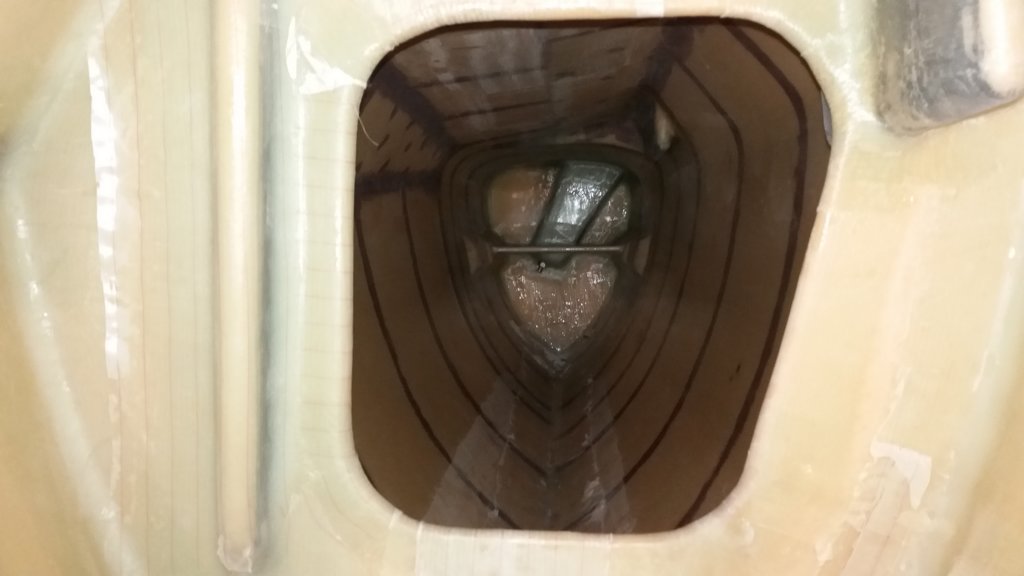
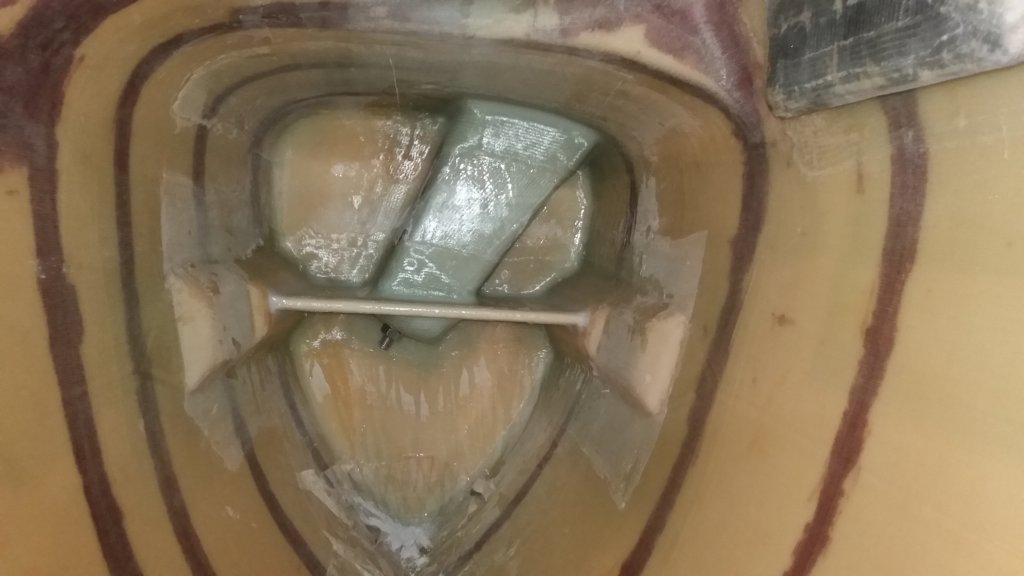
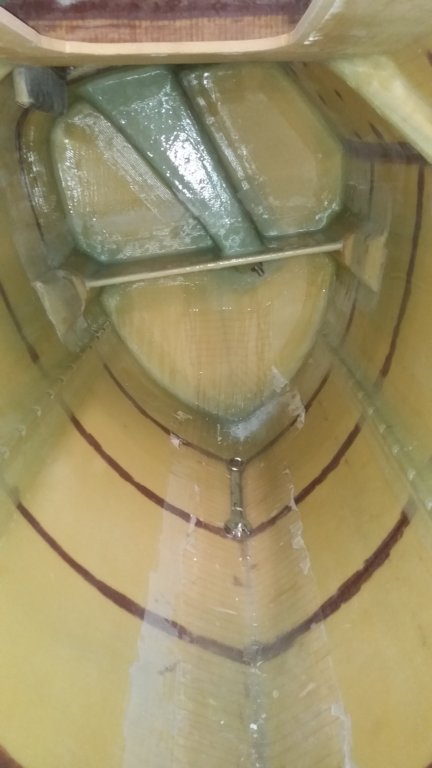
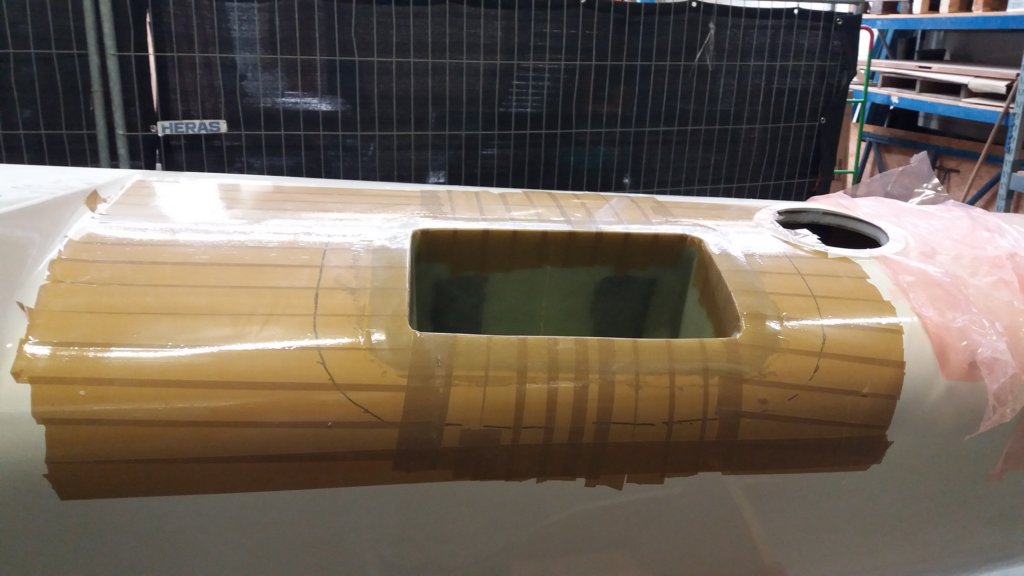
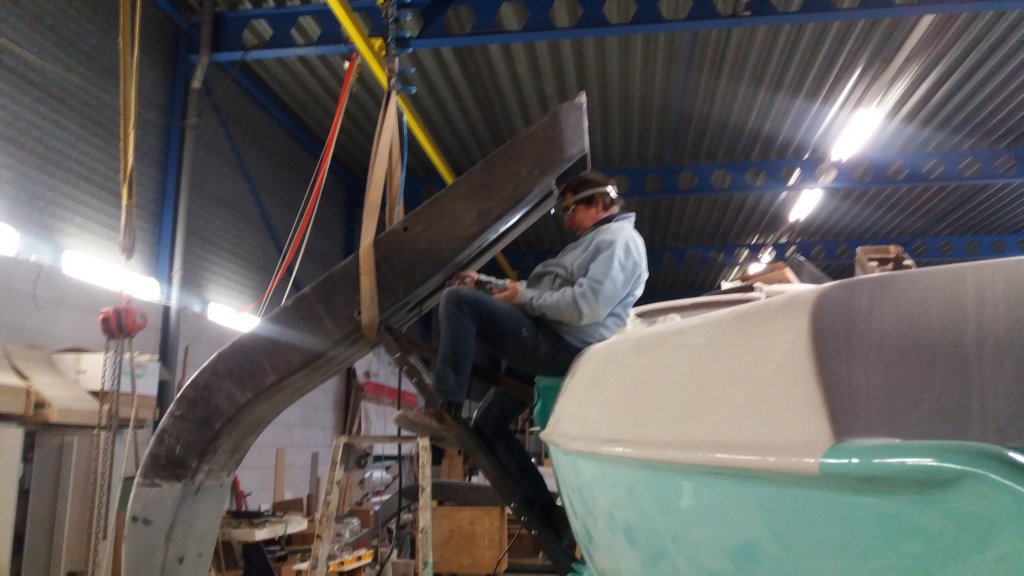
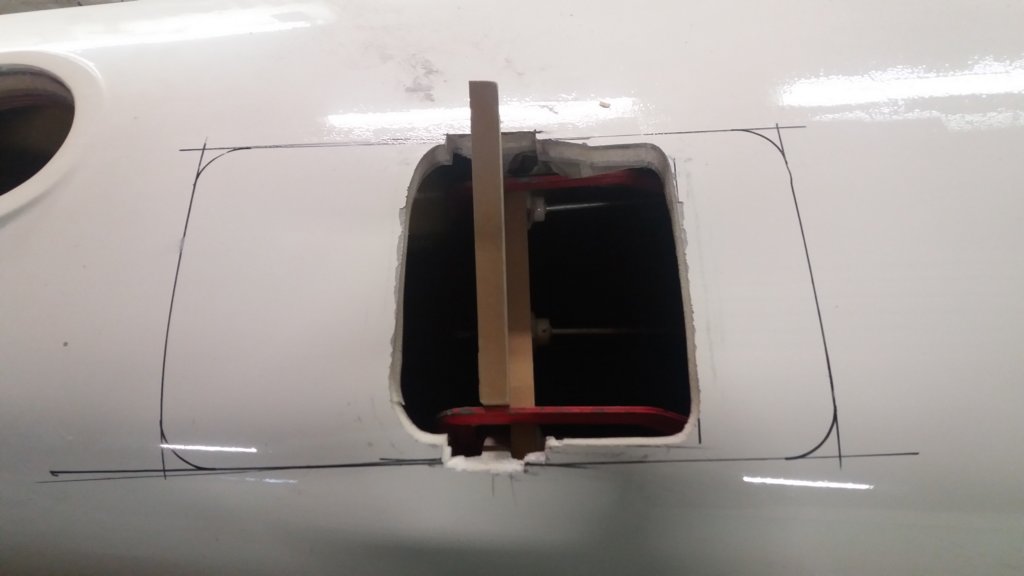
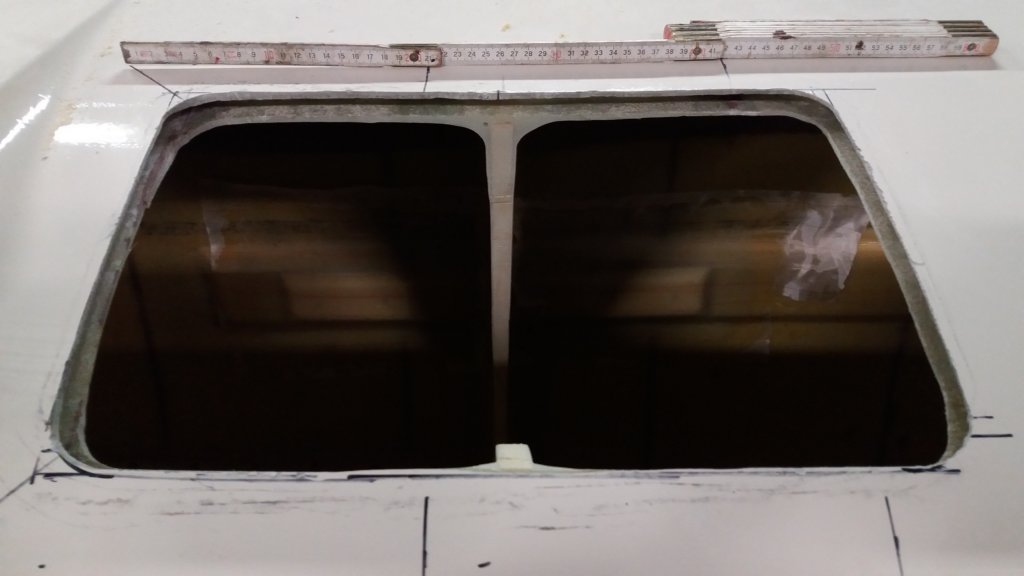
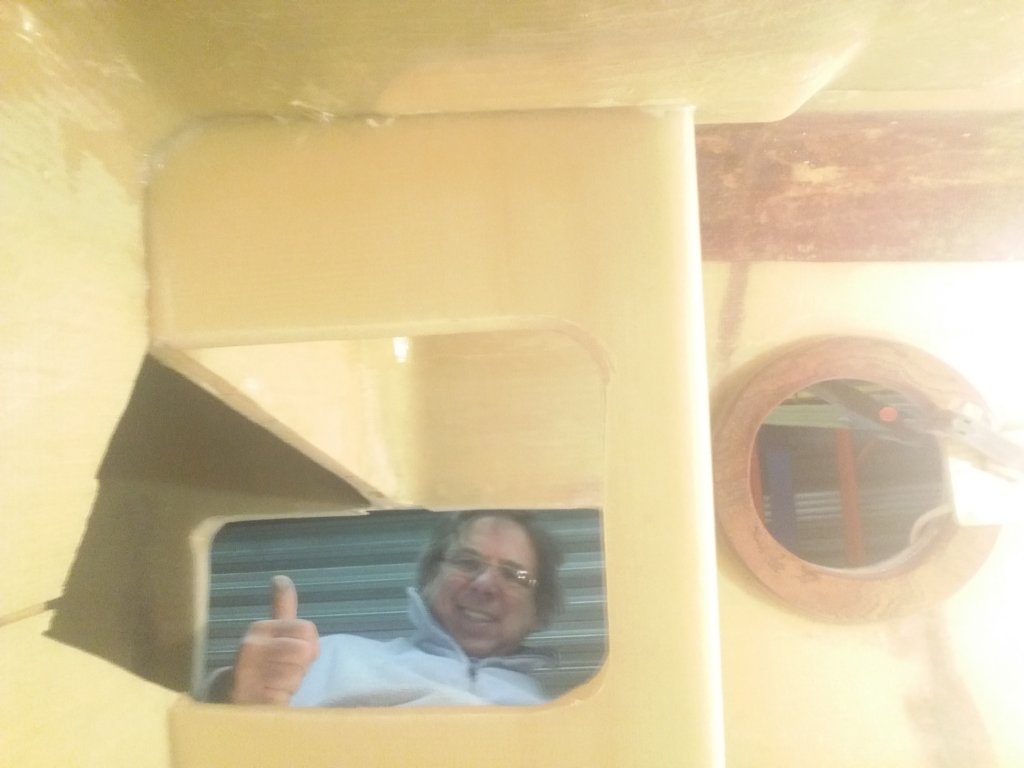
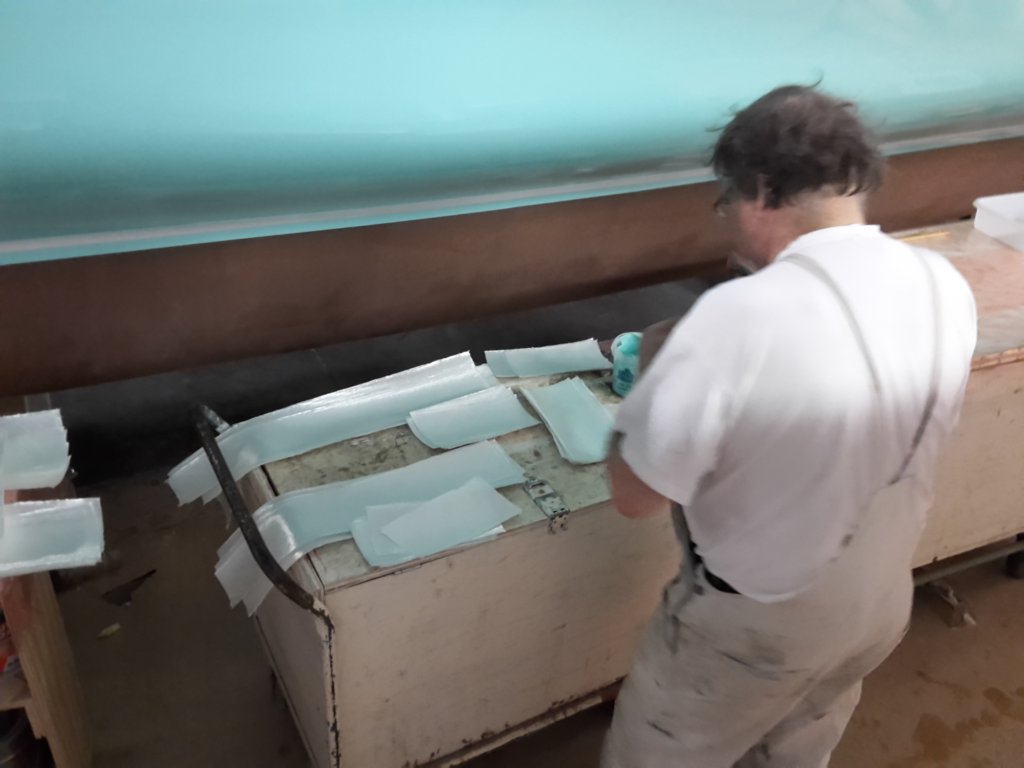
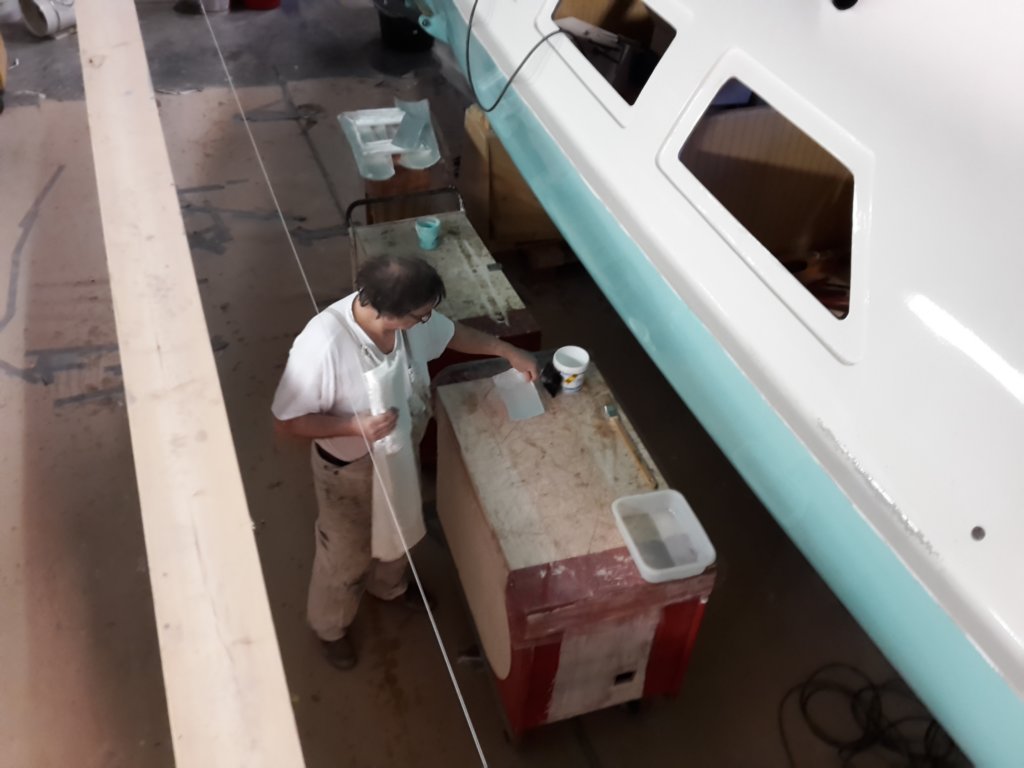
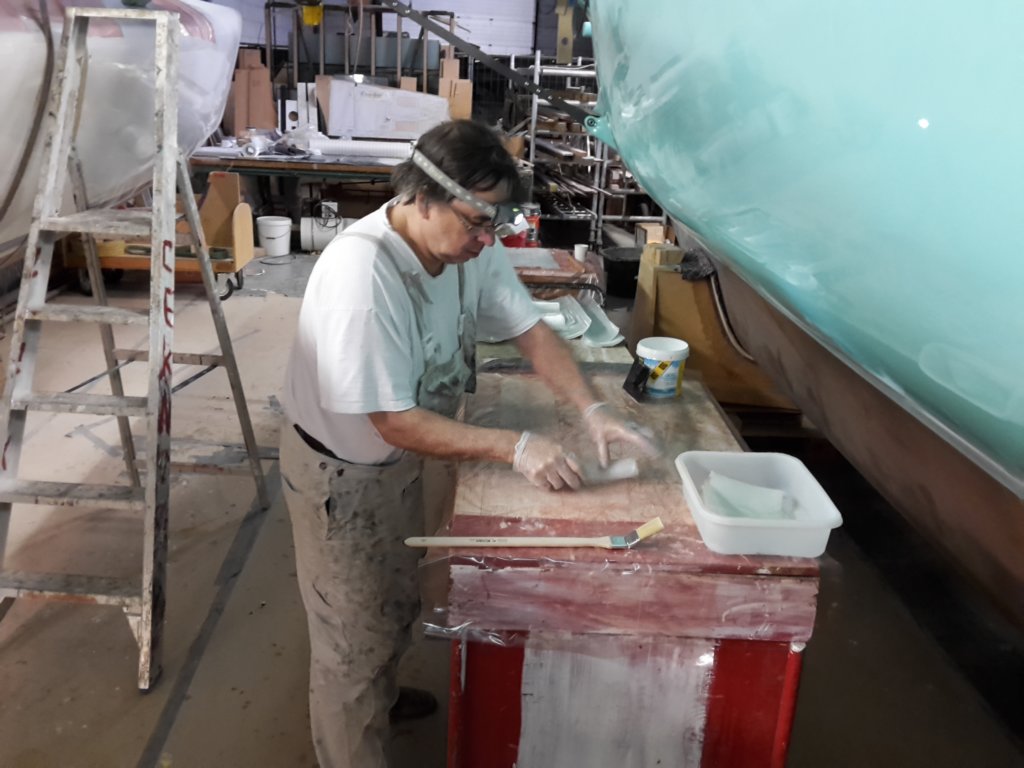
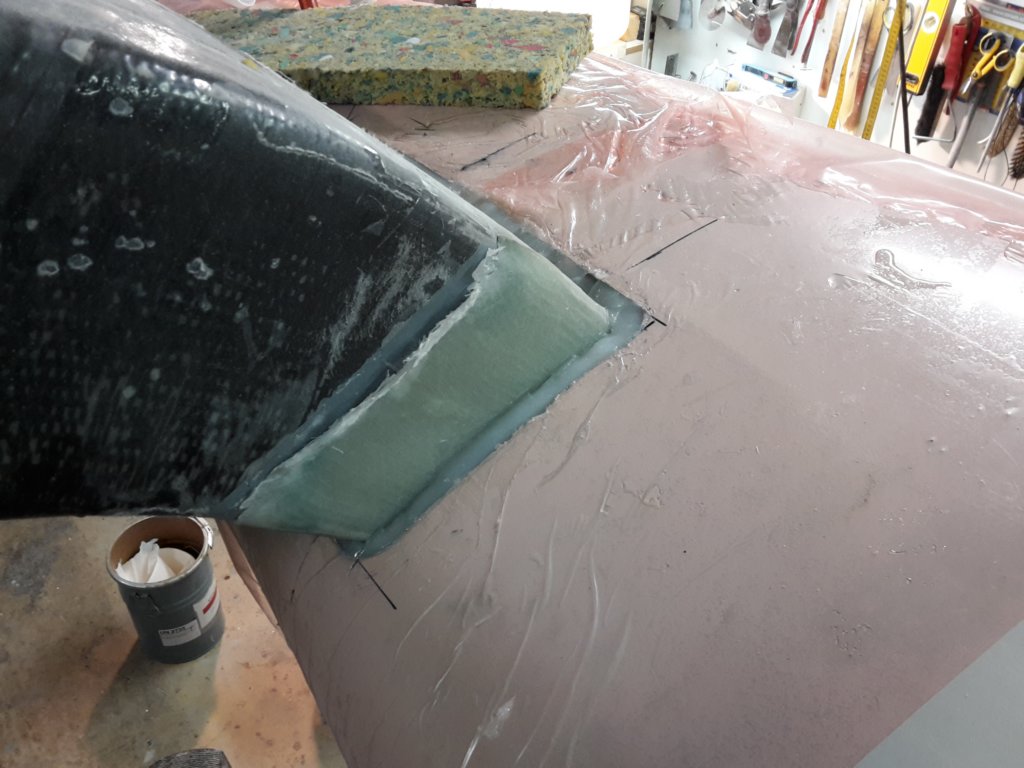
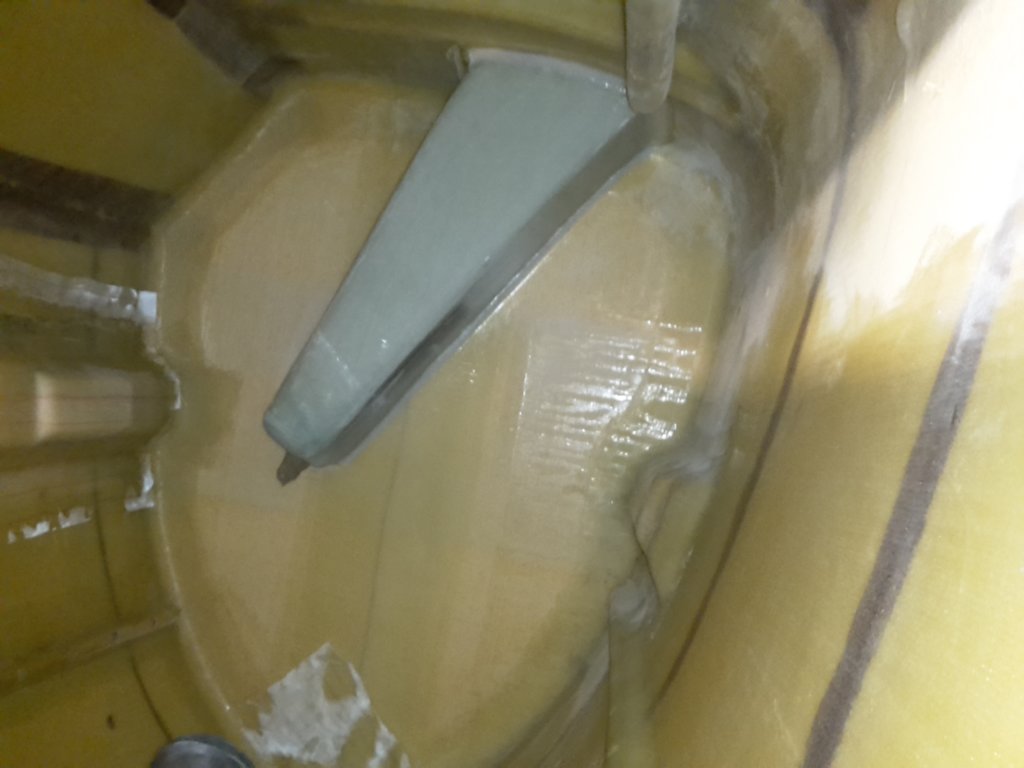
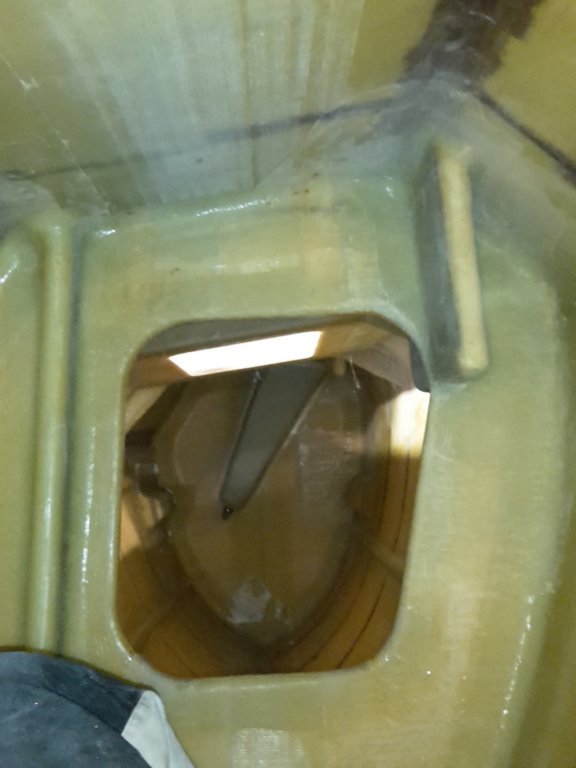
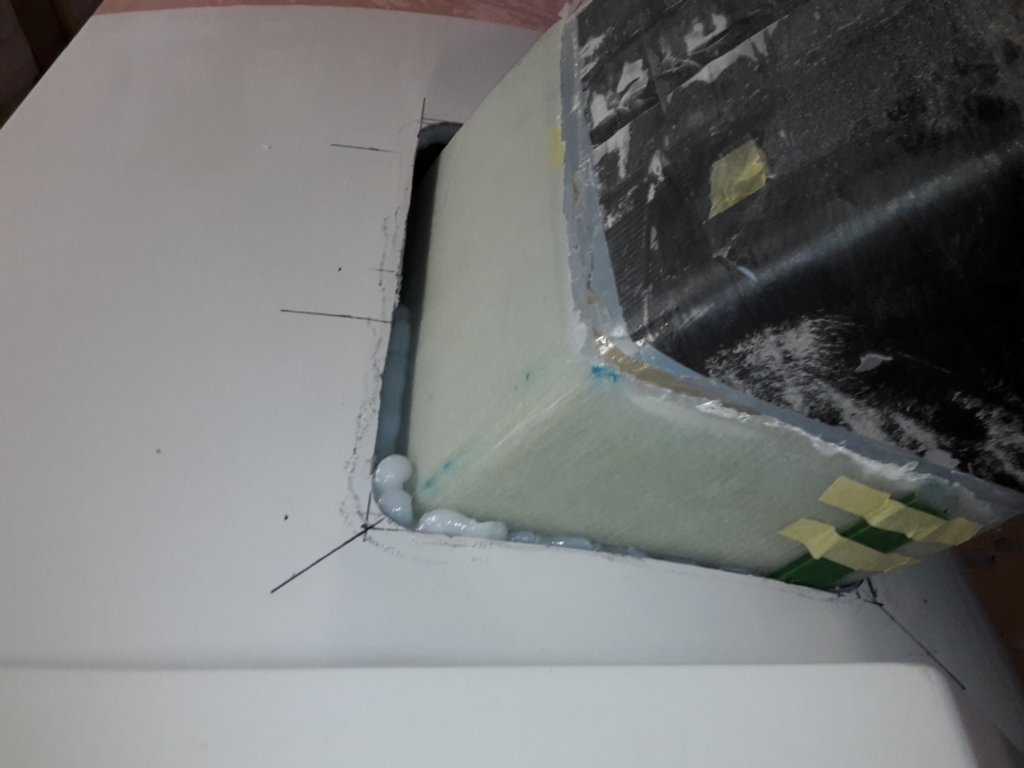
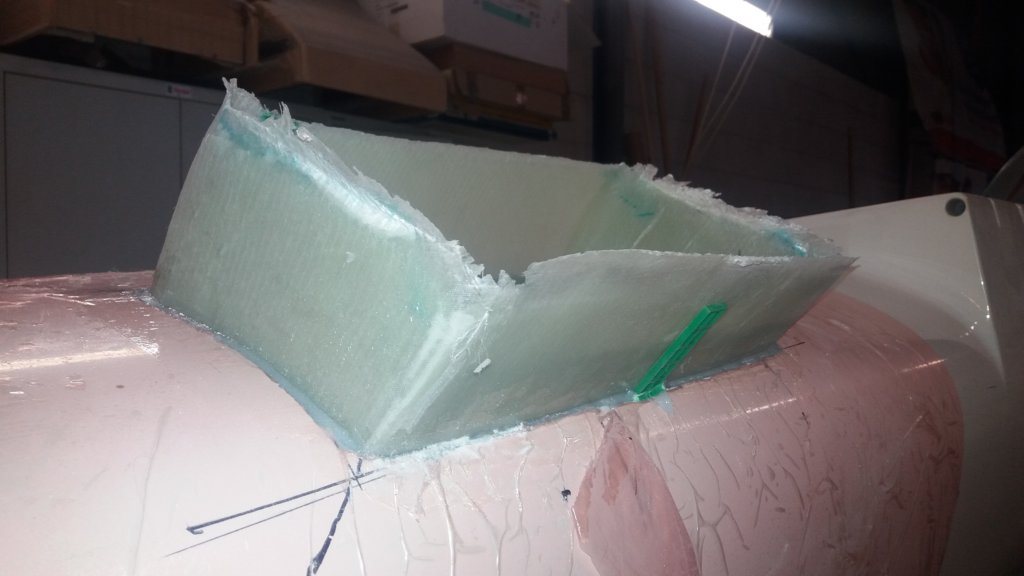
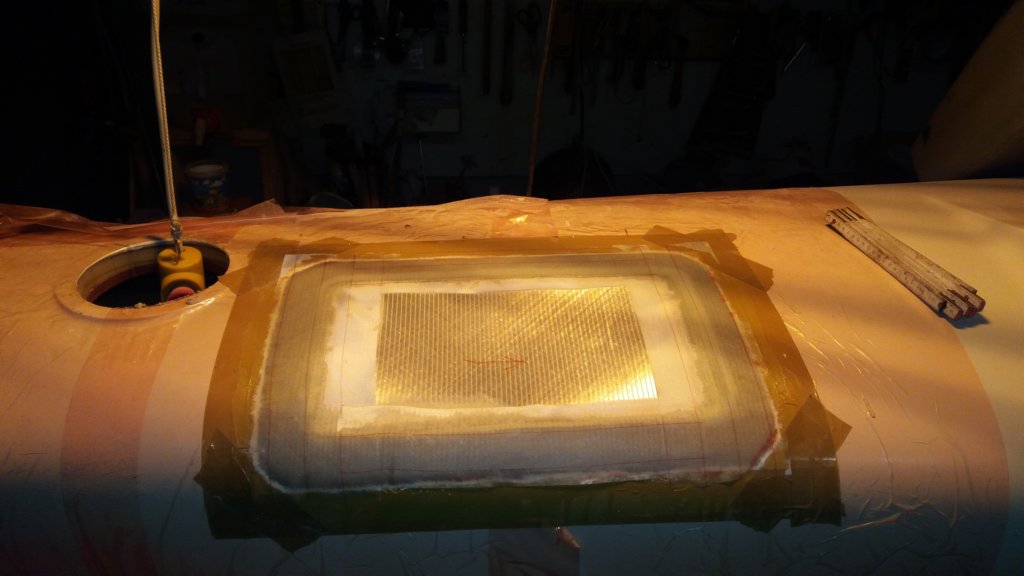
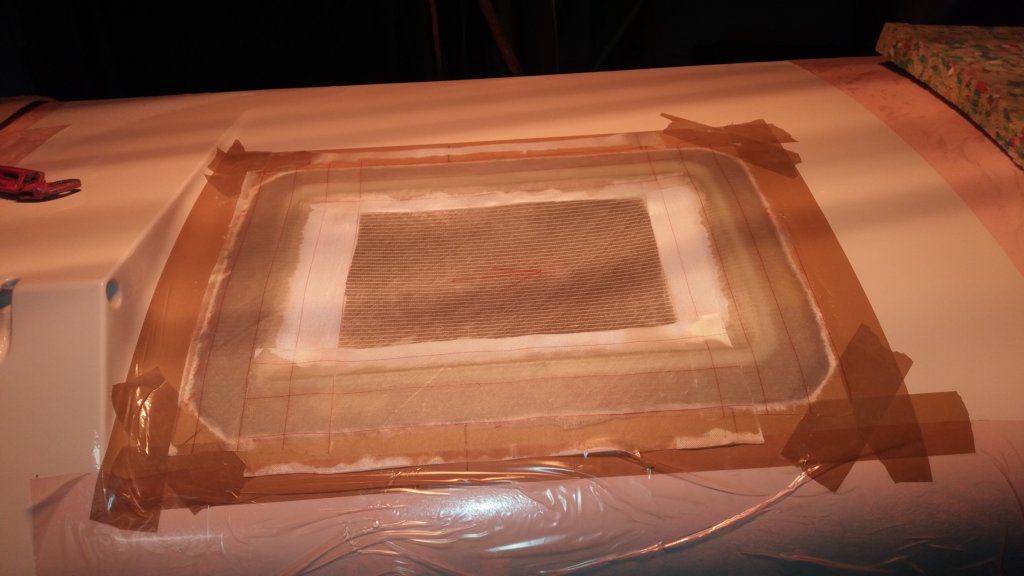
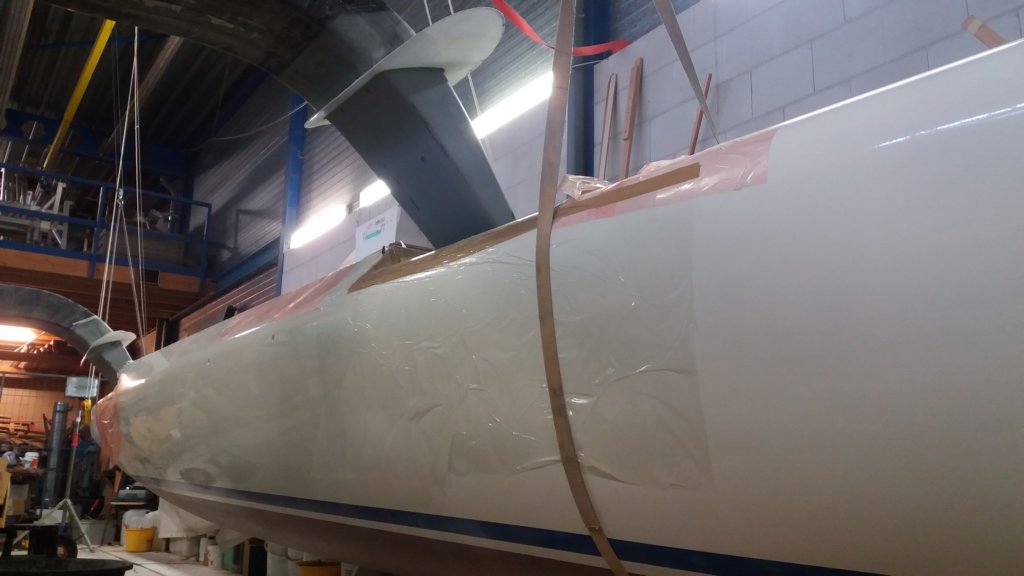
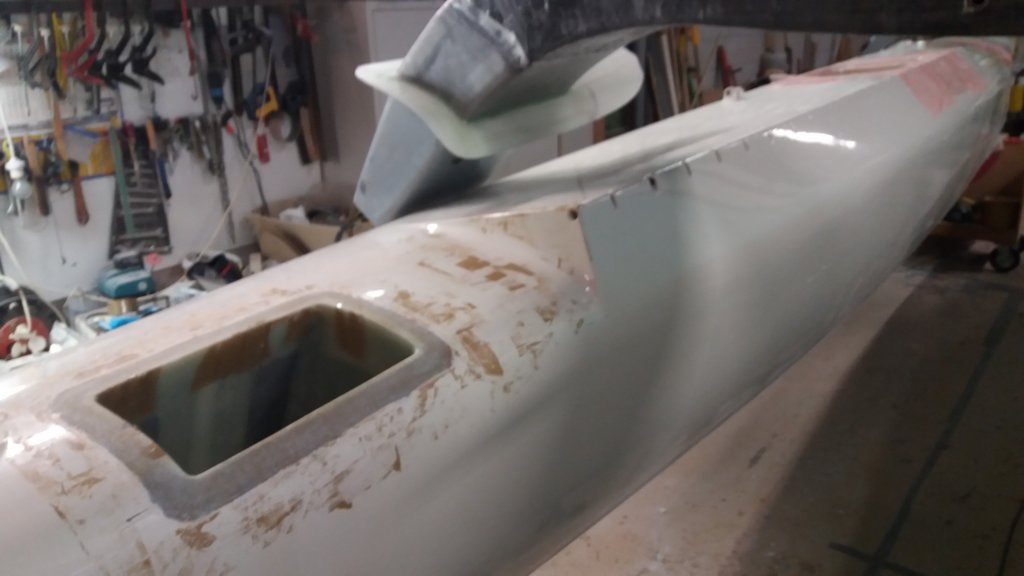
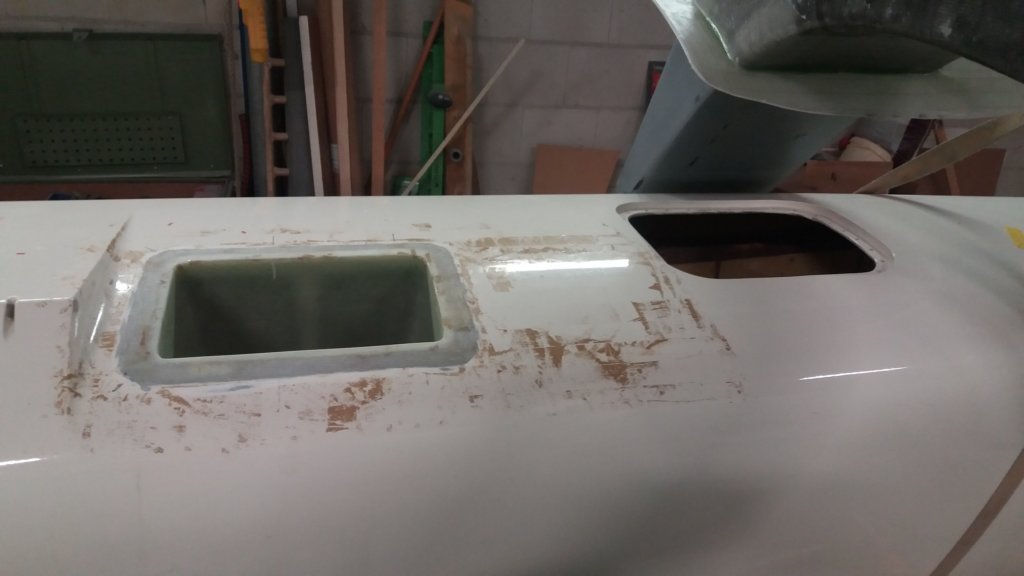
Putting the boat together also meant plenty of difficult laminating work. Laminating the aft end of the aft beam sleeve had to be done through the small inspection hatch opening on the aft deck. Using my phone in camera mode, wrapped in clear plastic, I could at least see what I was doing on the underside of the sleeve.
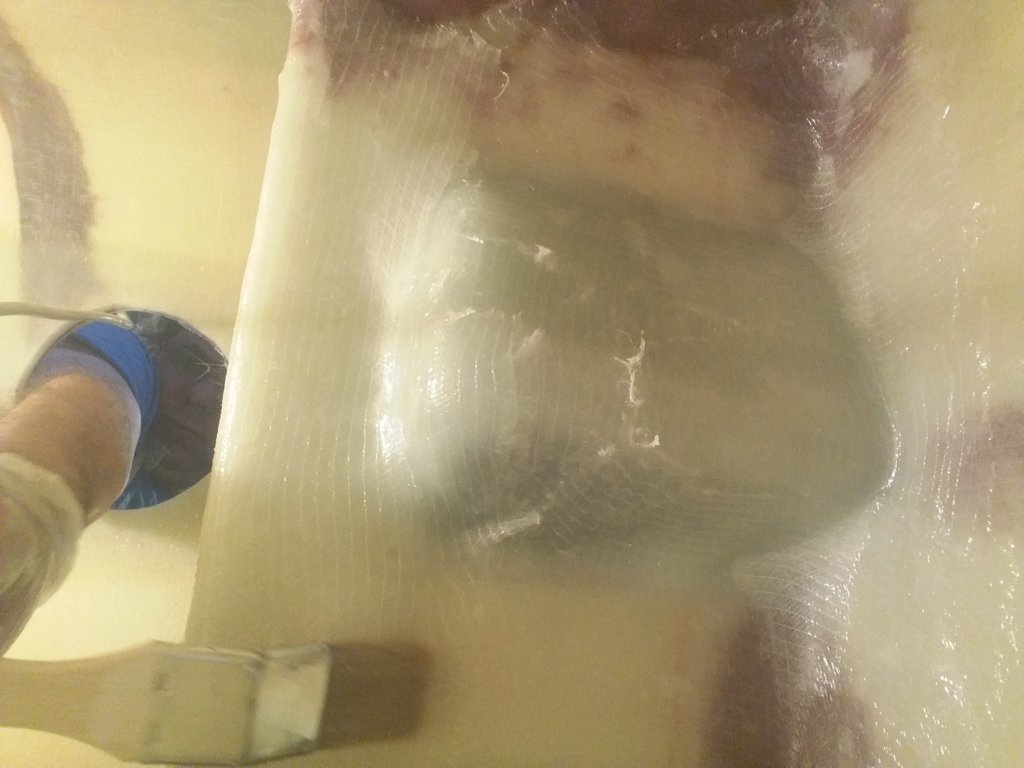
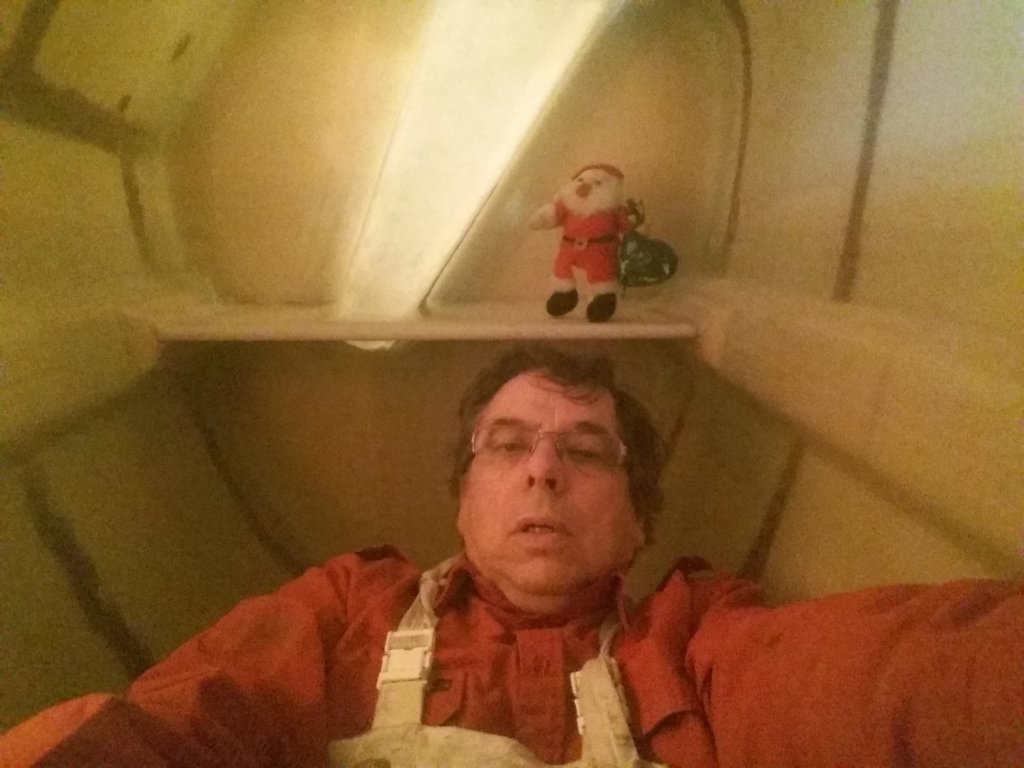
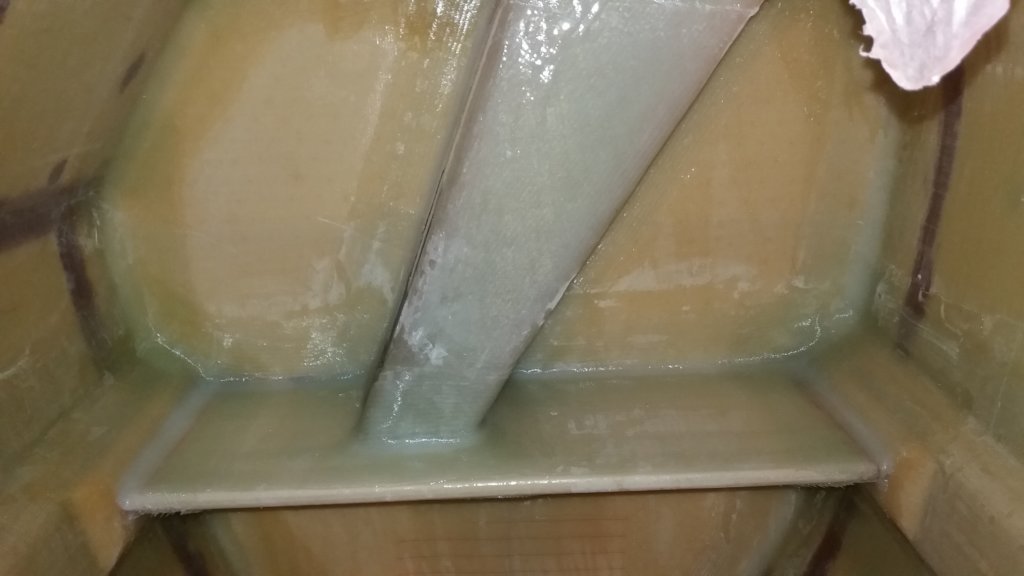
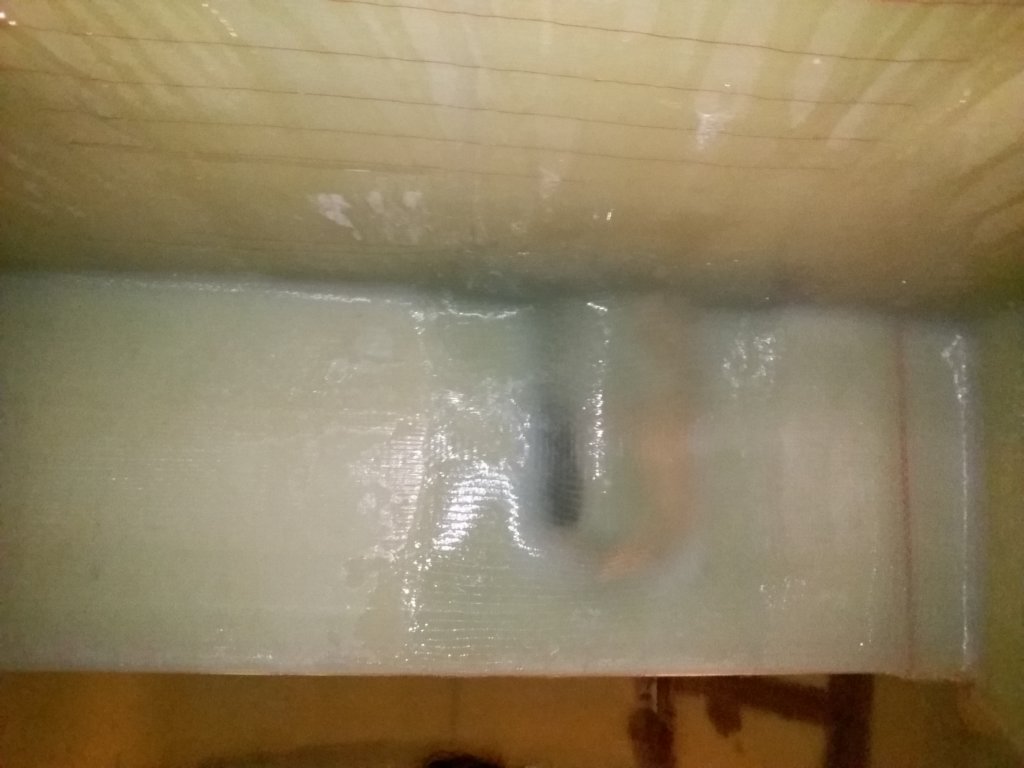
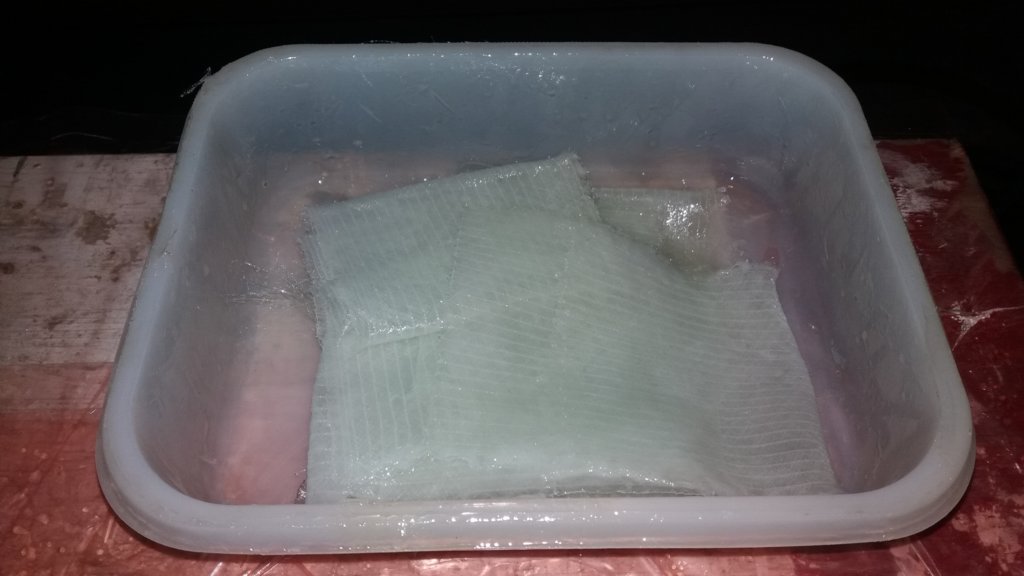
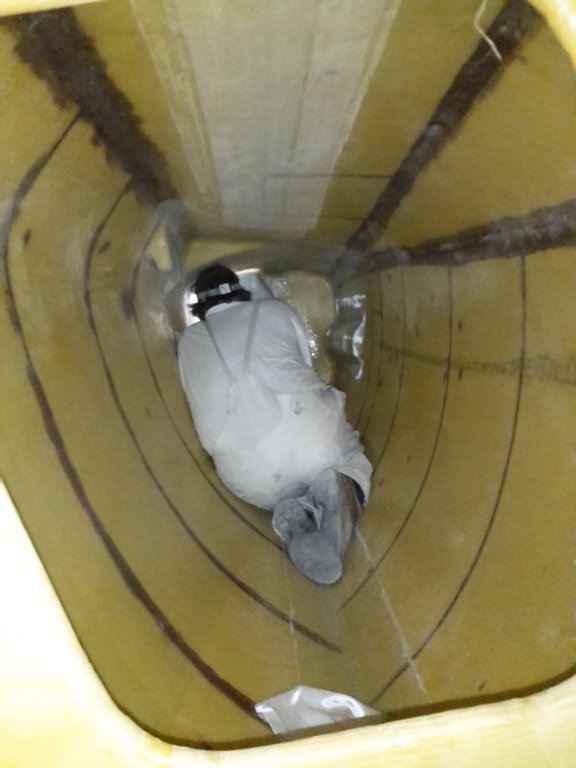
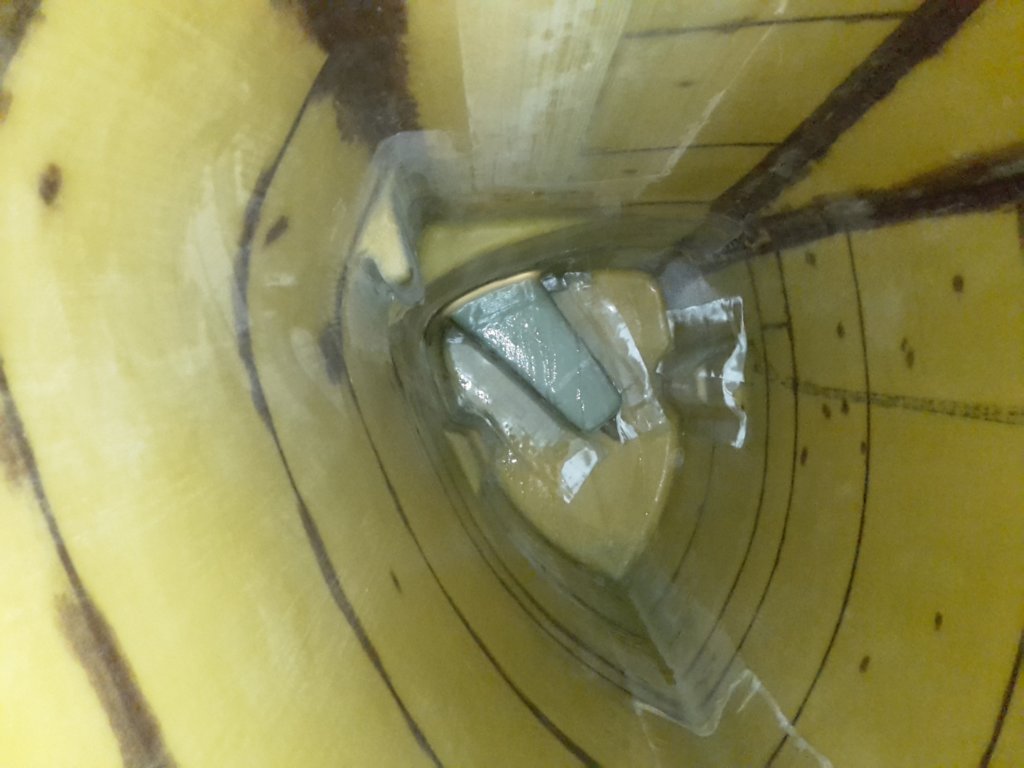
The job I hate most is upside-down lamination. There were still six locations inside these narrow floats where I could qualify myself for this “great” work. Preparing all tapes pre-wetted with epoxy, taking the sticky bundle in the right order to the tiny work area, and then, despite gravity, applying everything above your head while trying to stay clean from falling epoxy drops—quite a party.
I did one of these jobs on Christmas Day 2017 and made a video of this party. Open the video and Enjoy!
This photo gallery (123 images) shows the final assembly: lowering and rotating the floats, first beam and folding-system alignment checks, cutting and laminating the beam sleeve recesses, and the last upside-down laminating jobs before Fram leaves the workshop.

Next phase
With these last laminating jobs done, Fram is ready for the next phase of her construction and she leaves the workshop that has been home for the last eight years. Launching and christening were planned ambitiously, and further completion will take place while she is floating in the water of her home port.
