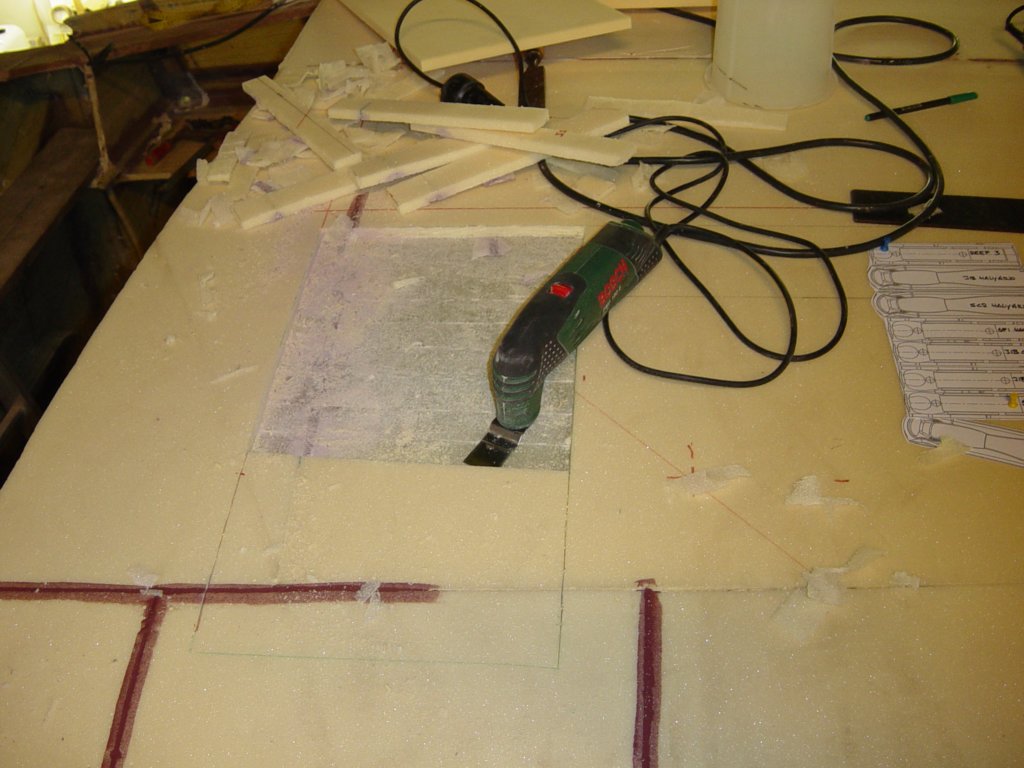
Before closing the deck laminate, all decisions on rigging, hardware layout and load paths must be made, as this stage defines where high-density foam inserts are required for deck fittings.
Preparations for the deck layout
In connection with the placement of the high-density foam inserts, now is the moment to think very seriously about the deck layout. Throughout the build I have been considering several options for rigging and deck hardware.
A deck-stepped boom would resolve the problem caused by lines (reefing lines, outhaul, mainsheet) coming from the boom and interfering with mast rotation. I made a mock-up to assess how serious this issue really is and also studied many deck layouts of the large 60-foot ORMA tris.
My conclusion was that the disadvantages outweighed the benefits. The interference with mast rotation can be minimized by positioning the line exits in the boom slightly further aft of the mast. Therefore, the boom will be mounted to the mast in the conventional way, with the added advantage that the boom itself assists mast rotation.
I clearly see the advantages of a self-tacking jib, but there are also complications. The jib track crosses the daggerboard case and interferes with the daggerboard, while the track length is limited by the folding movement of the beam. Nevertheless—perhaps influenced by age and a growing appreciation for sailing comfort—I decided to go for a self-tacking jib, assuming that these issues can be resolved during the later finishing phase of the build.
In addition, I initially decided to use a curved mainsheet traveler. The traveler will probably be extended onto the beams, although this is also a concern for a later stage. The mainsheet leads to a winch on the port side of the cabin roof.
Finally, I designed a plan to organize all running rigging from the mast to the winches on the cabin roof. With these starting points and the rigging plan established, I am now able to install the high-density foam inserts at all locations where deck hardware will be bolted down.
(*) Note: In hindsight, the considerations described above were revised once more. The mainsheet traveler was eventually built as a straight traveler rather than a curved one. The jib became a self-tacking boom jib with its traveler positioned just forward of the daggerboard case on the foredeck. The boom was ultimately executed as a deck-stepped boom after all.
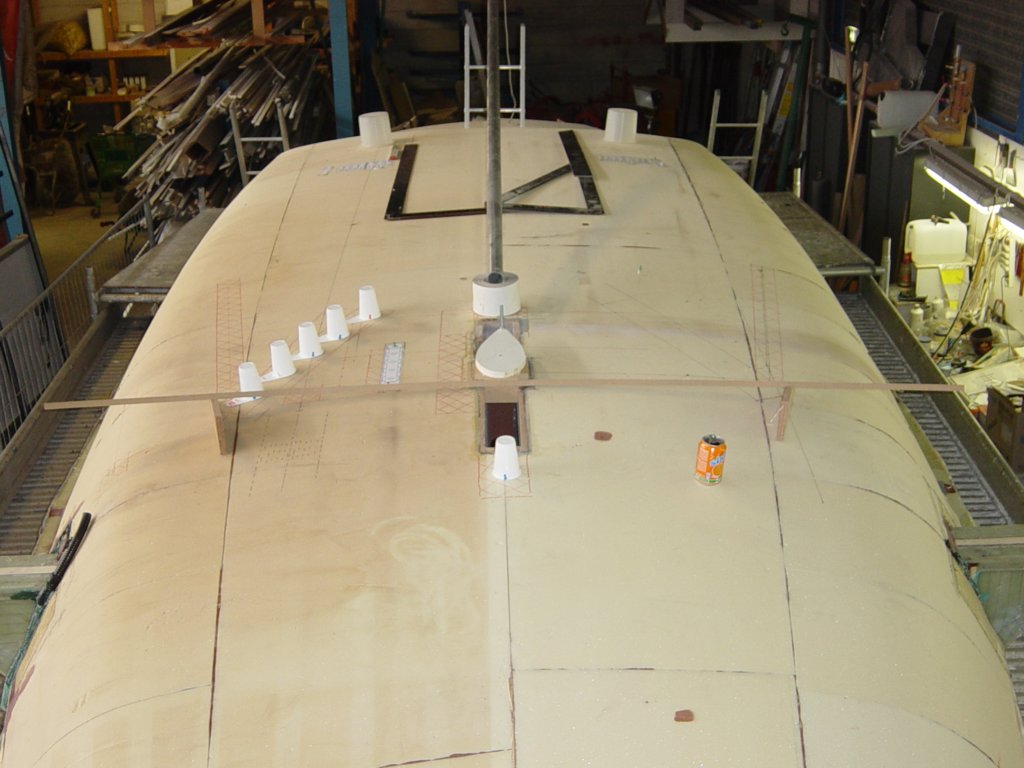
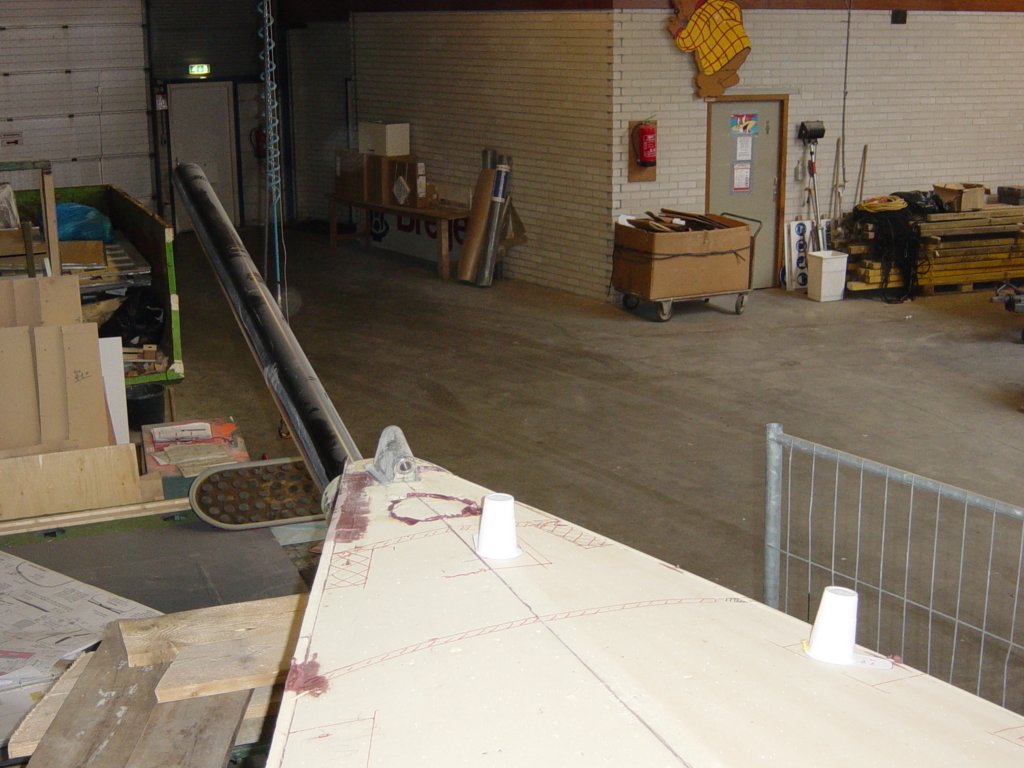
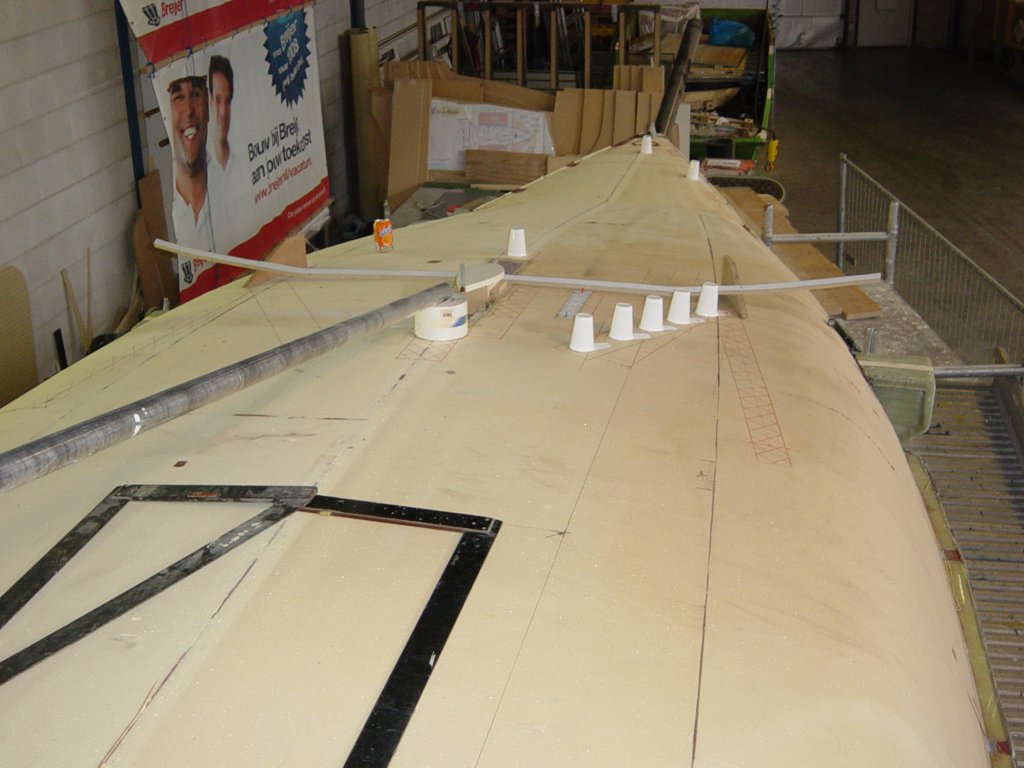
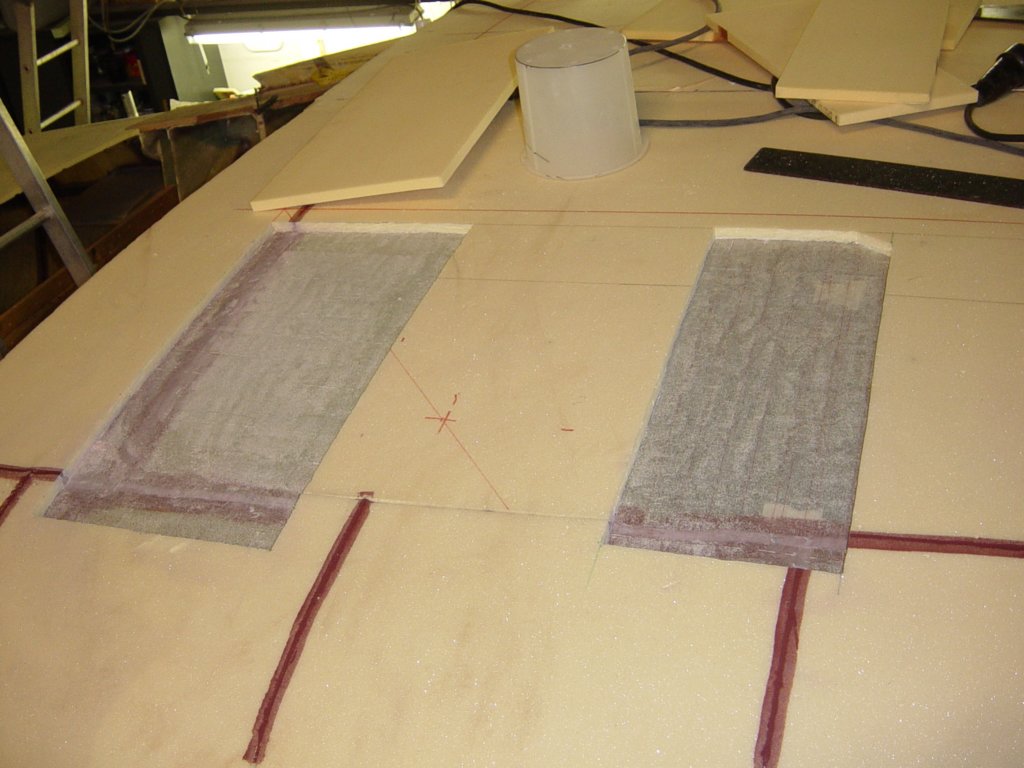
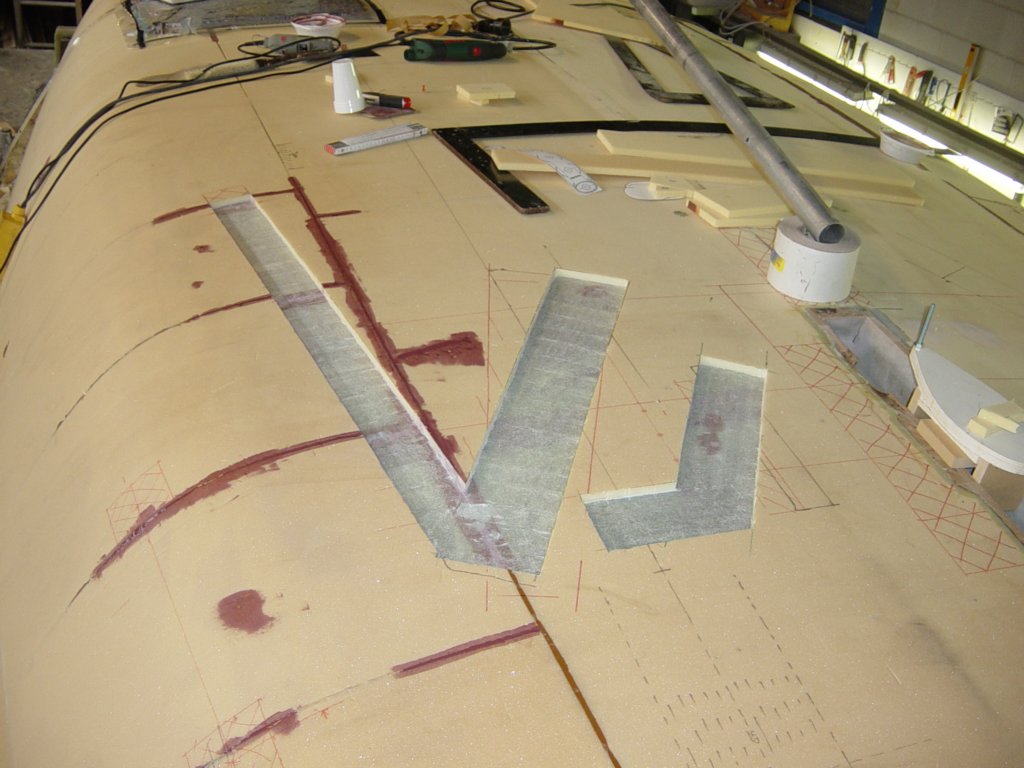
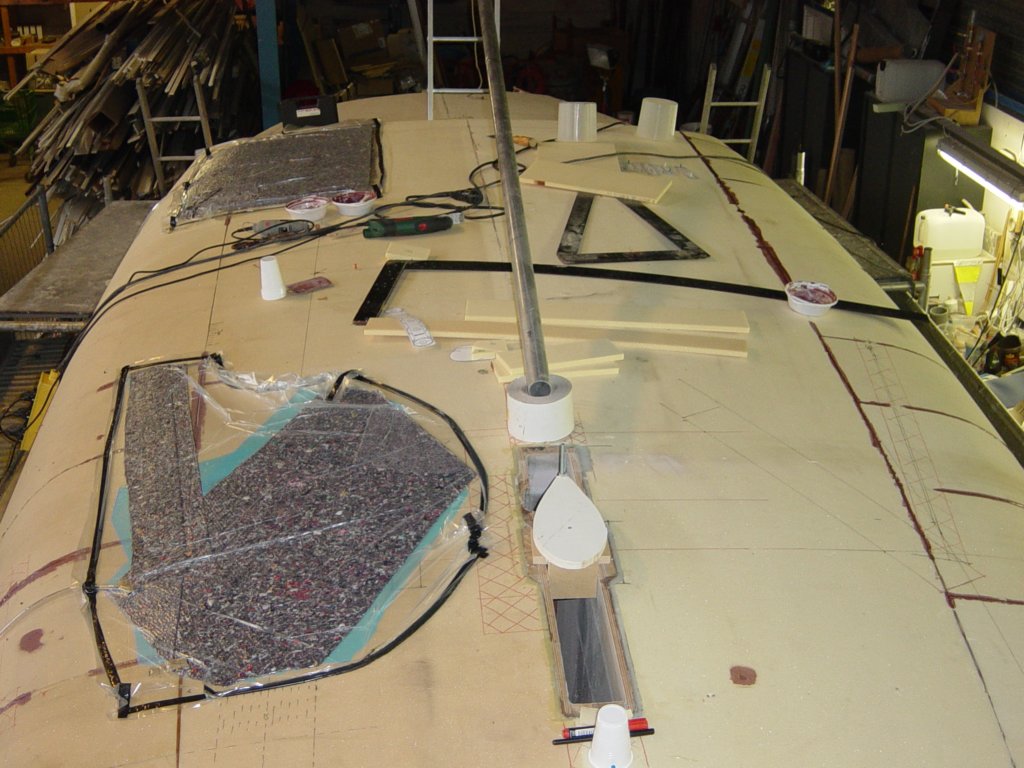
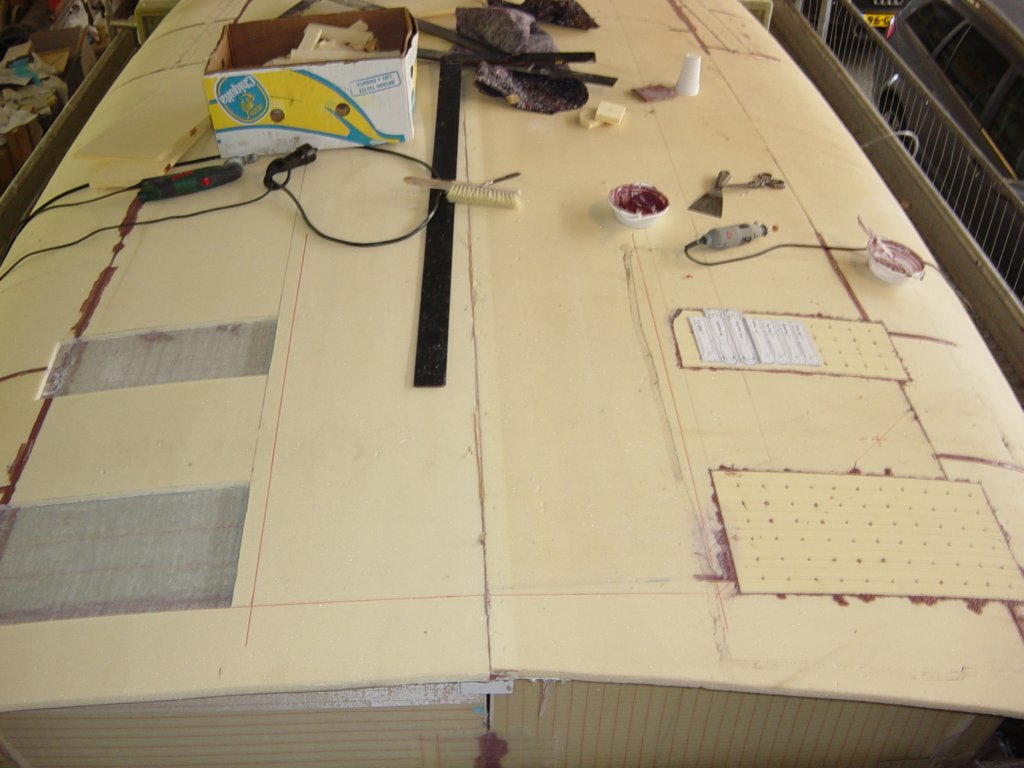
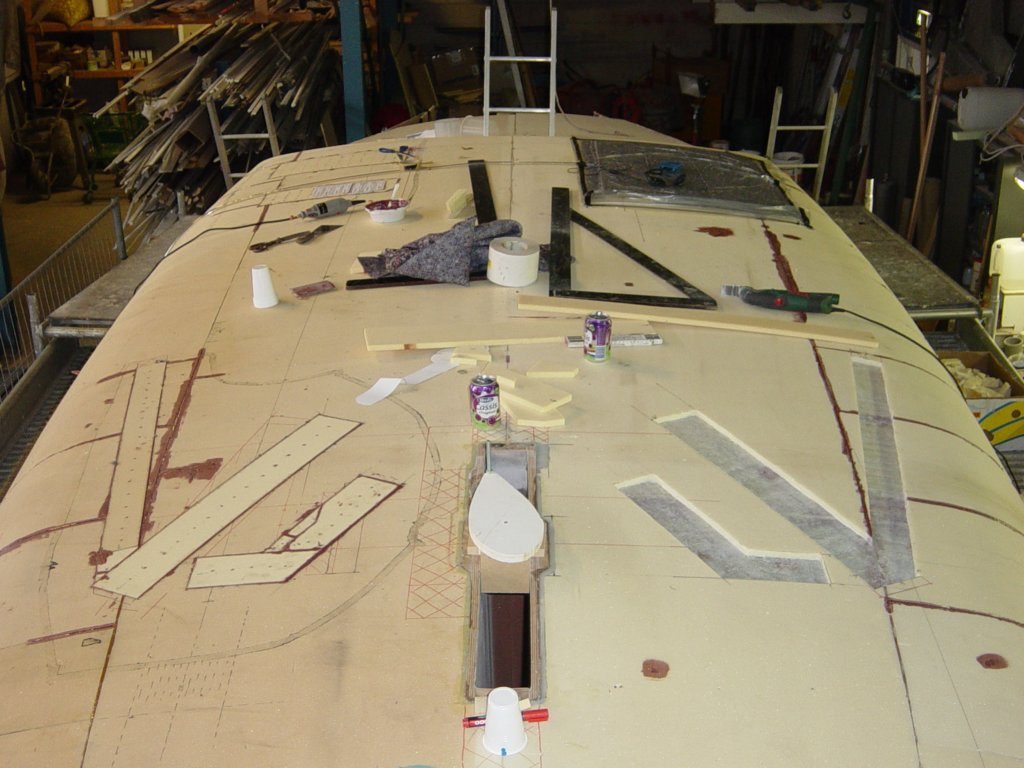
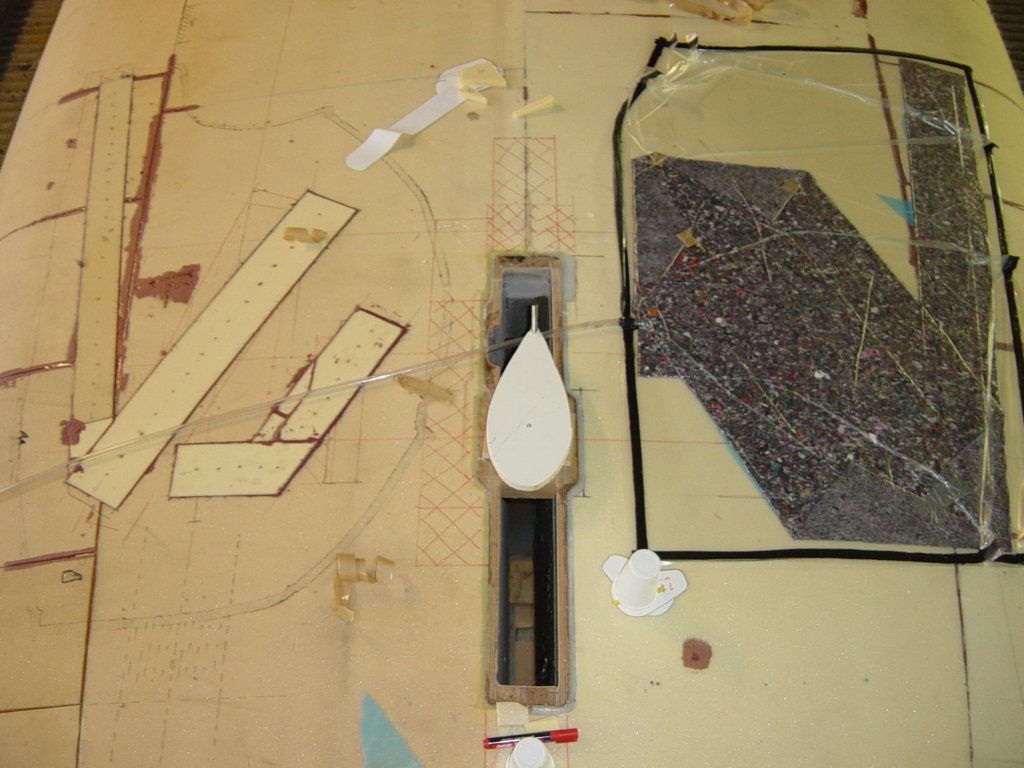
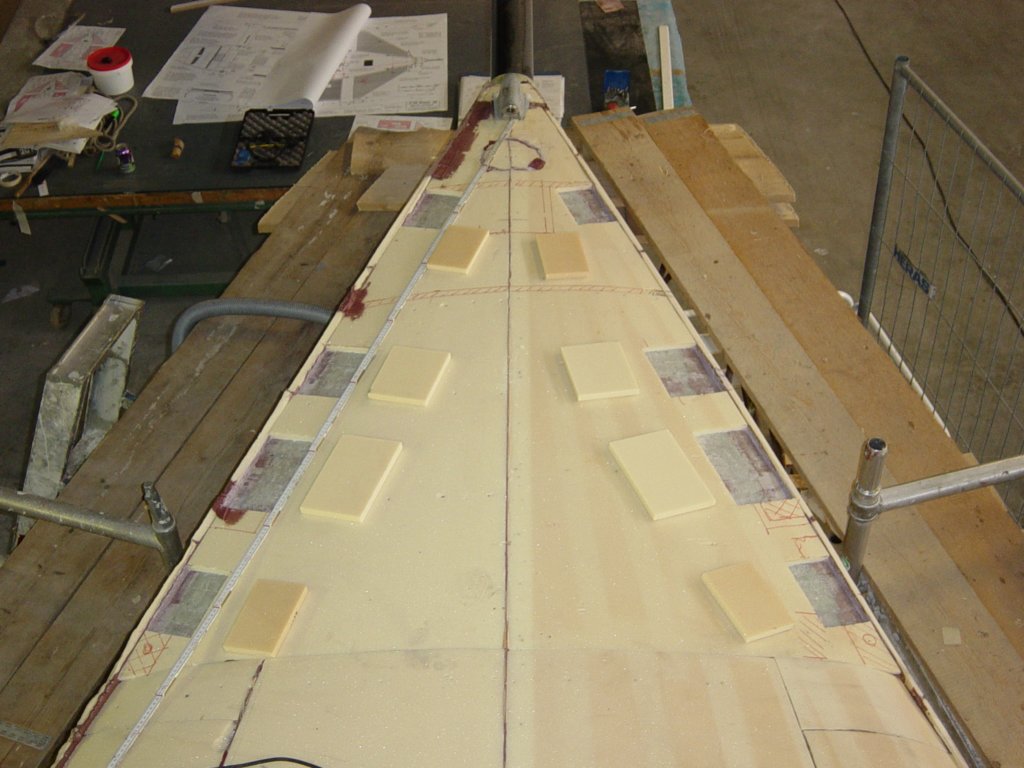
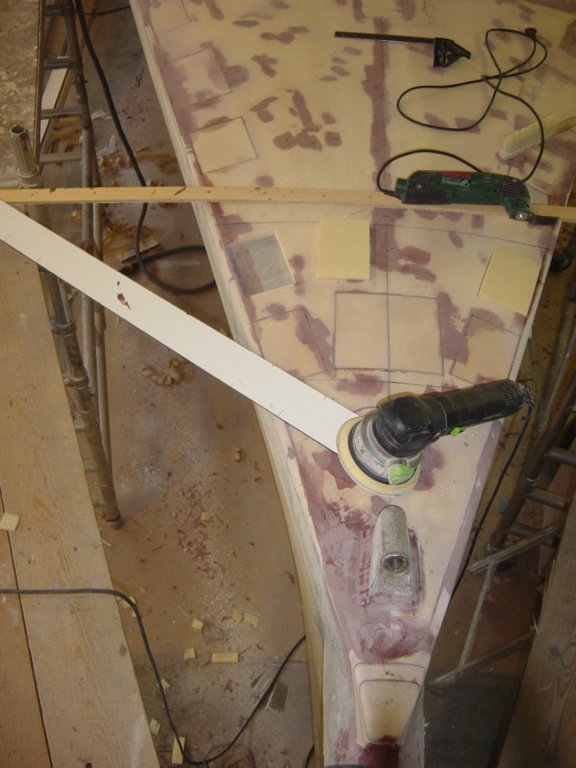
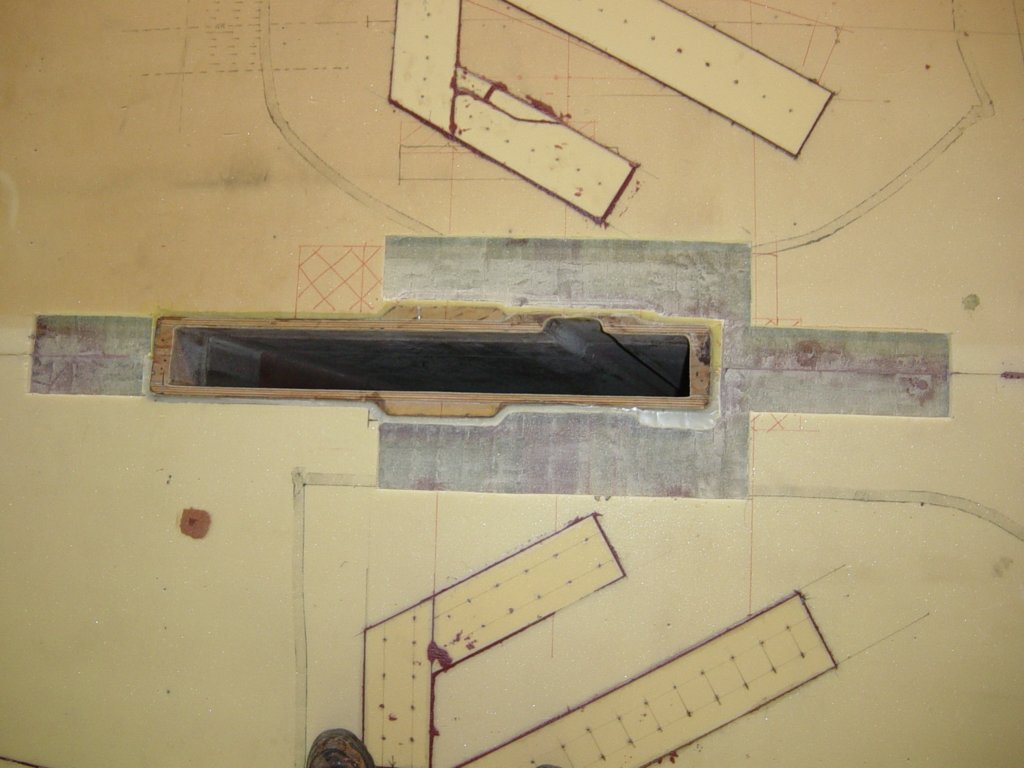
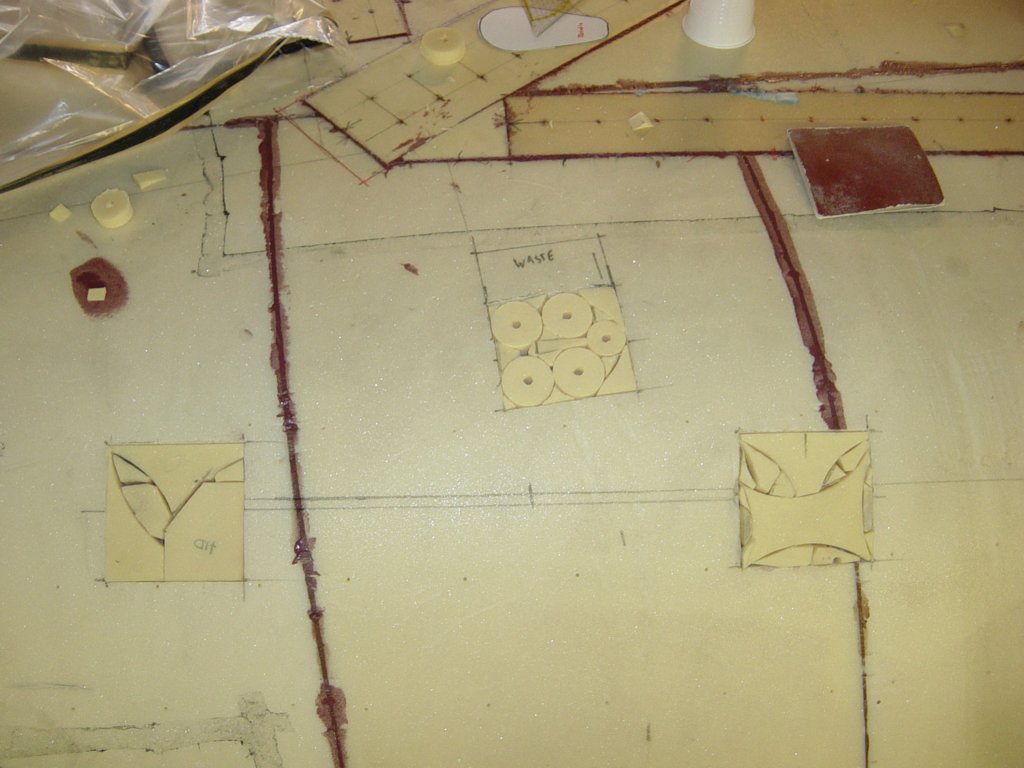
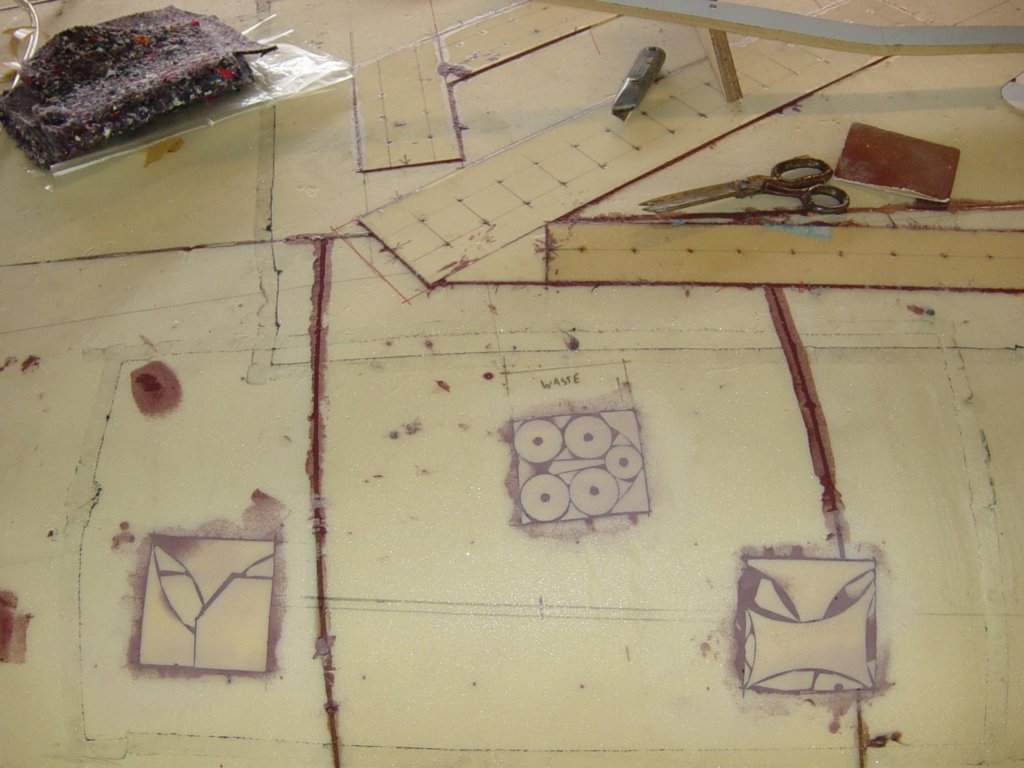
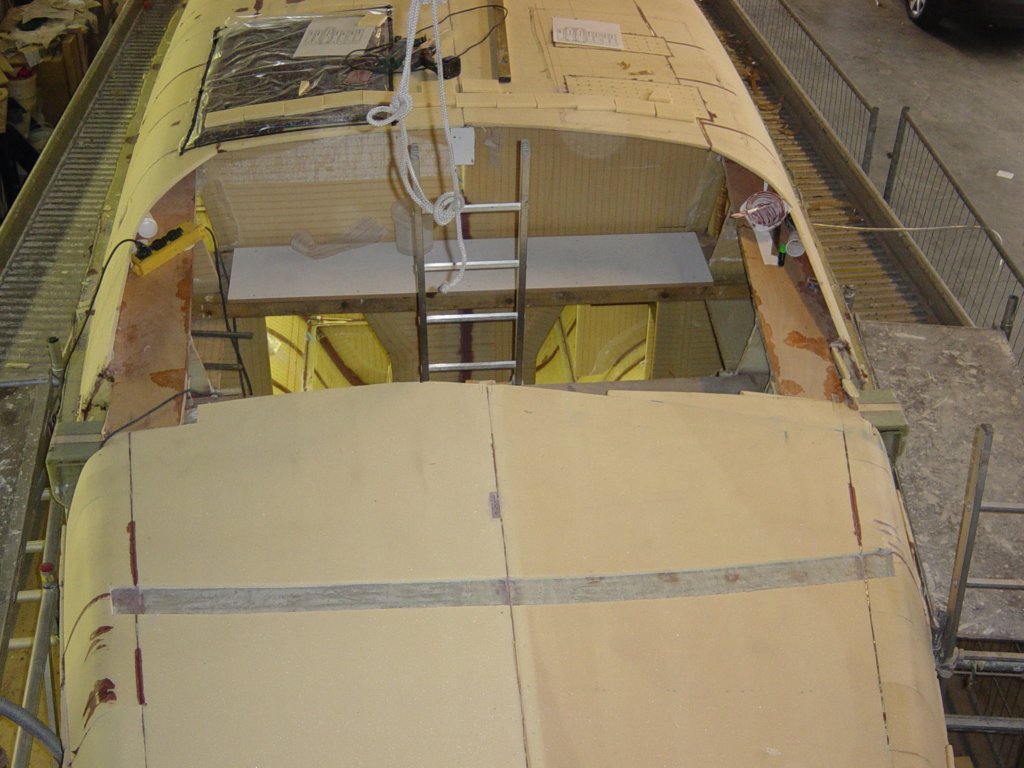
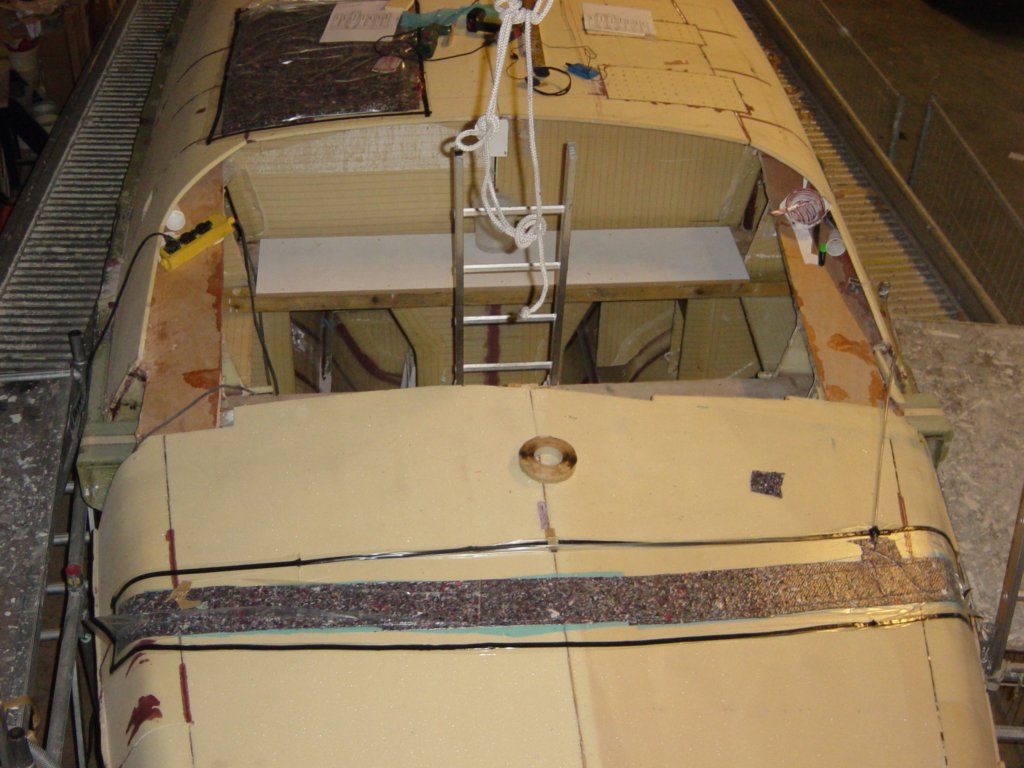
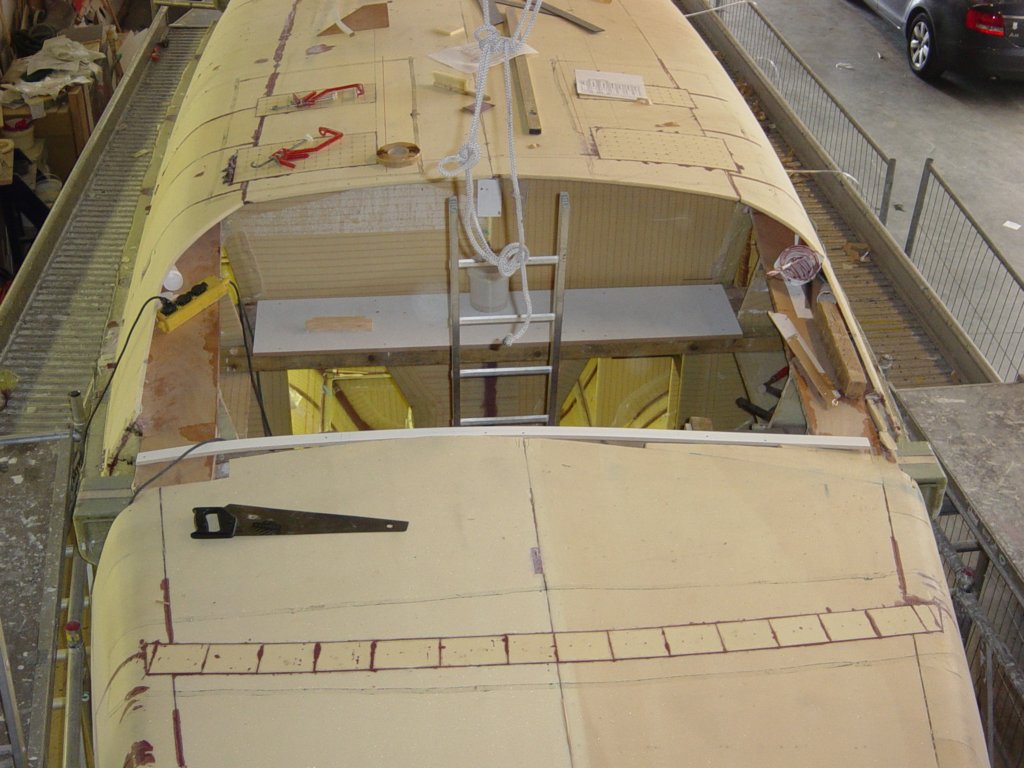
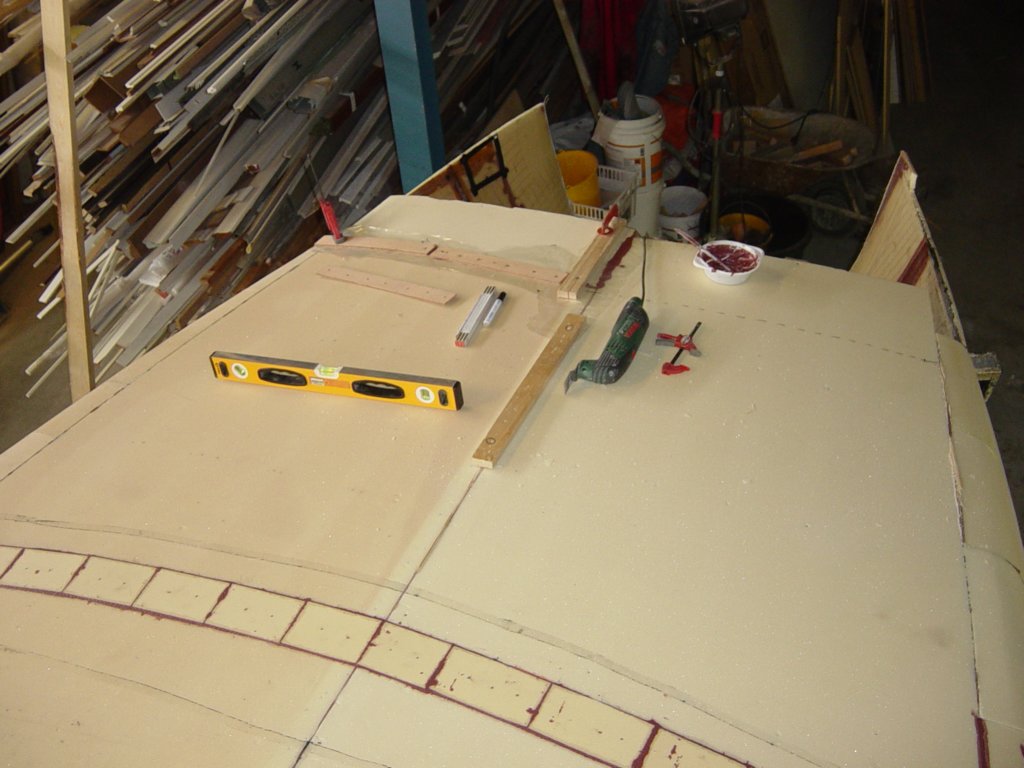
This photo gallery (22 images) shows the mock-ups, recessed foam areas and vacuum-bagged high-density inserts that define the final deck layout and hardware mounting points.
