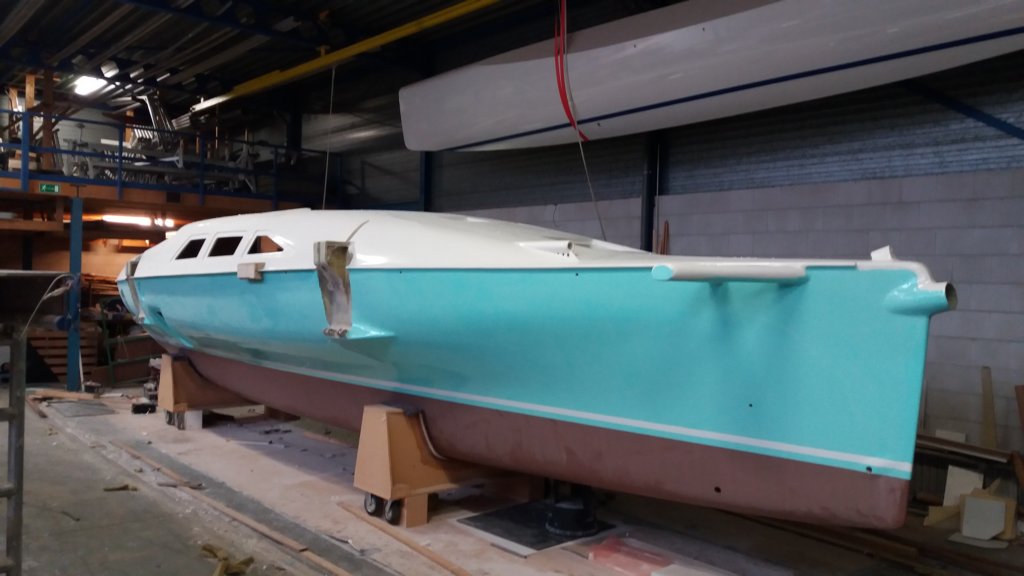
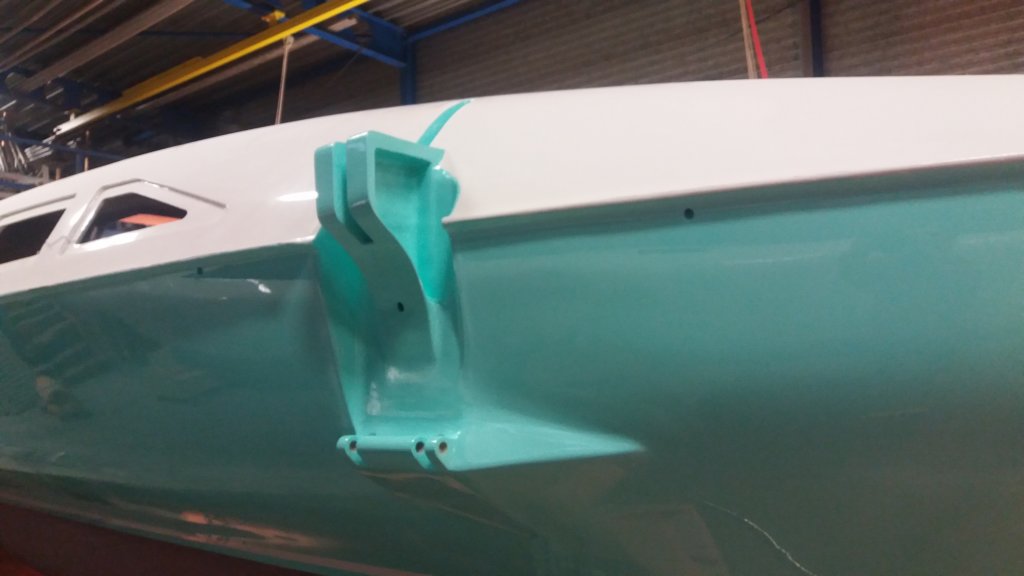
The full-size “oven” stayed in service as a clean, temperature-controlled spray booth for fairing and painting the main hull. With the hull rotated on its slings and a new approach using wide flexible filling knives, I minimized longboarding and maximized machine sanding—ending up with a finish I’m genuinely proud of (including a bold Mint Green).
Fairing and painting
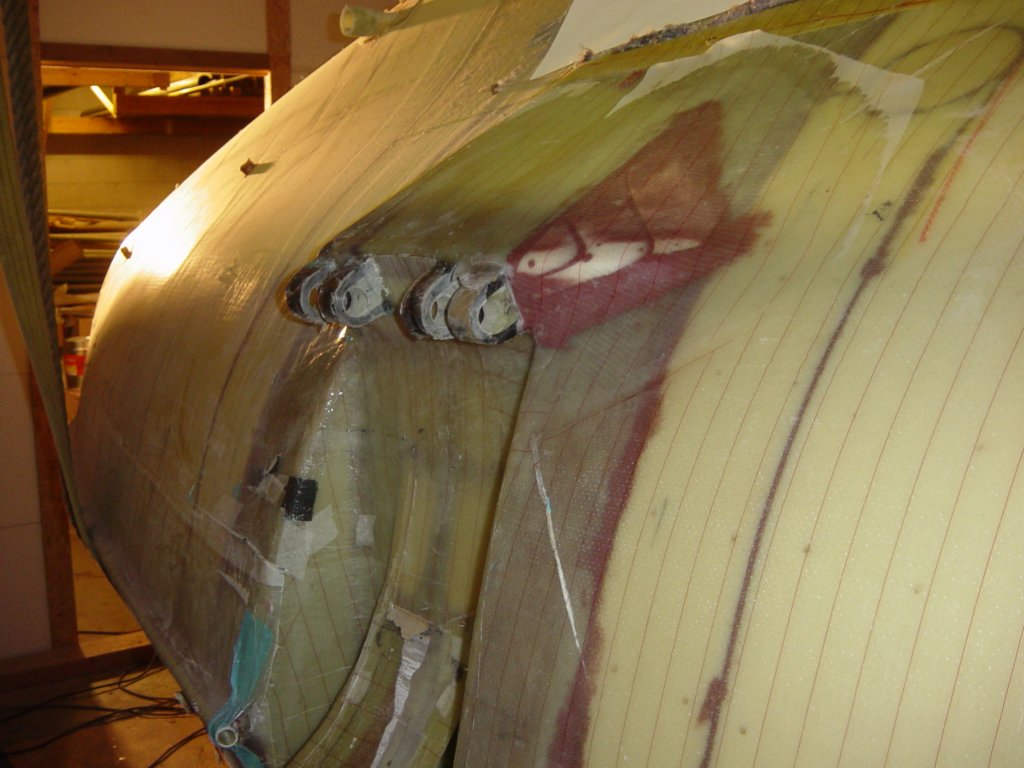
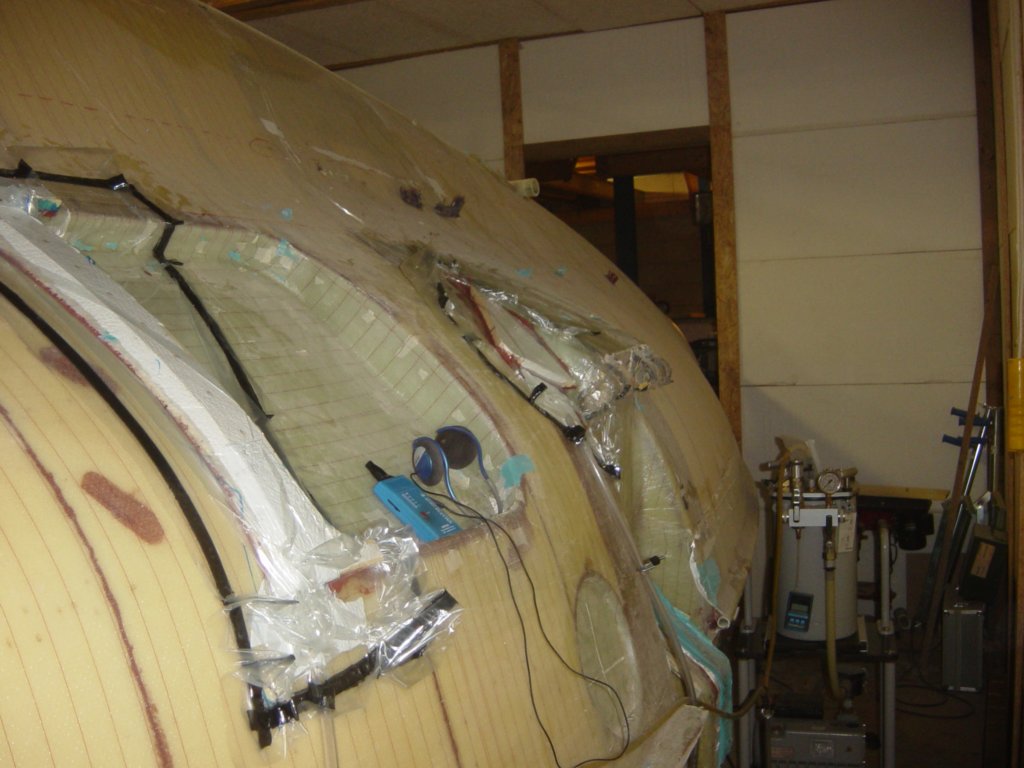
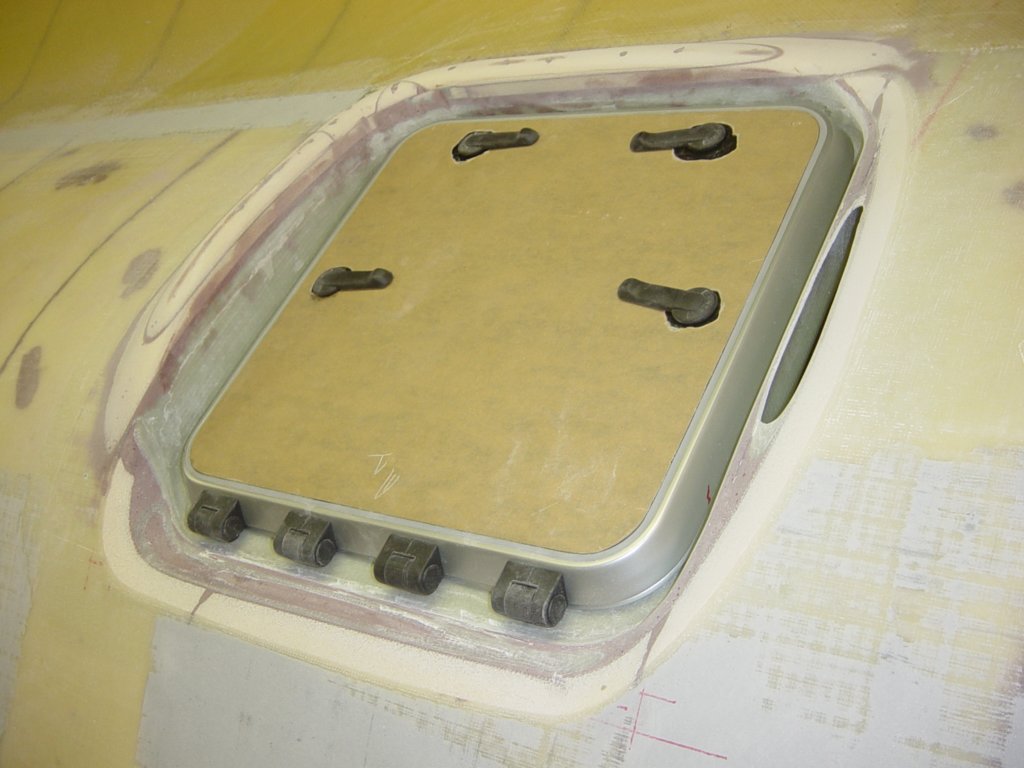
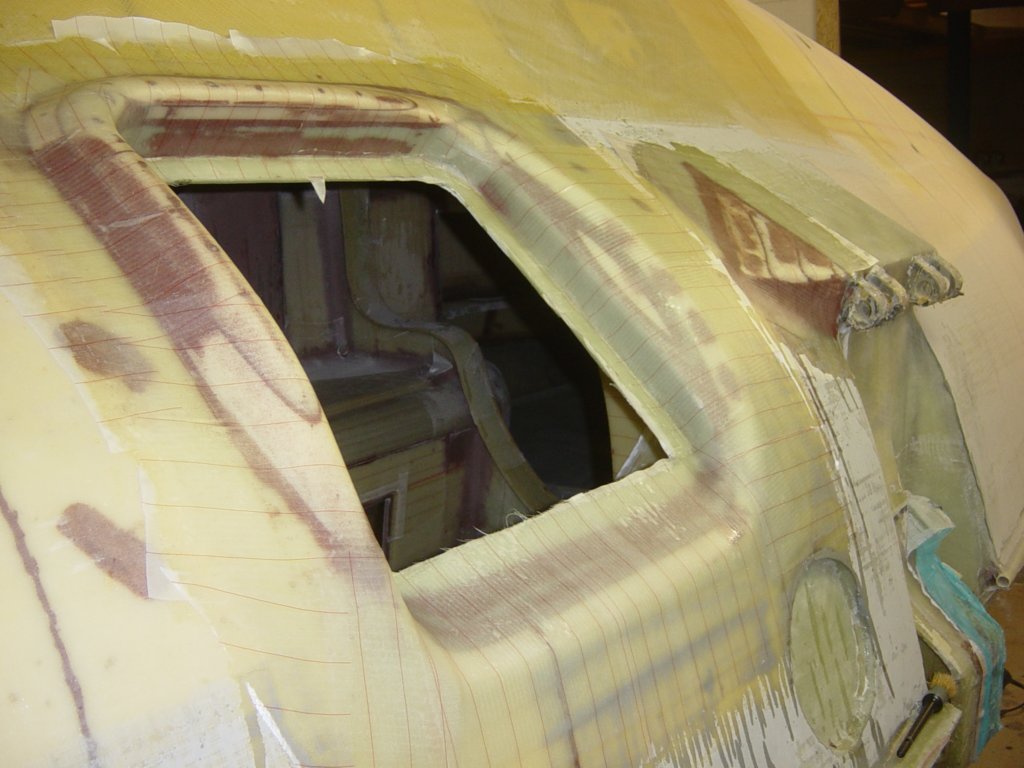
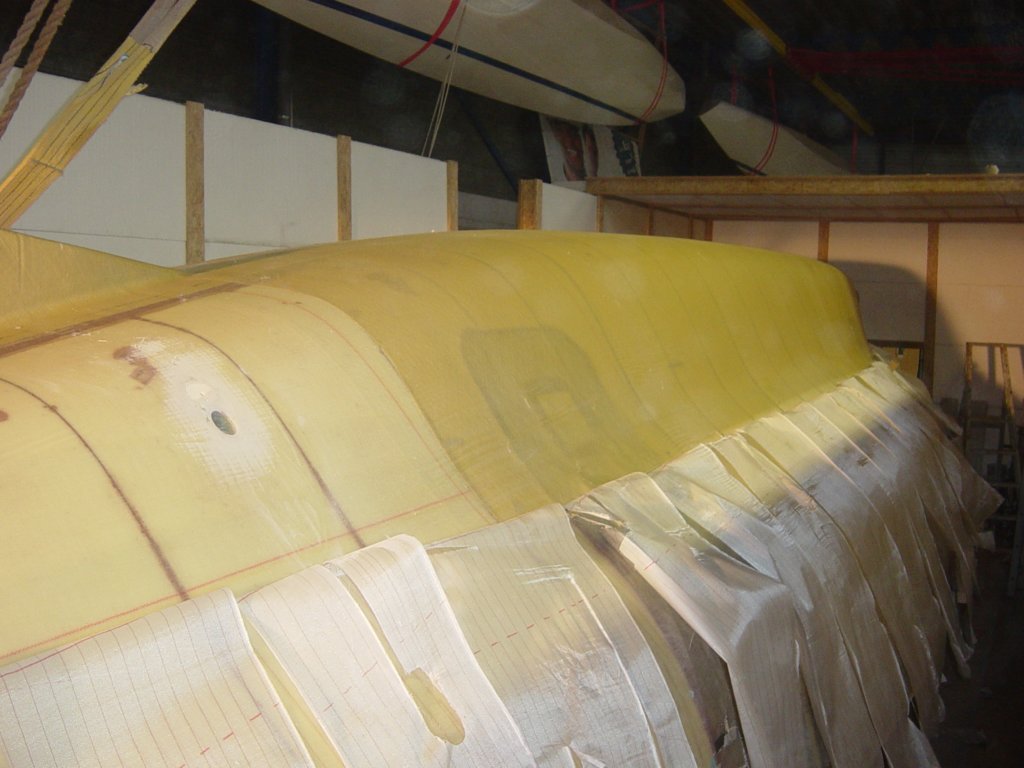
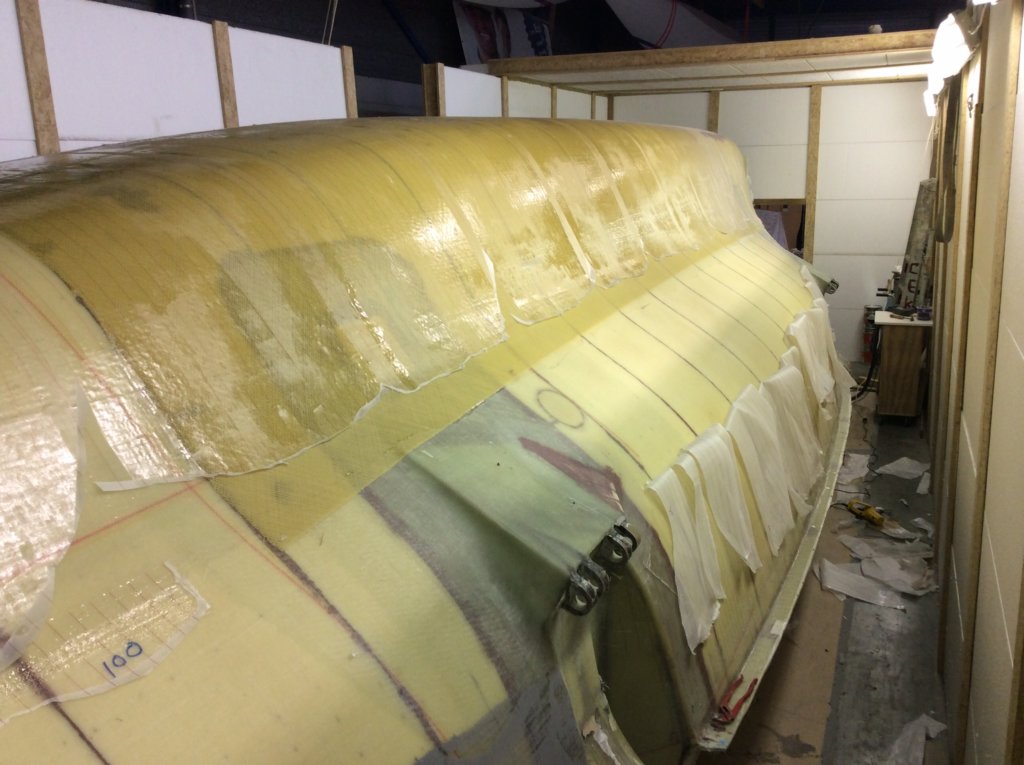
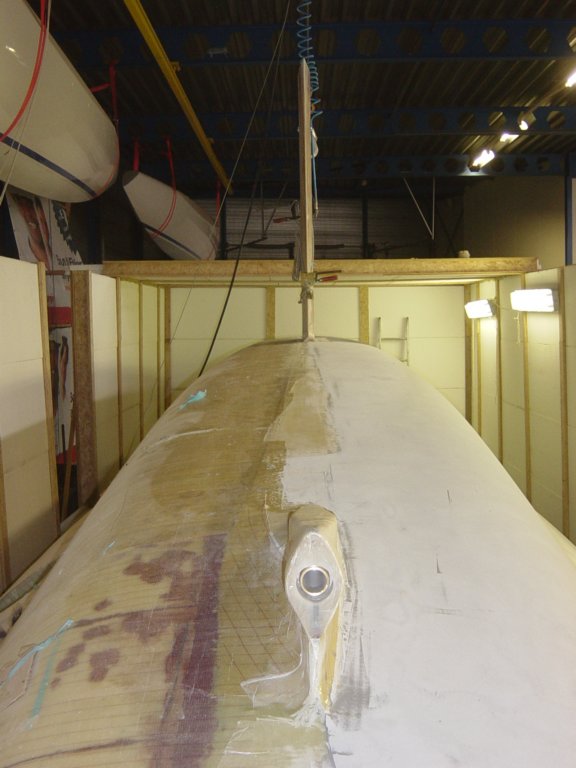
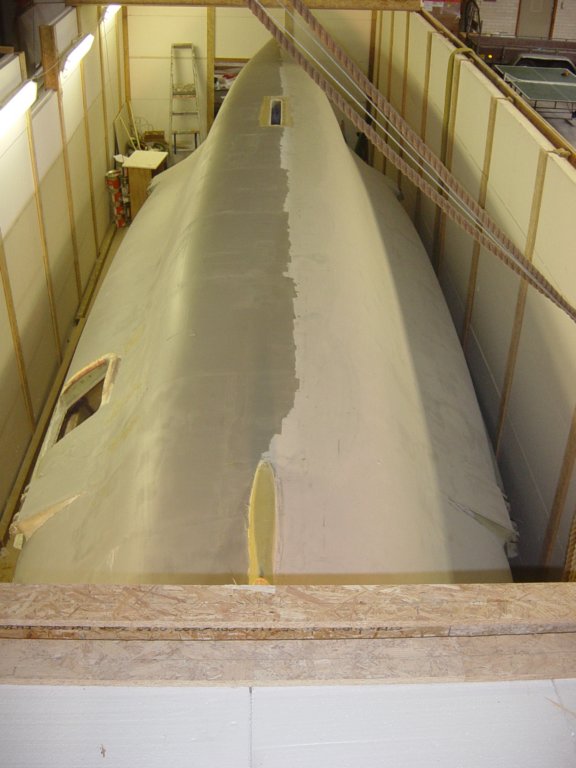
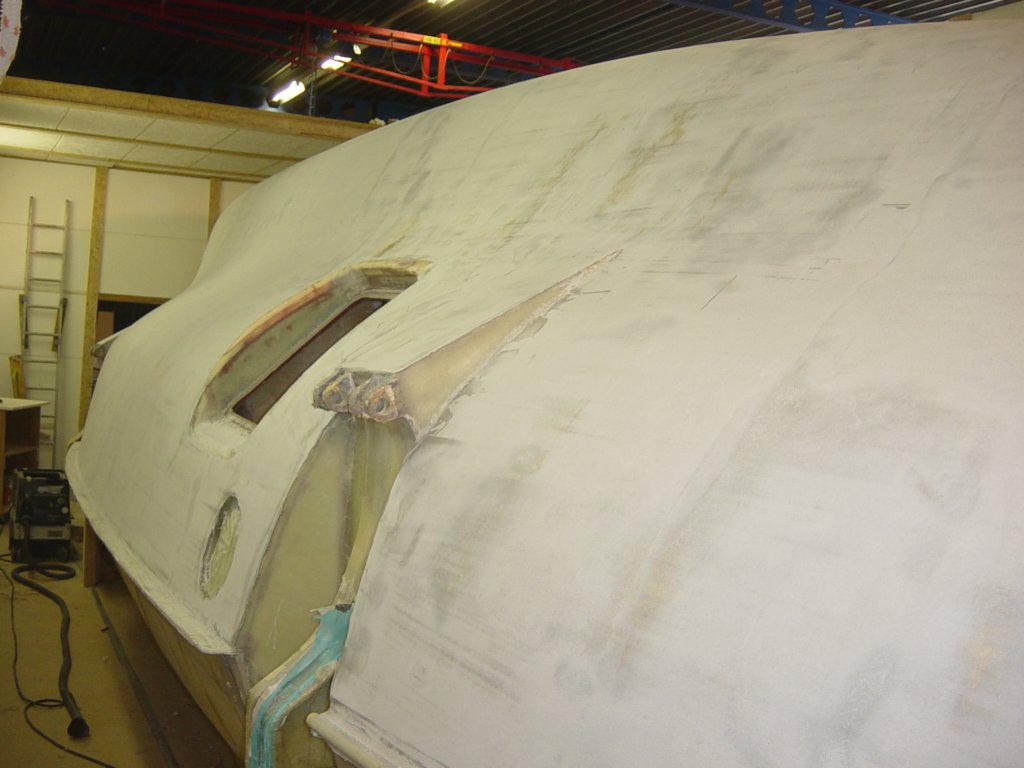
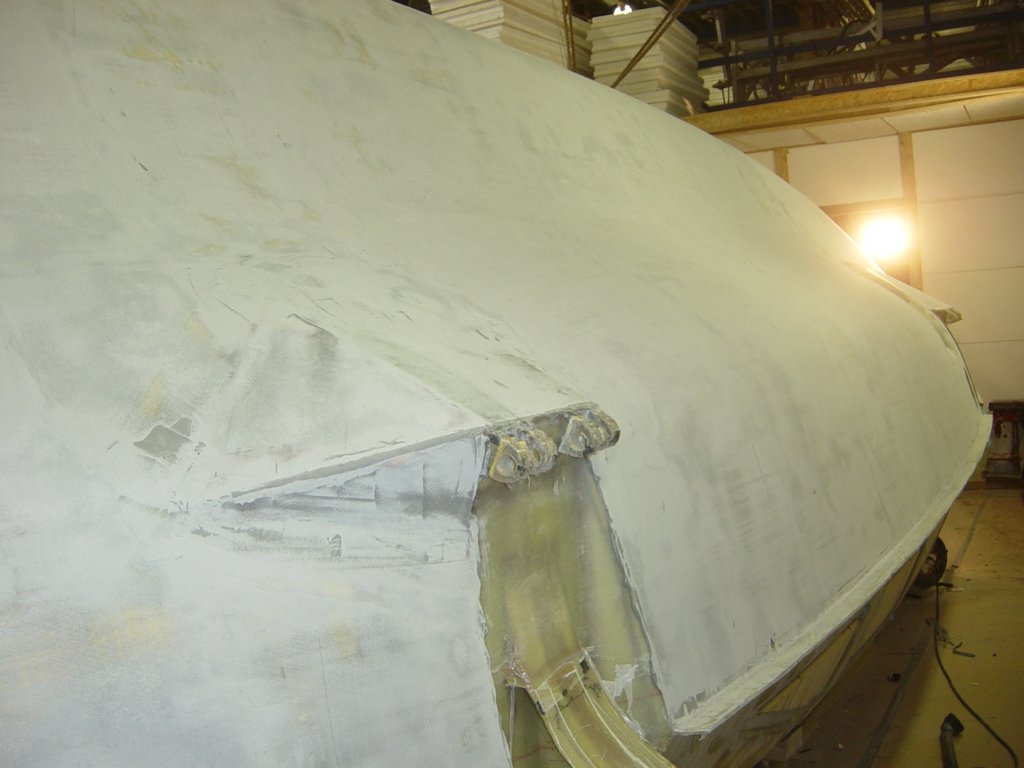
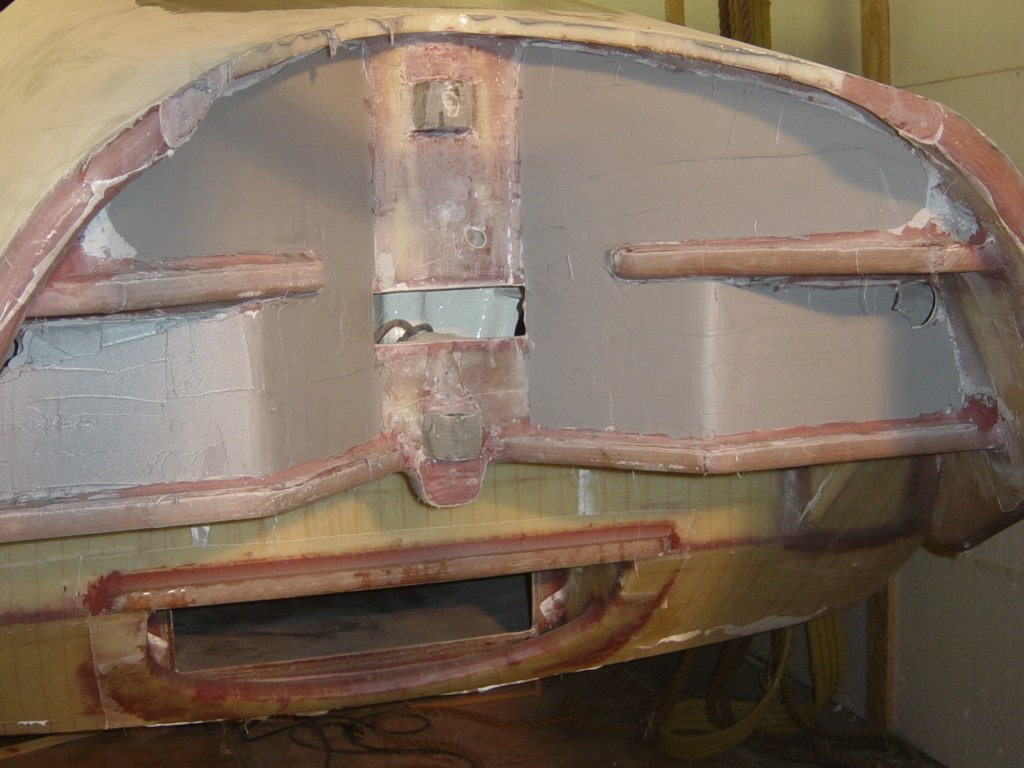
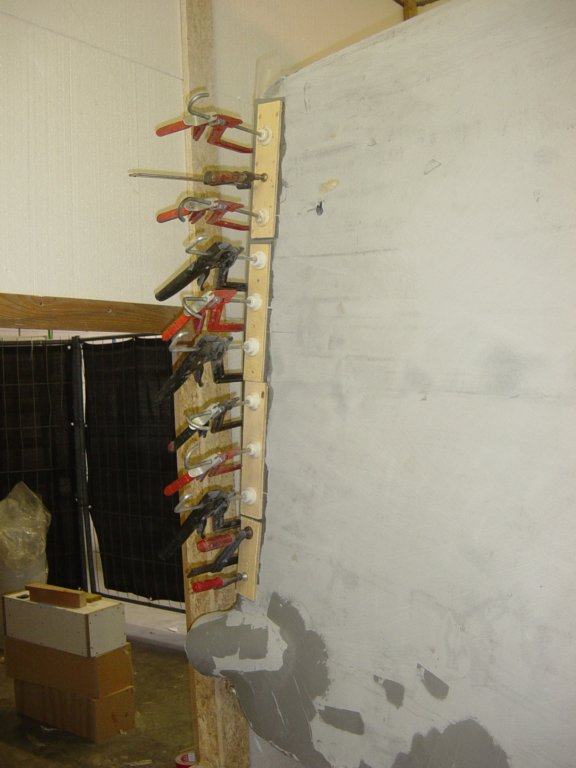
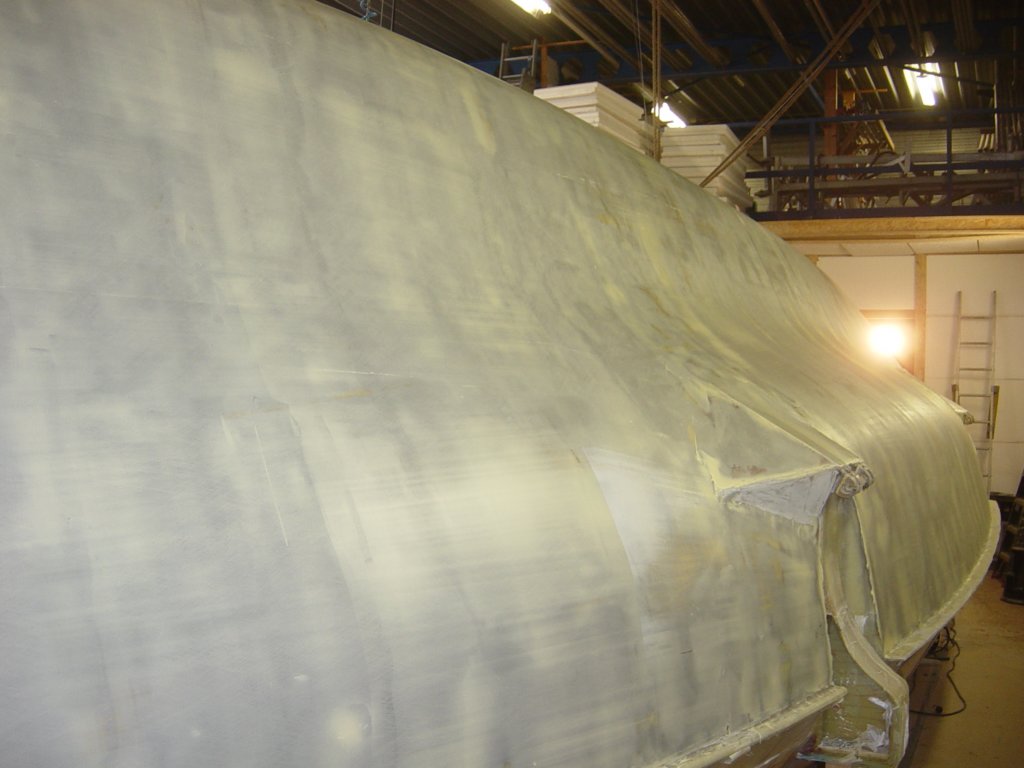
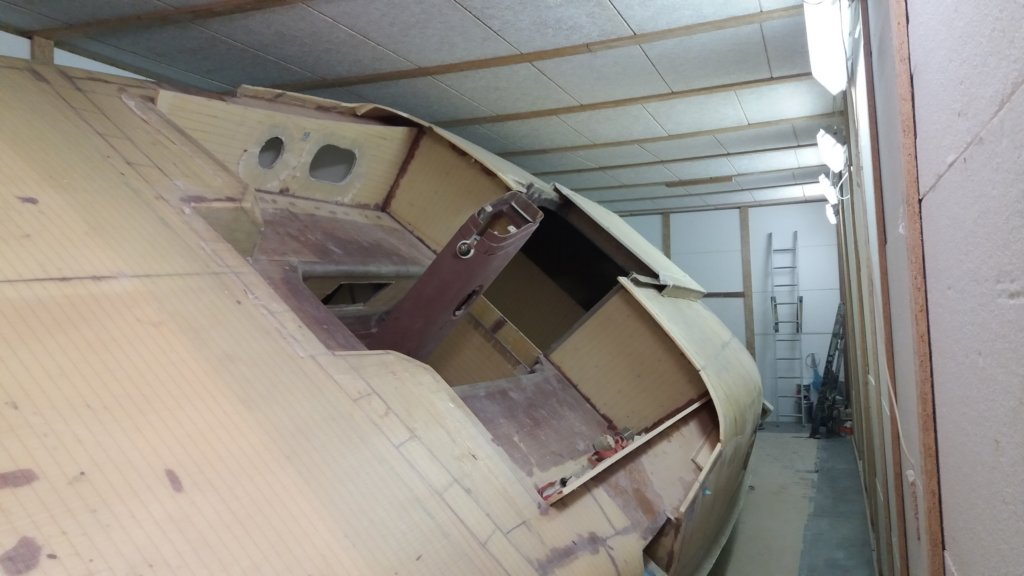
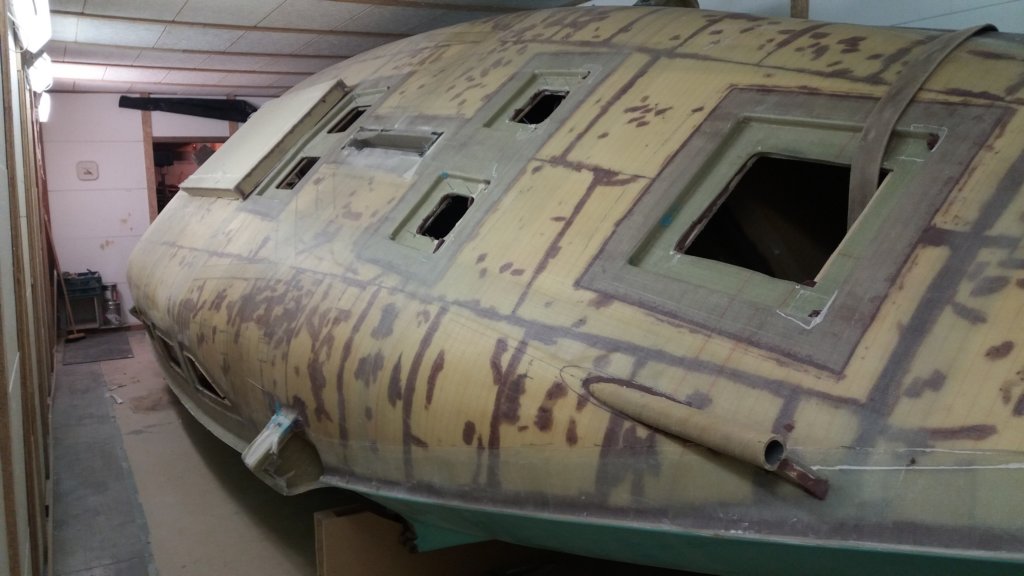
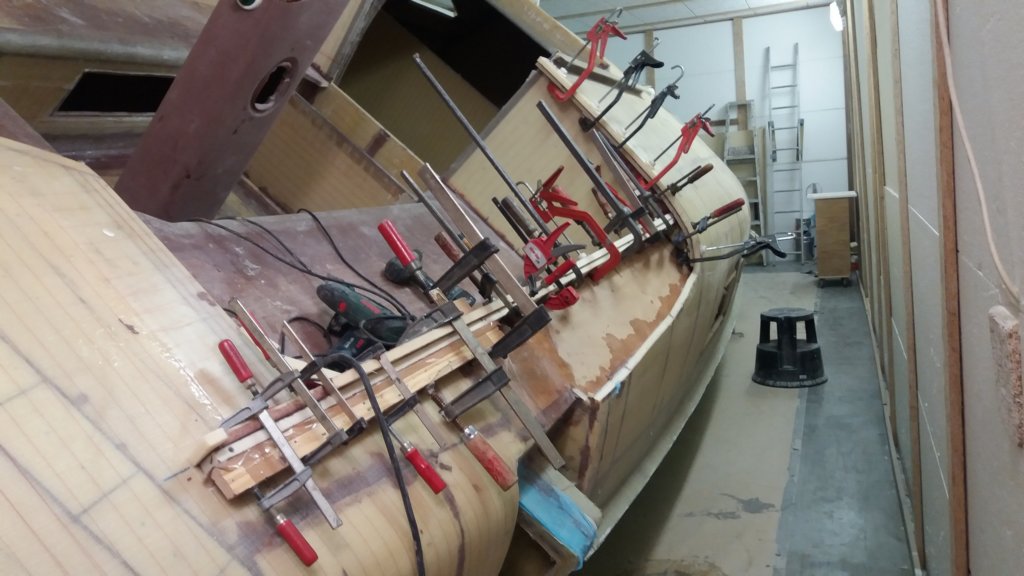
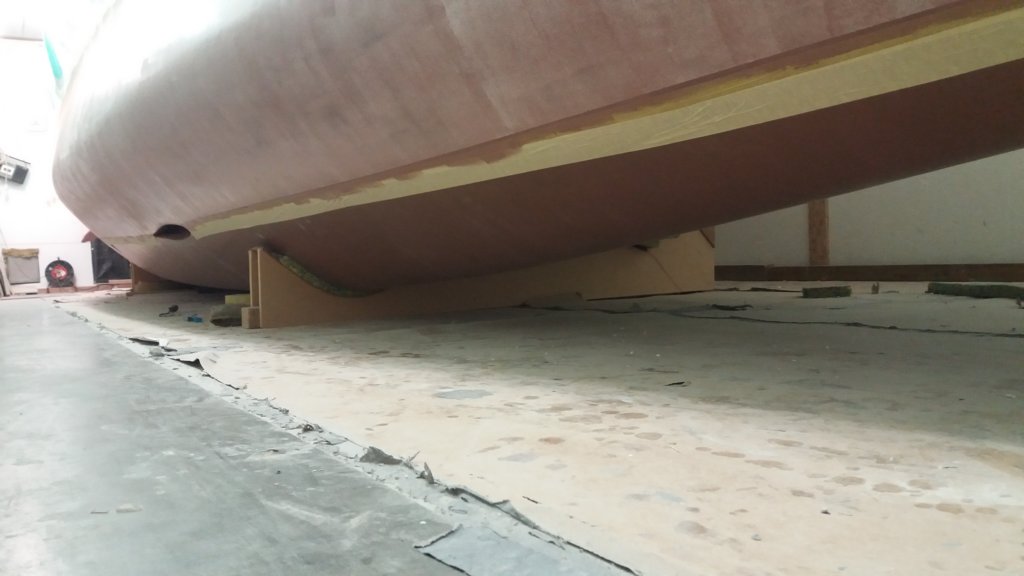
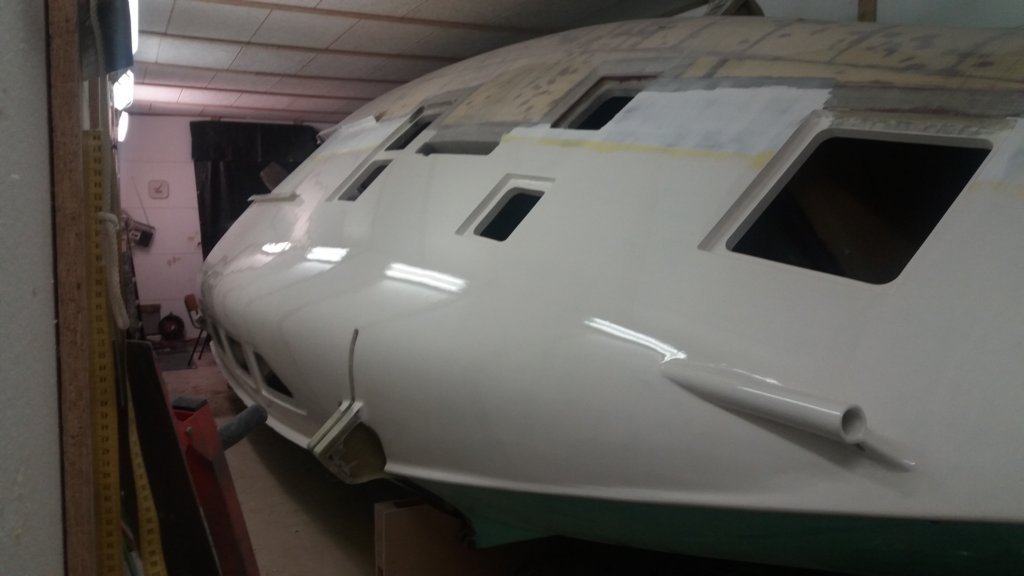
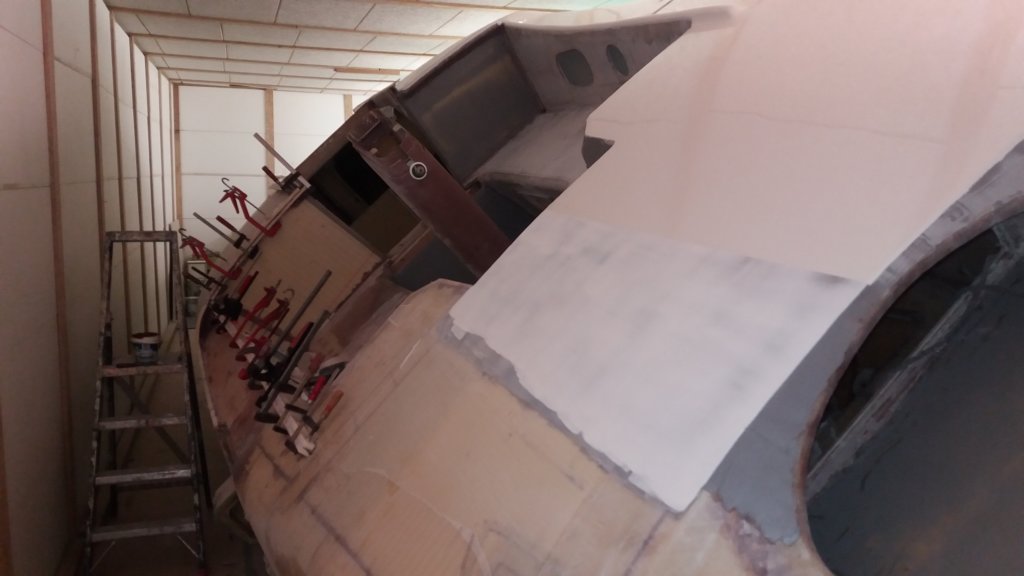
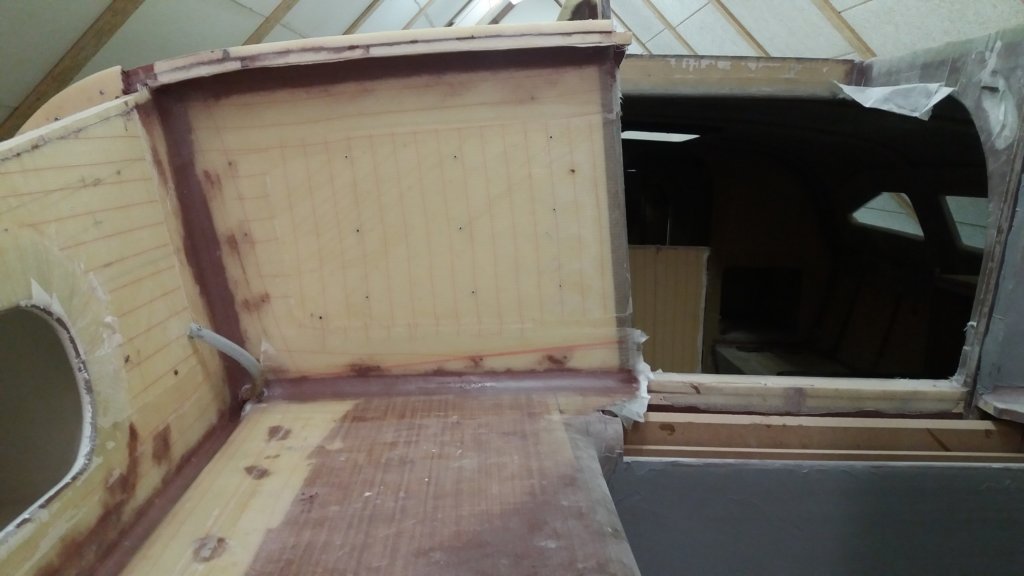
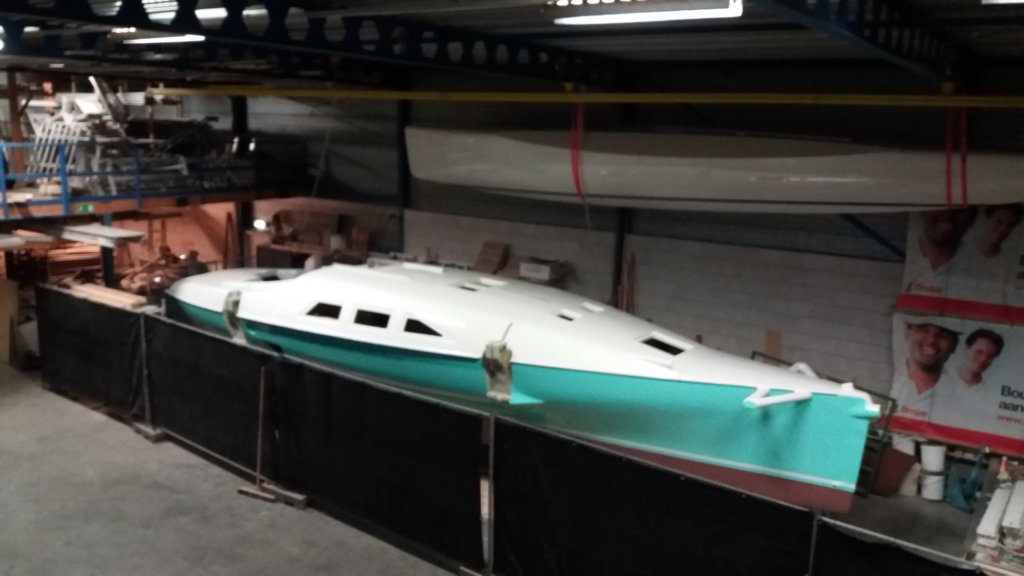
The full-size “oven” stayed in use for the fairing and painting work. The enclosure kept workshop dust away, it was easy to maintain a stable temperature, and with extraction I could replace paint fumes with fresh air. Space inside was limited, but by tilting the main hull to port and starboard with the hoists, half of the deck was always reachable. With the hull upside down, it was mainly a matter of shifting it sideways a little to reach the topsides—although for those lifting moves the roof had to be partly dismantled each time.
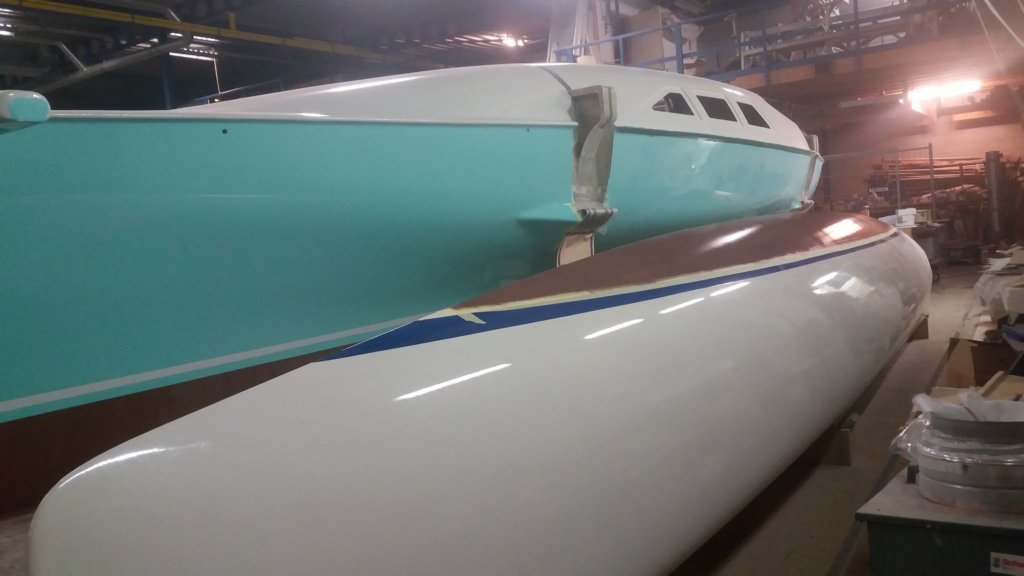
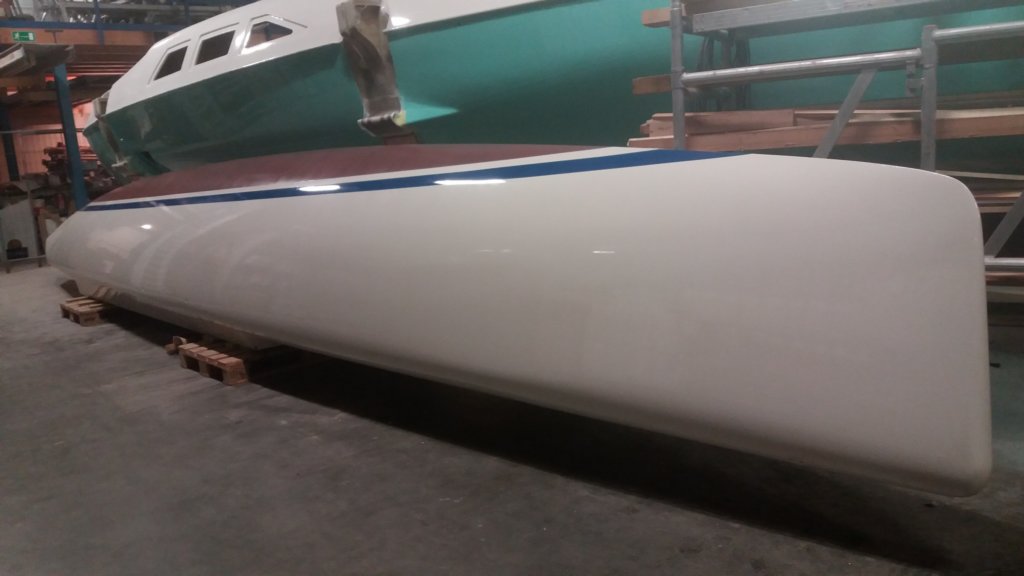
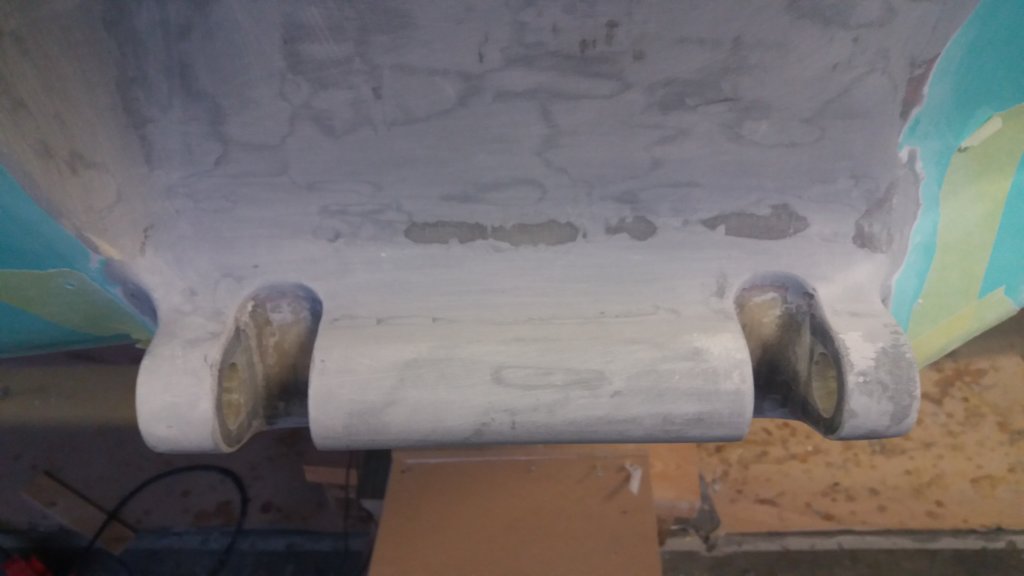
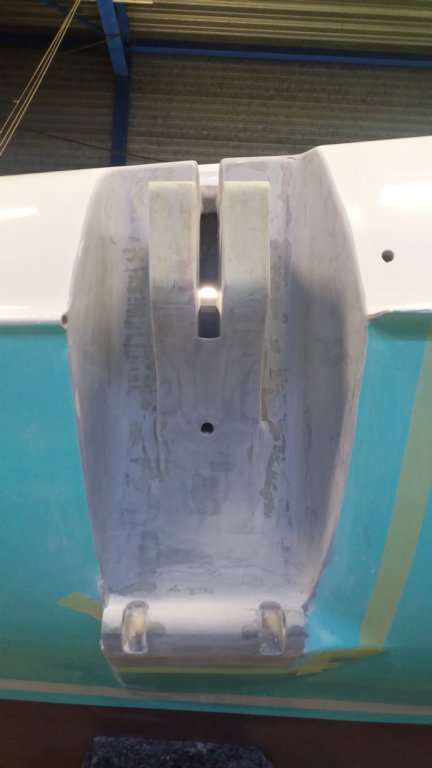
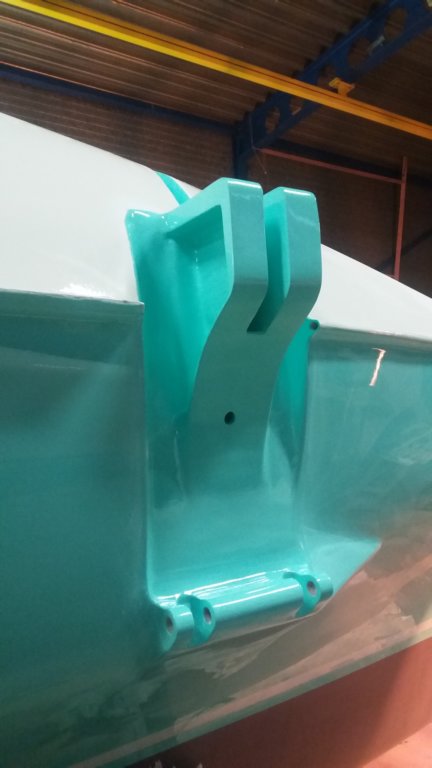
I am very happy with the final appearance of the floats. The fairing and painting turned out great thanks to thorough preparation and a lot of effort in the filling and sanding process. That said, longboarding the hulls was time-consuming and brutally hard work—honestly, a hell of a job I am getting too old for.
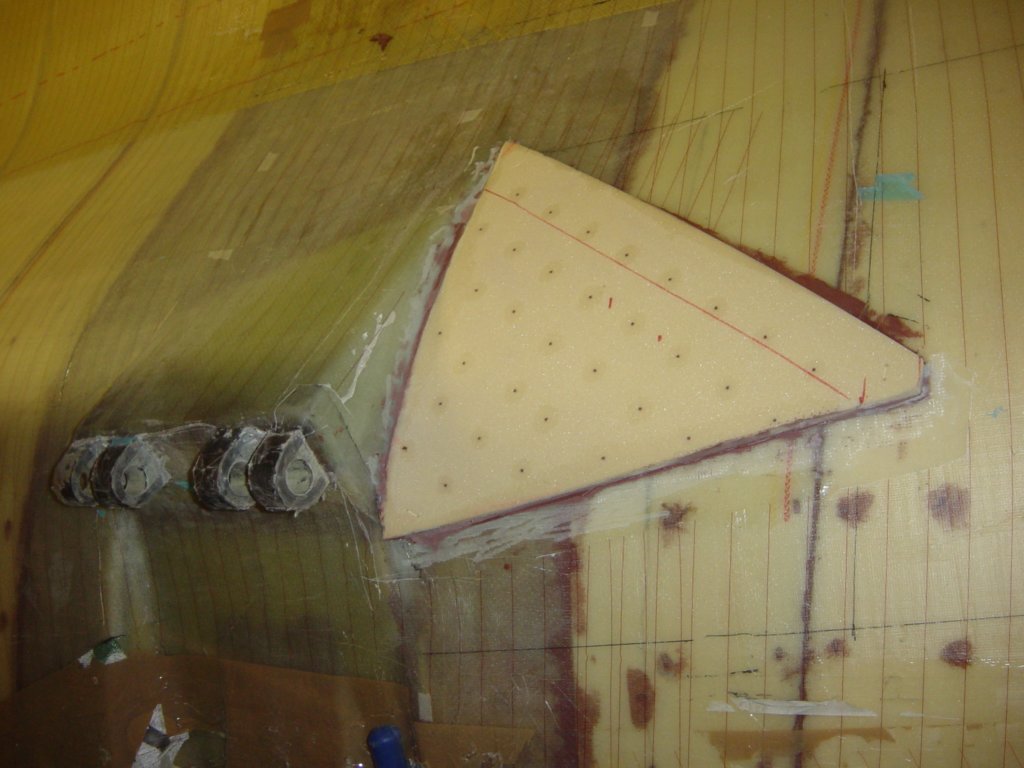
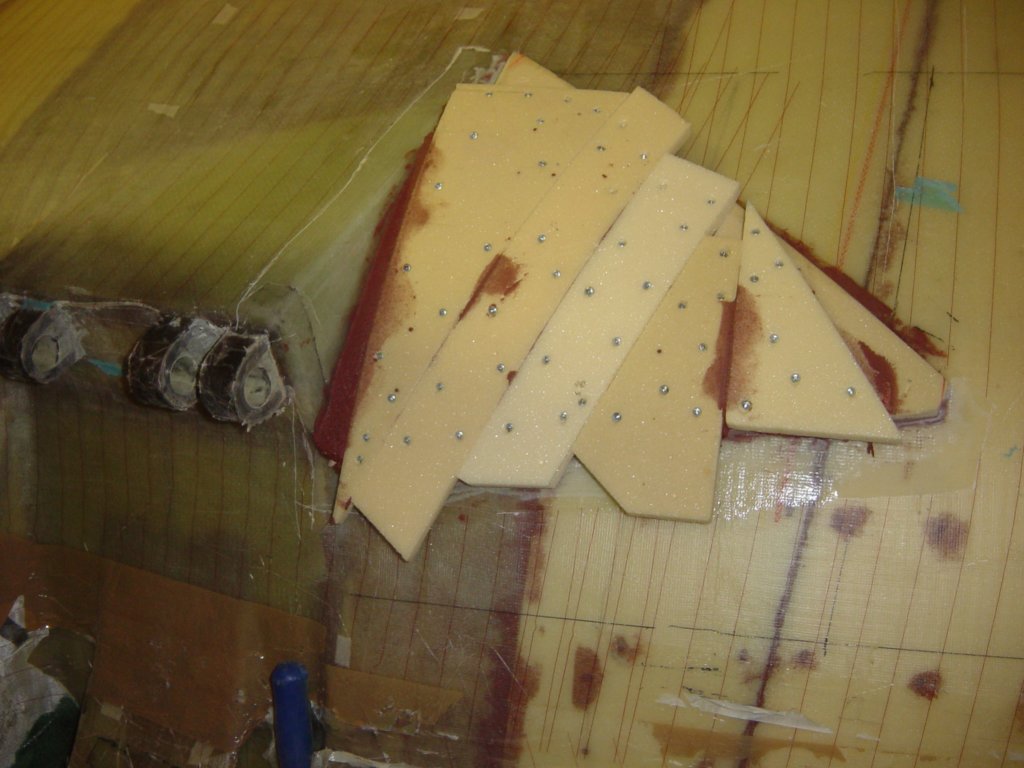
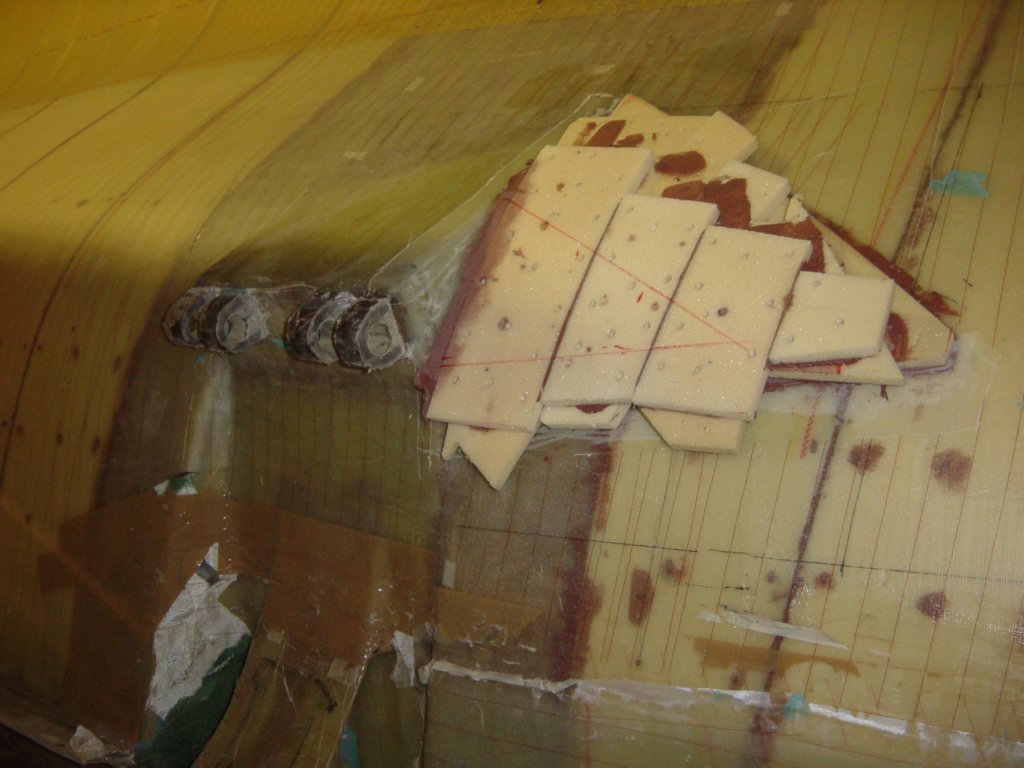
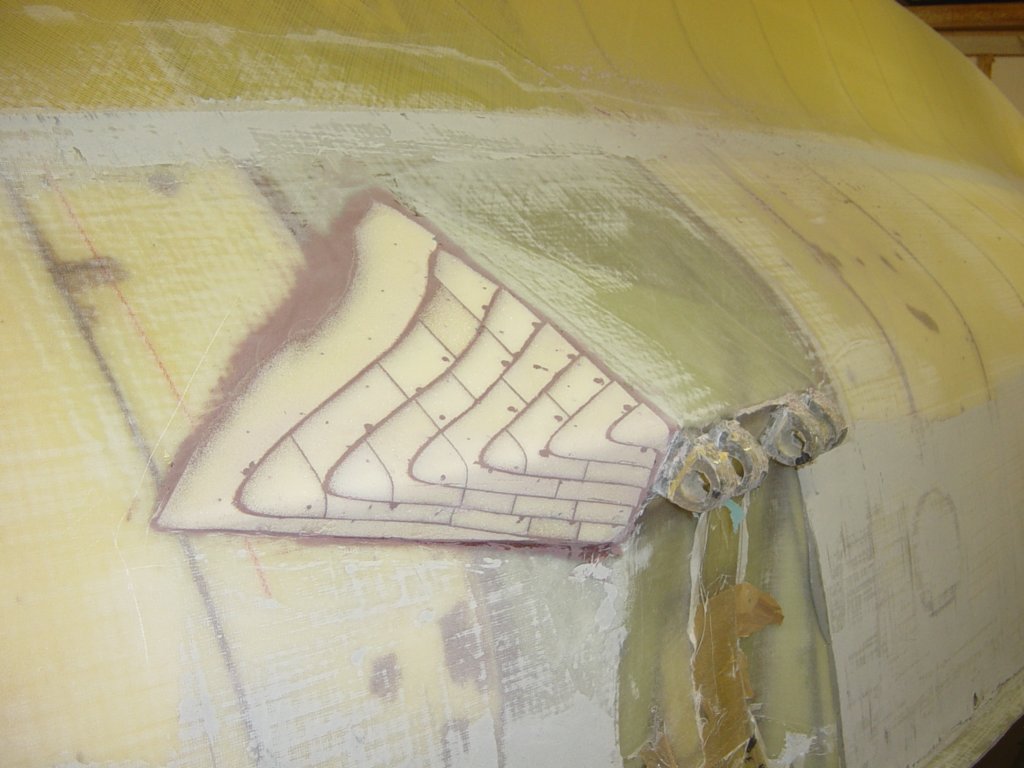
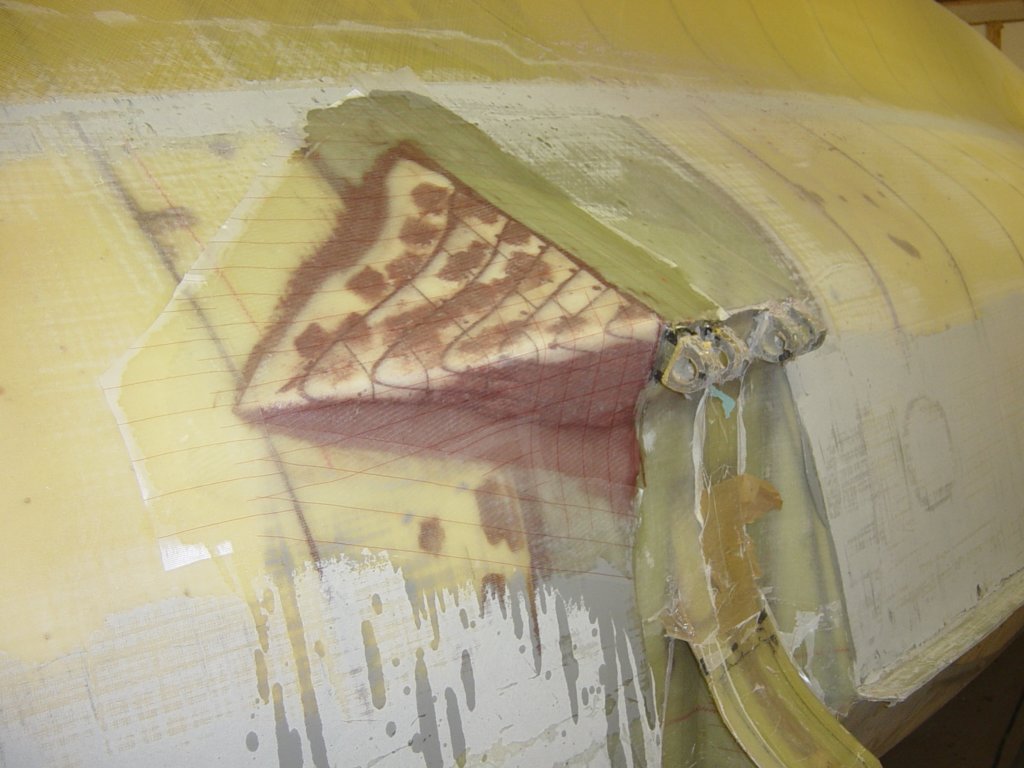
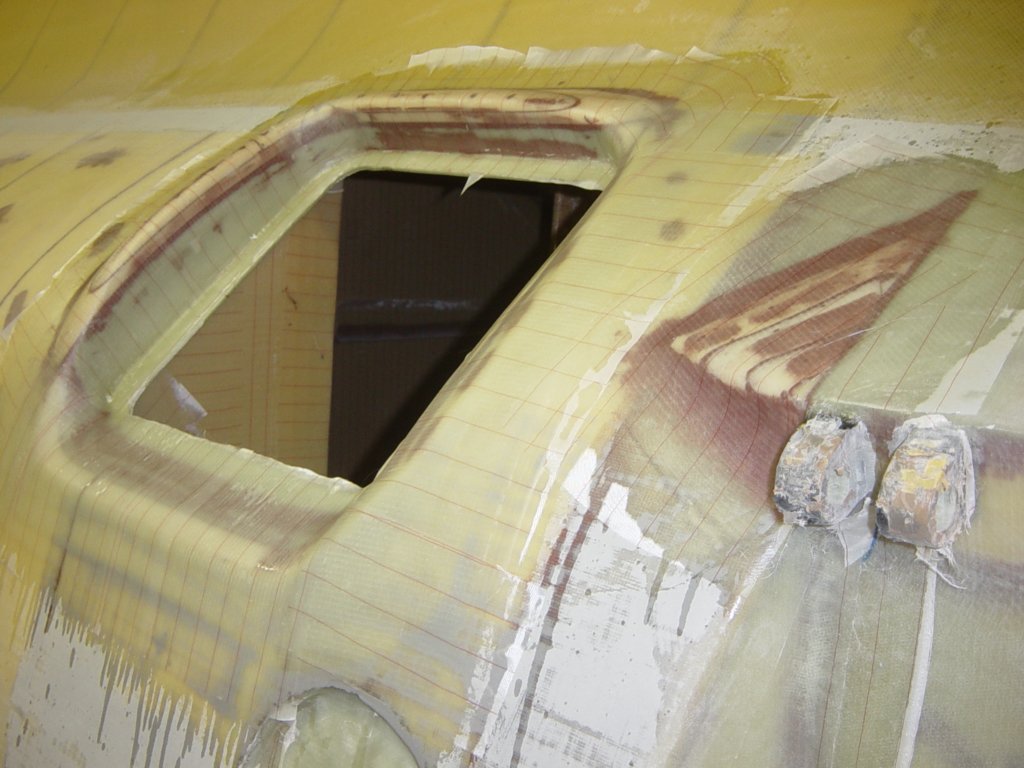
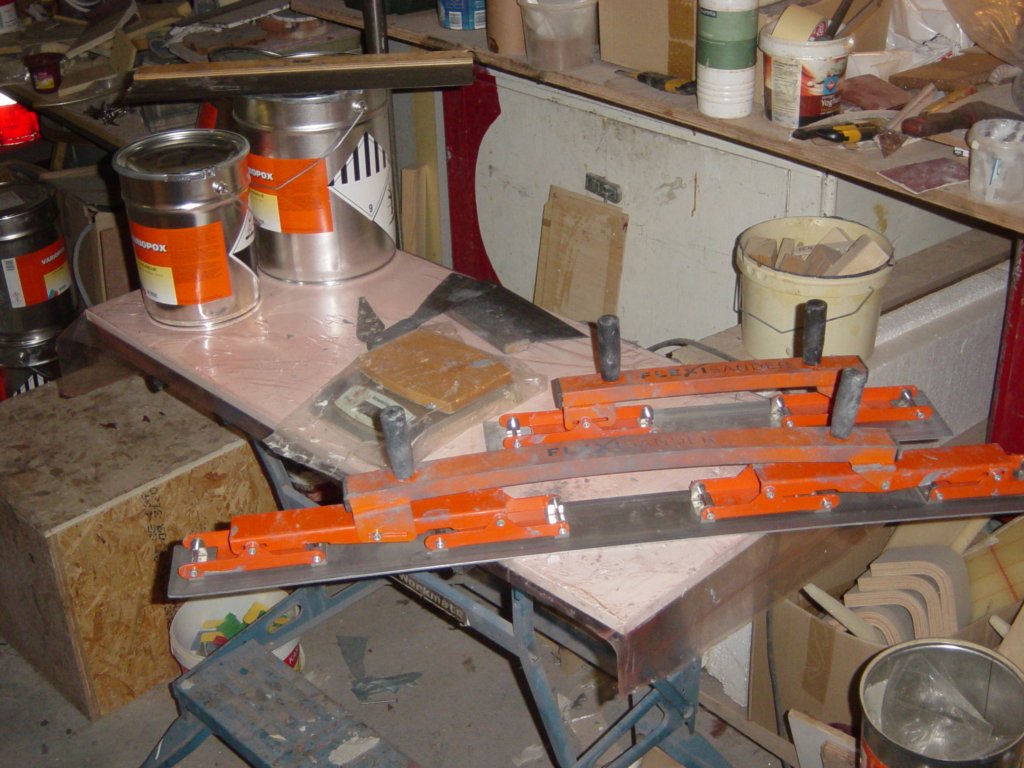
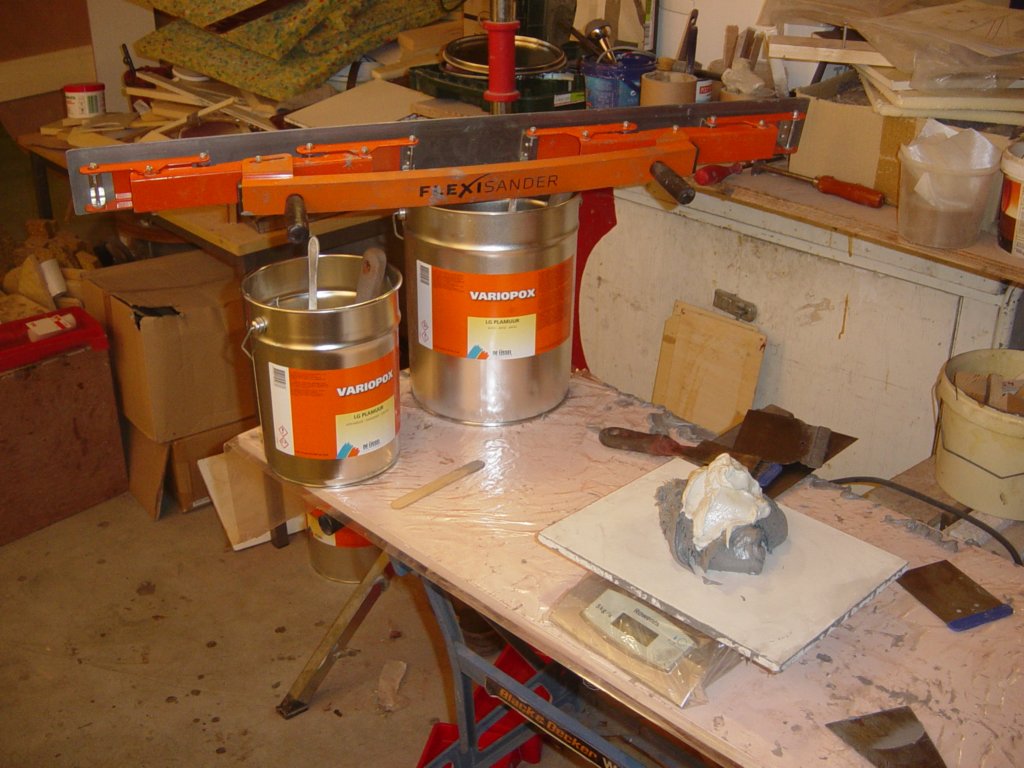
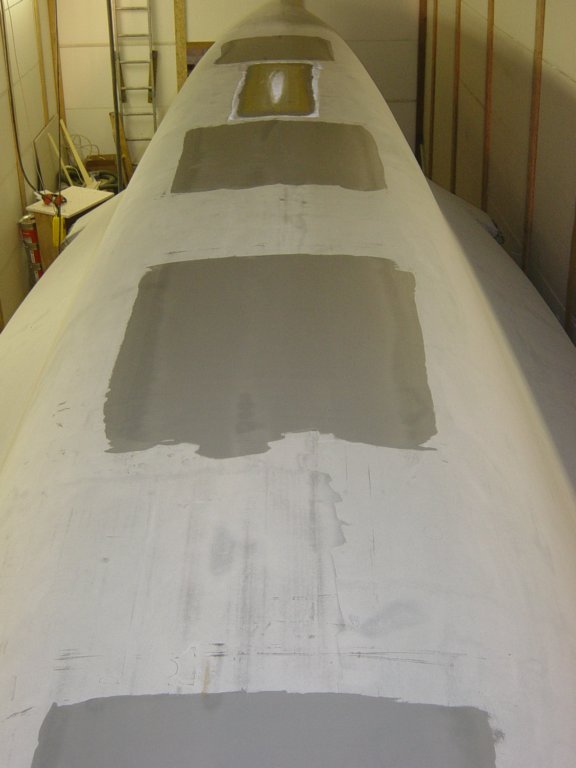
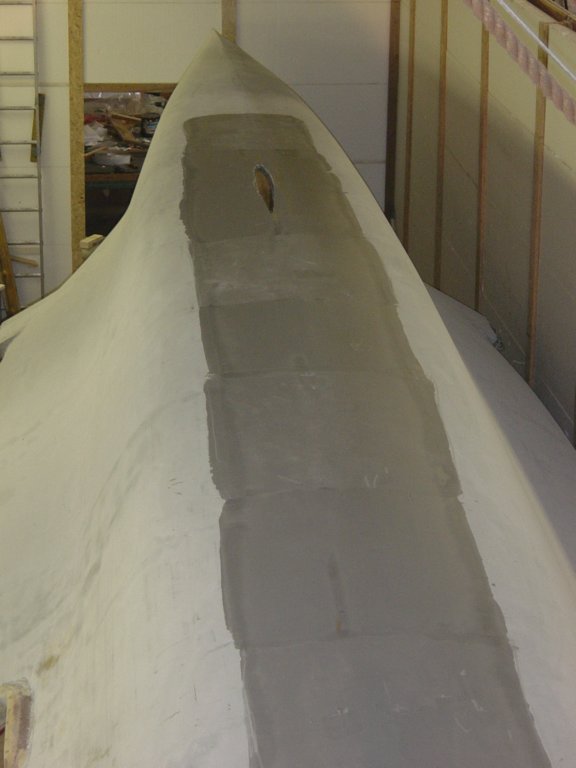
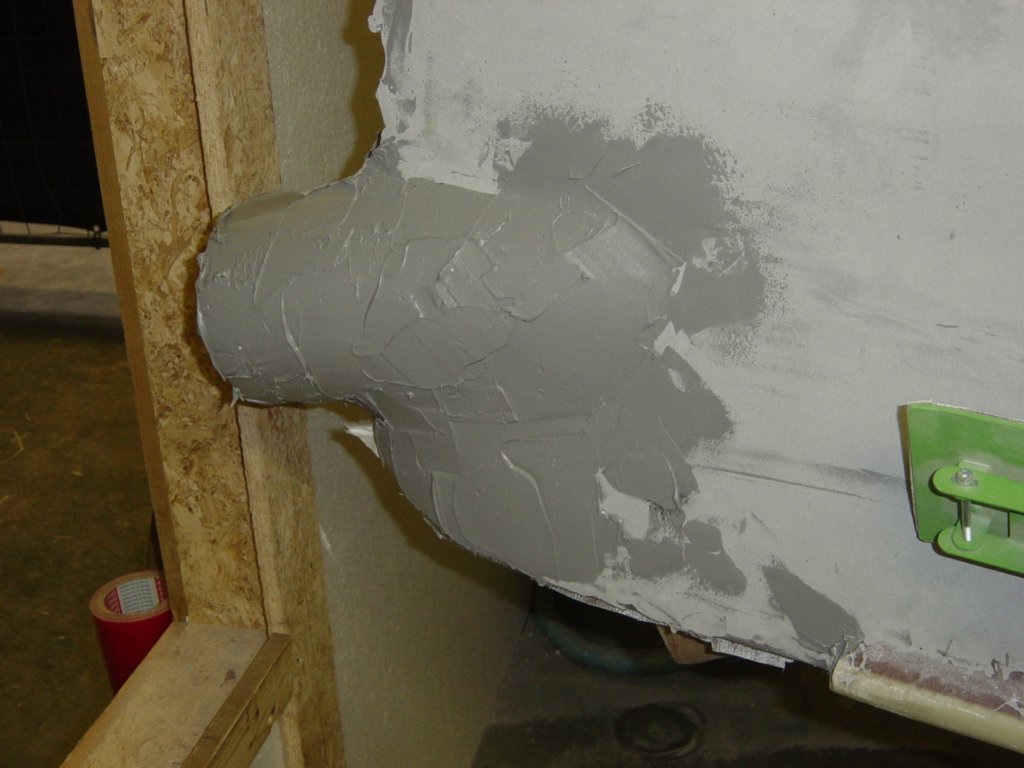
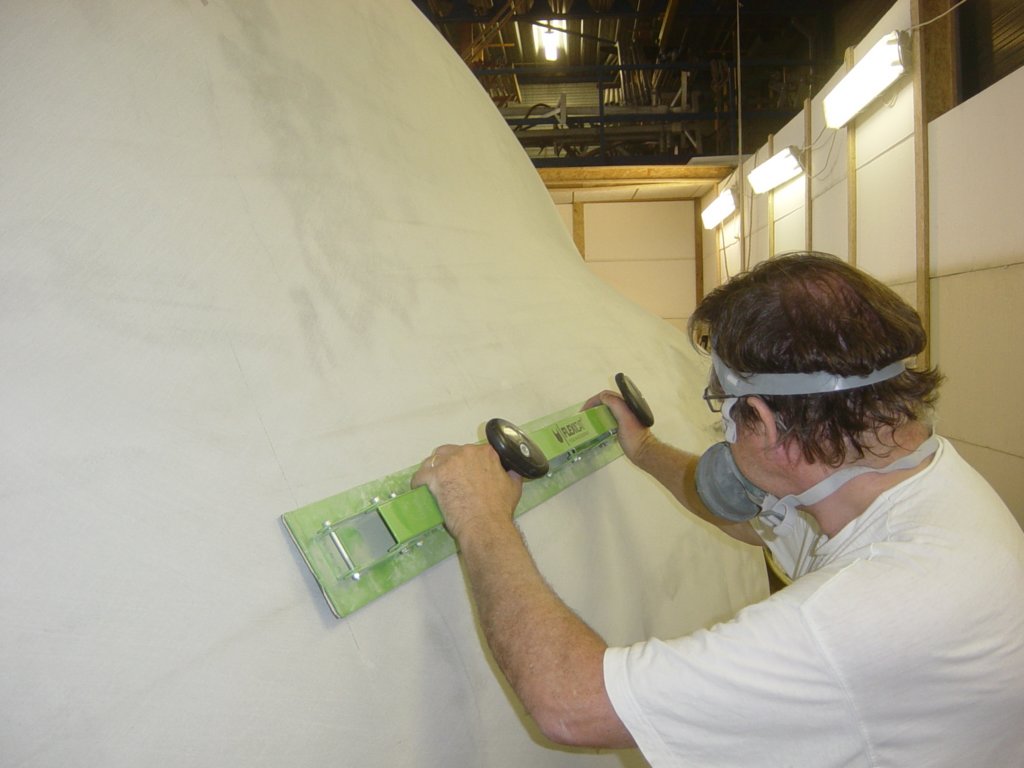
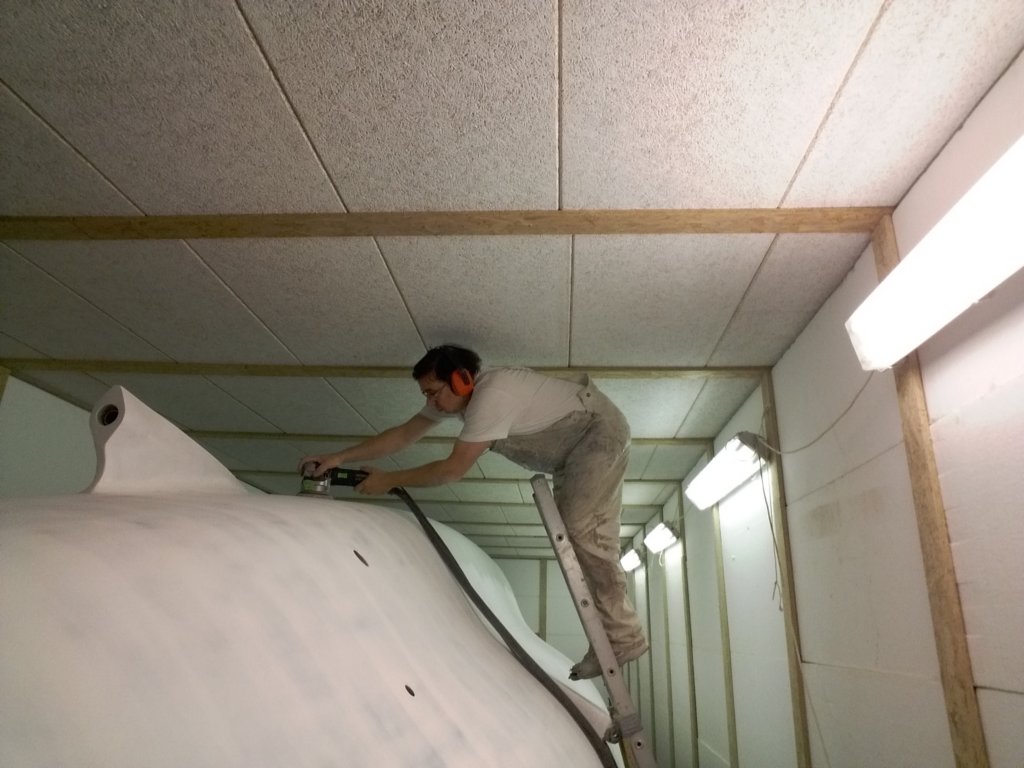
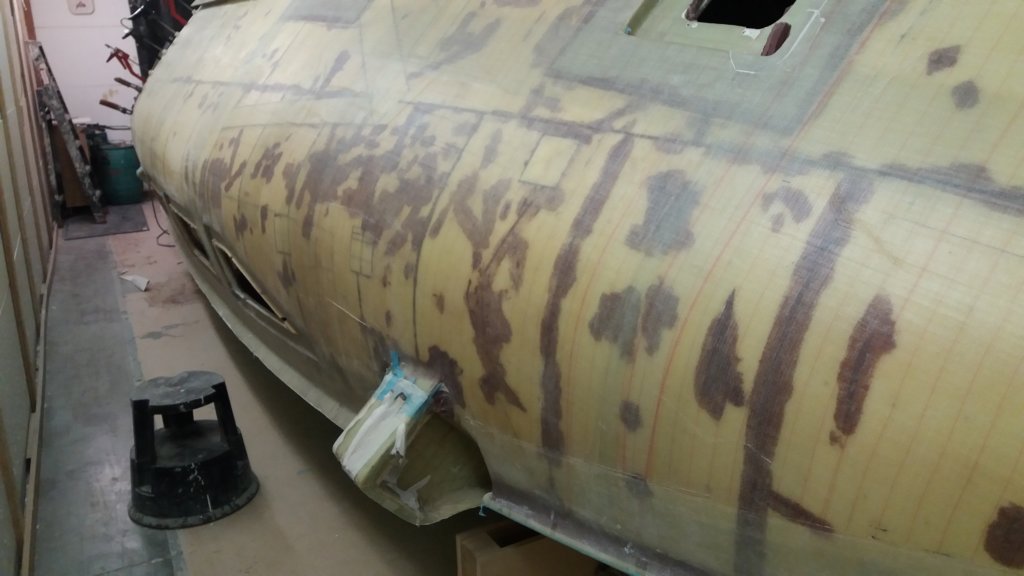
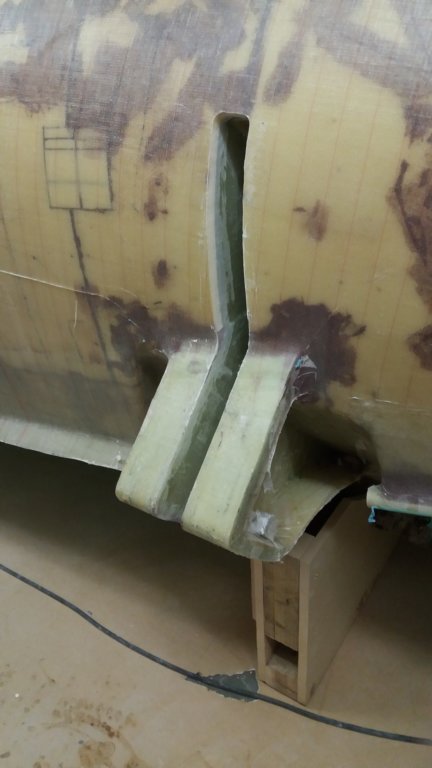
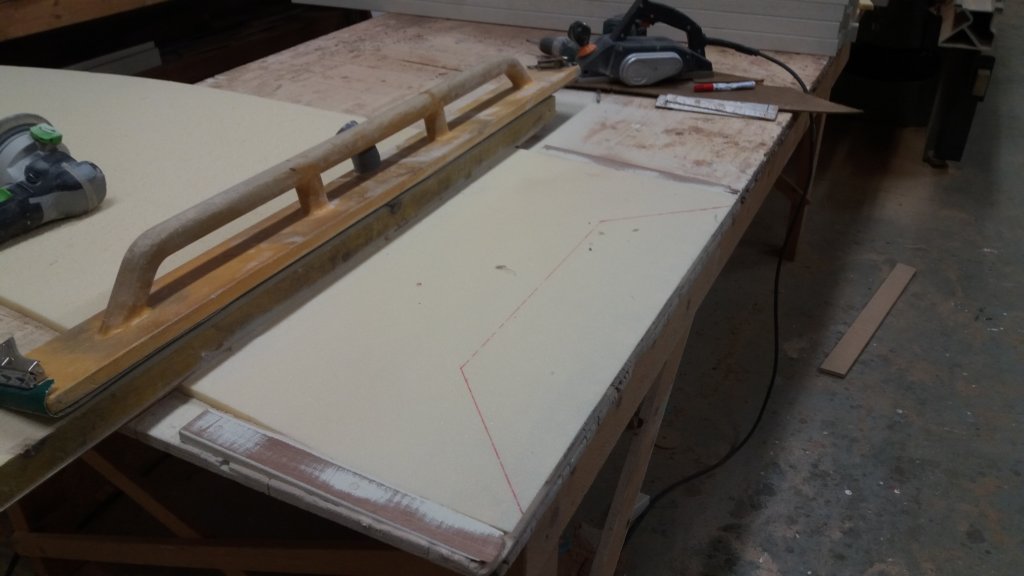
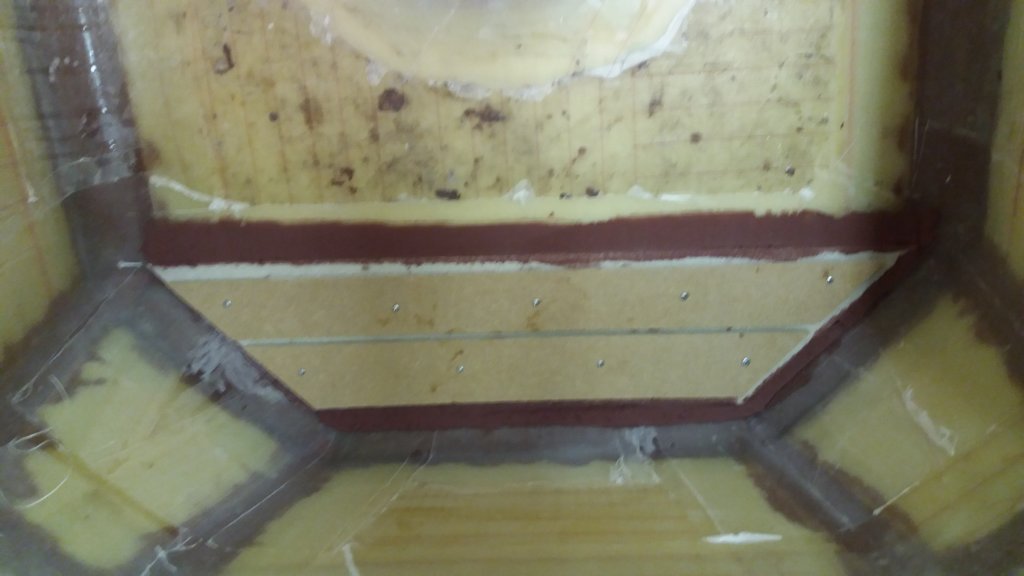
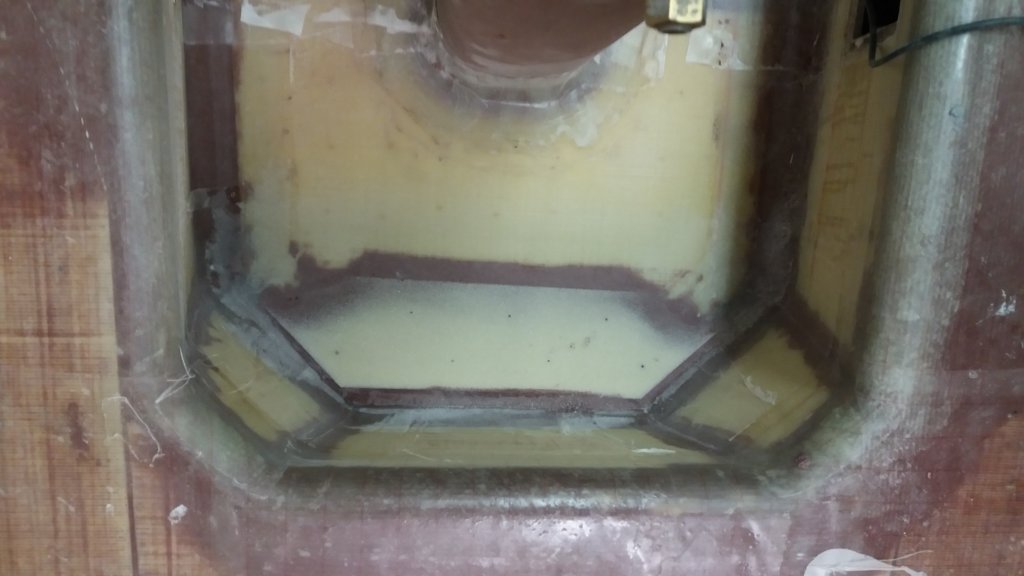
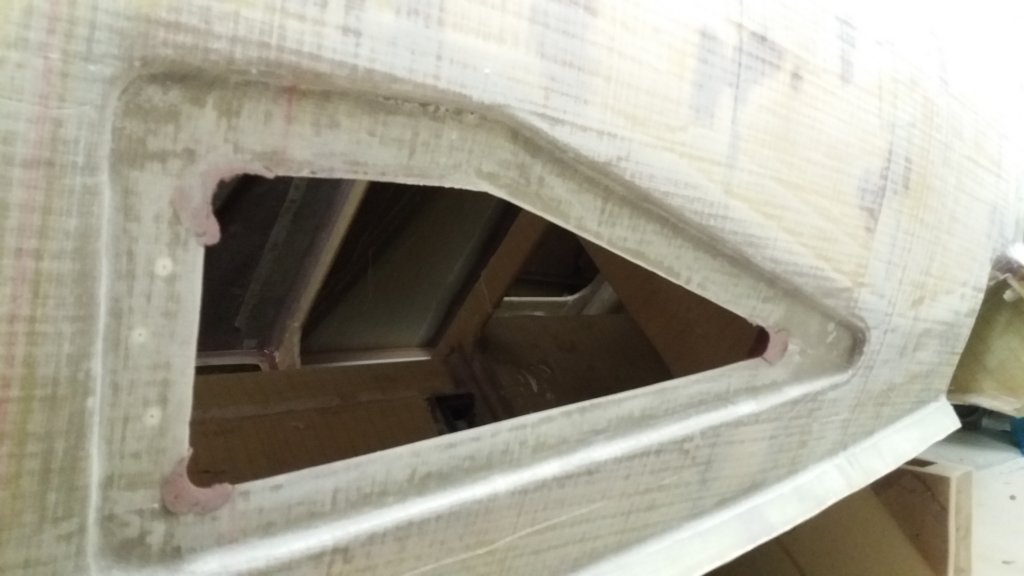
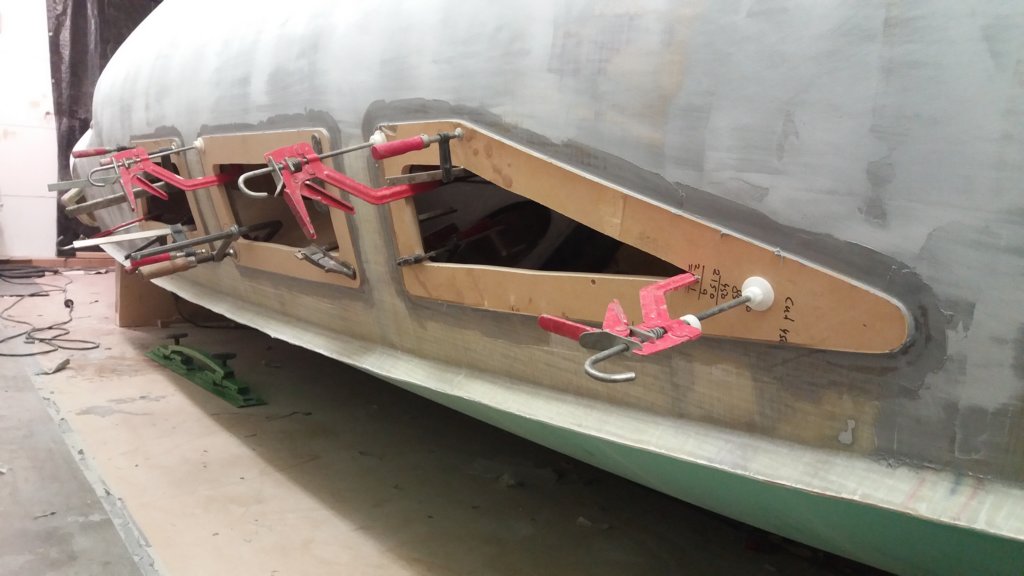
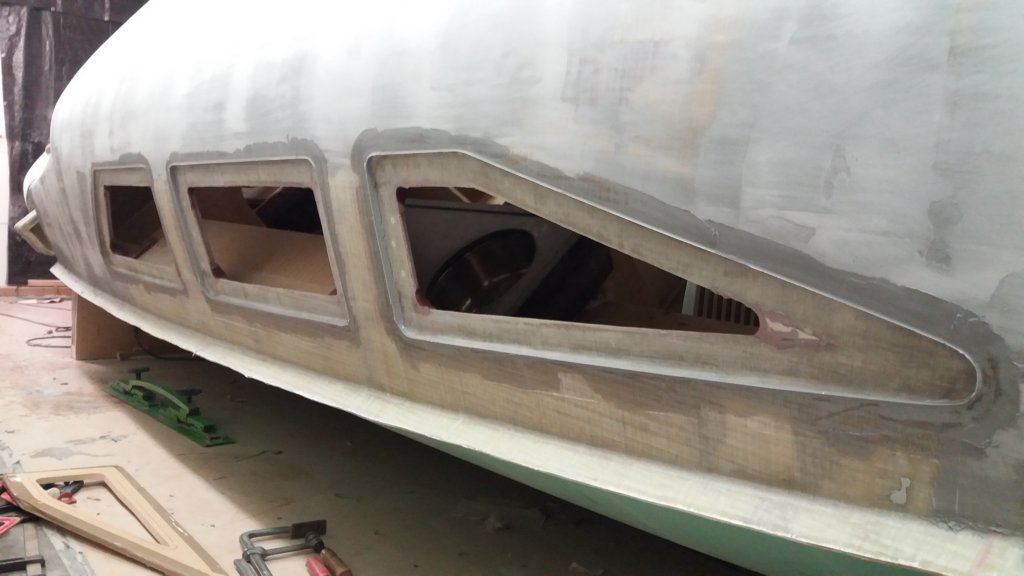
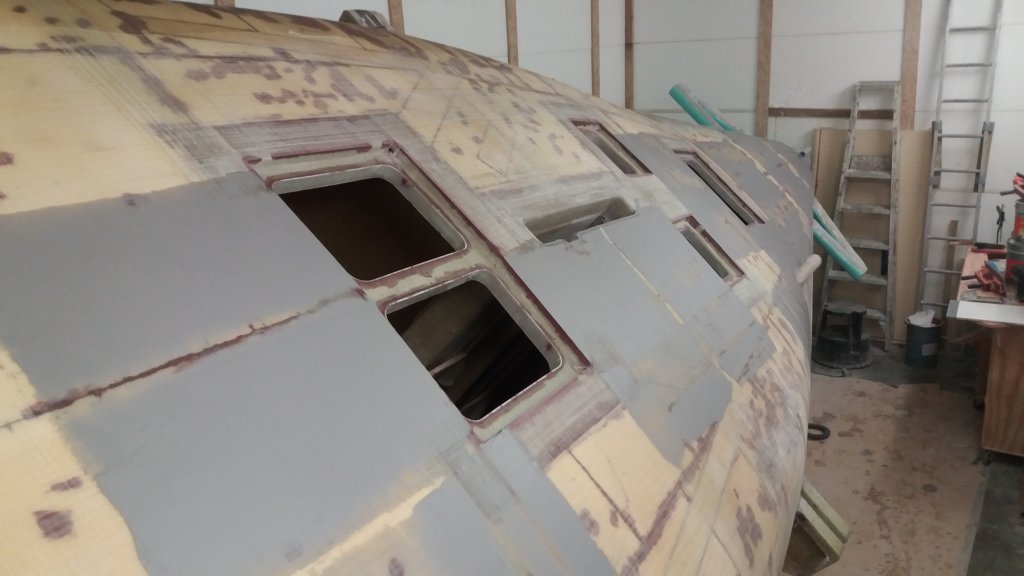
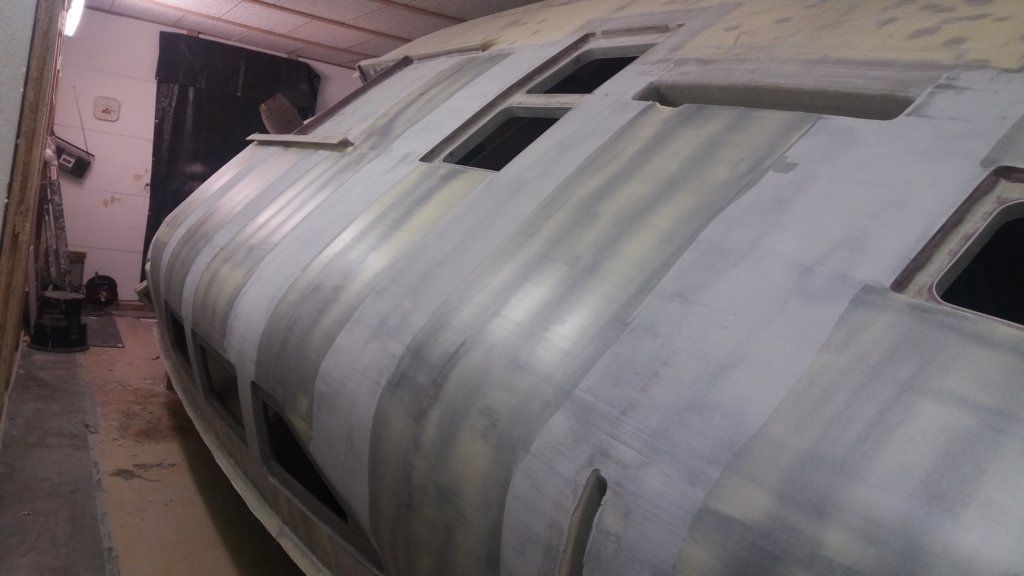
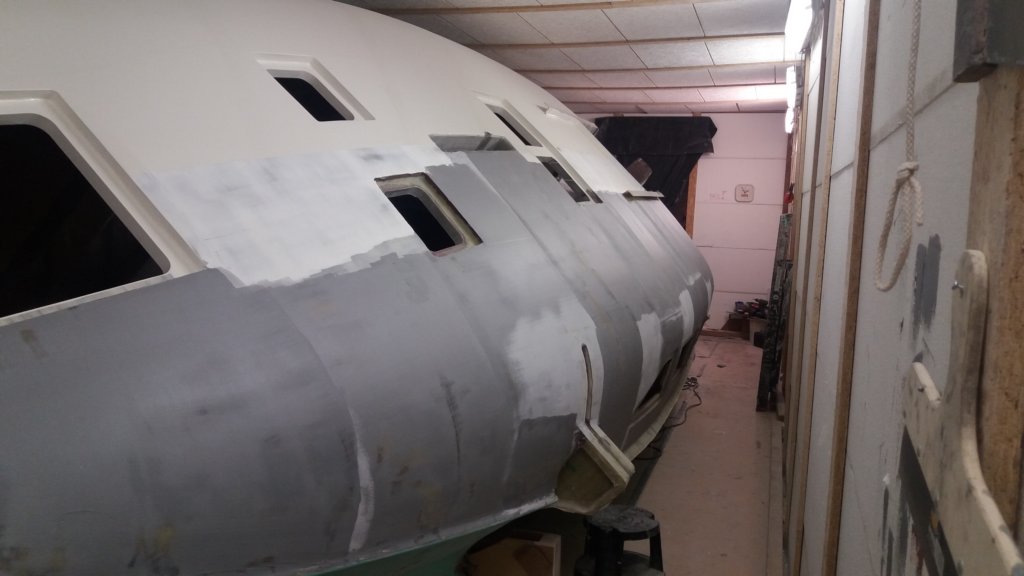
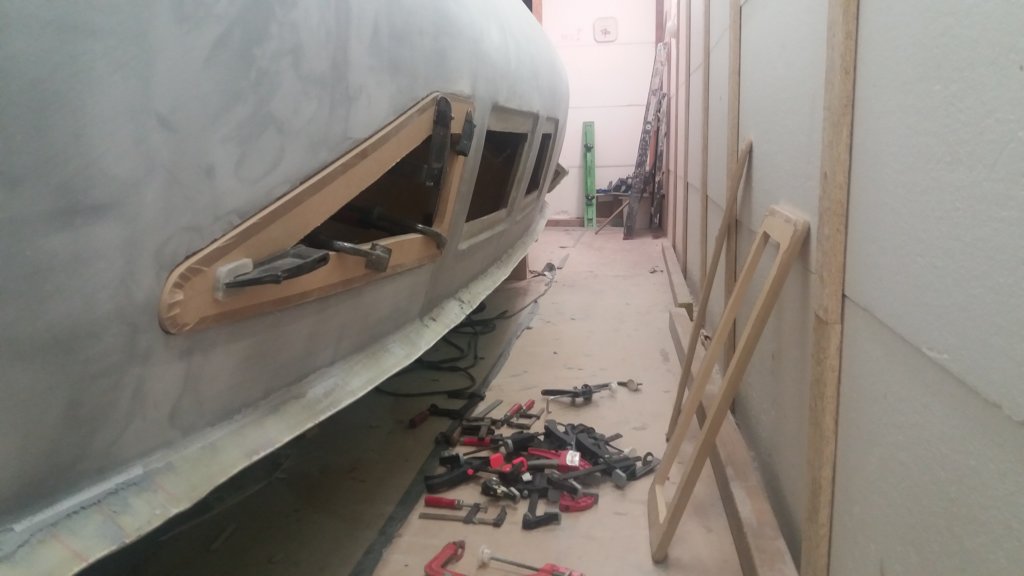
For the main hull I decided on a different approach. I bought two wide flexible filling knives from Flexisander: one 600 mm (2') wide and one 1200 mm (4') wide. The goal was to minimize longboarding and maximize the use of sanding machines. The trick is to shape the fairing compound with one continuous stroke of the long knife, avoiding excess material, and then to leave it alone. The next pass is one knife-width further along; after partial curing, the in-between areas are filled. That completes the first fairing layer. The second layer uses much less compound and is applied to overlap the earlier areas.
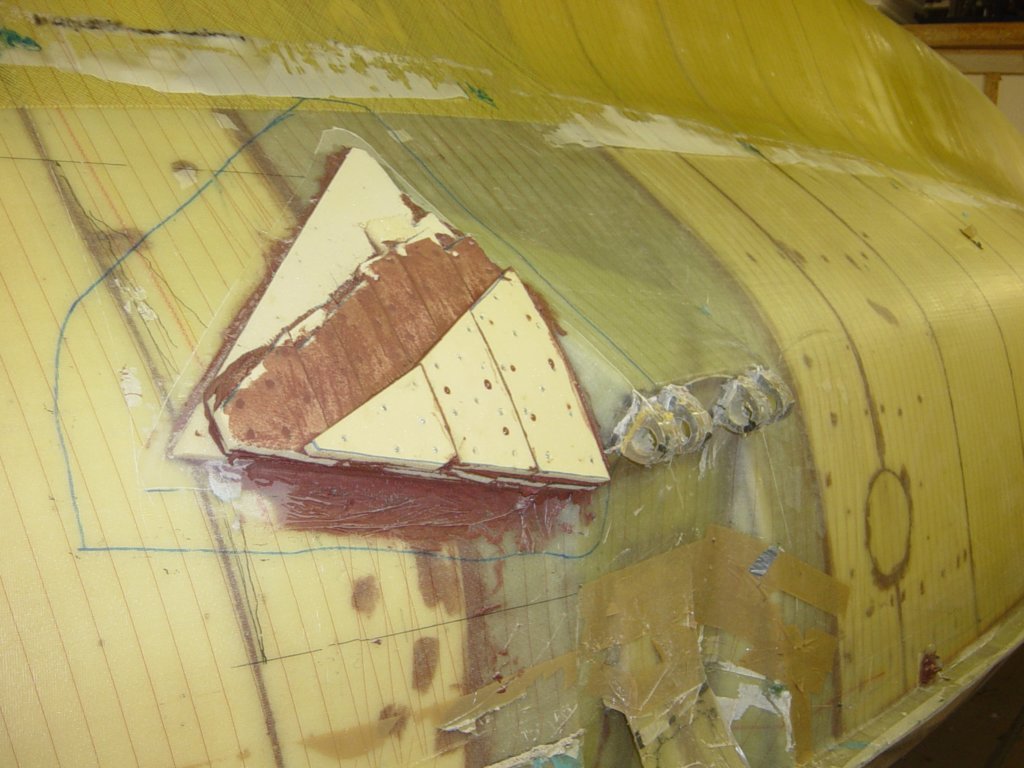
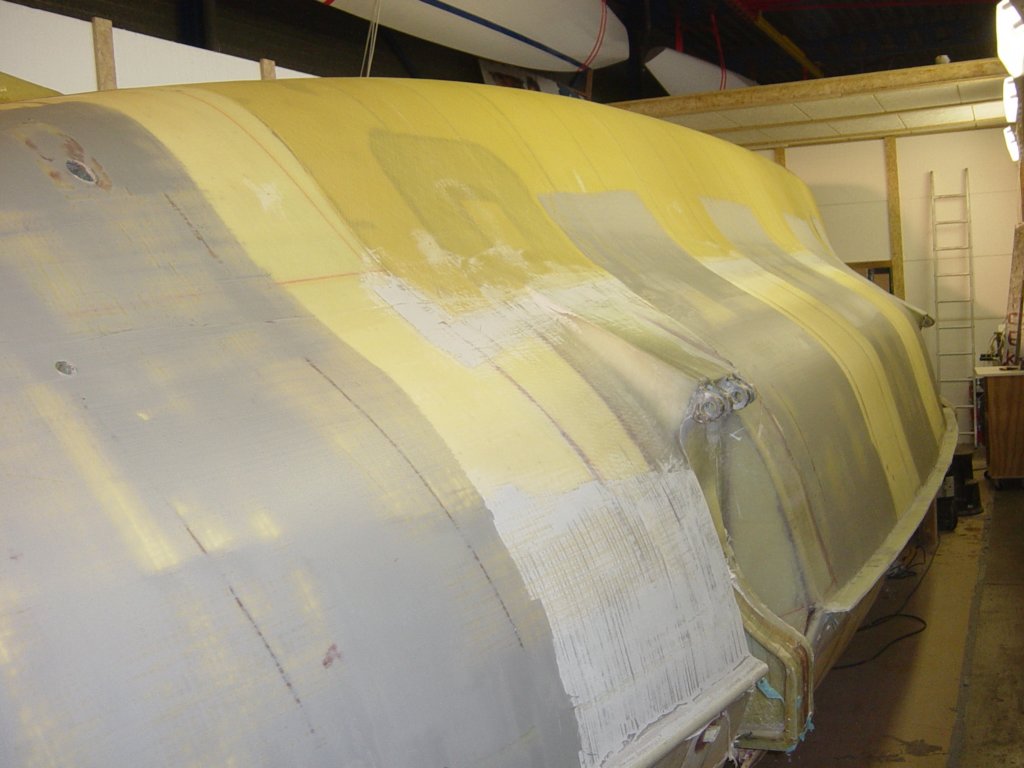
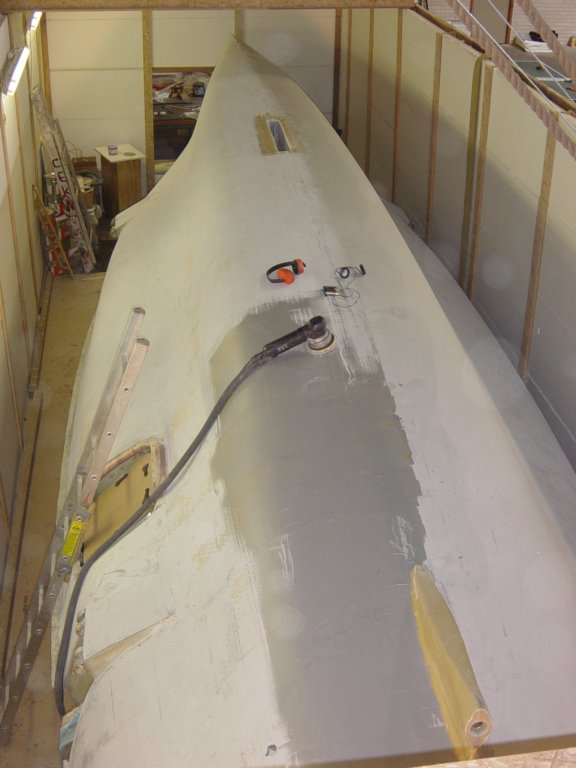
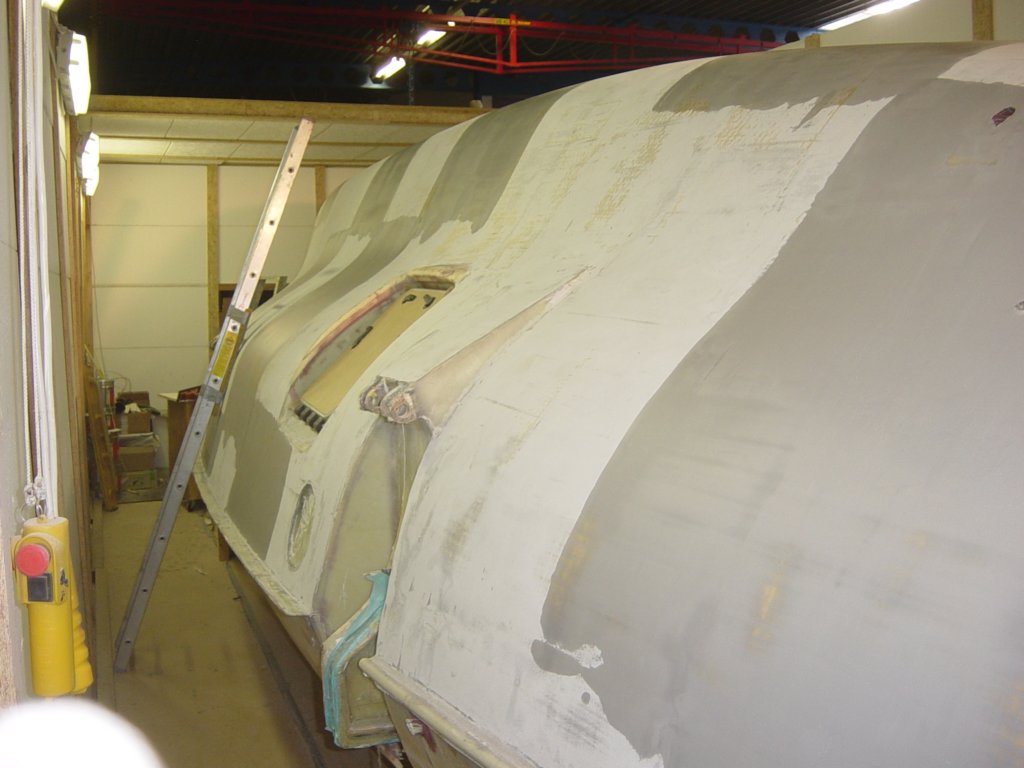
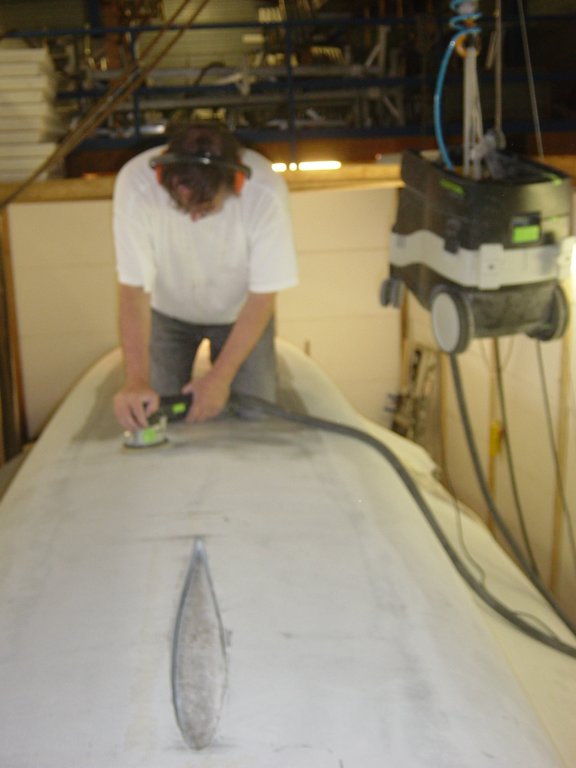
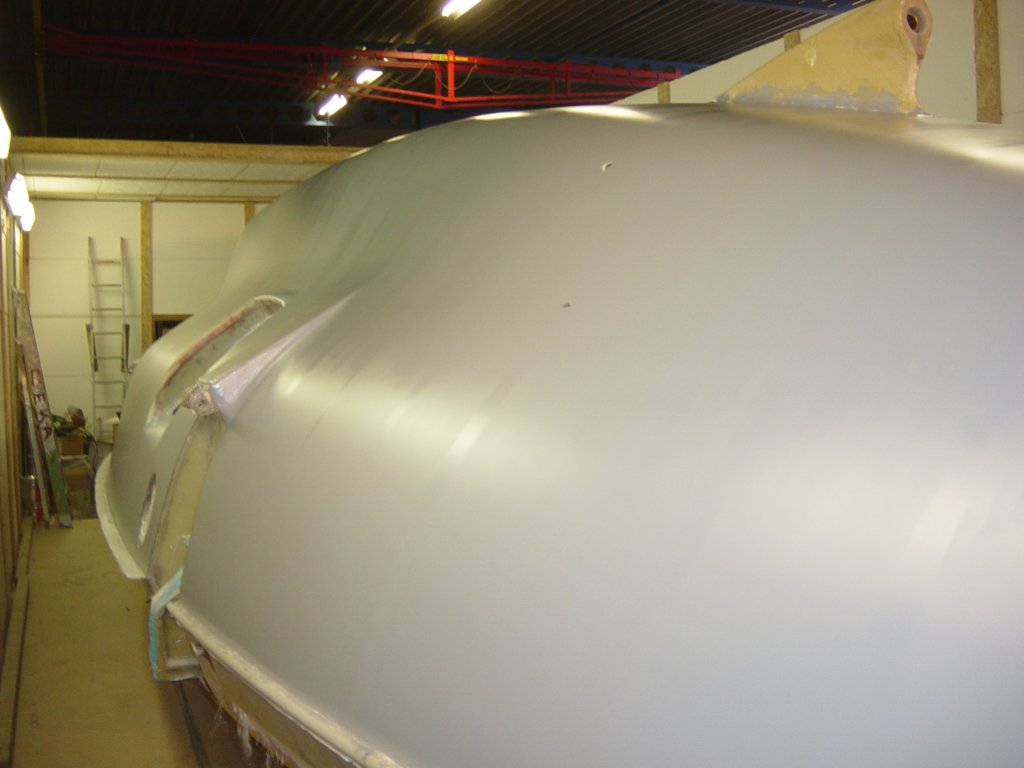
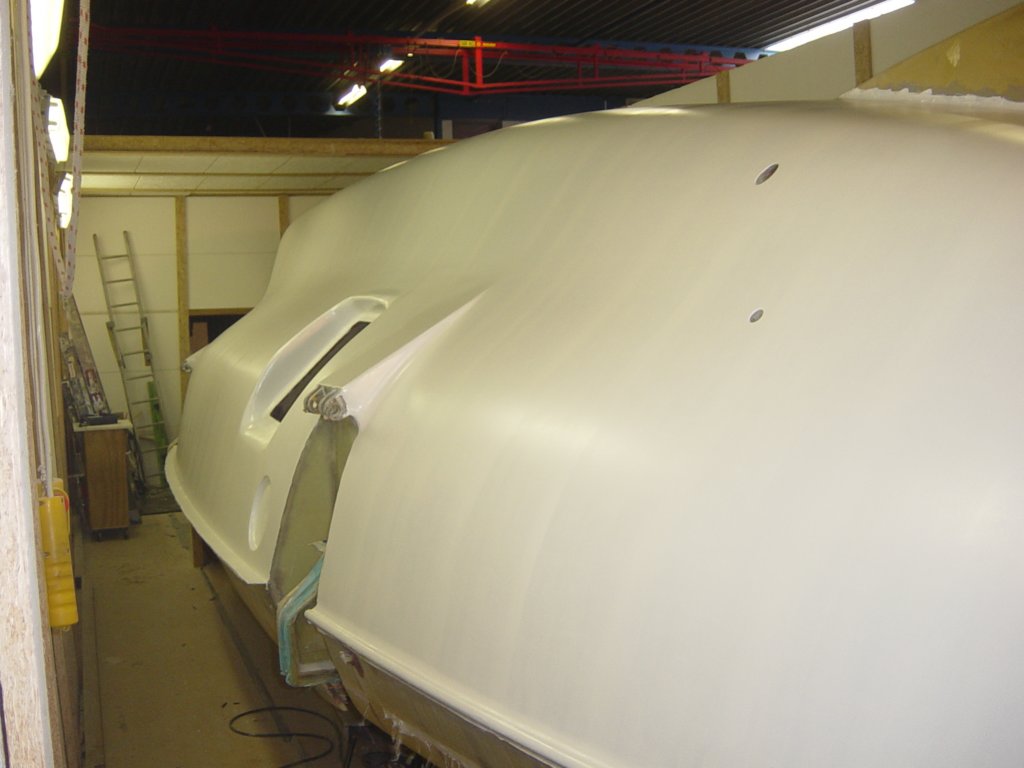
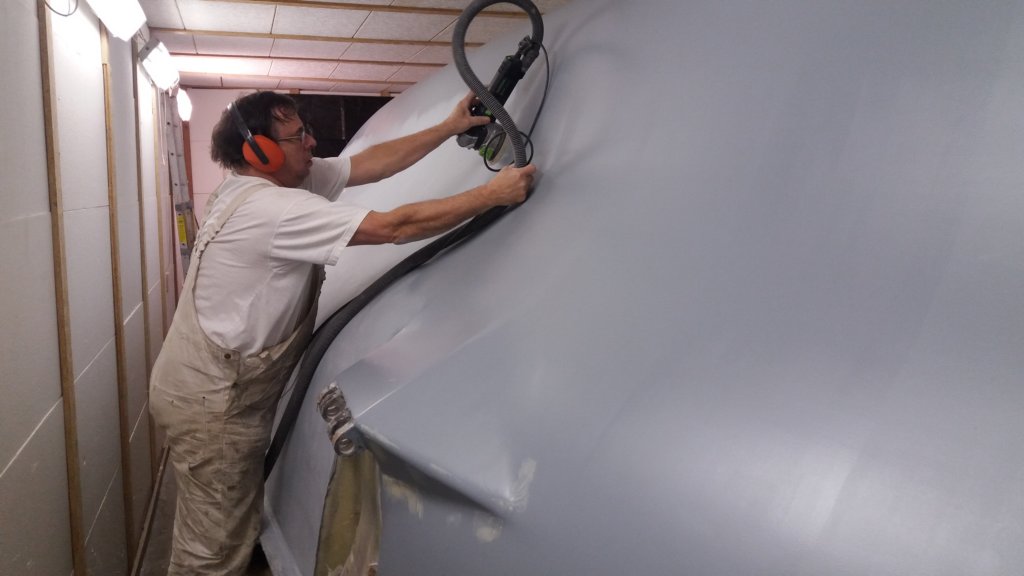
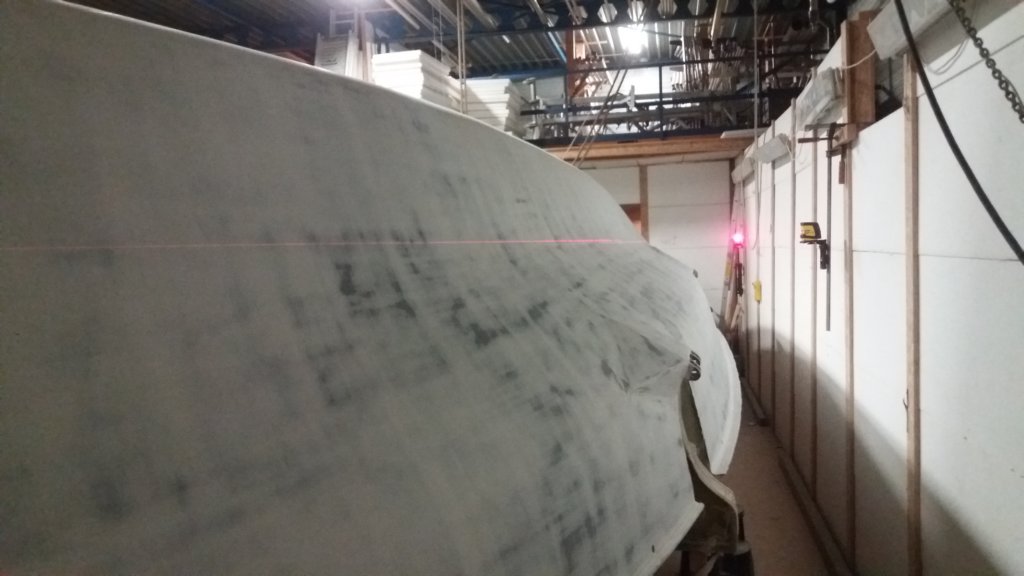
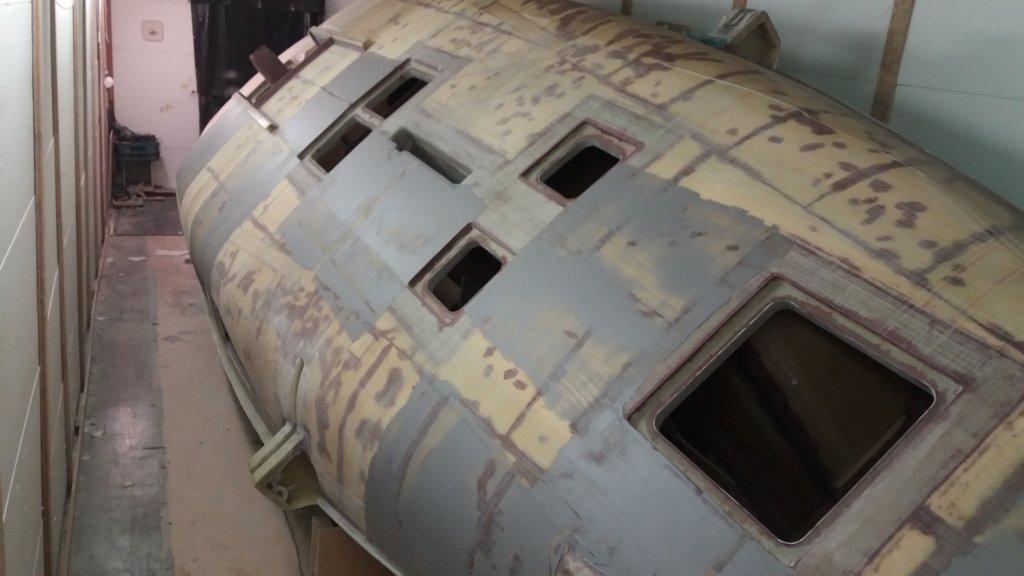
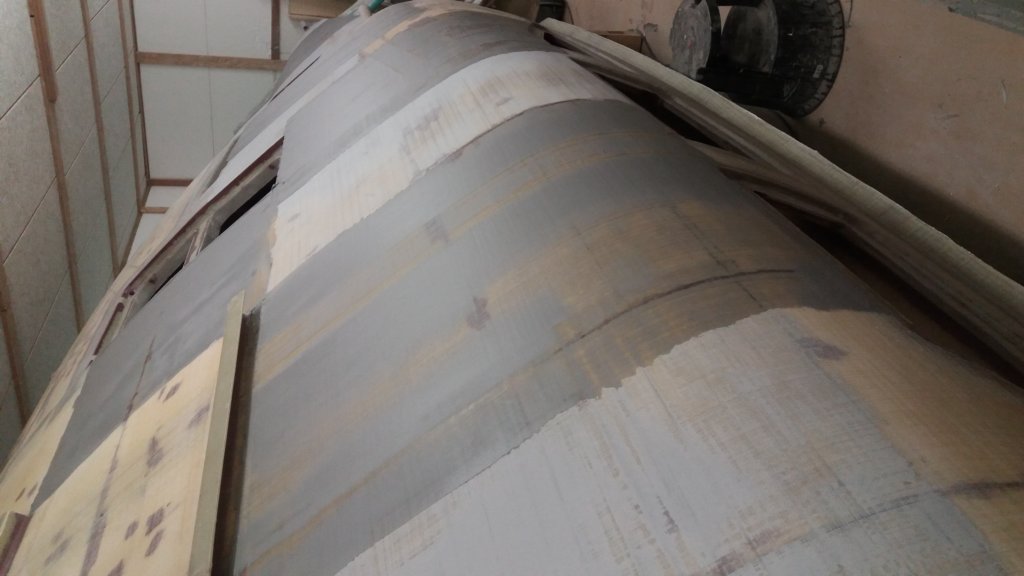
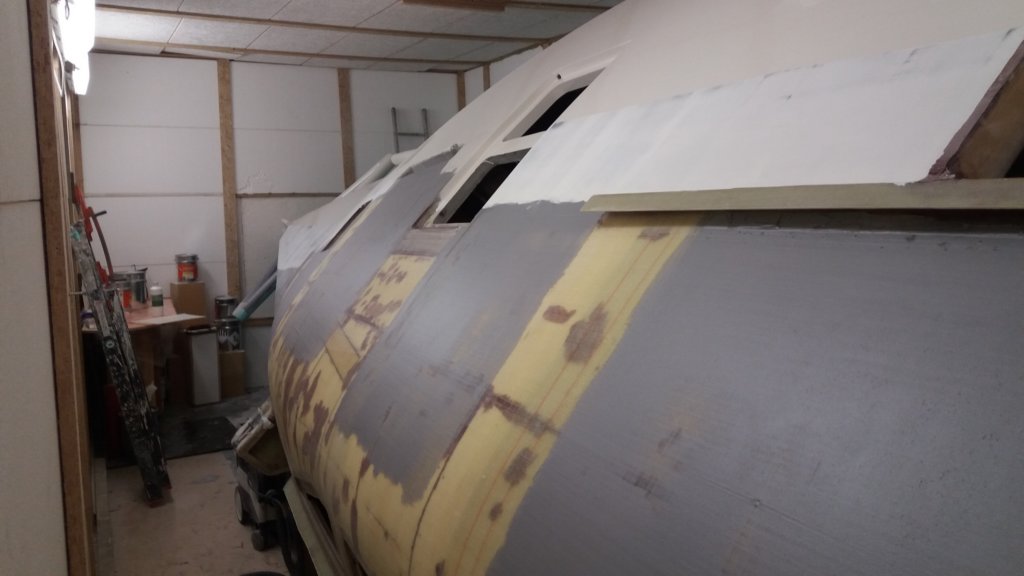
Most of the work was done with the 1200 mm knife, which produced a very fair surface and minimized waste. The random orbital sander with 40-grit mesh was then mainly used to smooth the surface. This takes some skill to avoid sanding too deep. The final overall fairing was done with the long flexible fairing board, but because the hull was already fair, this step was no longer a big job.
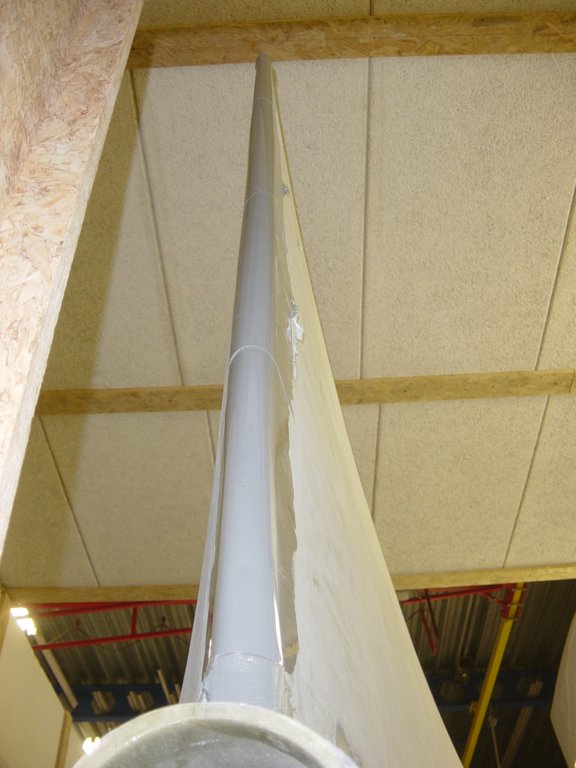
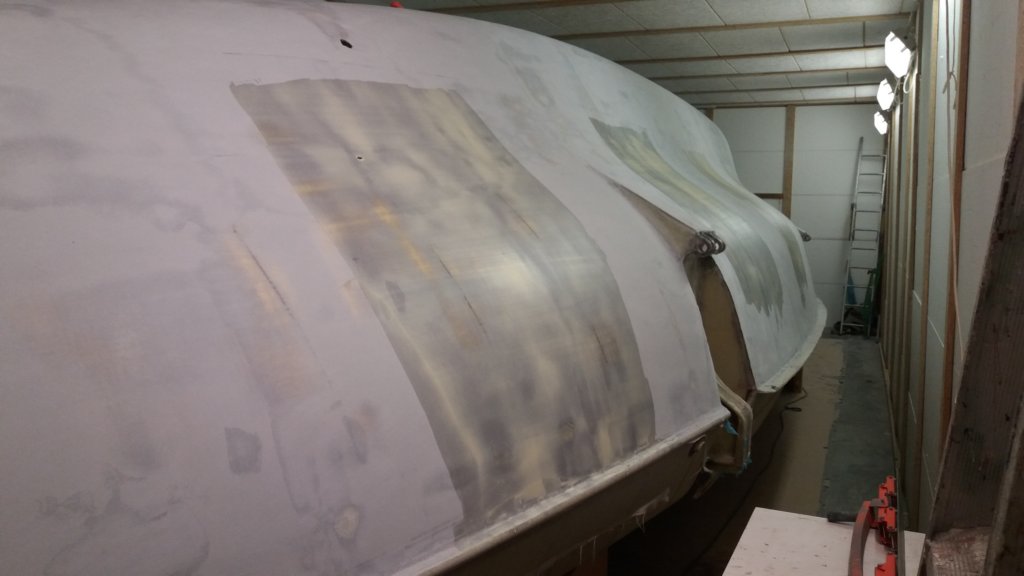
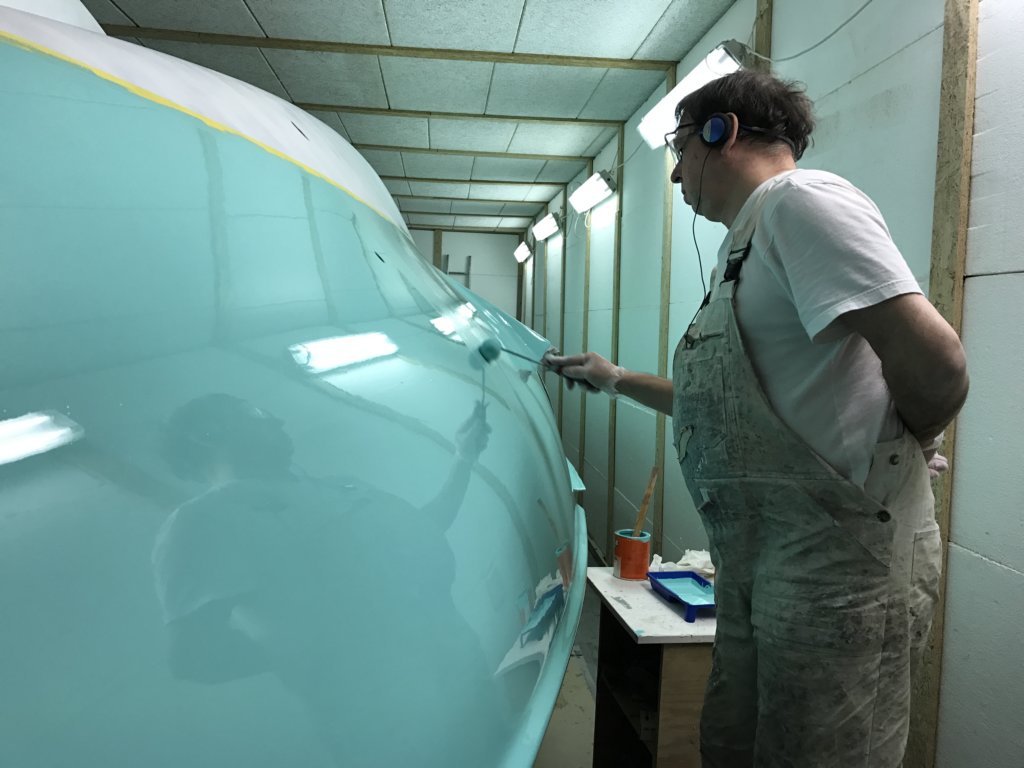
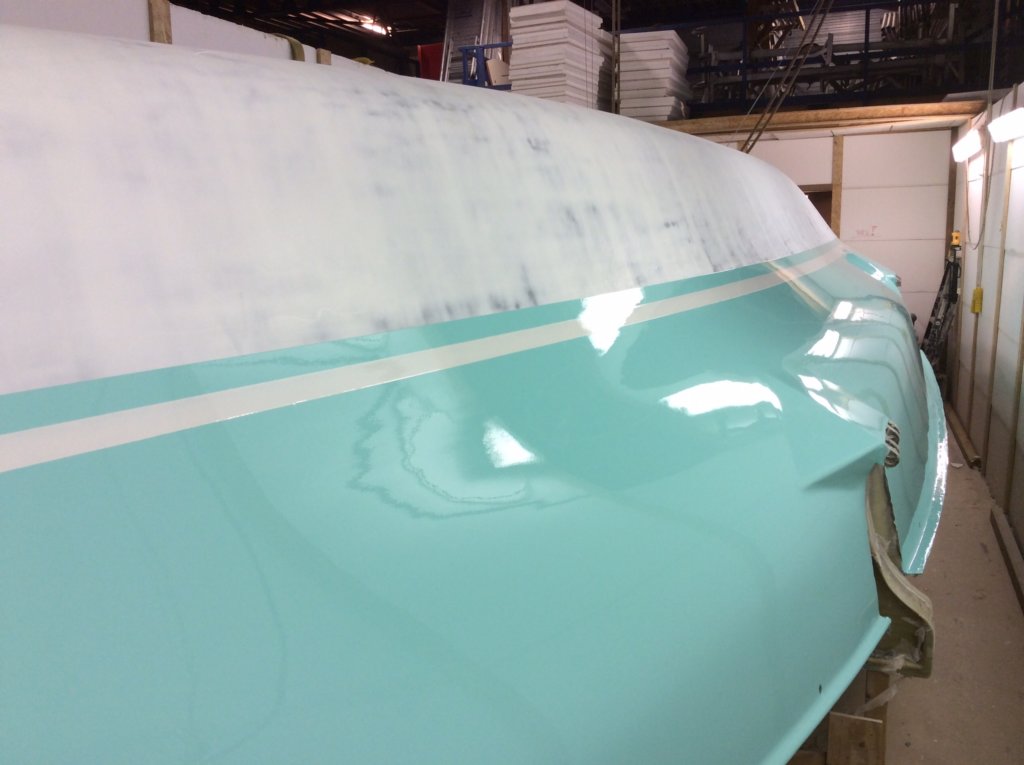
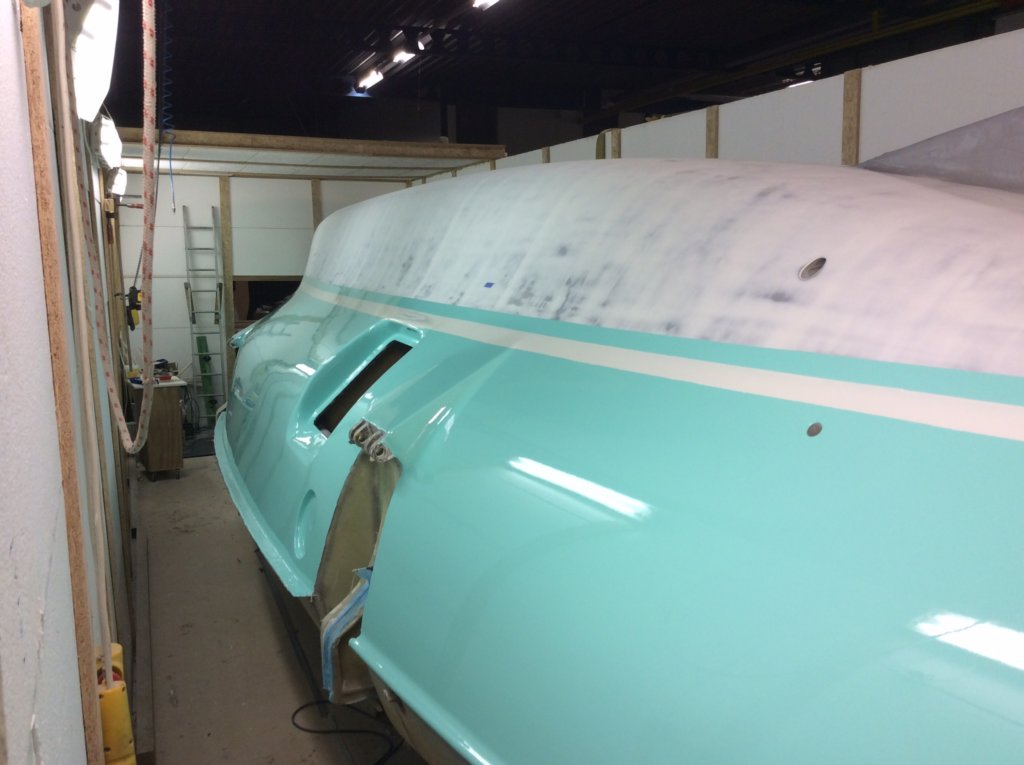
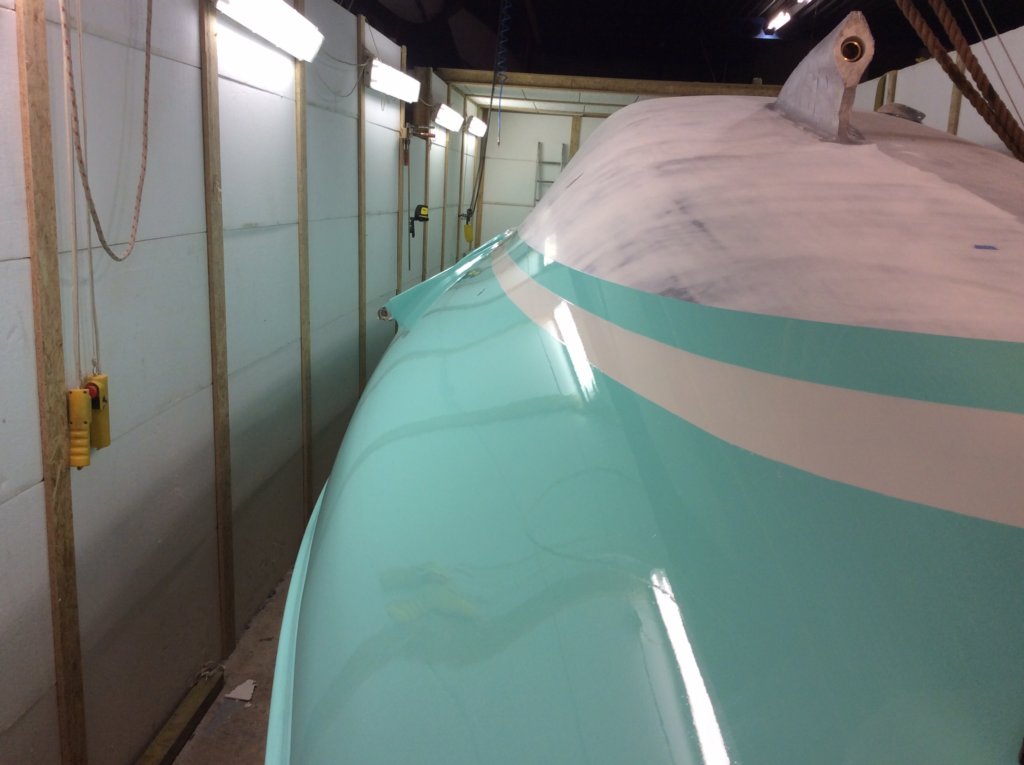
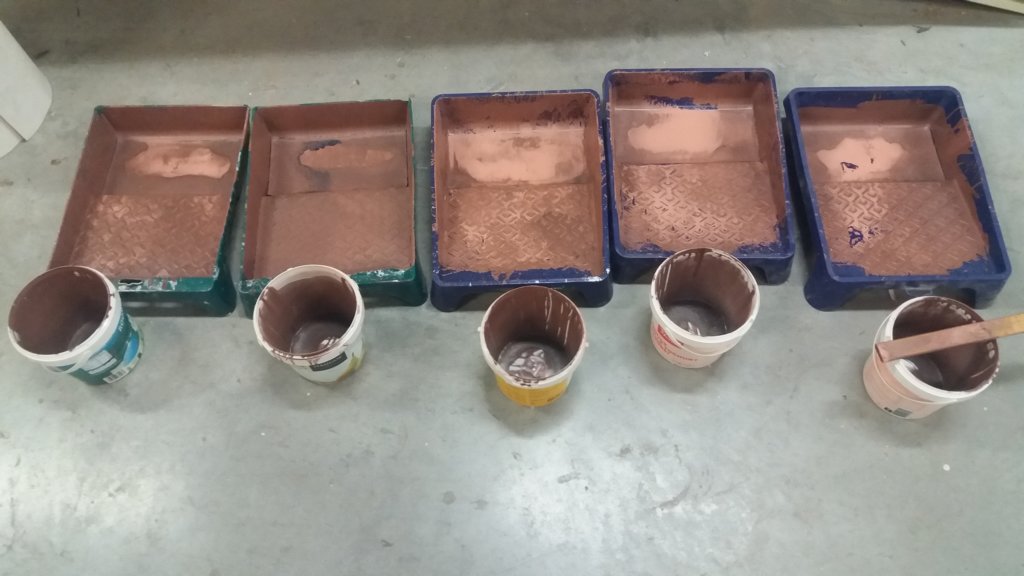
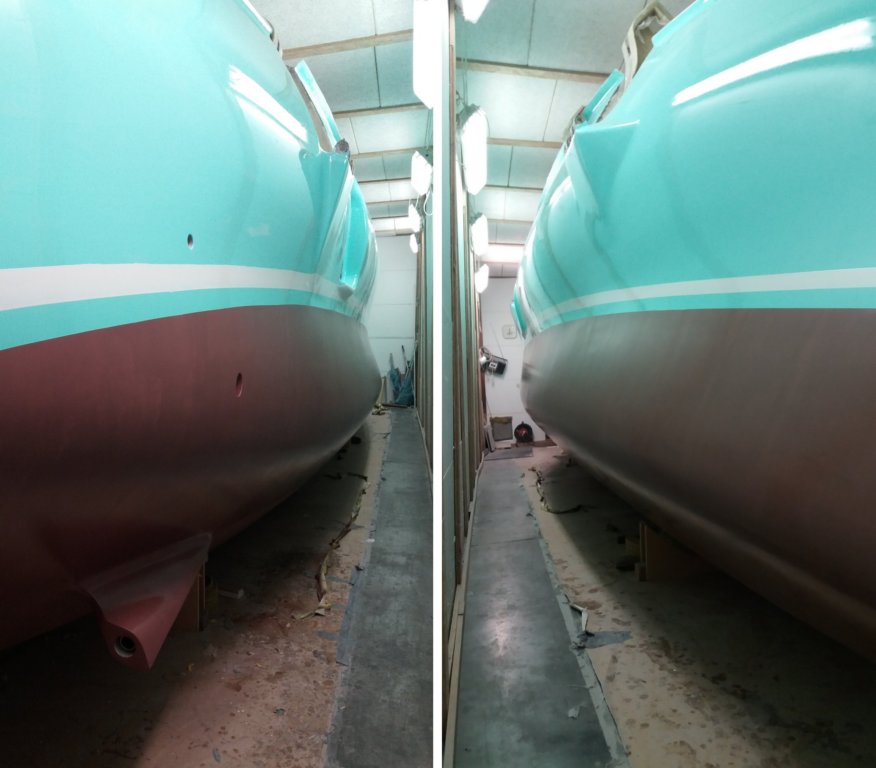
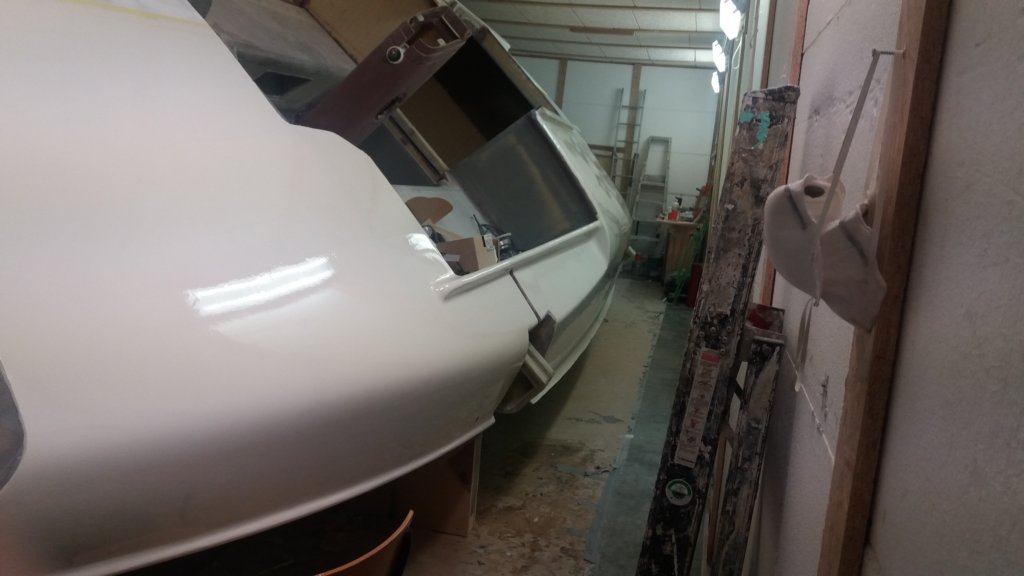
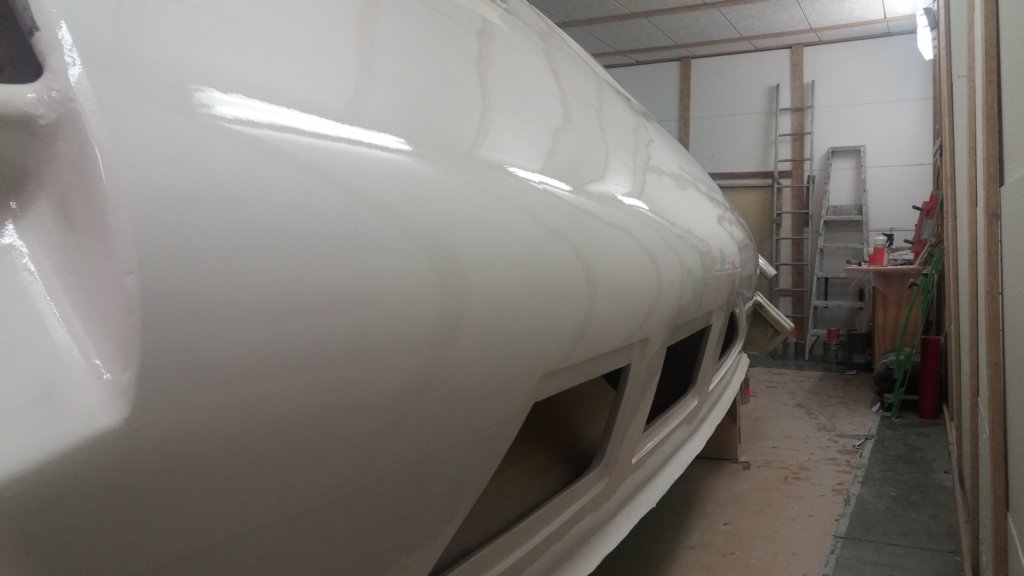
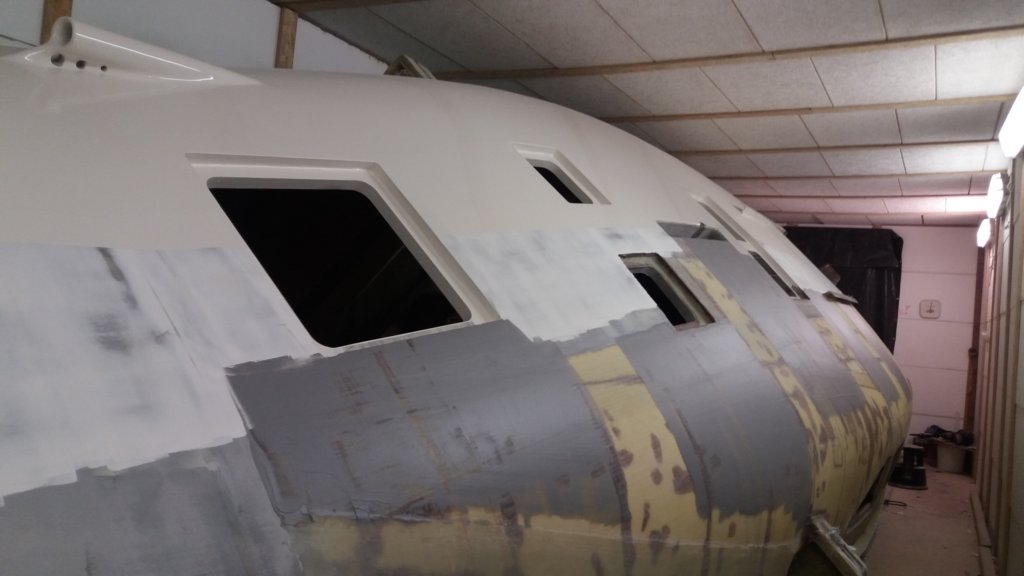
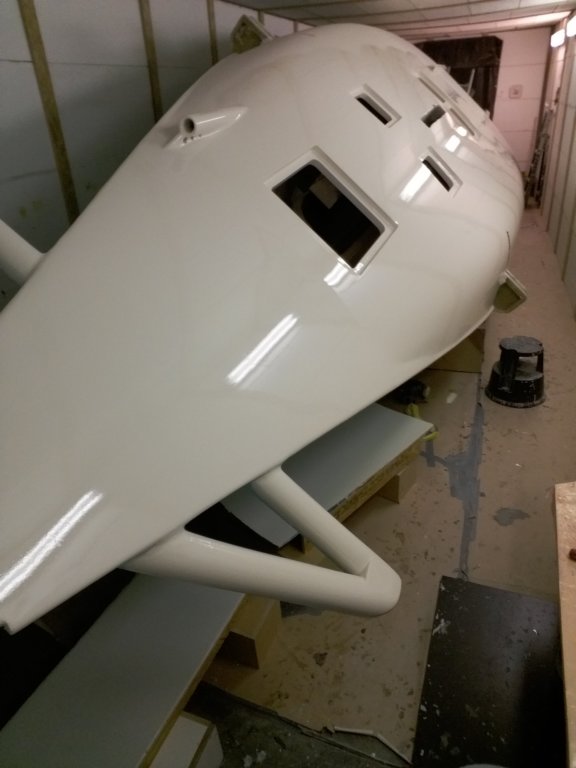
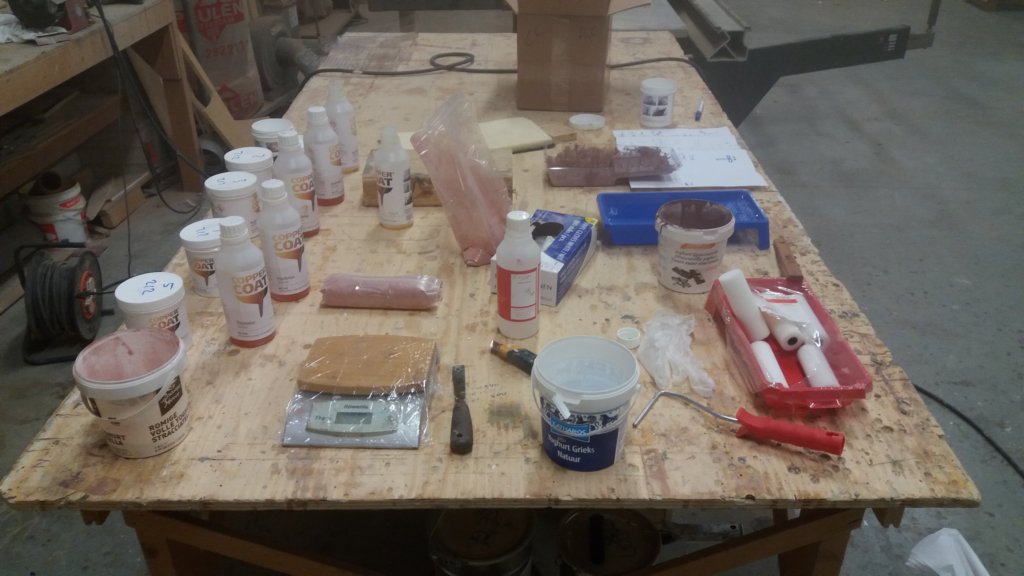
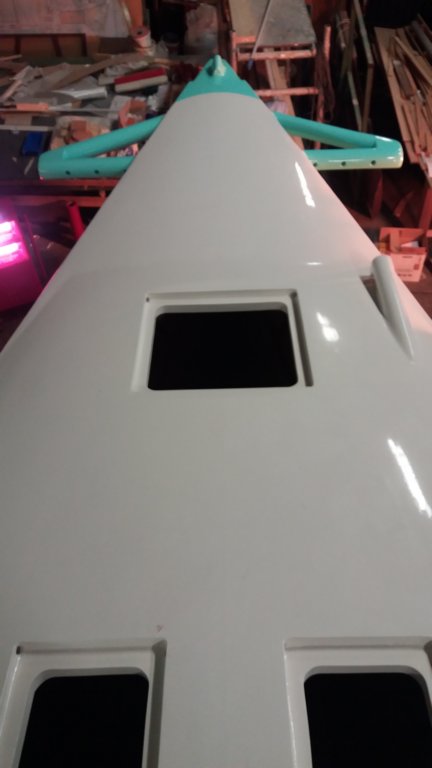
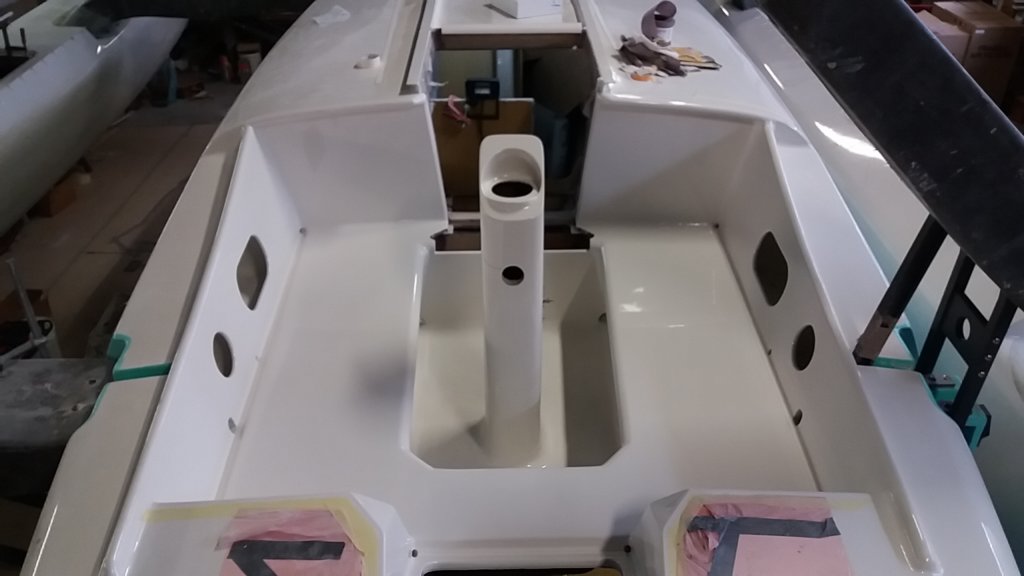
The last step was one final skim of fine finishing compound to remove the 40-grit sanding texture and deal with the last imperfections. After sanding this final layer with 120-grit, I applied the high-build primer in three layers and finished with a two-pack high-gloss topcoat. For now in two layers.
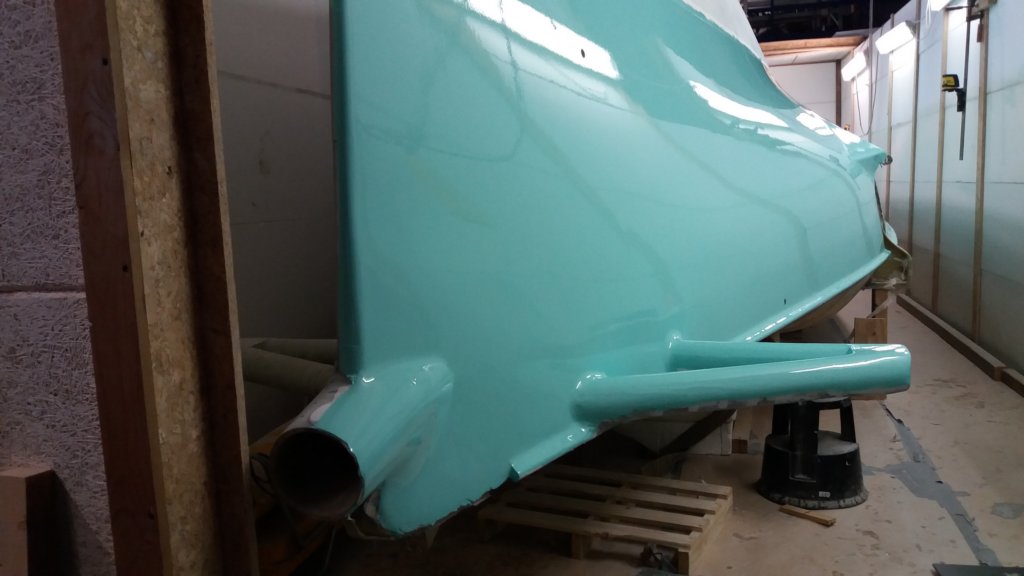
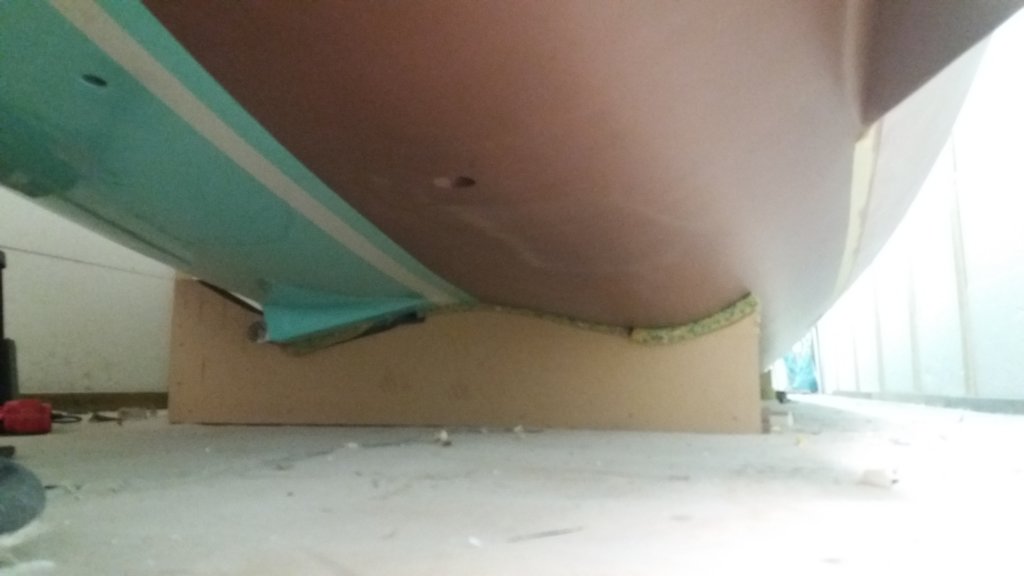
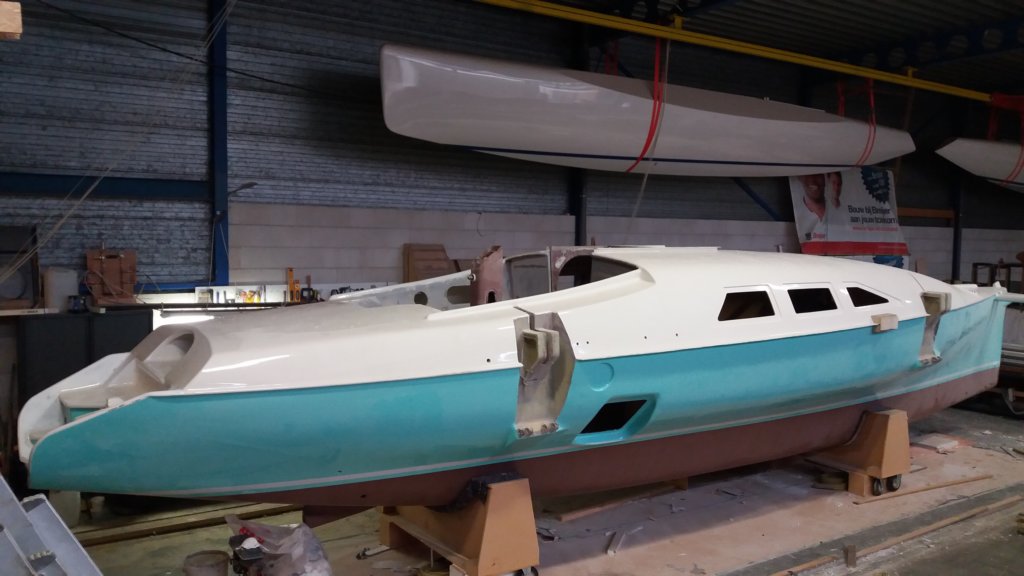
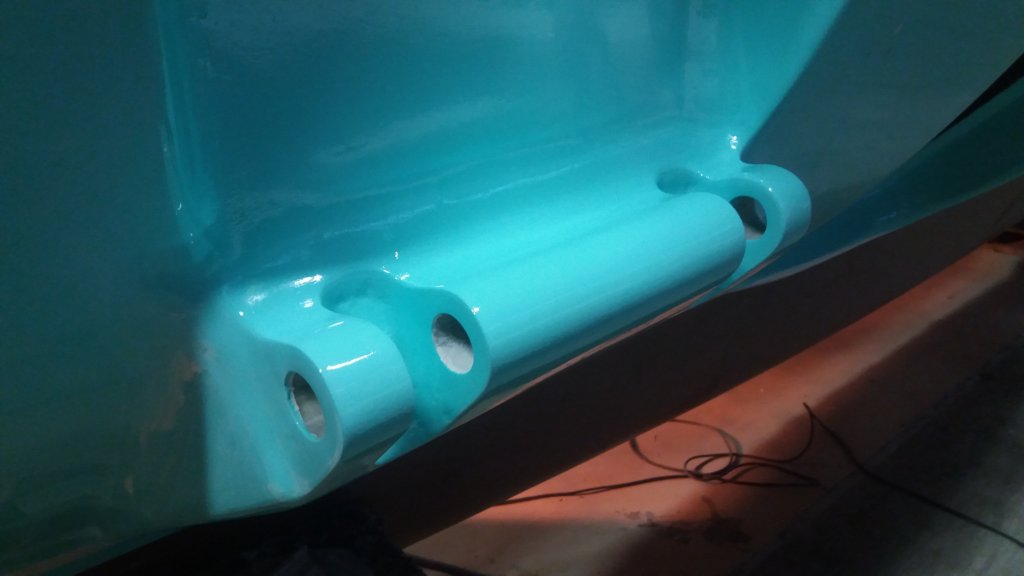
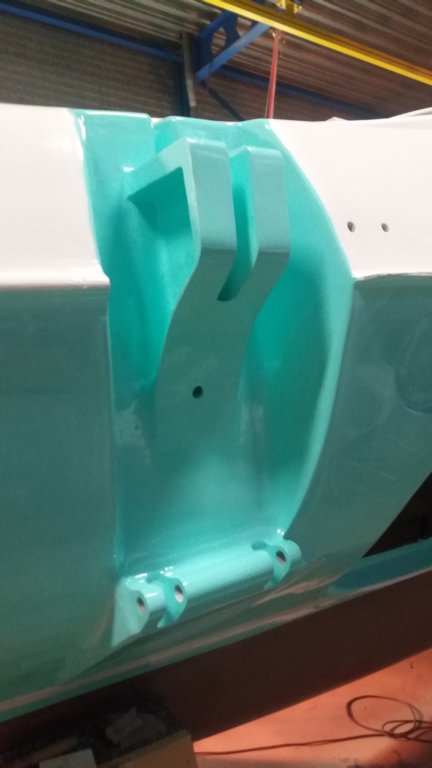
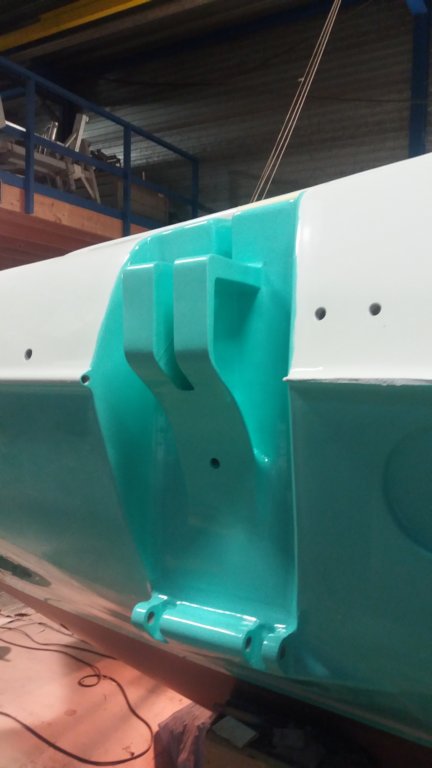
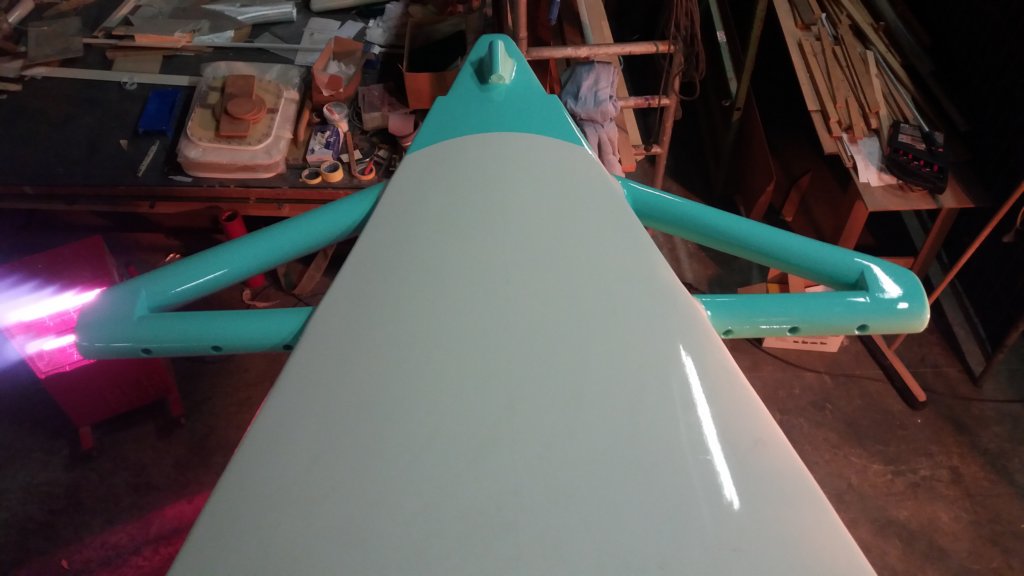
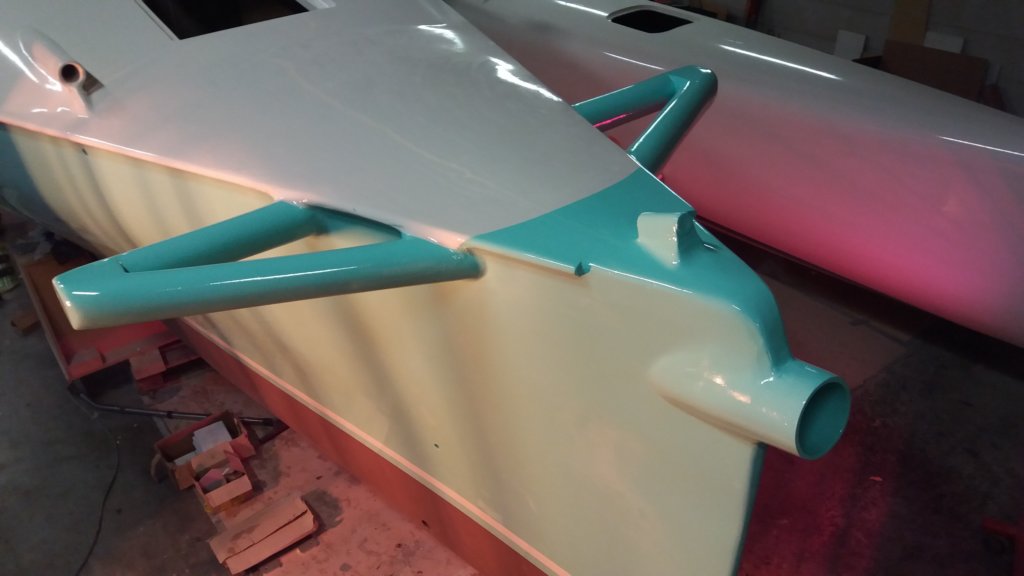
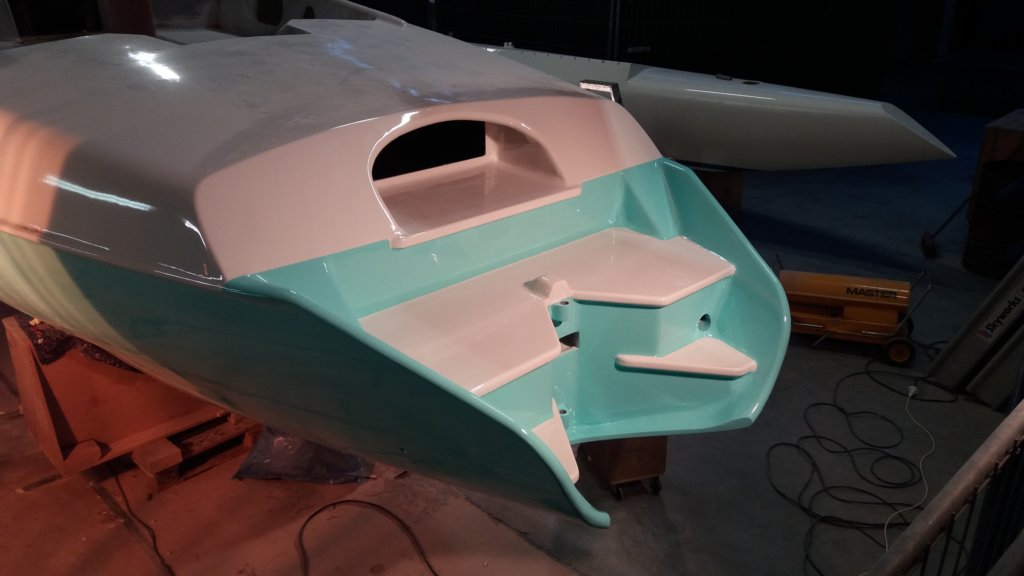
About the colour… Mint Green. It is bold and it provoked mixed reactions. Somewhere in the 1990s I came across a 40 ft monohull called Epoxydus in mint green with a white deck, and I loved it. That colour stuck in my head, and now I finally had the chance to do it on my own boat. The crew just needs a bit more time to get used to it… ;-)
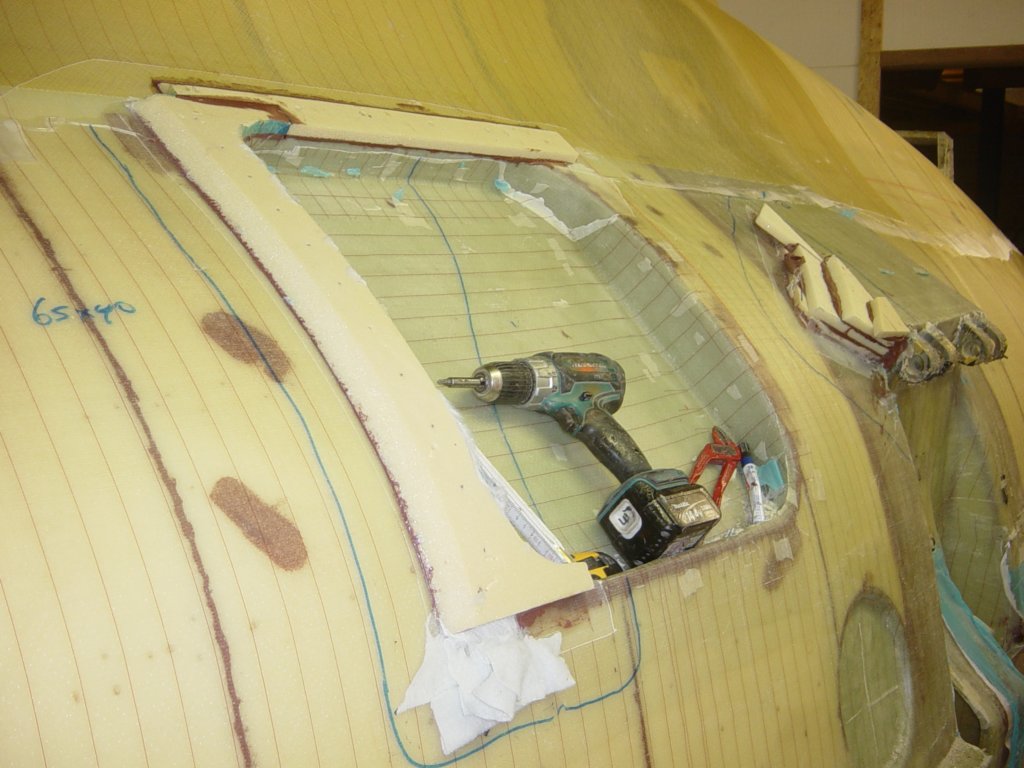
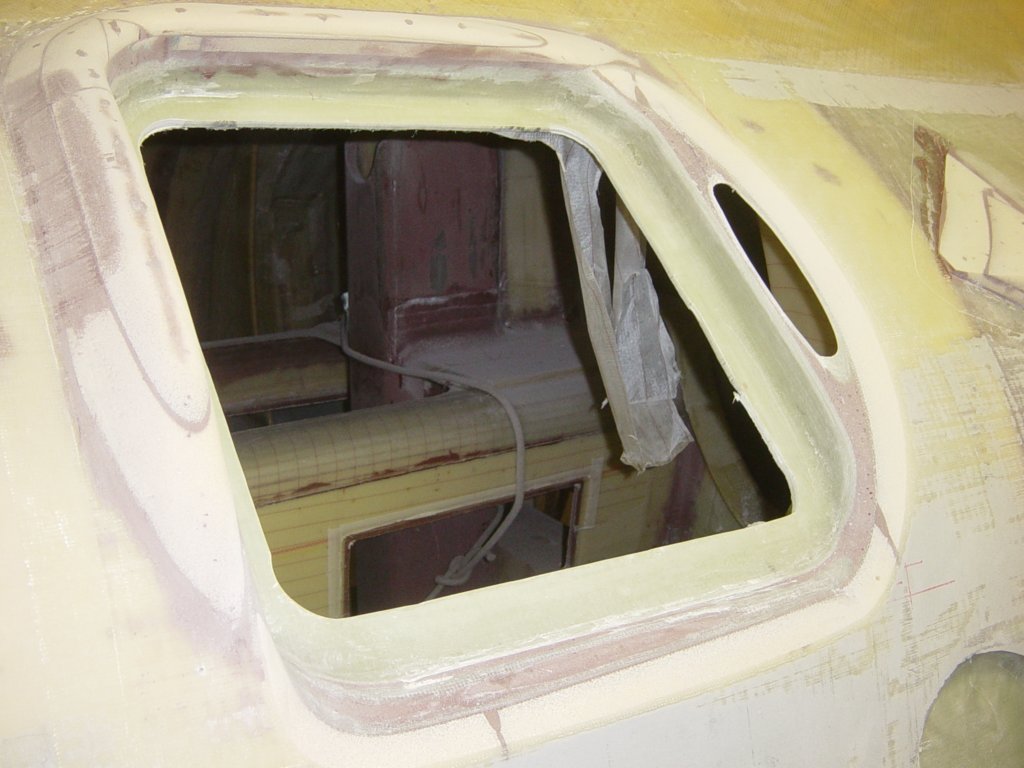
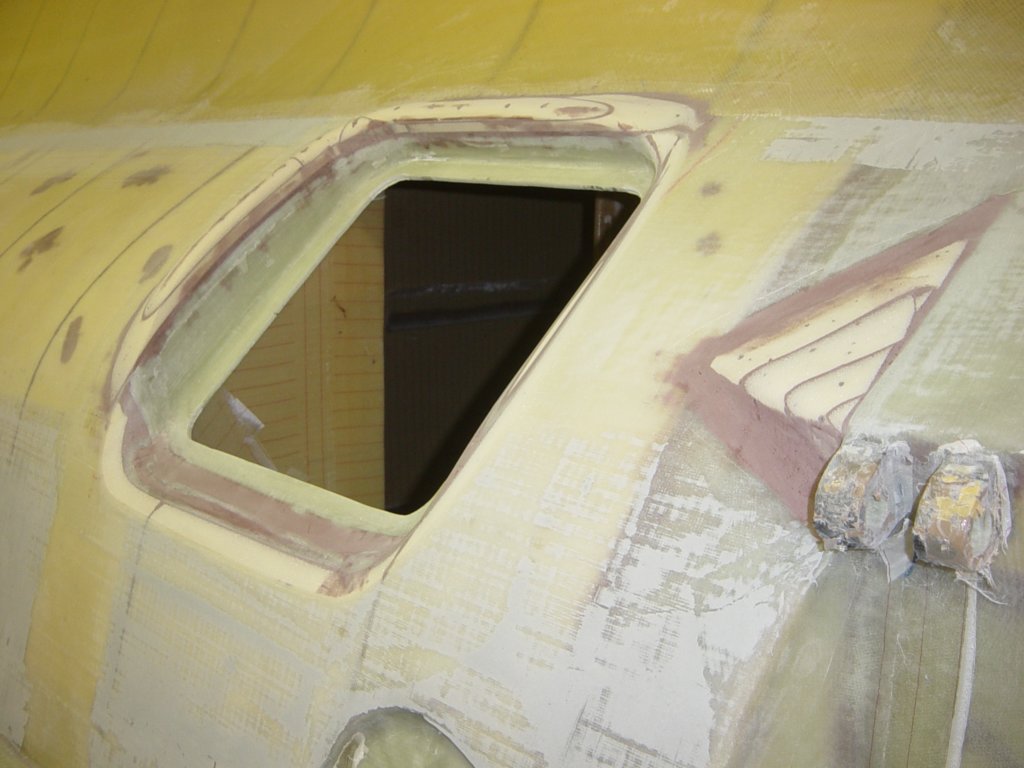
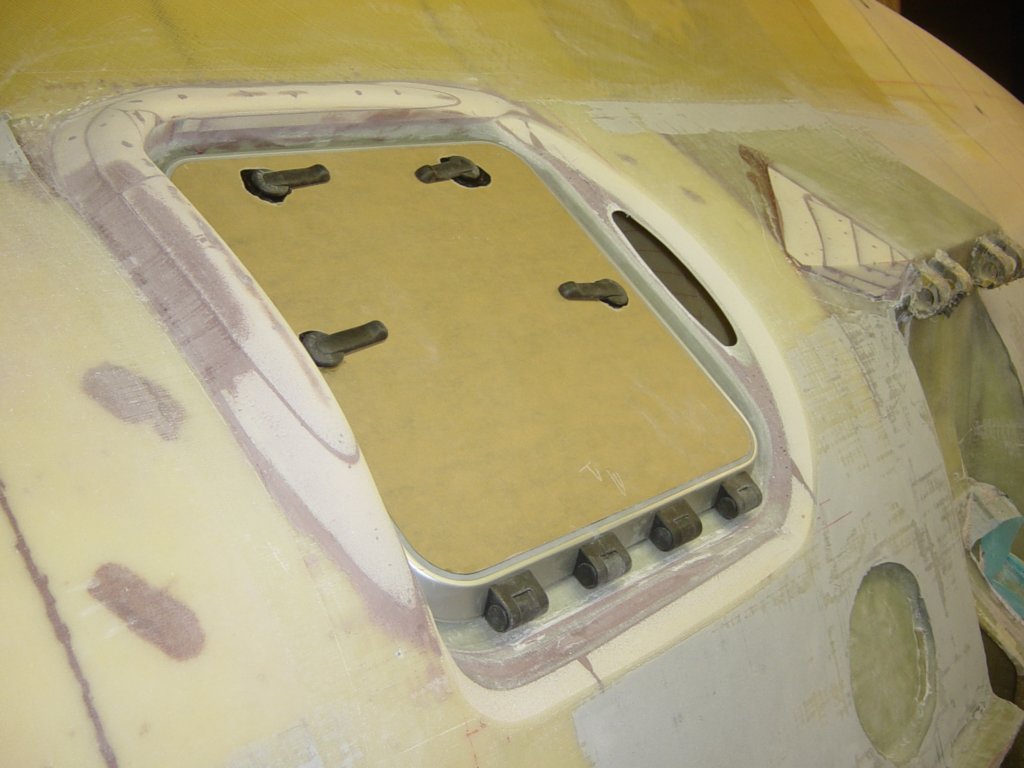
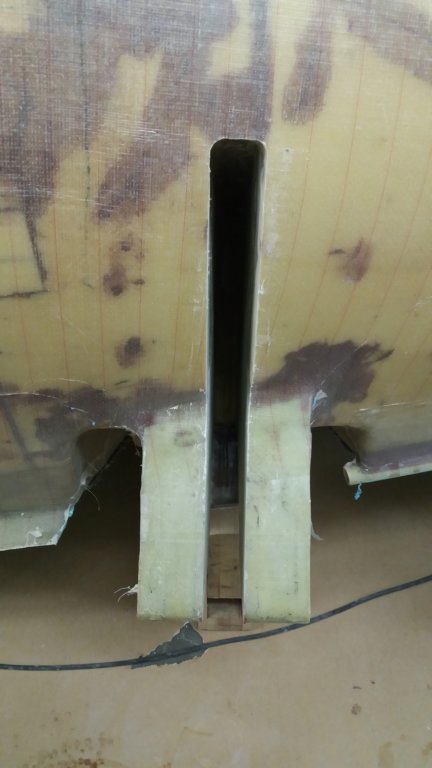
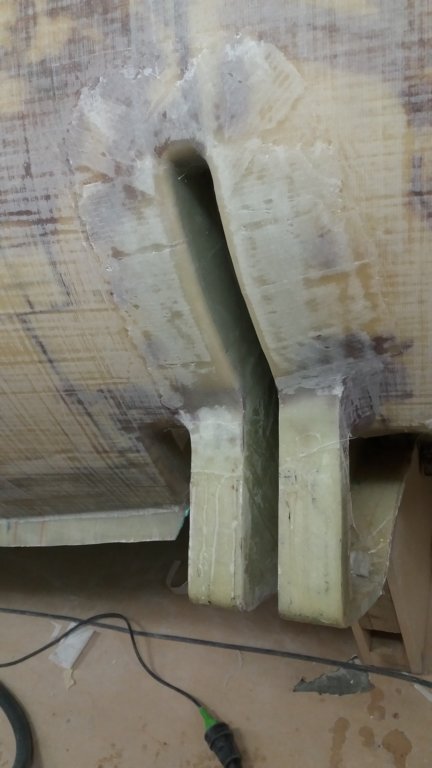
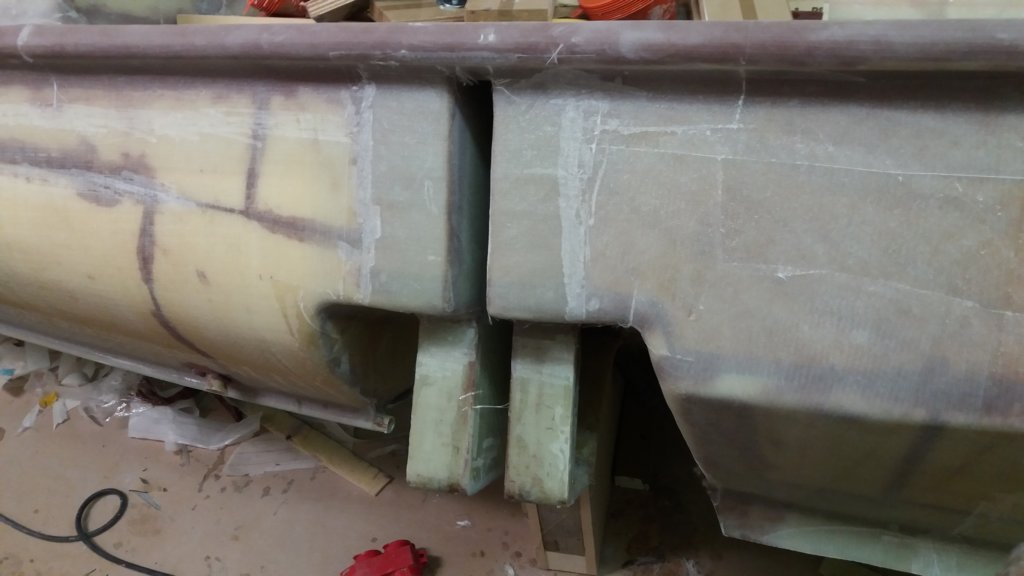
This photo gallery (118 images) covers the full fairing-and-paint cycle on the main hull: using the “oven” as a dust-controlled paint booth, shaping fairing compound with wide flexible knives, priming and sanding stages, Coppercoat on the bottom, and the final Mint Green topcoat.
