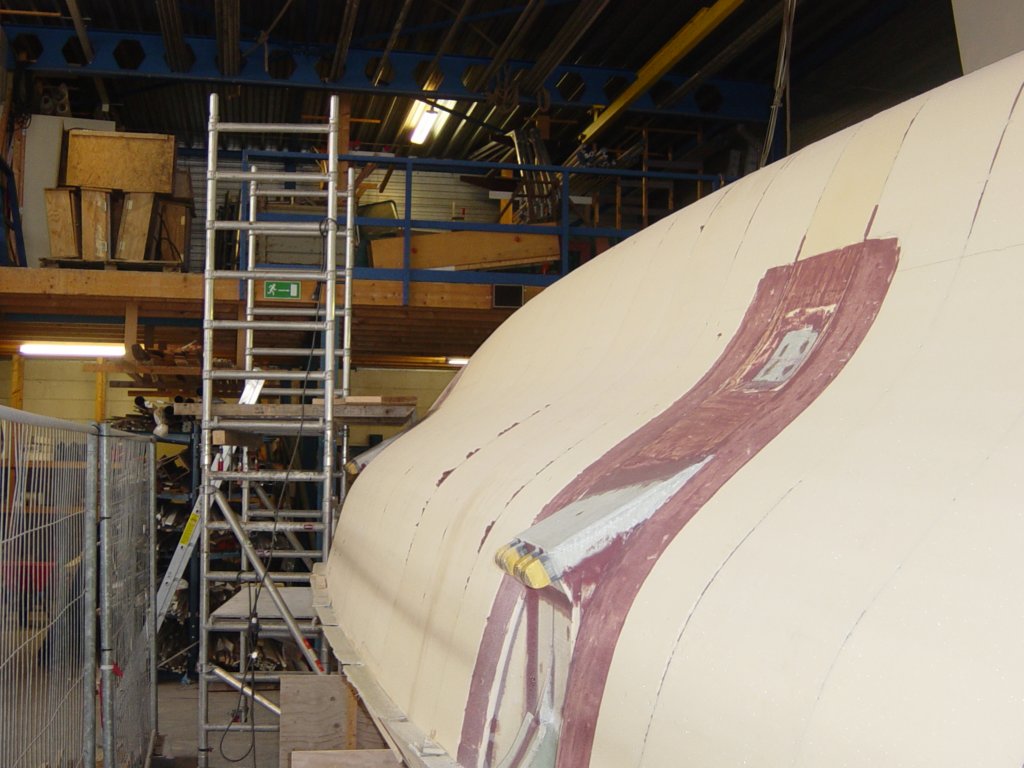
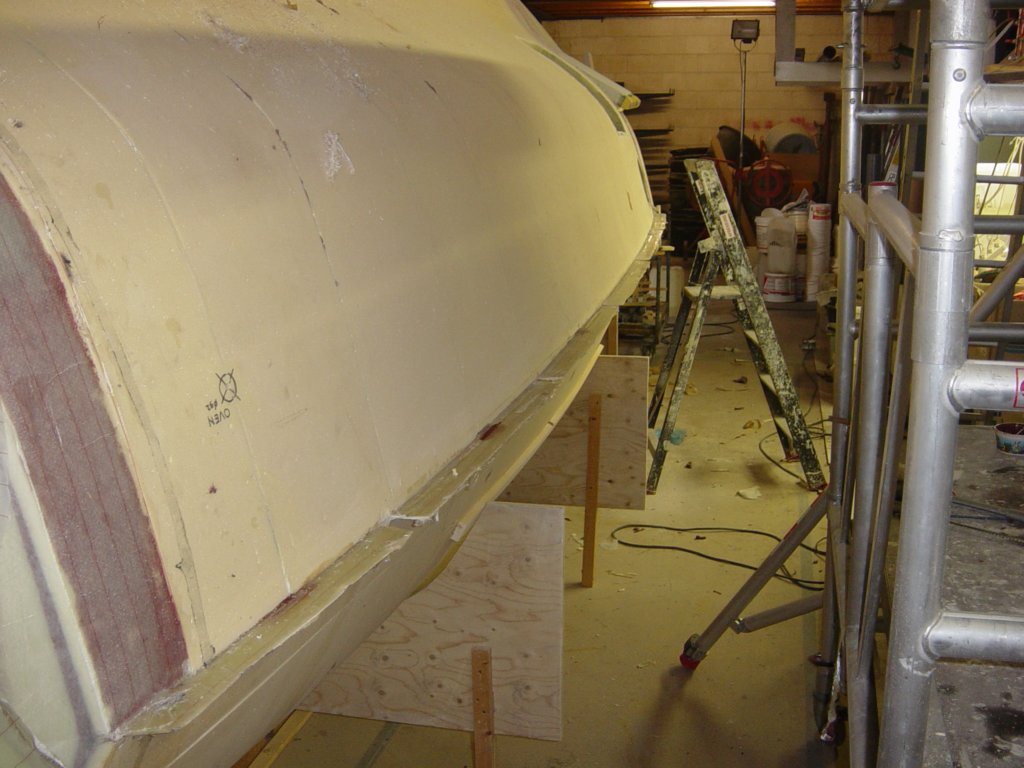
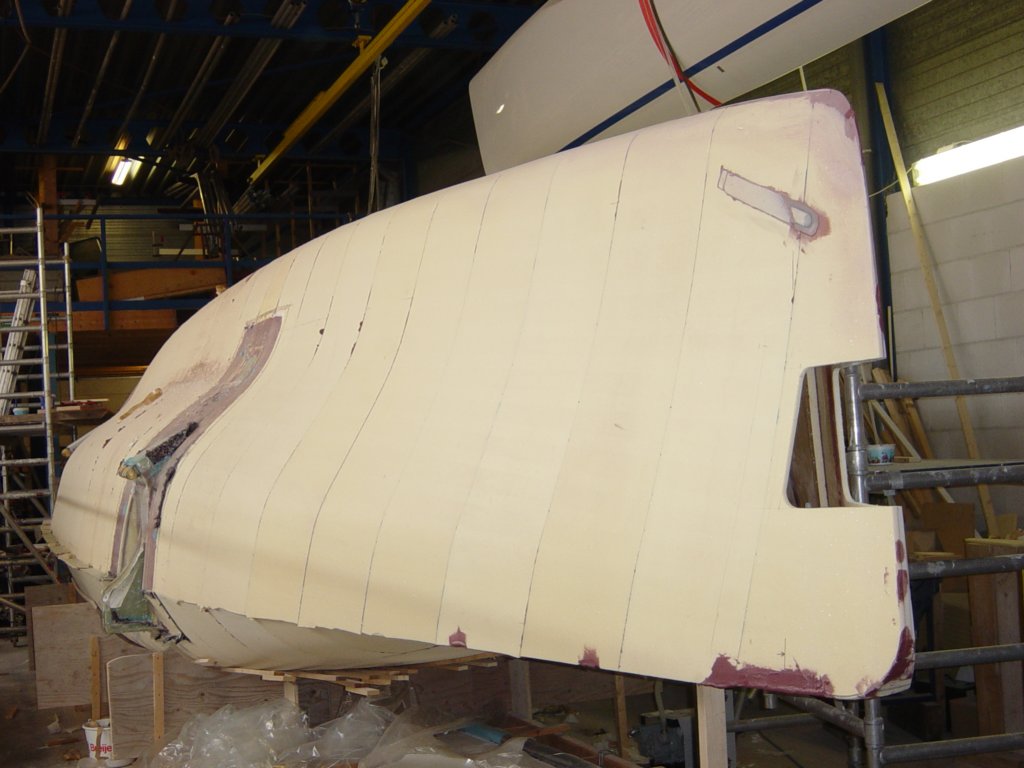
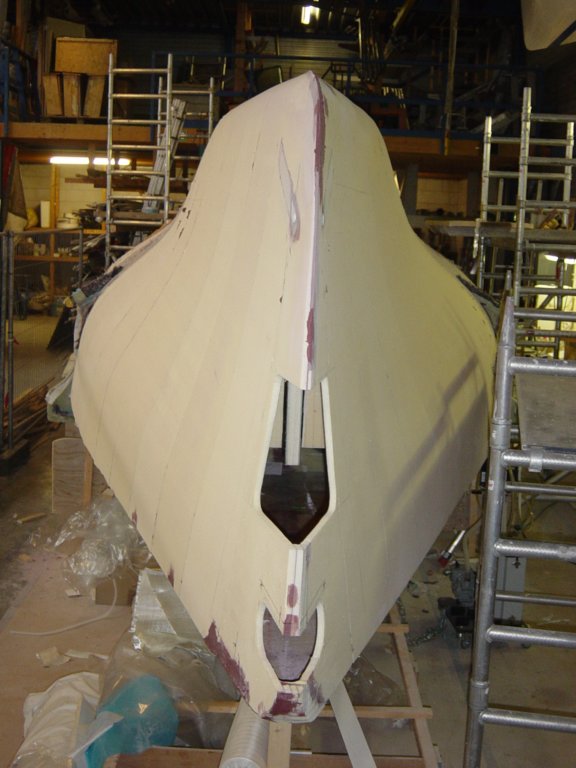
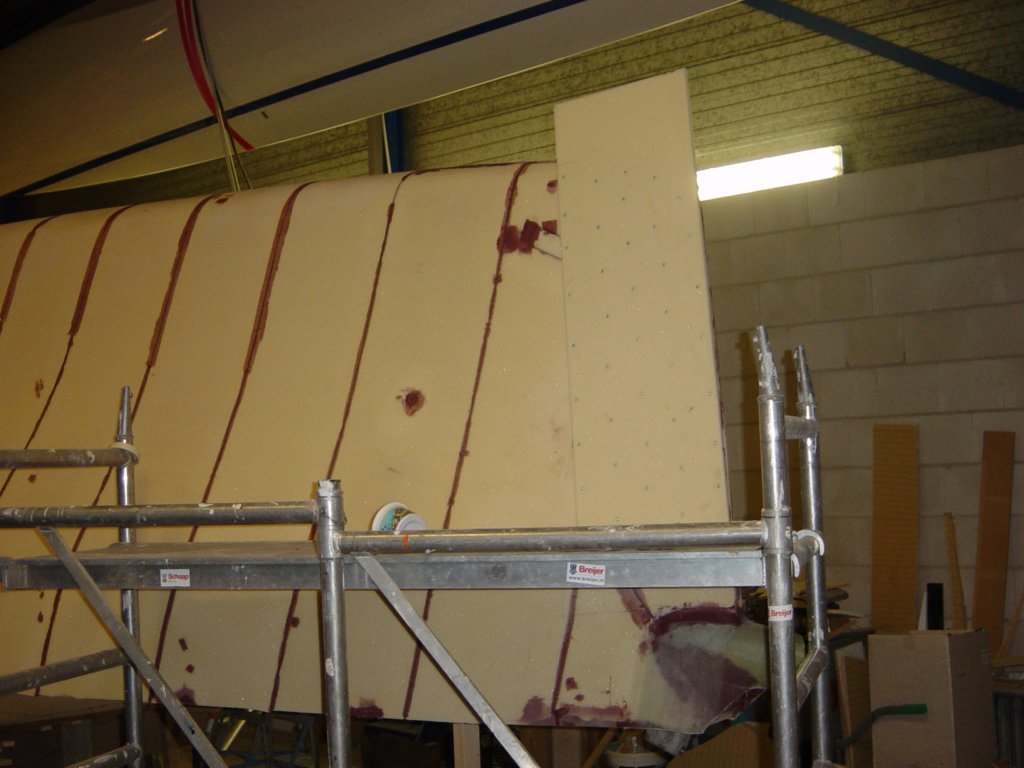
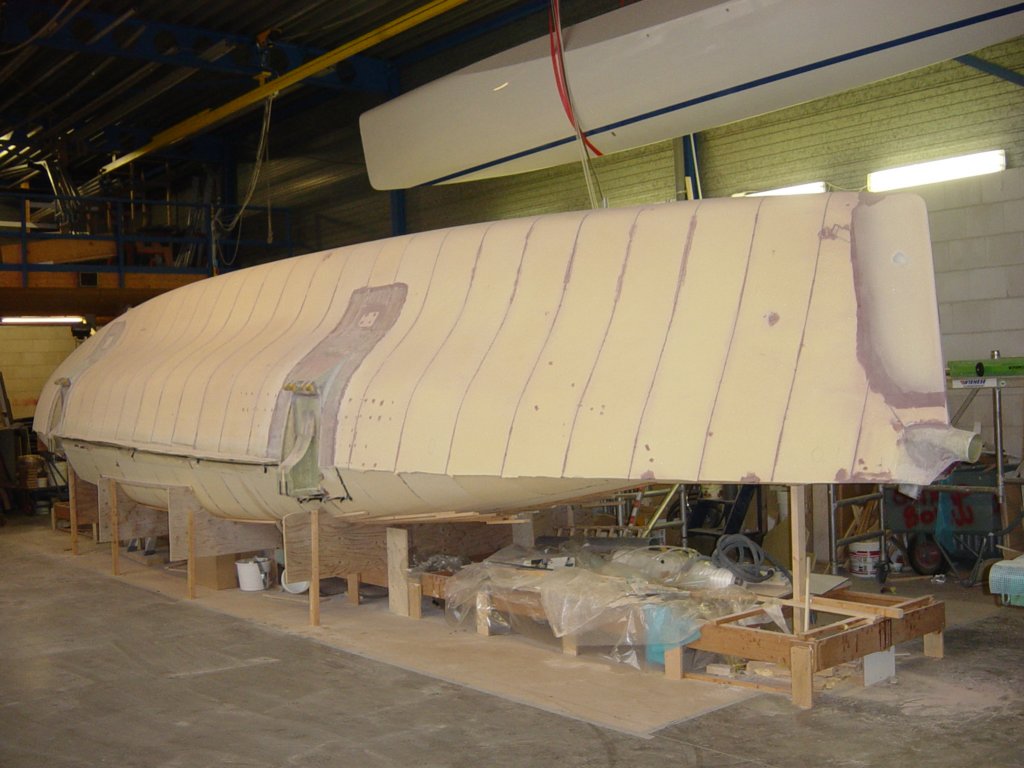
Before the outside laminate could go on, the hull needed days of “small” preparation work—beam recesses, foam filling, and endless trimming in a very confined space. With the hull finally ready, I made a small but deliberate change to the bottom lay-up: Kevlar for abrasion resistance, plus extra UD glass for peace of mind.
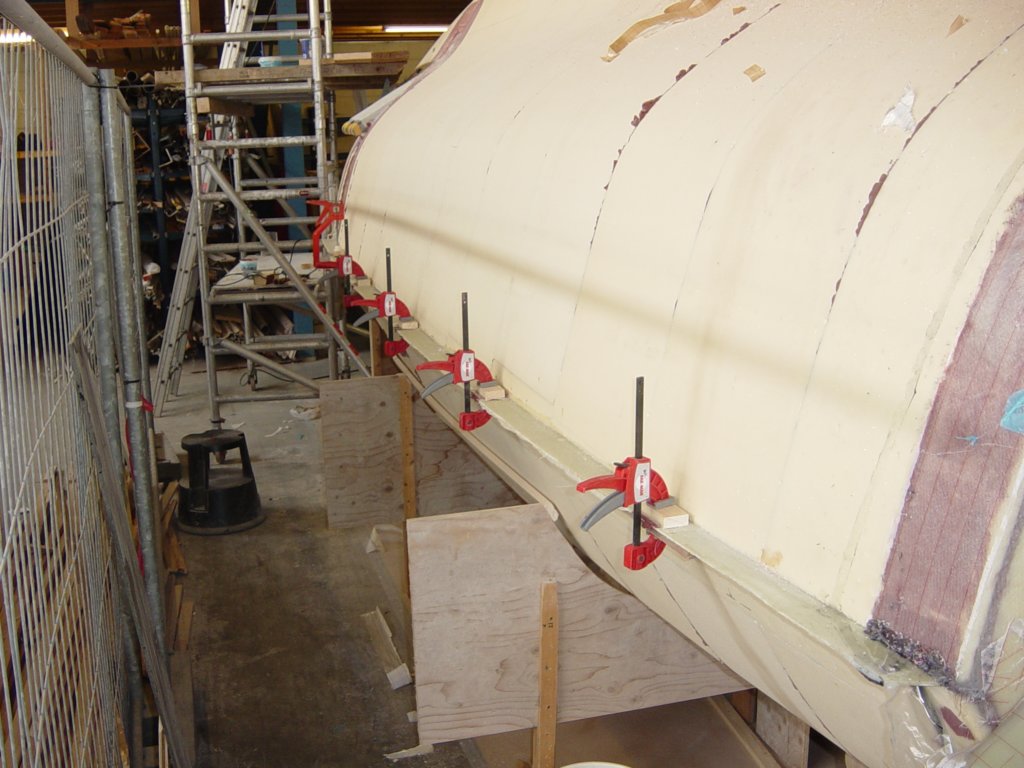
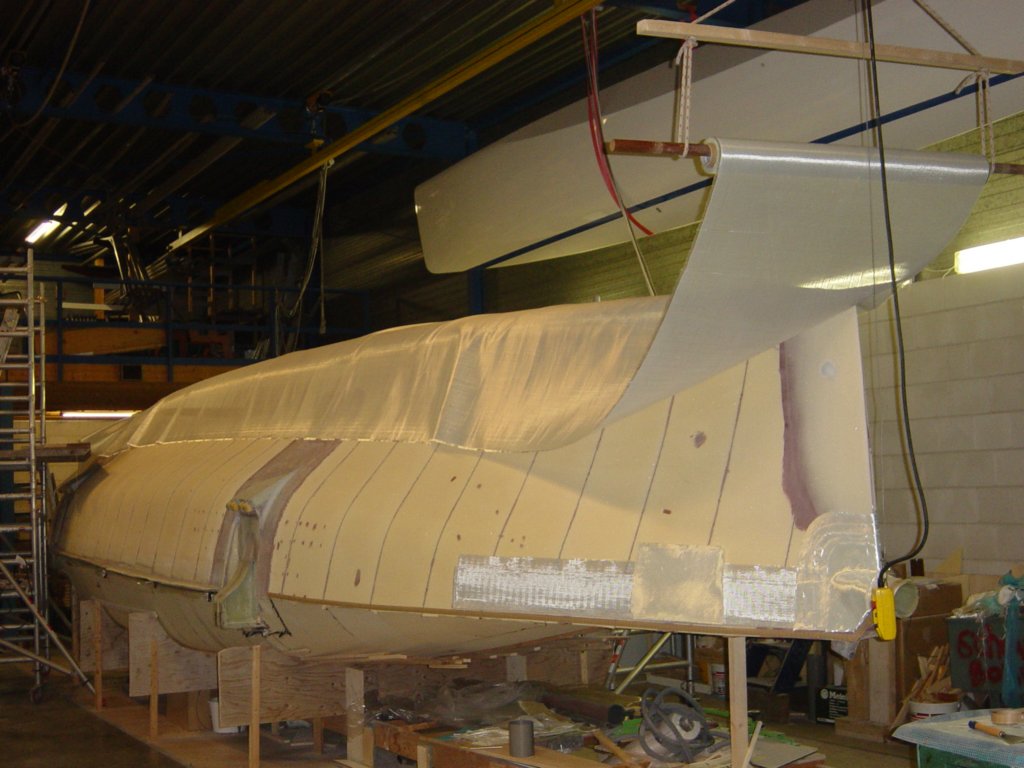
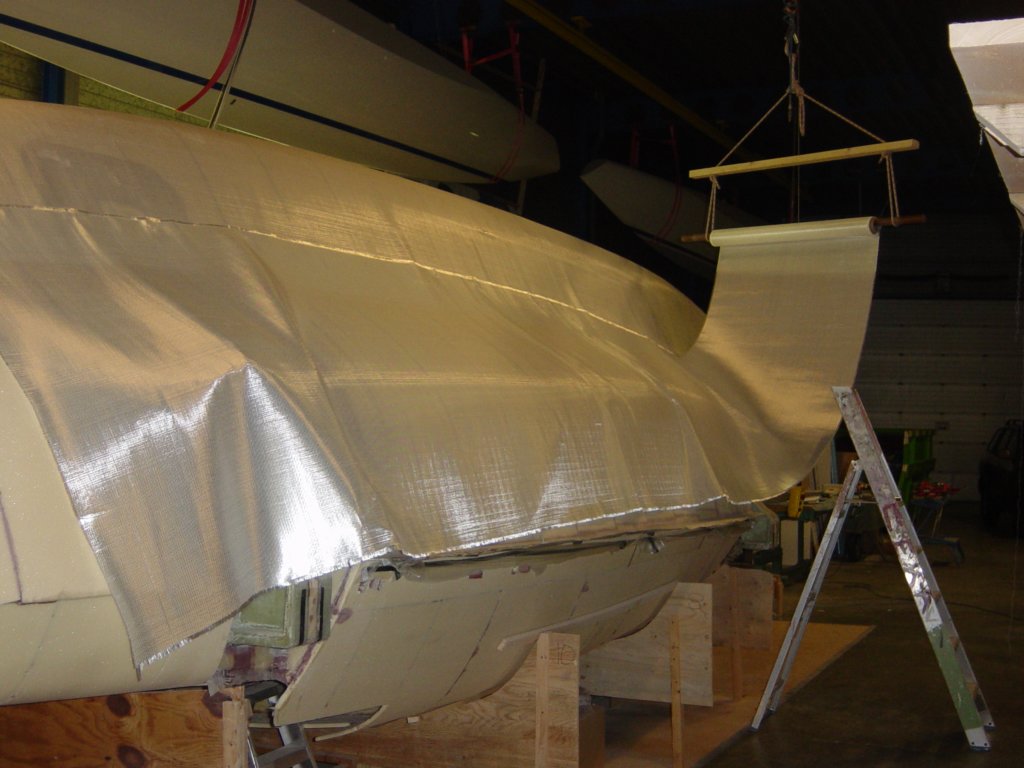
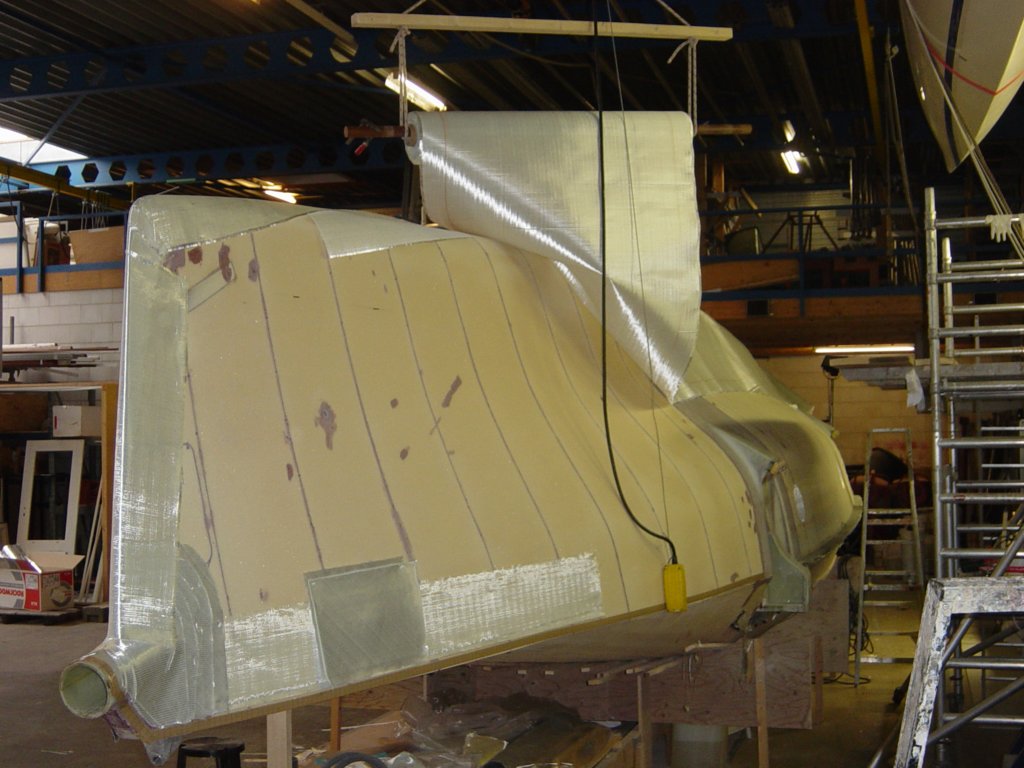
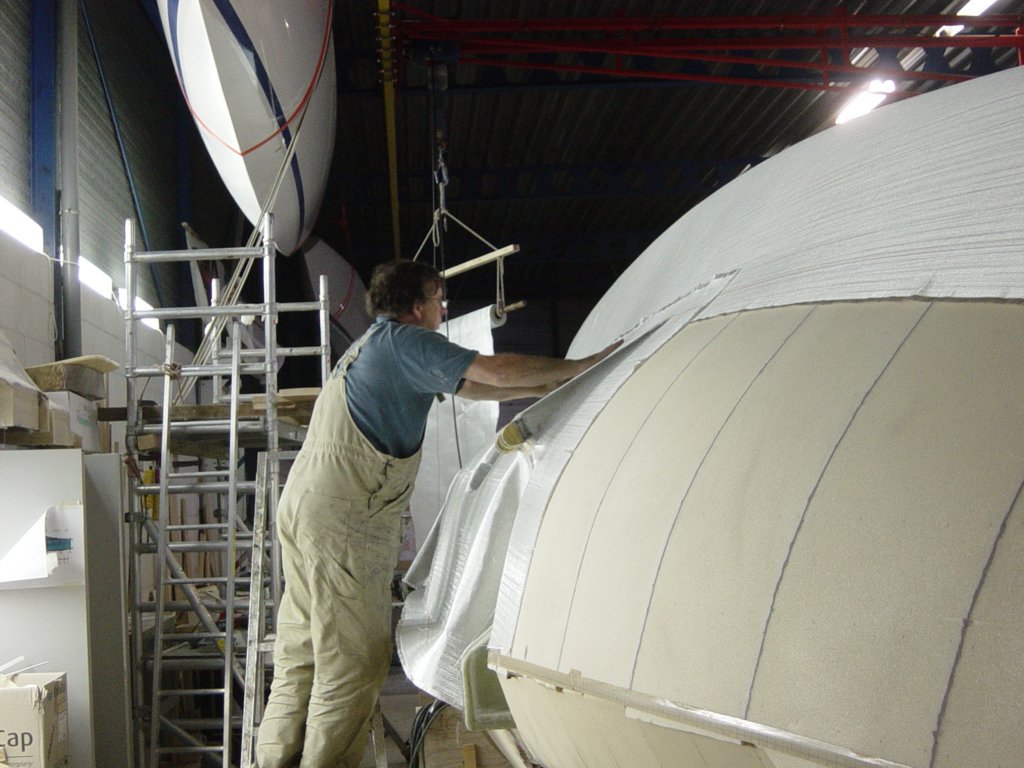
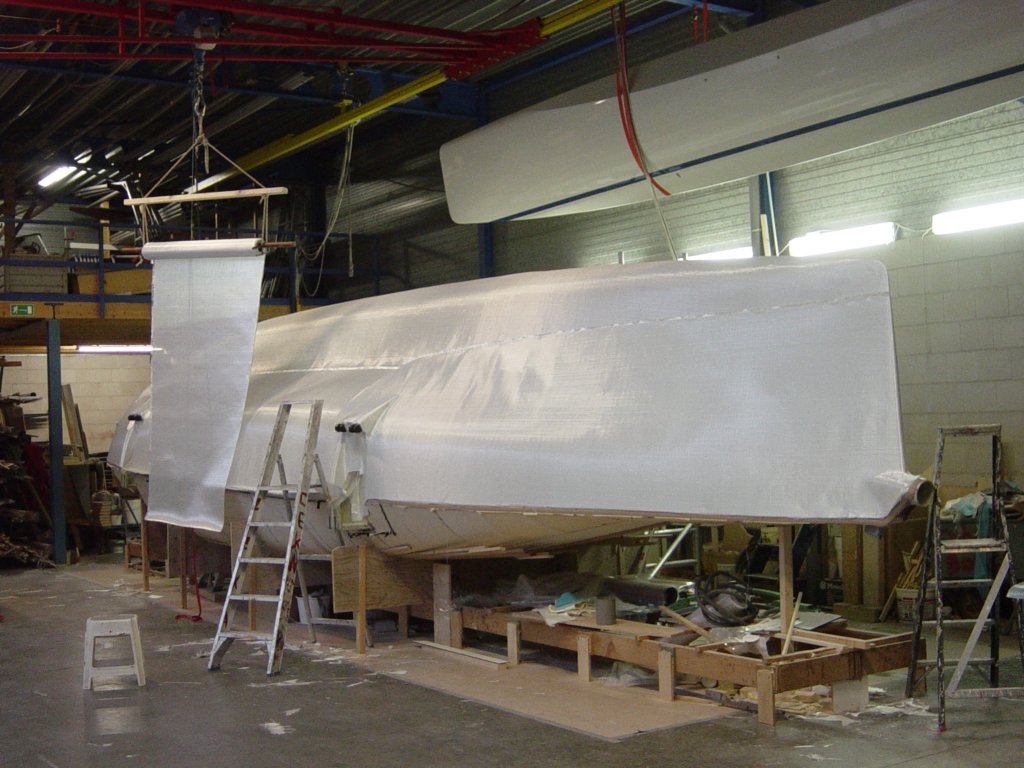
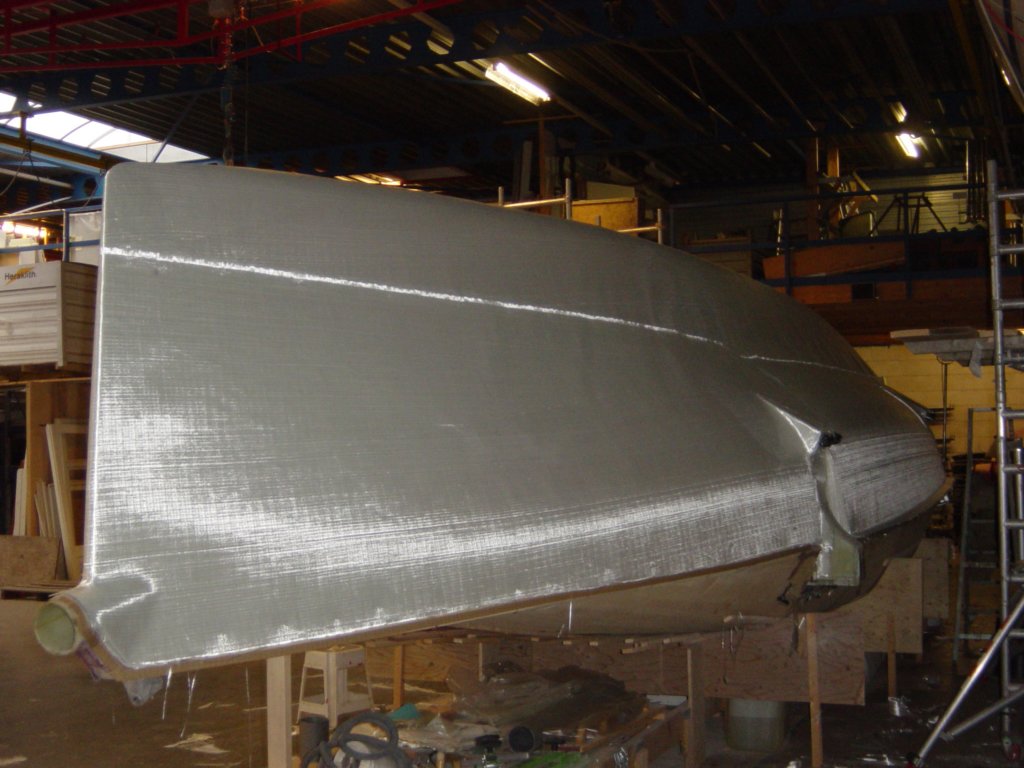
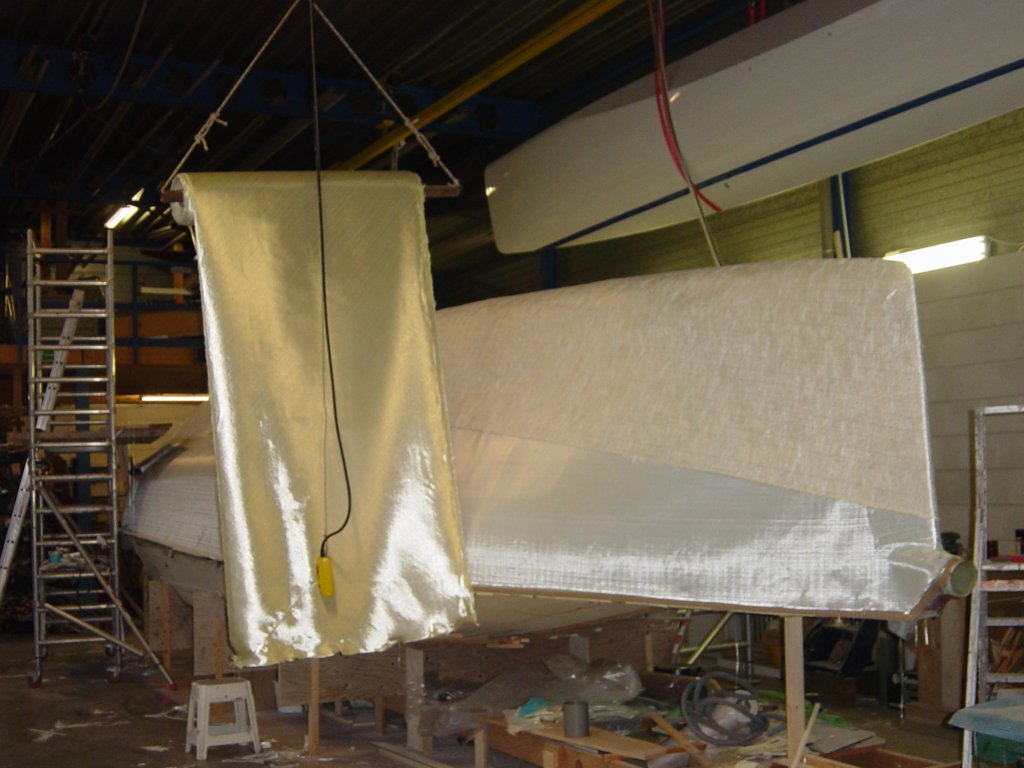
External laminate from gunwale to keel
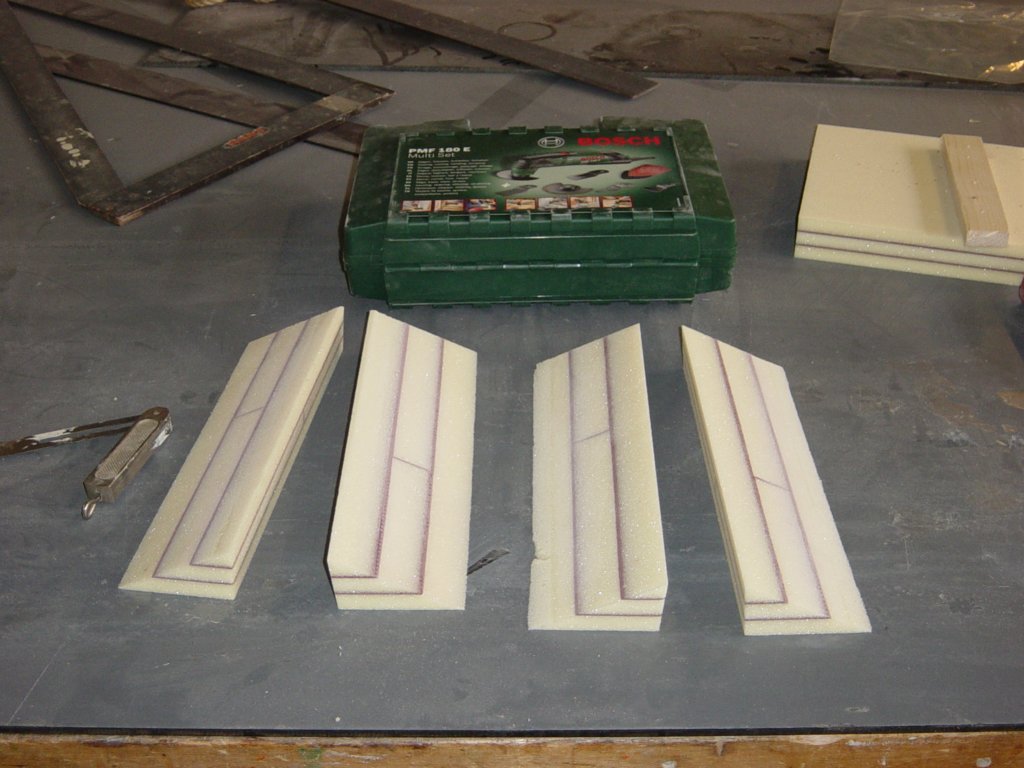
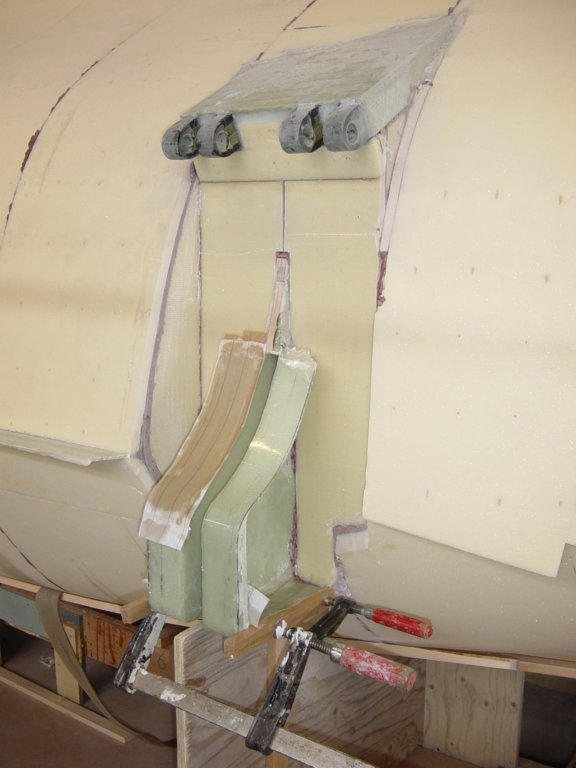
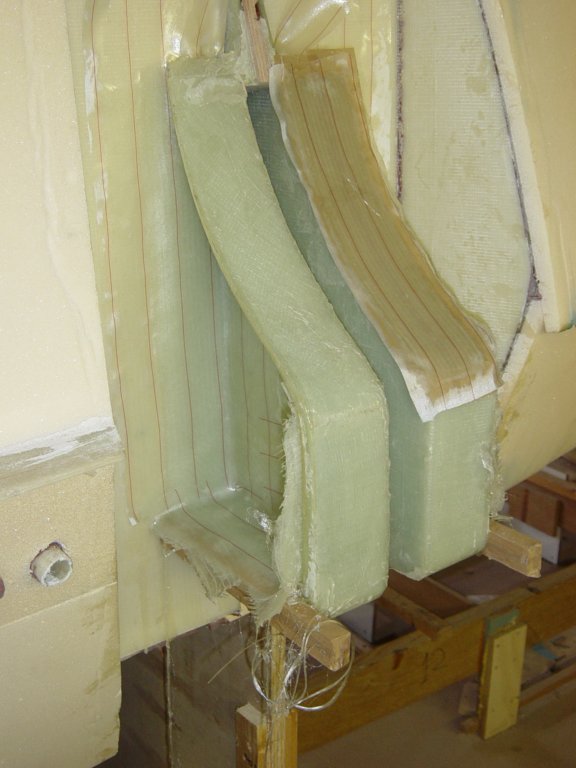
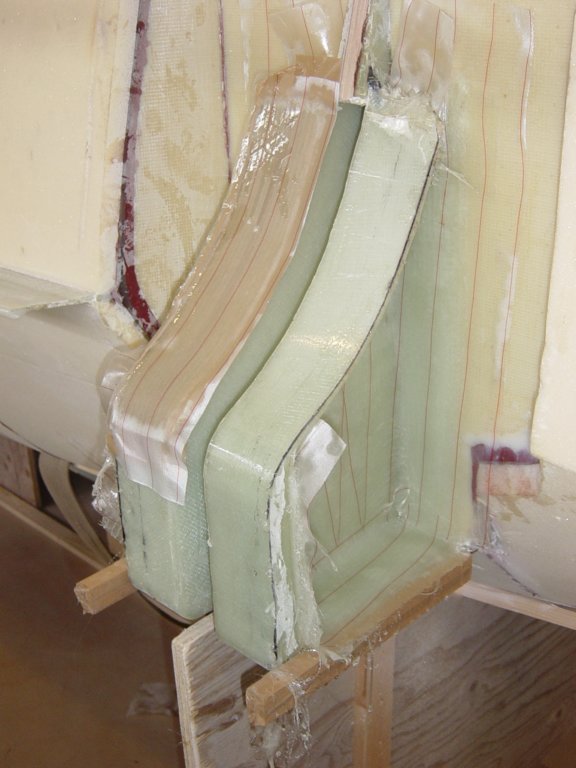
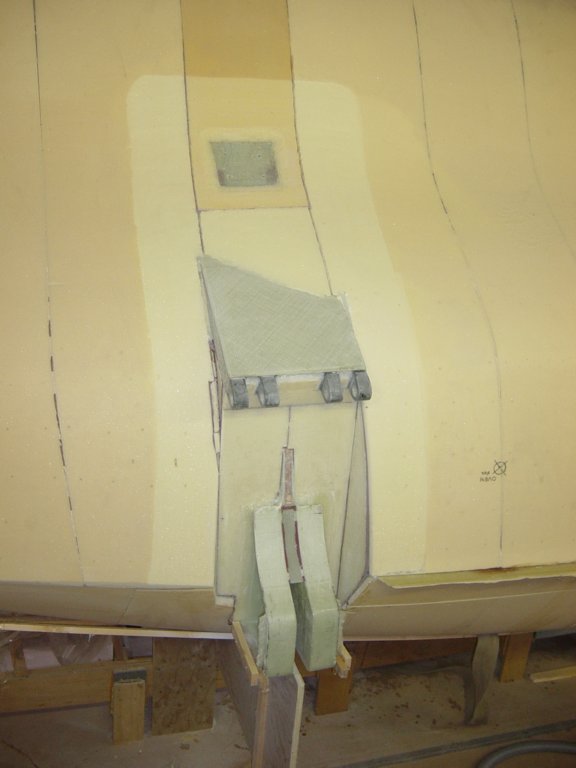
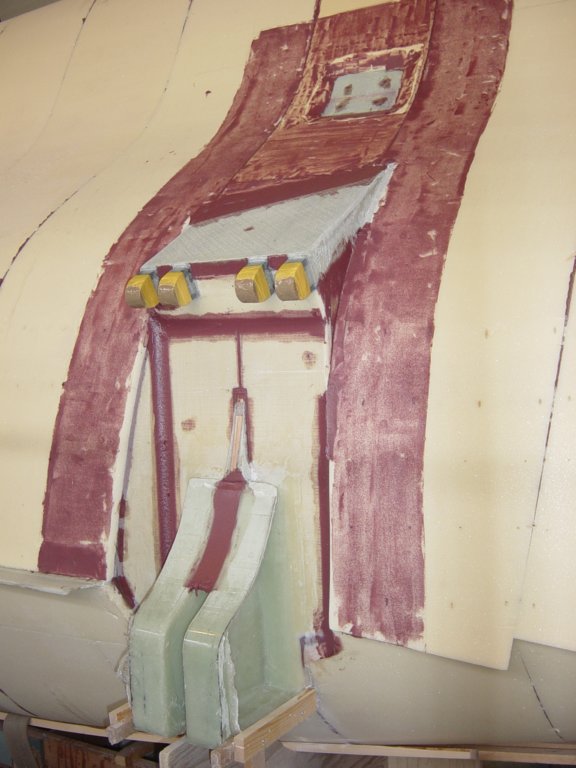
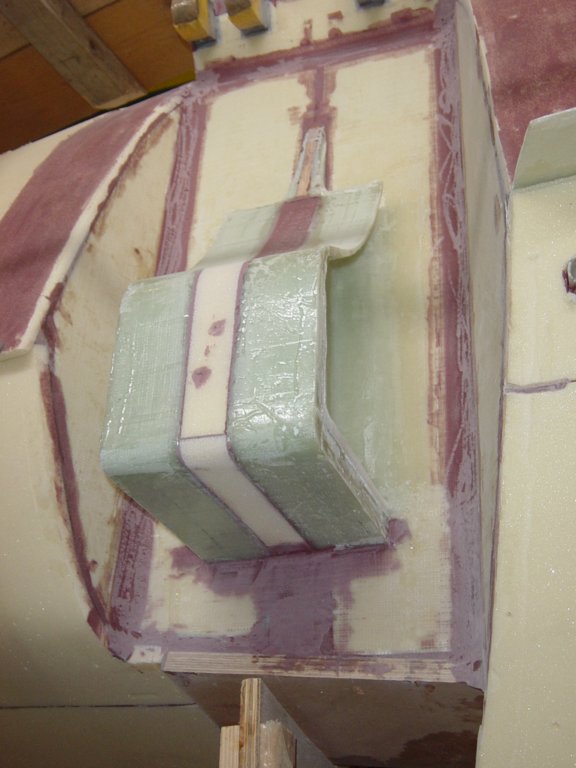
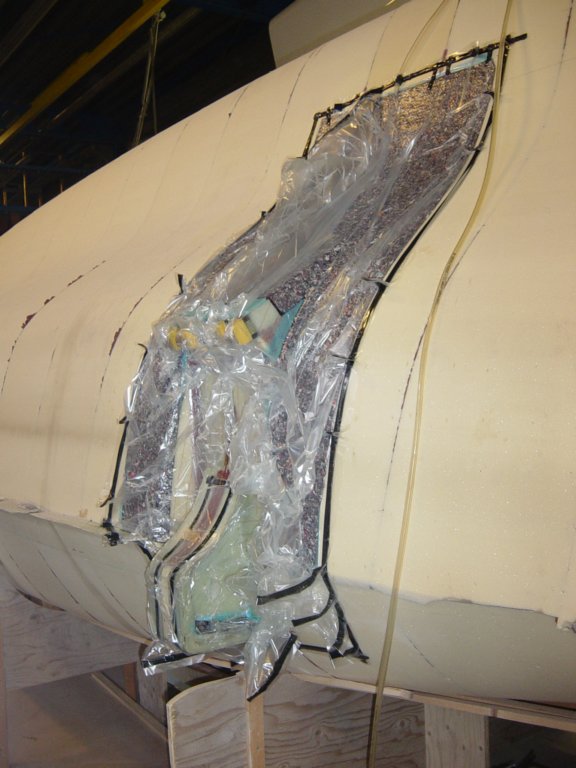
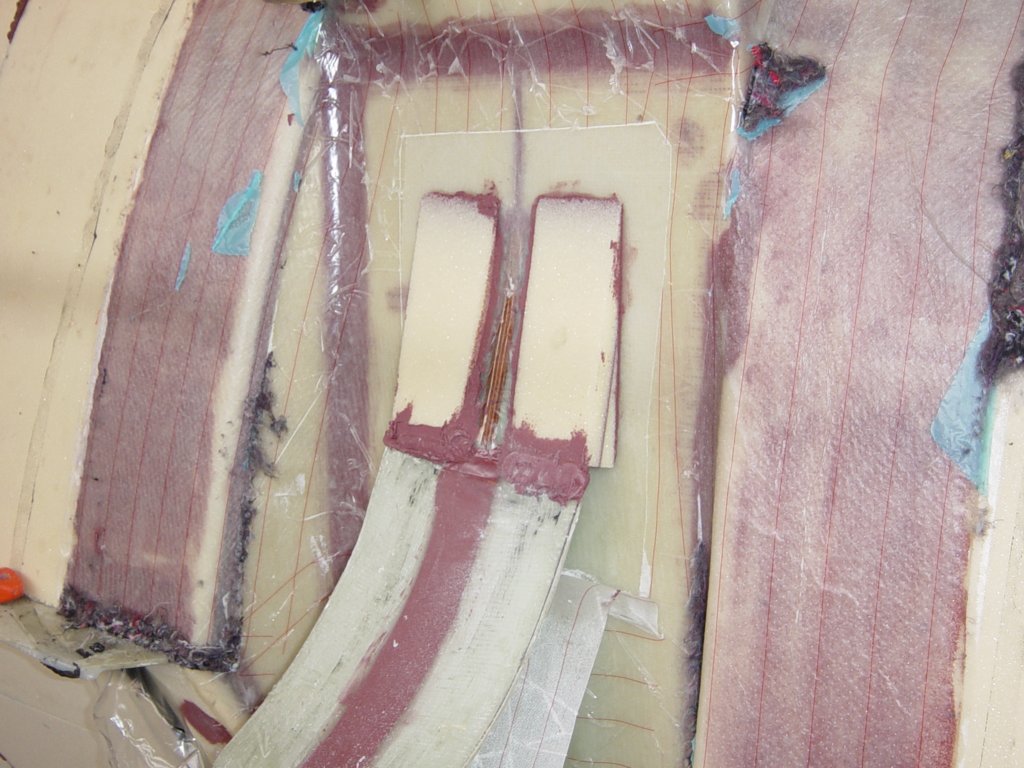
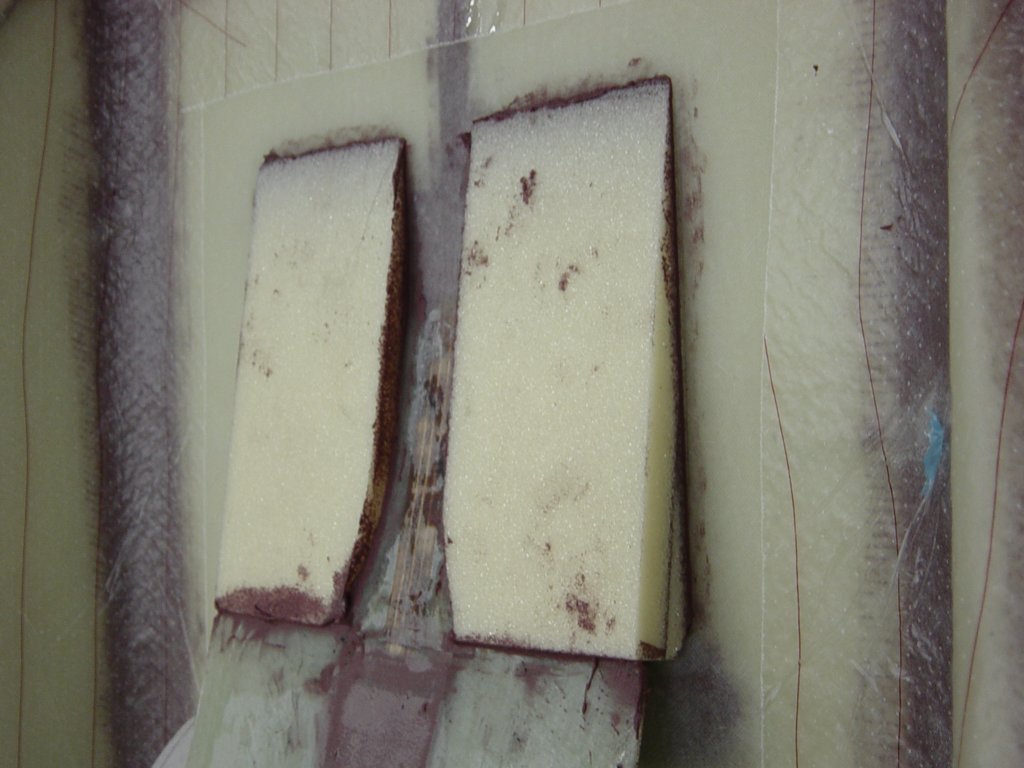
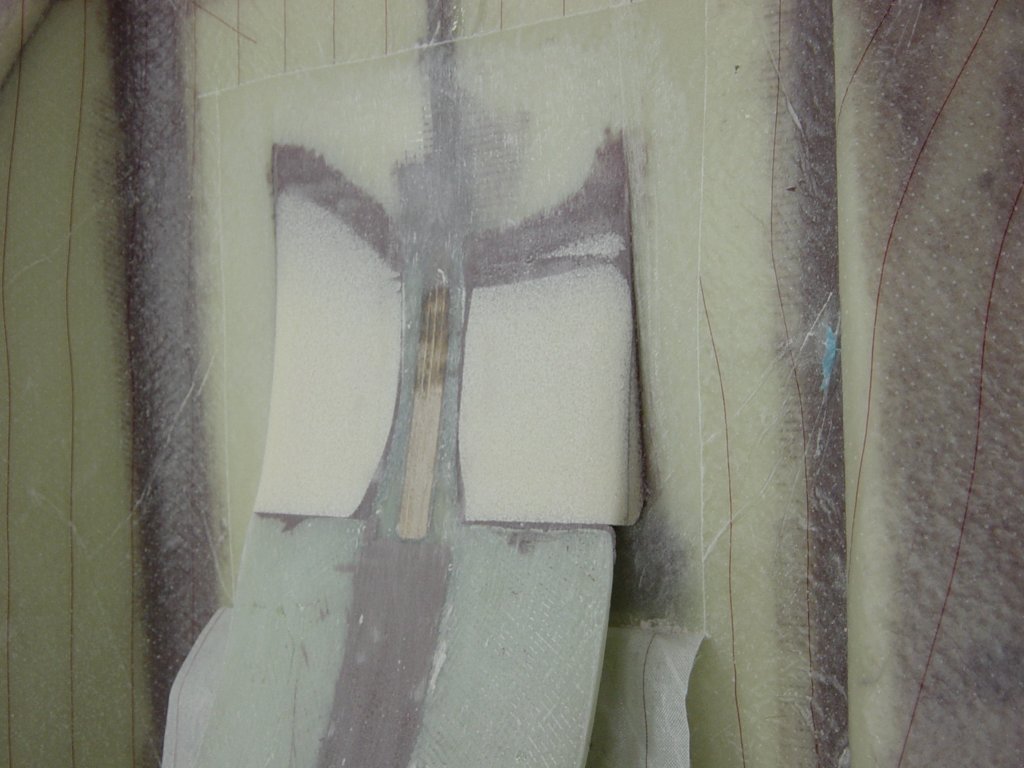
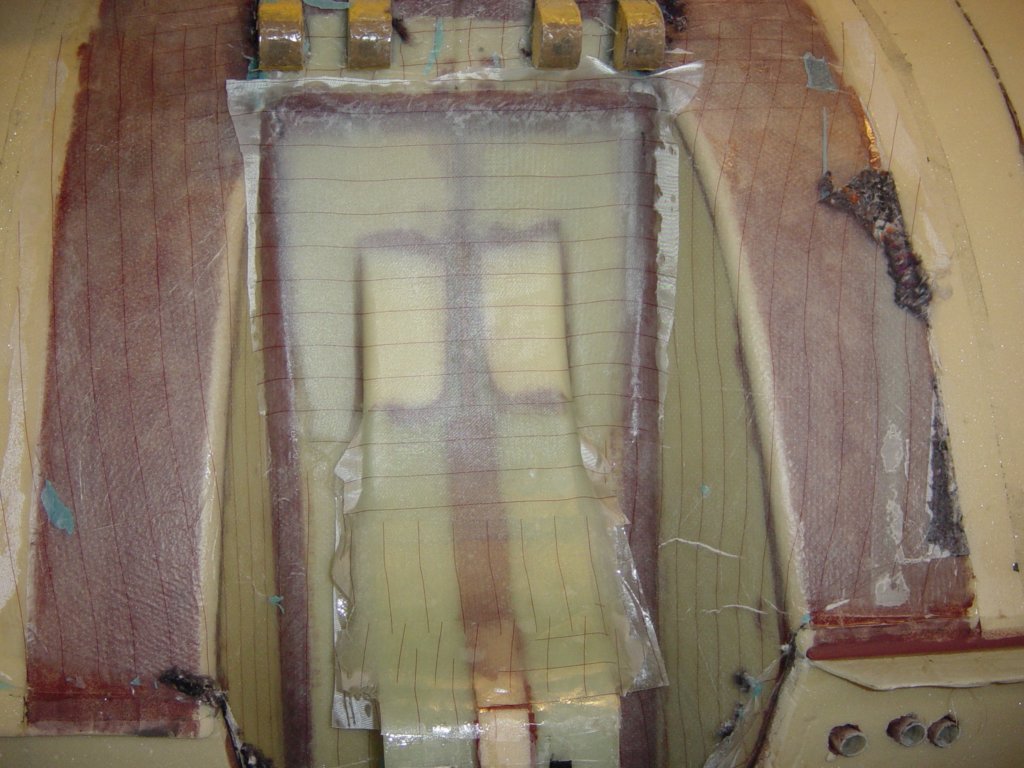
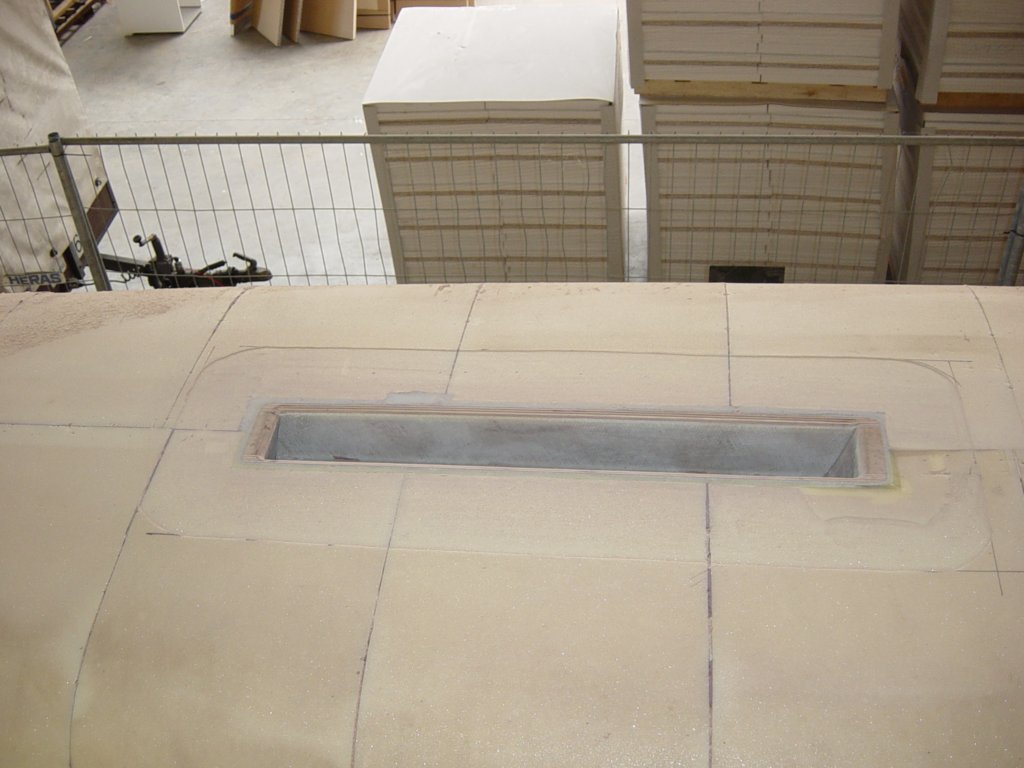
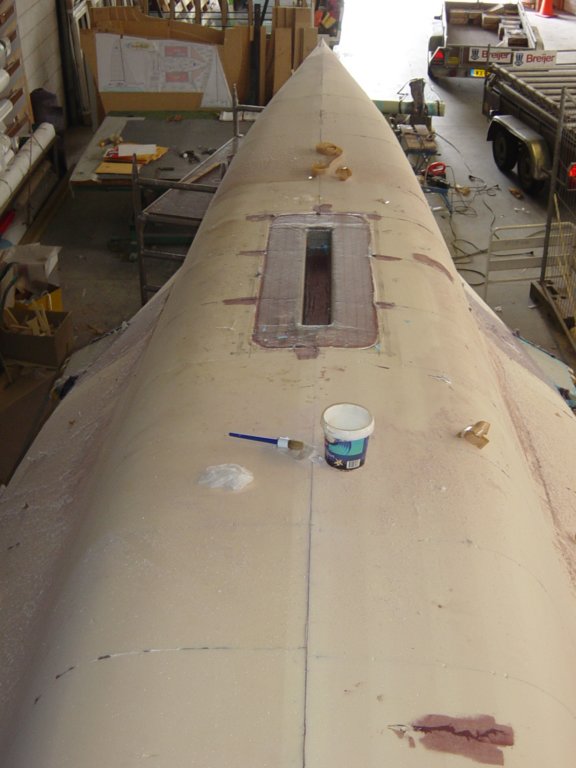
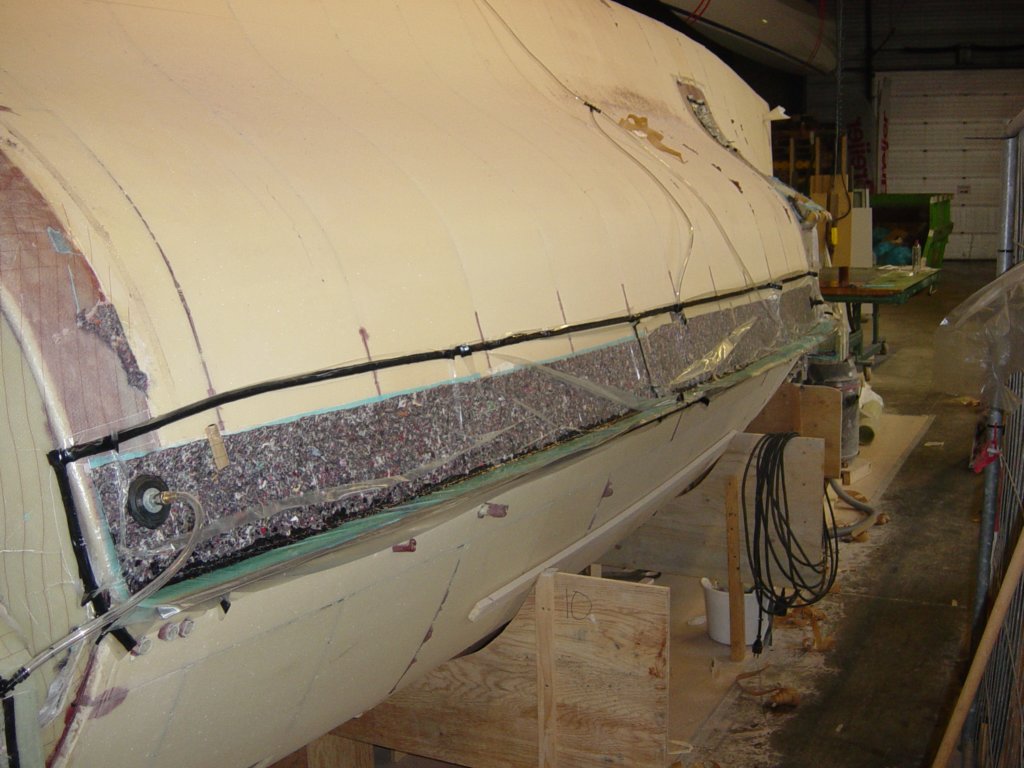
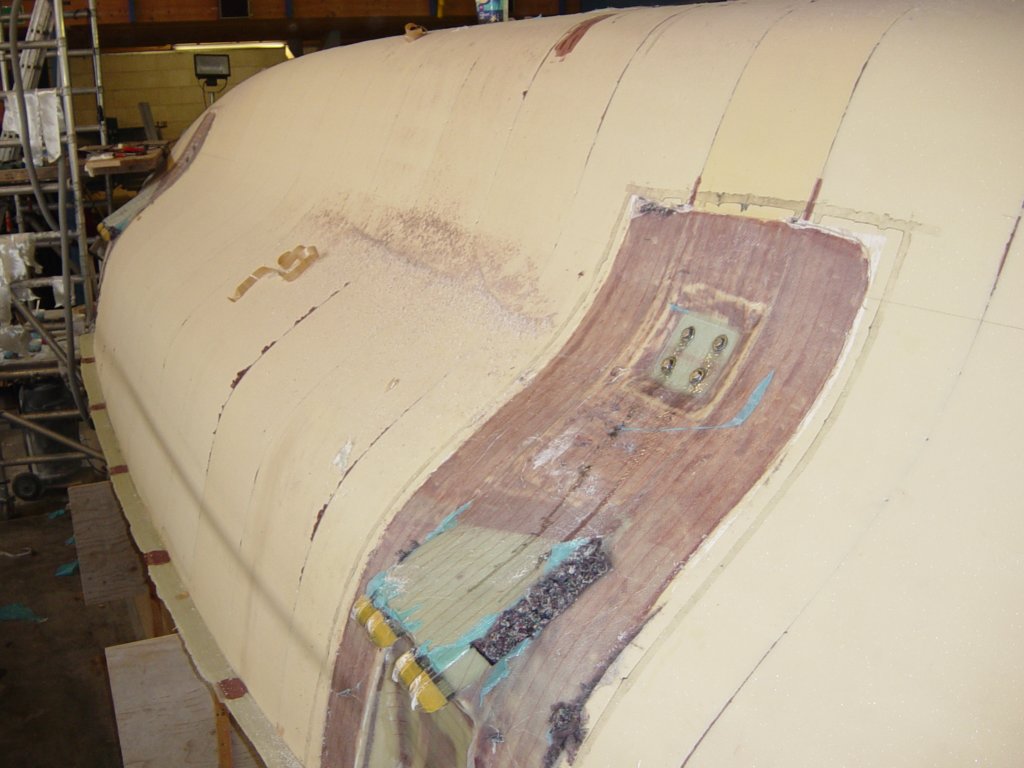
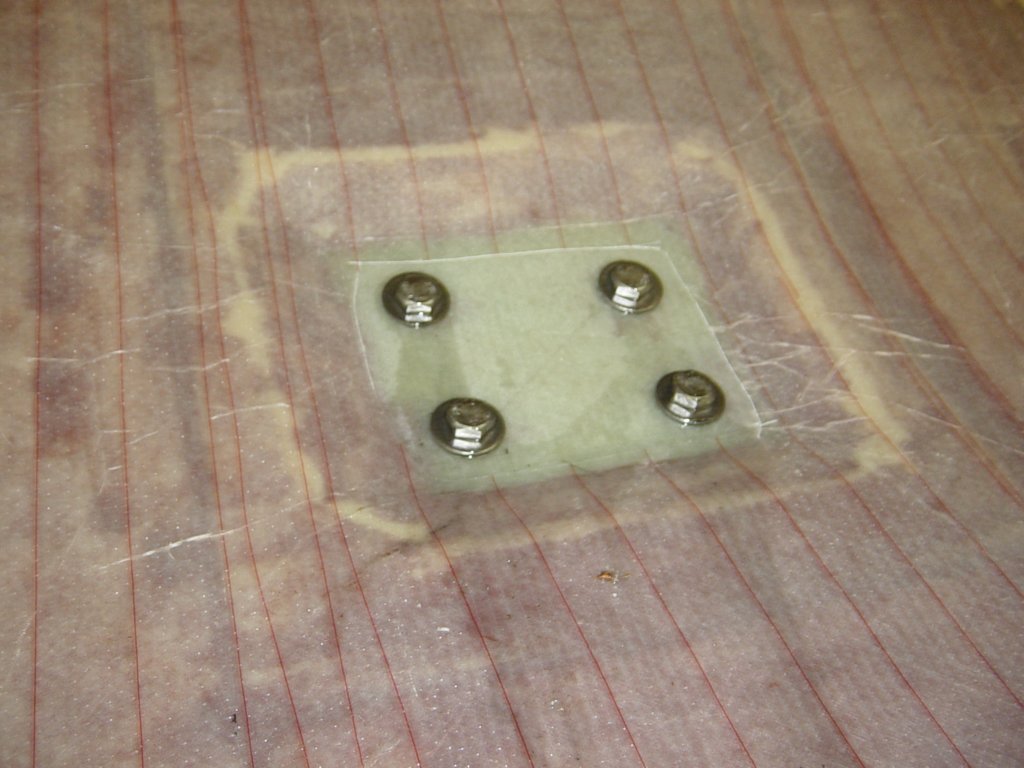
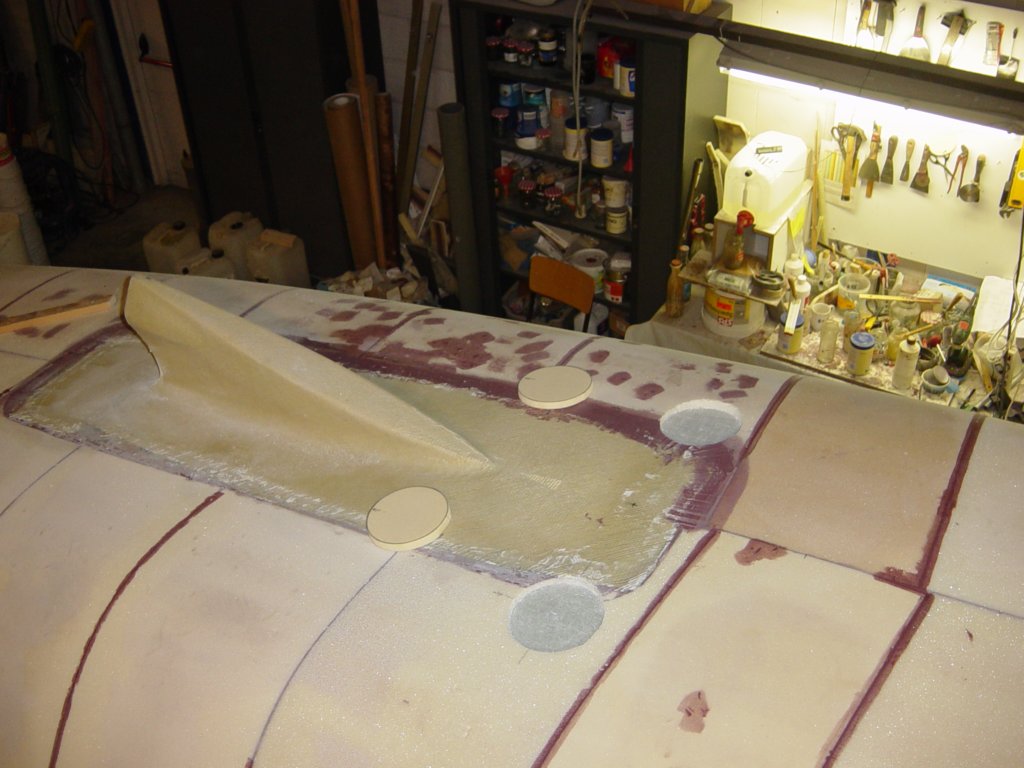
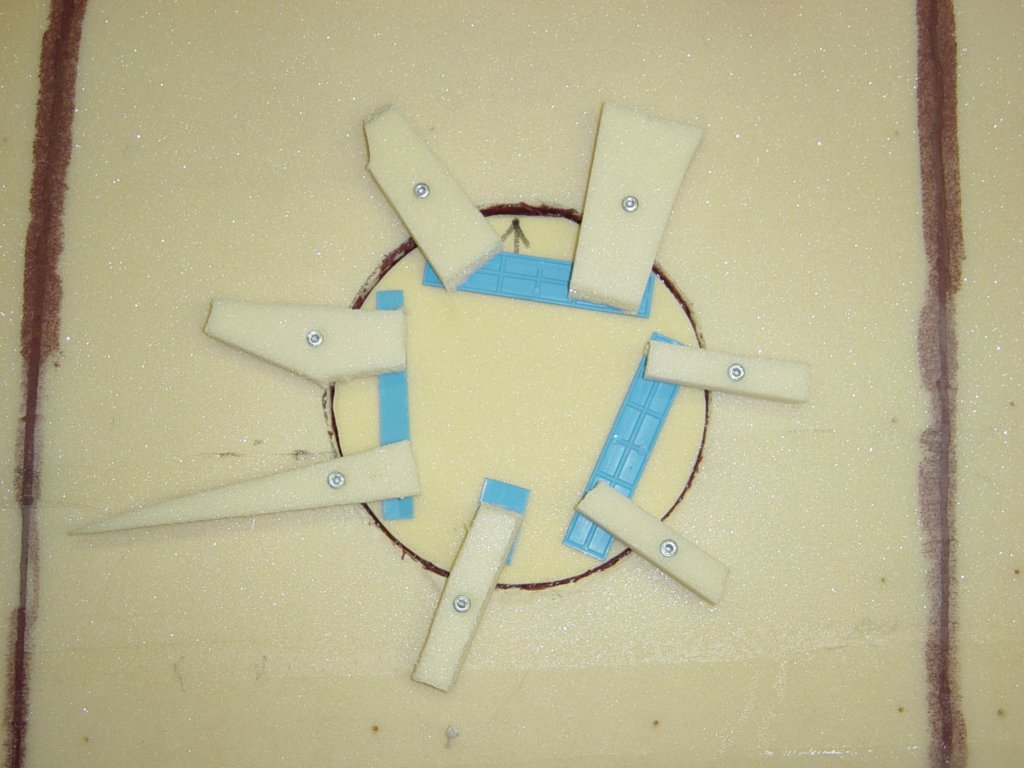
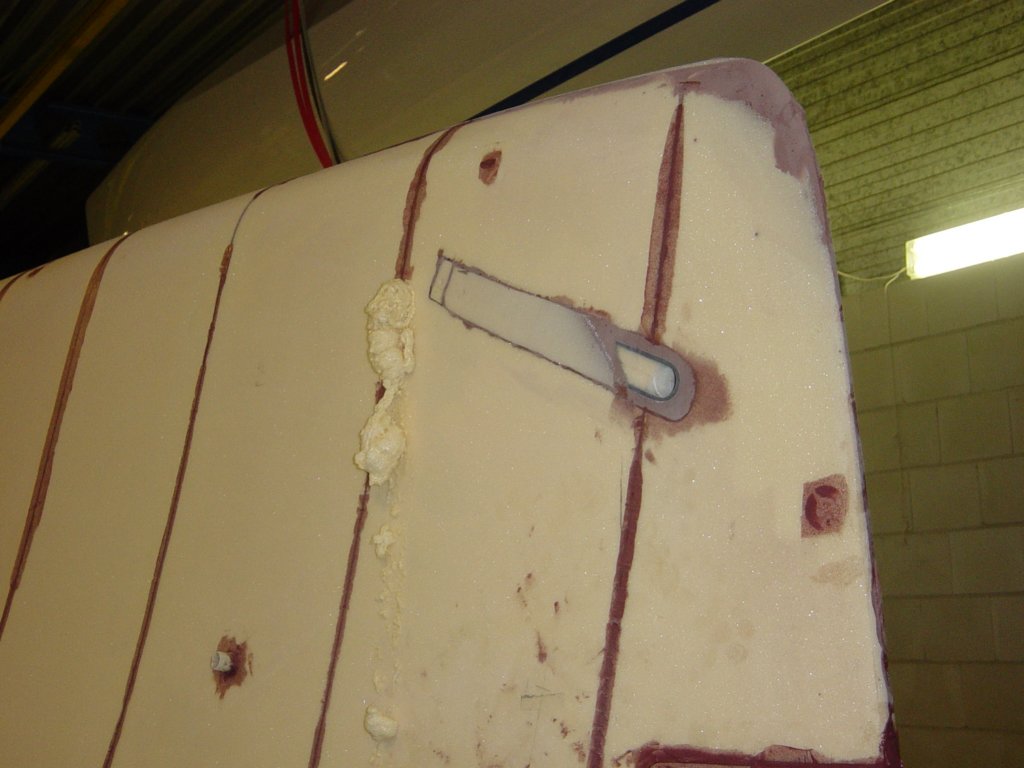
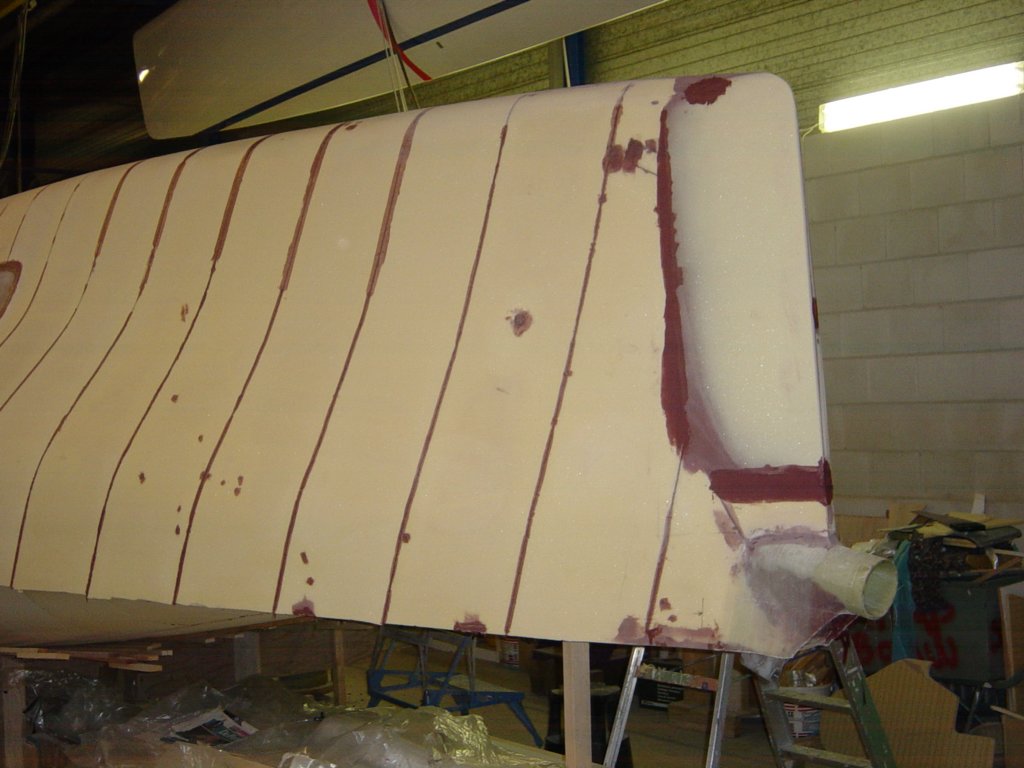
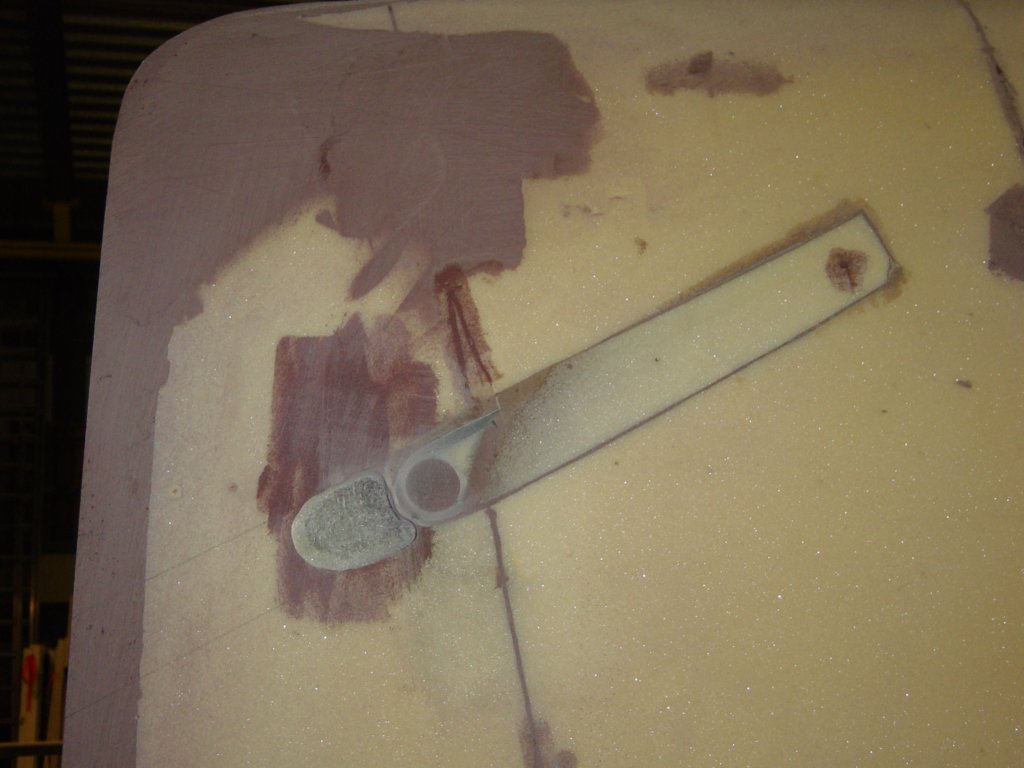
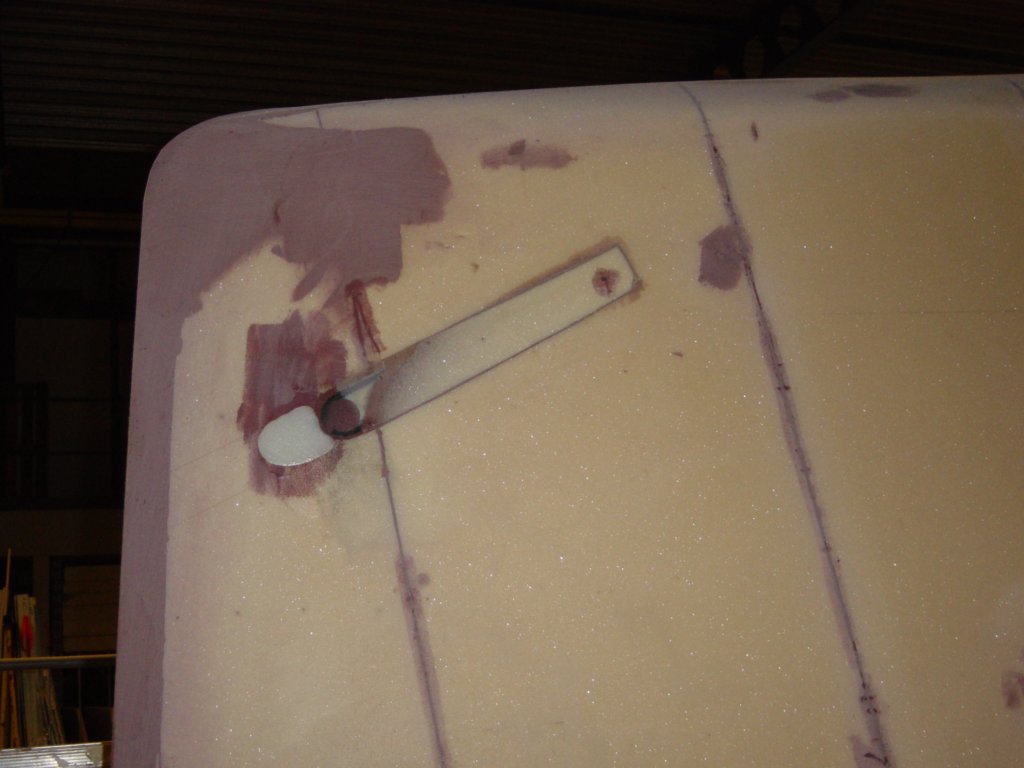
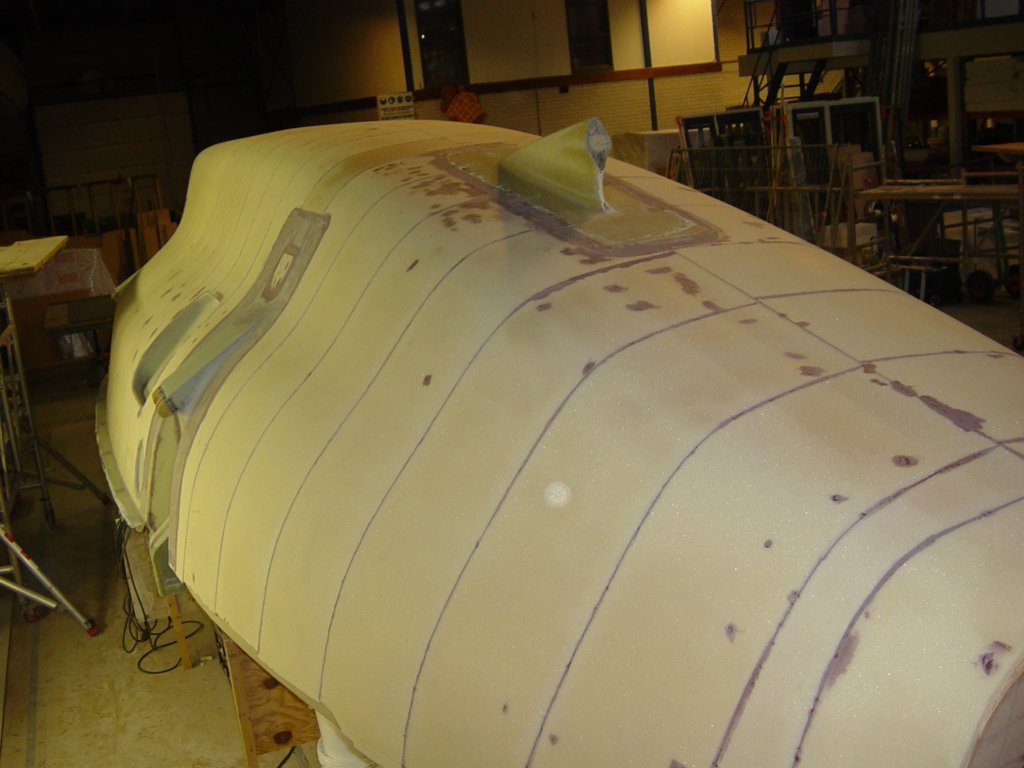
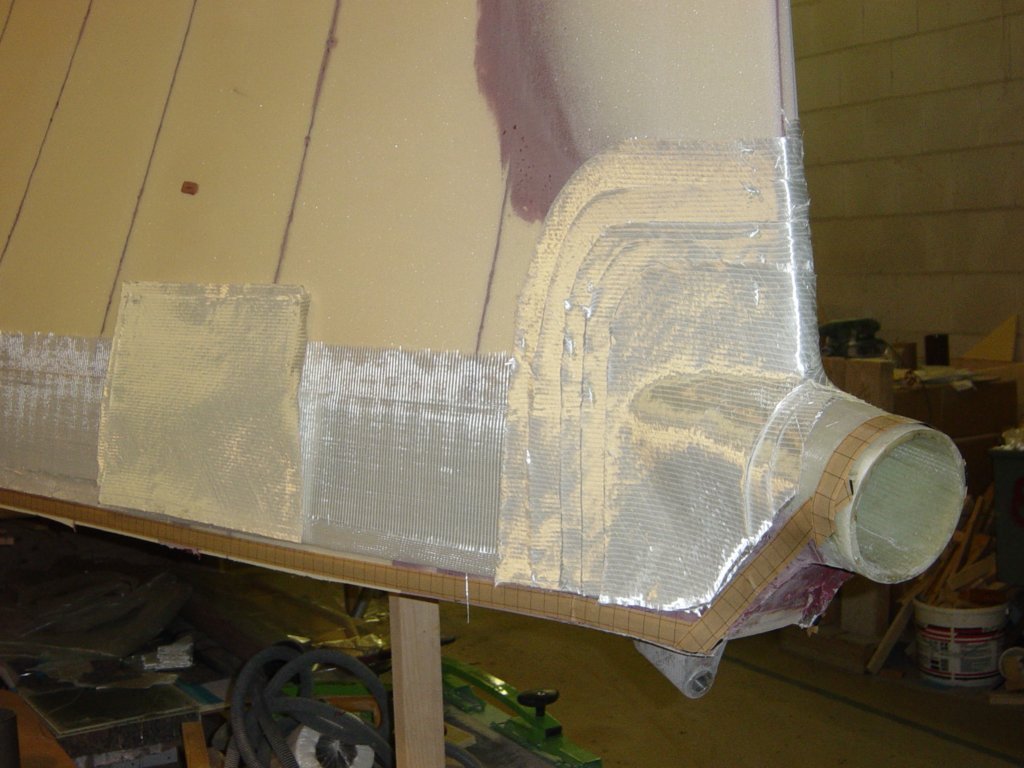
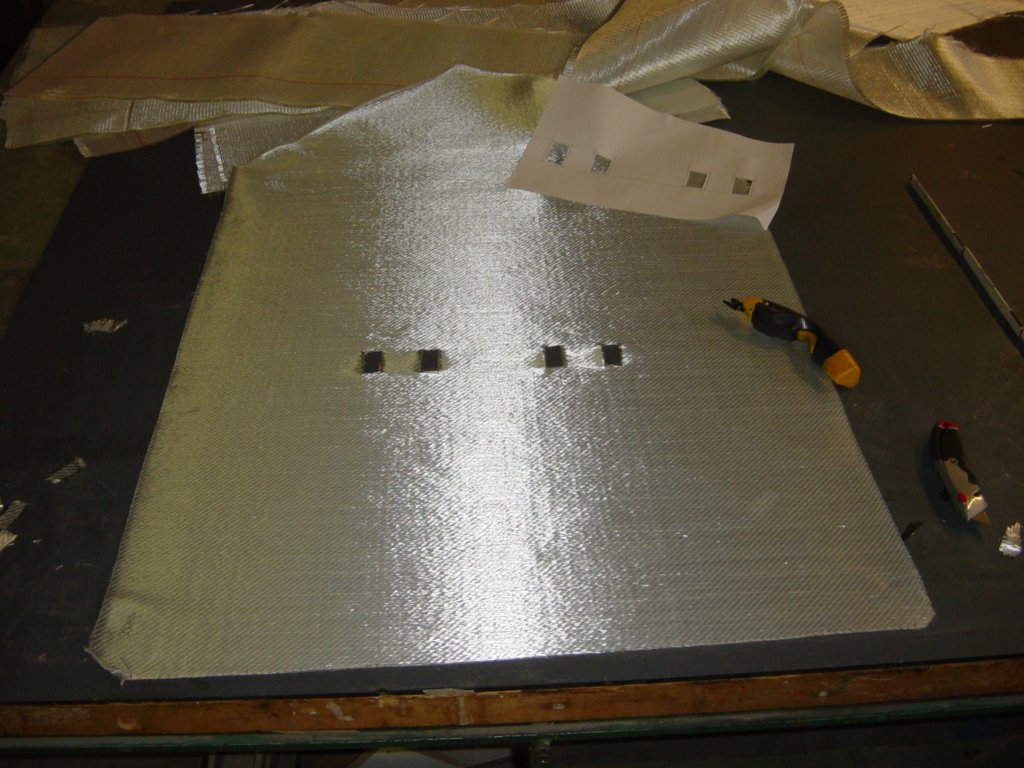
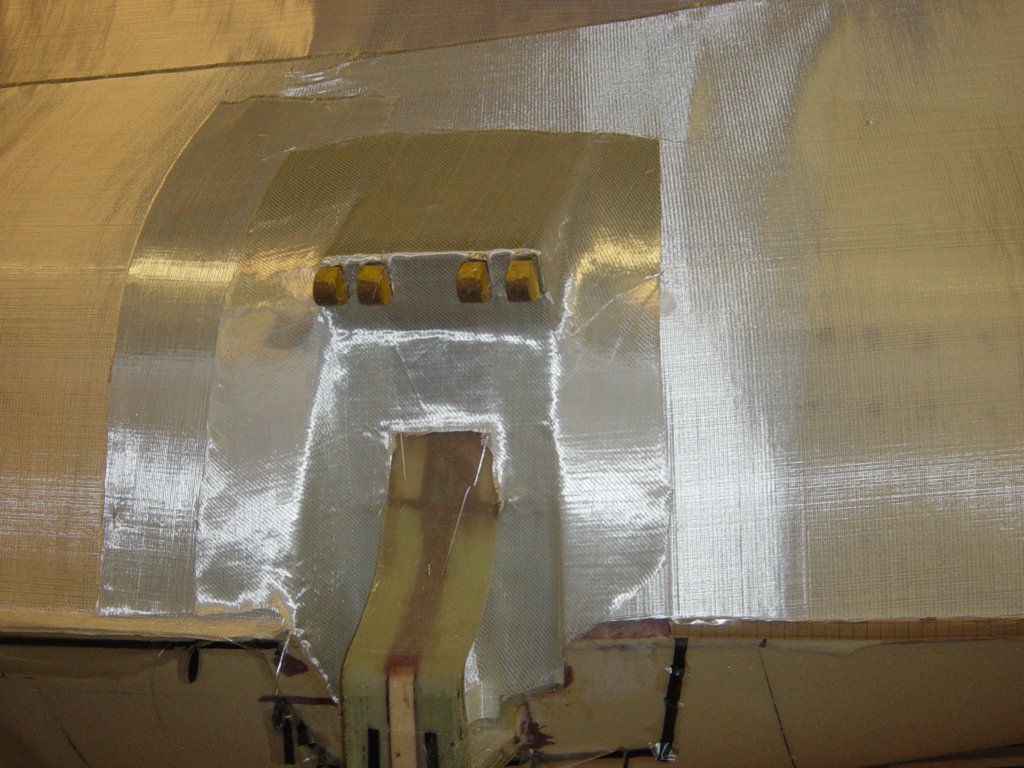
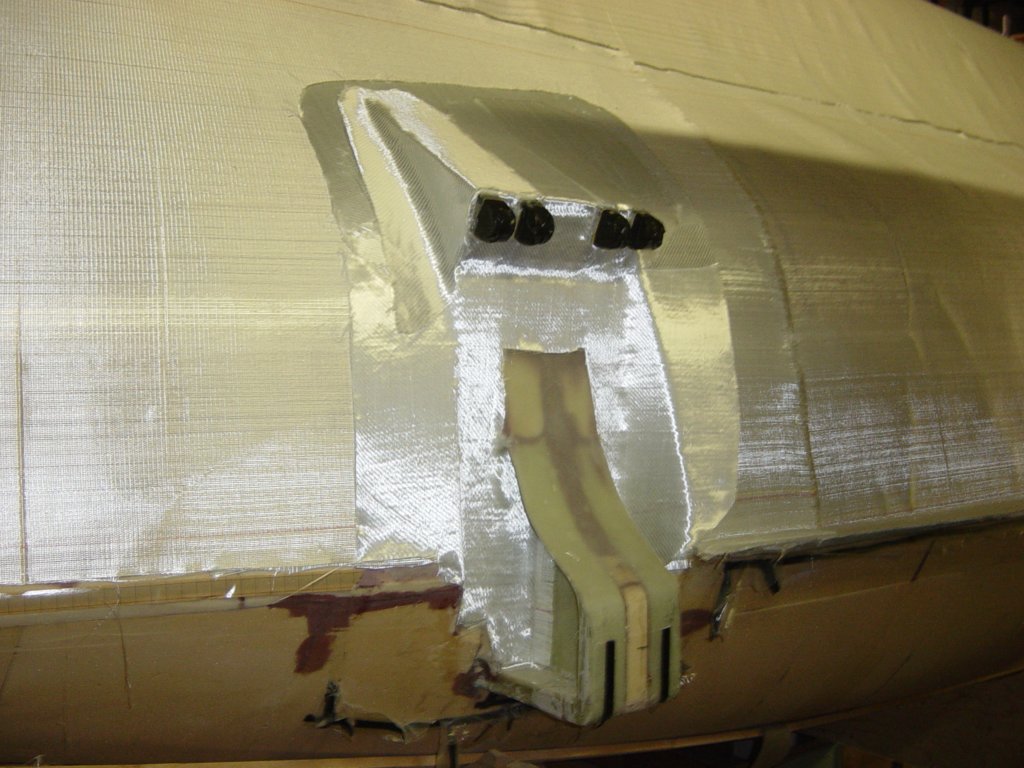
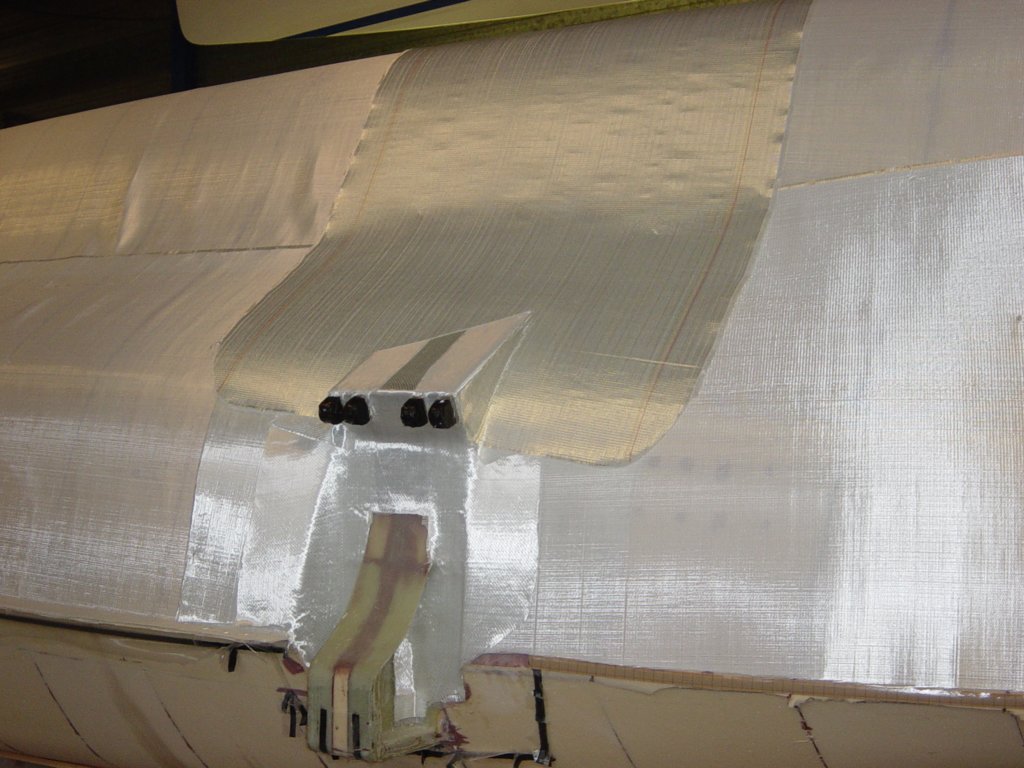
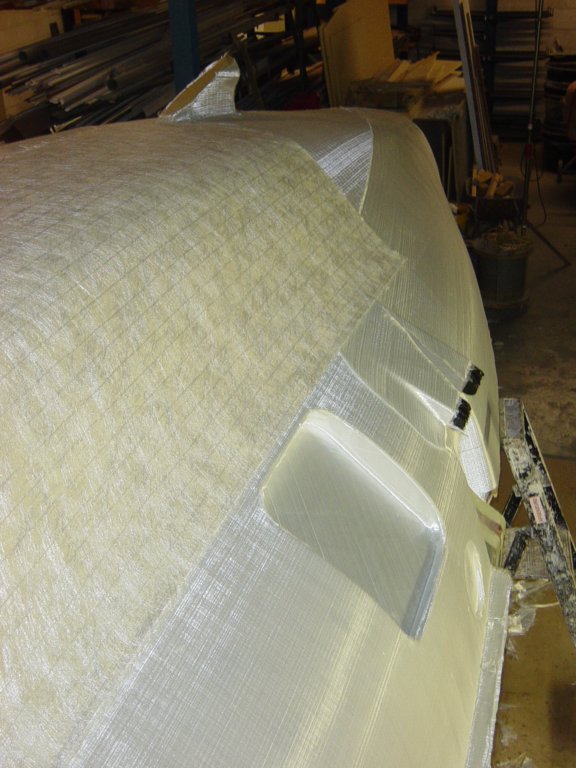
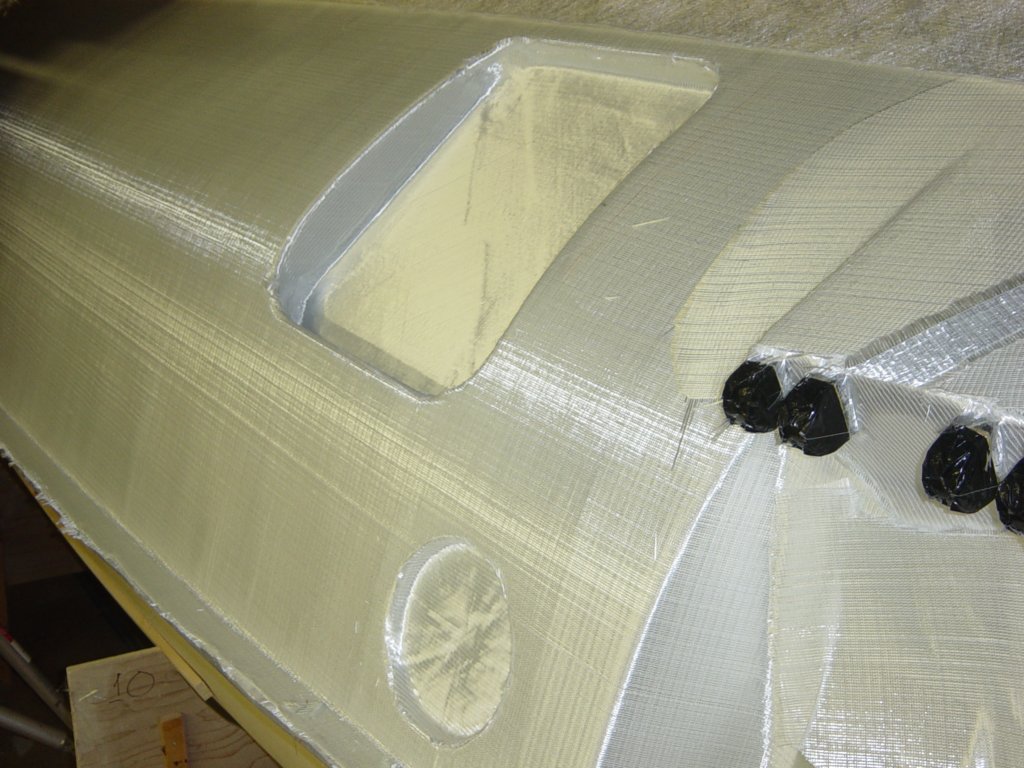
Before laying up the external laminate, various “small” jobs had to be done. Every time it amazes me how a relatively minor task takes far more time than expected. A good example is the beam recess on the outside of the beam bulkheads. Cutting these recesses to size and removing the surplus foam required basically every cutting and sanding tool I own.
Jigsaw, reciprocating saw, oscillating multi-tool, Dremel, power file, belt sander, angle grinder, power plane, and the hand tools: chisels, grater, hammer, file, multi-knife, sandpaper, etc. And all of this within about 5 square feet of working space.
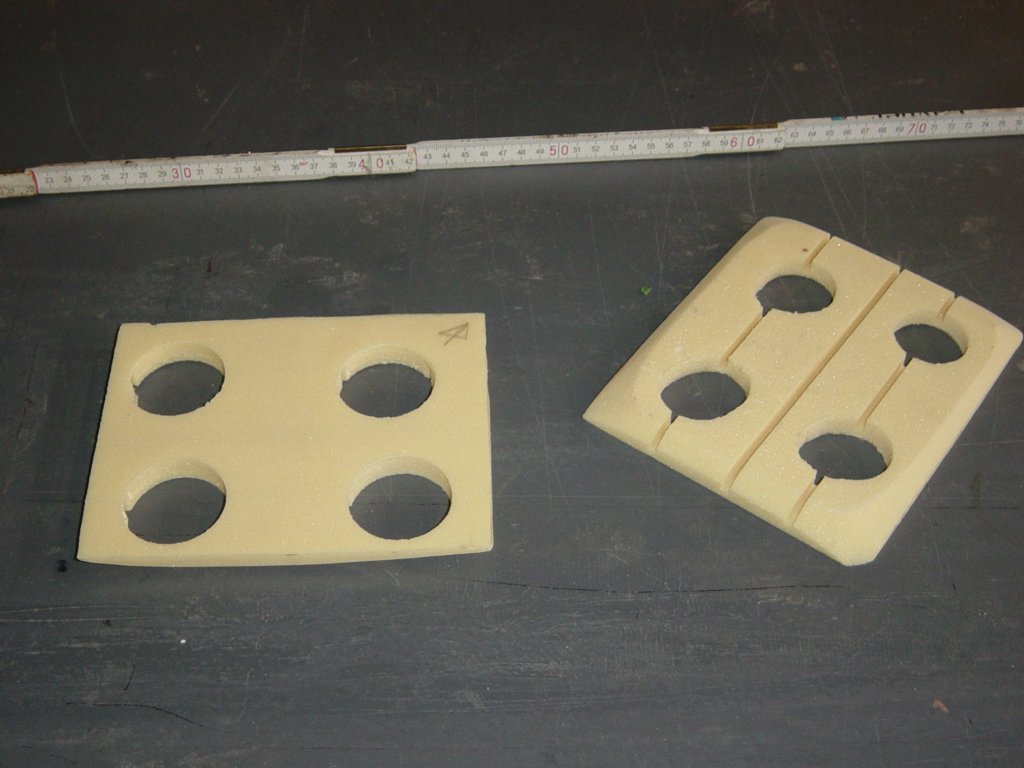
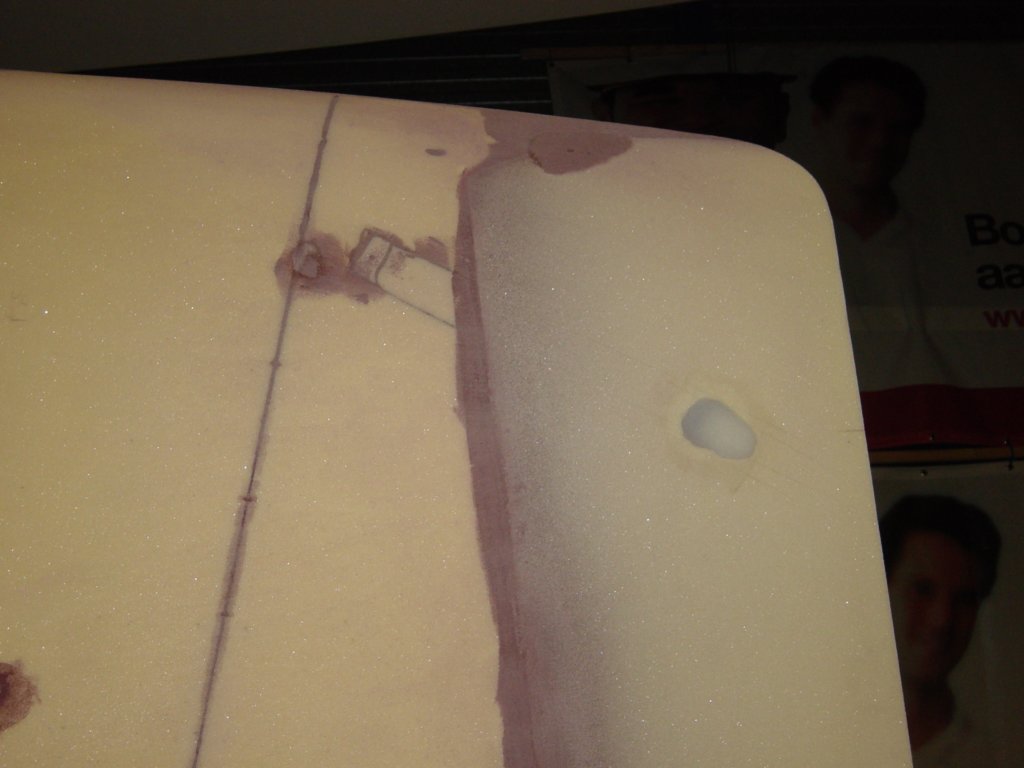
The four beam recesses took me two full days, with plenty of itching (glass dust) as a bonus. Then came the foam fill pieces, which took yet another whole day. Everything seems to take at least three times longer than anticipated…
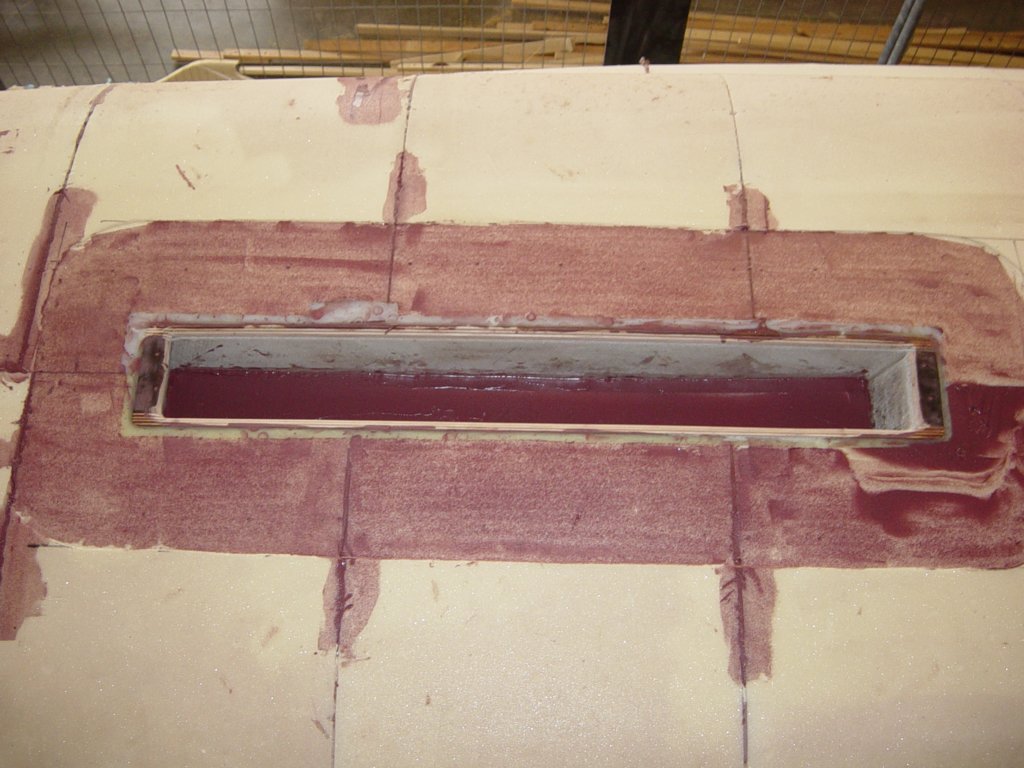
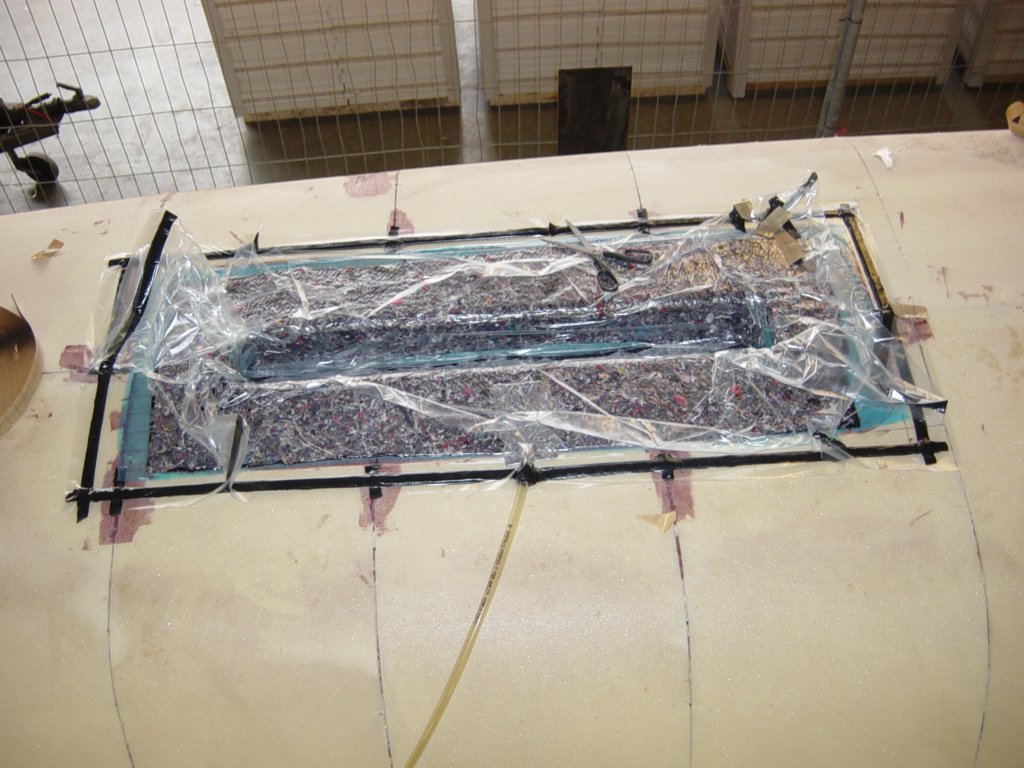
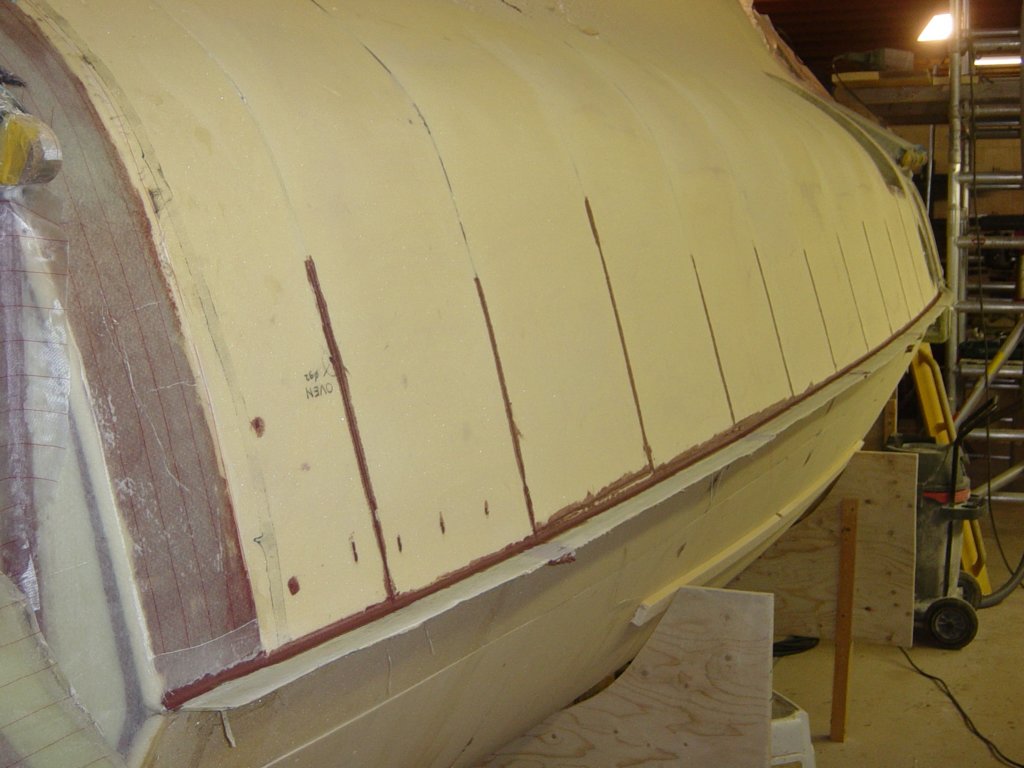
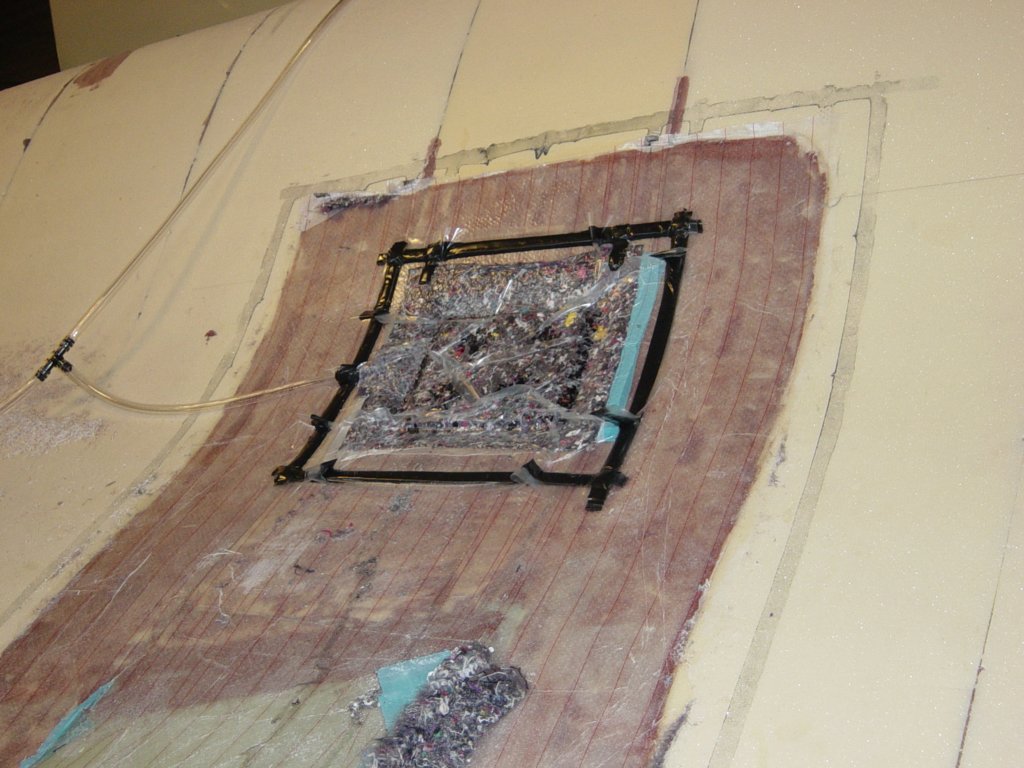
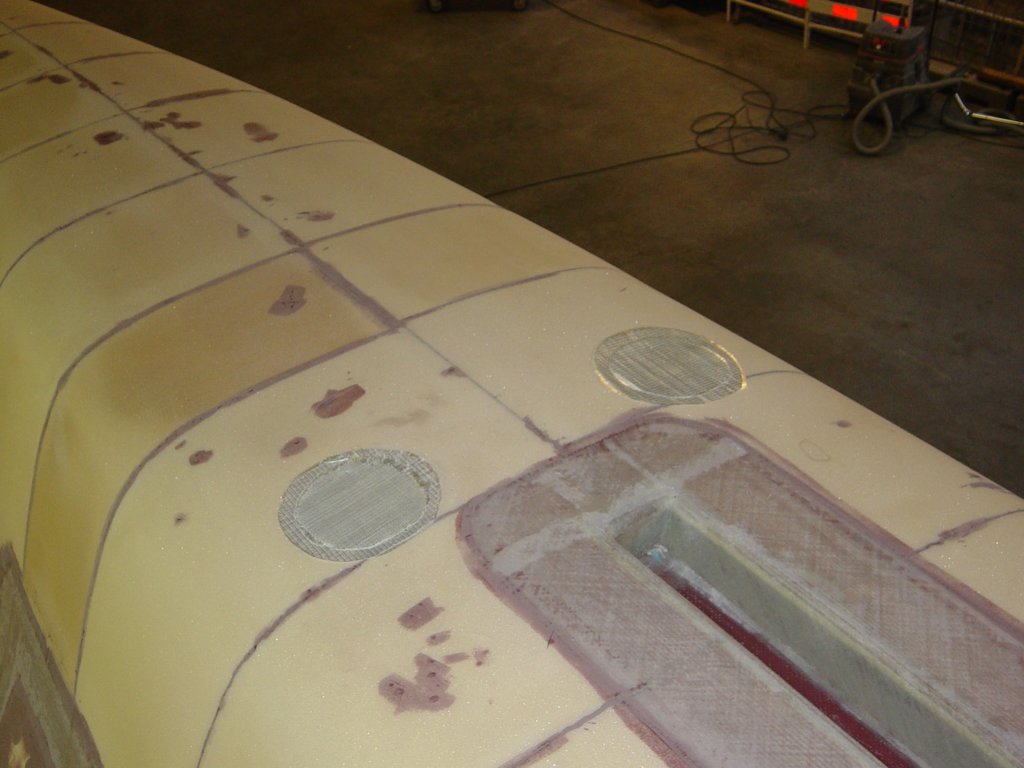
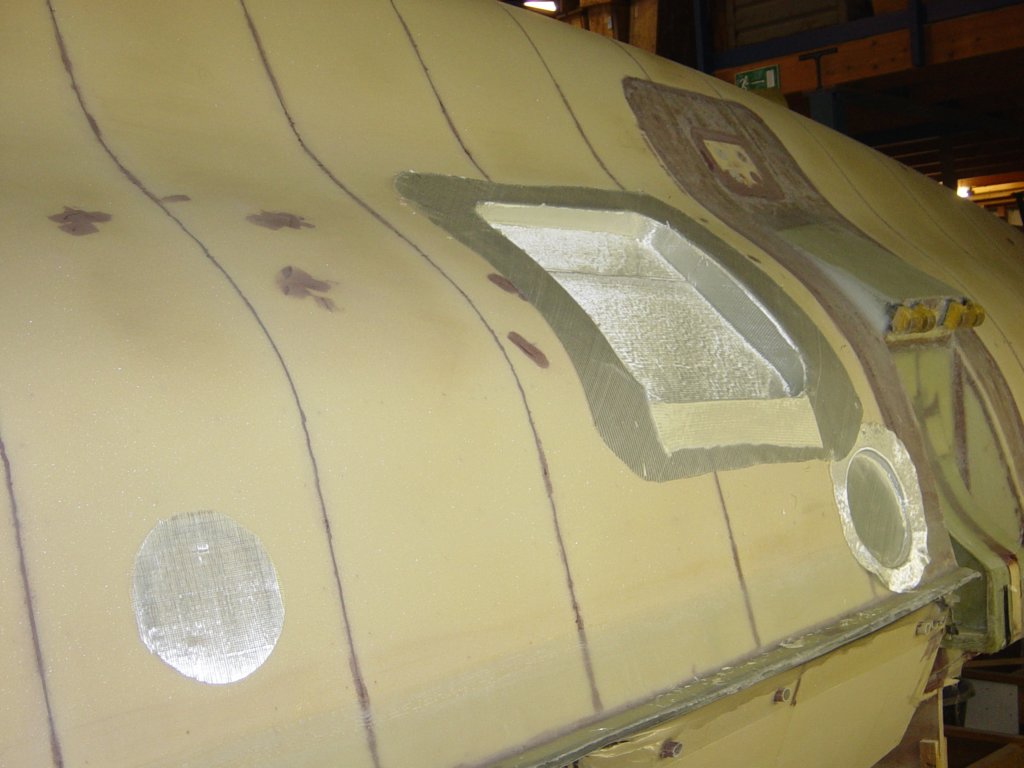
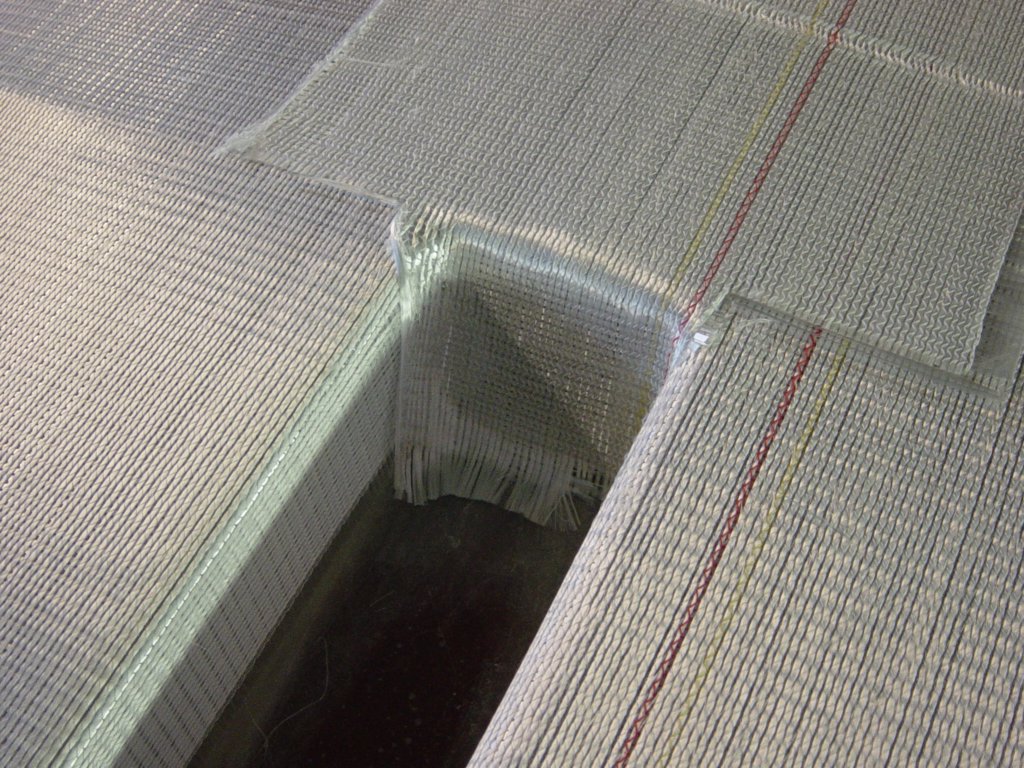
I made a small change in the lay-up schedule for the external laminate in the bottom of the hull. The plans specify an extra 0/90 glass layer on the hull bottom, both for abrasion resistance and for balance between the 0° fibre directions inside and outside.
As an alternative I used a 45/45 aramid (Kevlar) layer, as the abrasion resistance of aramid is superior to glass. The aramid is covered on the outside with a thin CSM layer, so the finished outer surface is glass, not aramid.
To compensate for 0° direction strength, I also added a line of glass UD on the opposite side of the hull compared to the internal UD layers. All in all this is a little heavier than specified, but it buys peace of mind.
In the meantime I’m playing with RTM-Worx software: on the one hand to build the 3D model (which is fun), and on the other hand to populate the model with material properties like resin viscosity and fabric permeability (which feels more like translating a puzzle into a lot of data). All for the prediction and simulation of the vacuum infusion on the main hull bottom.
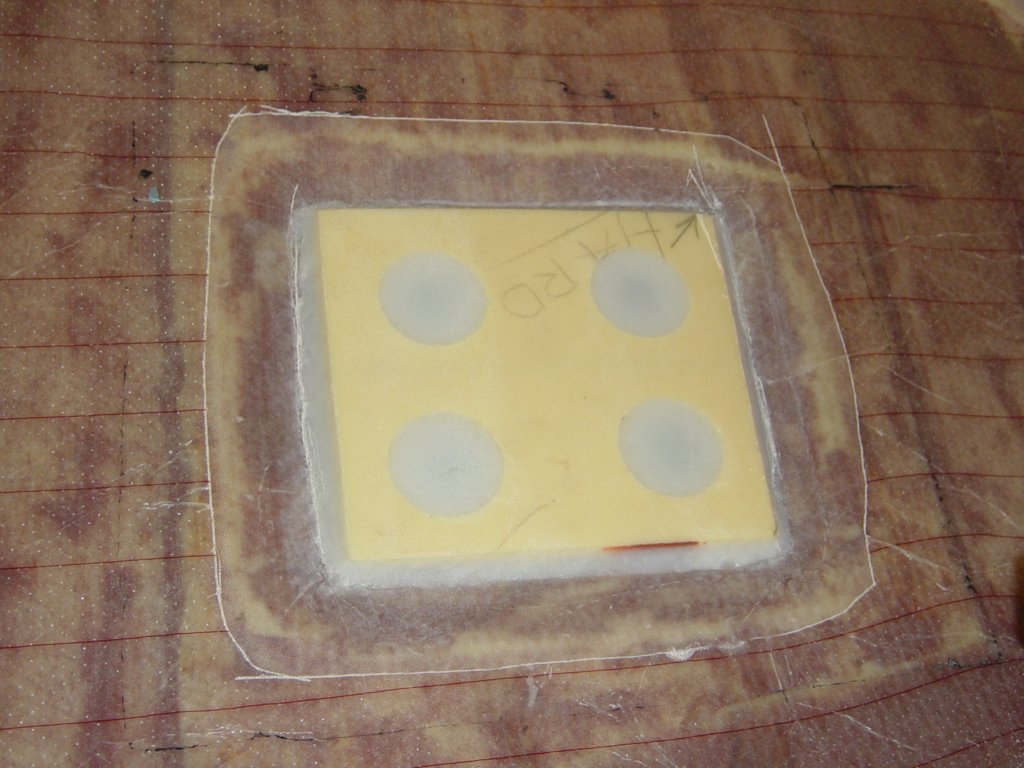
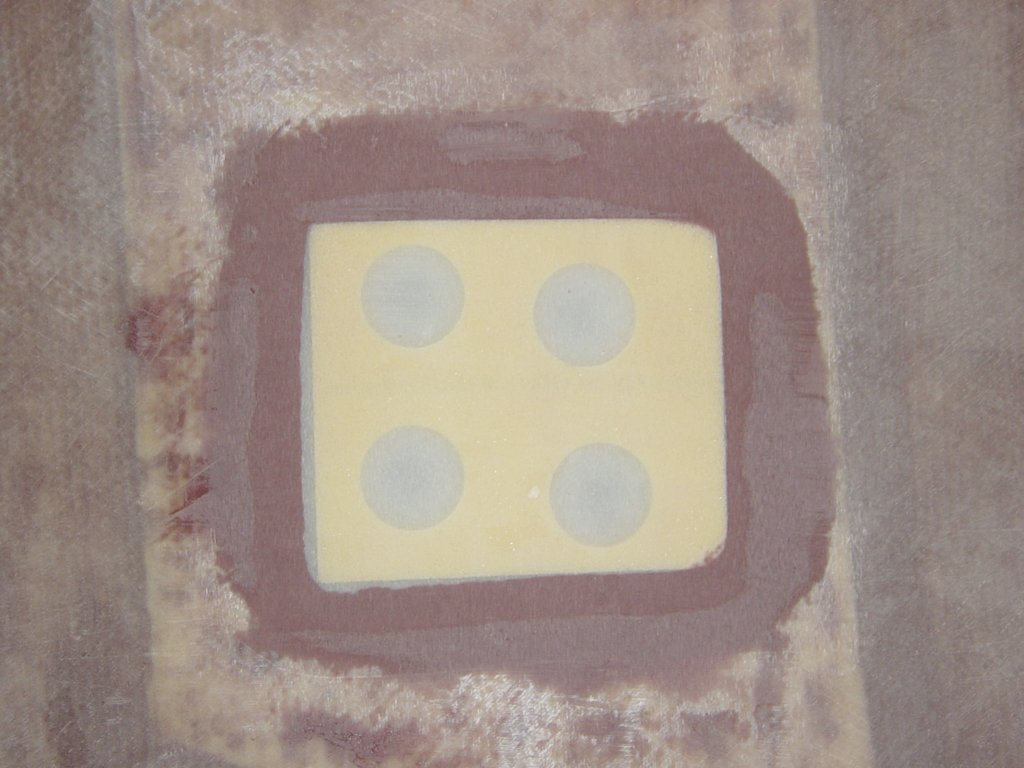
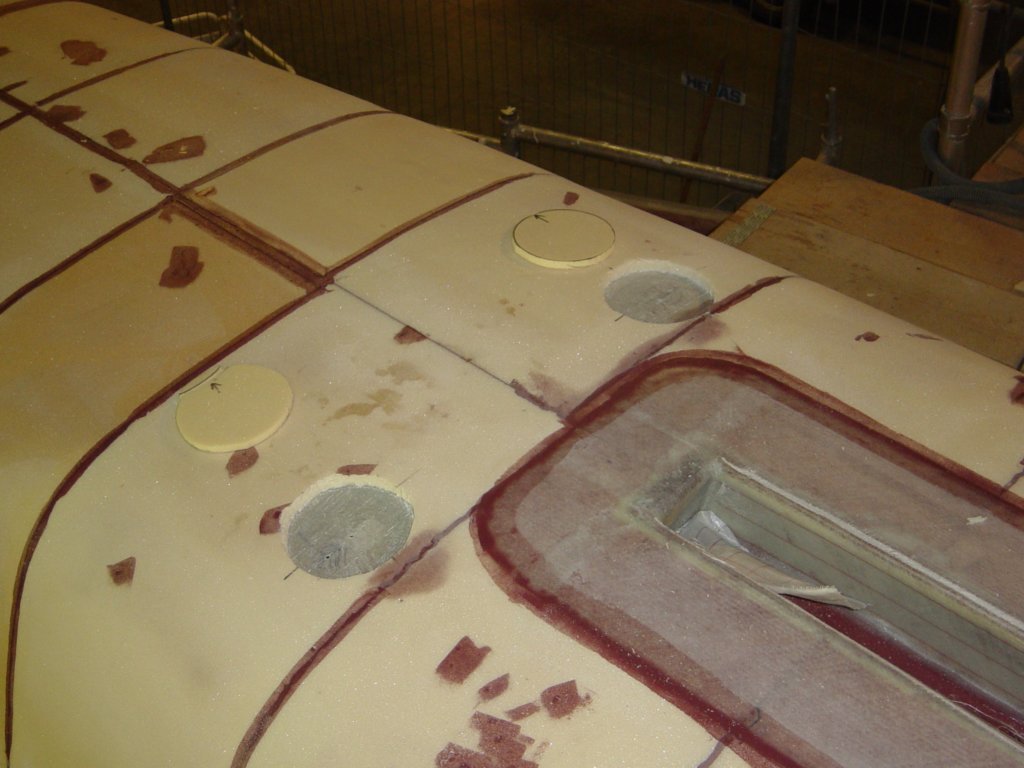
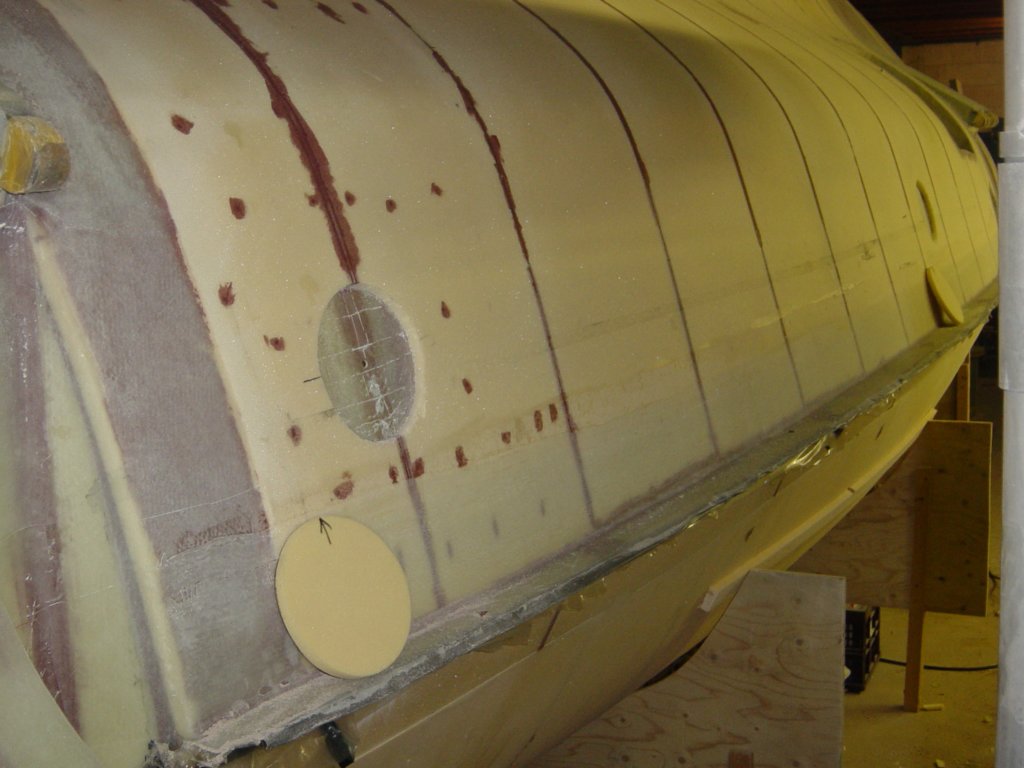
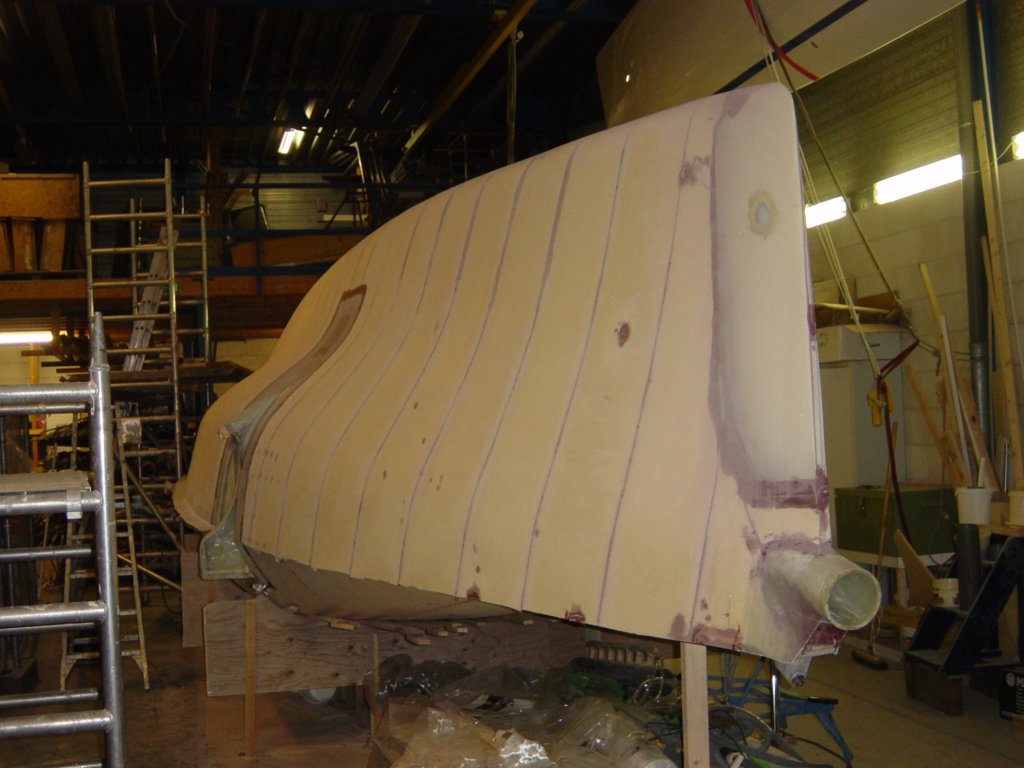
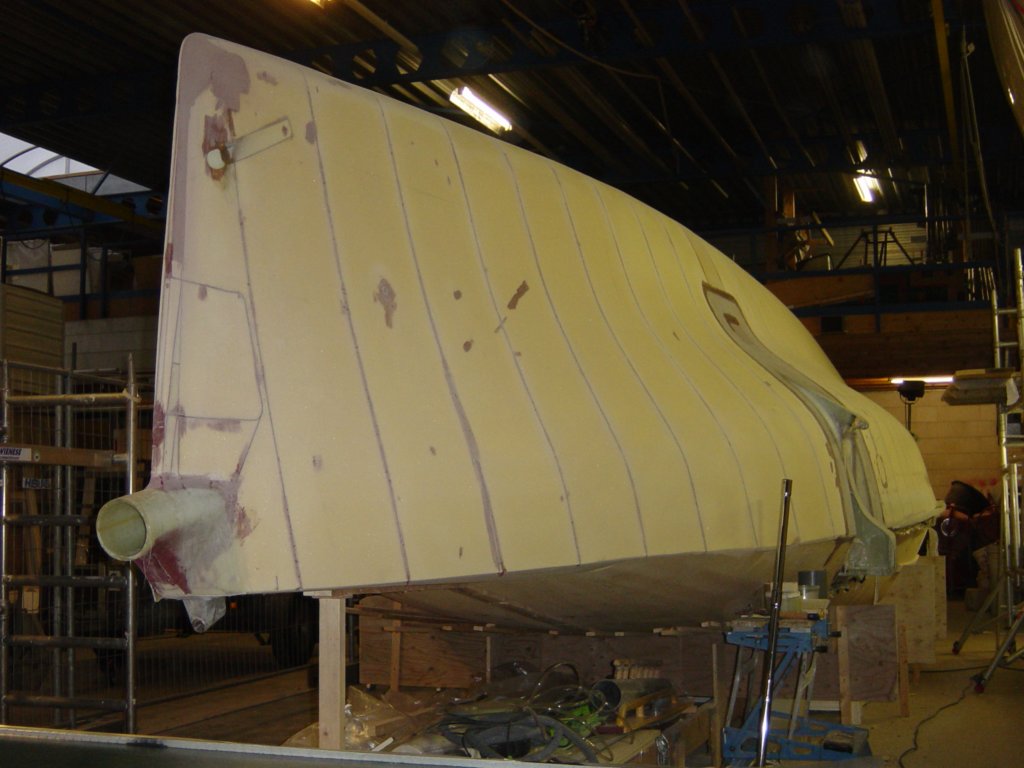
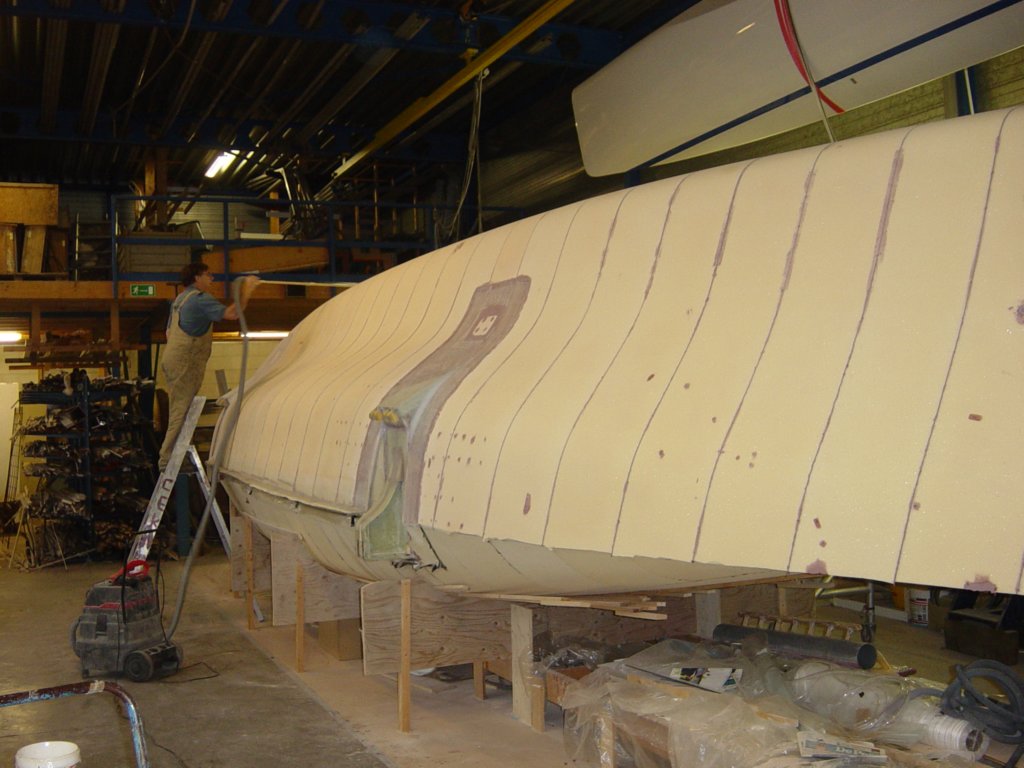
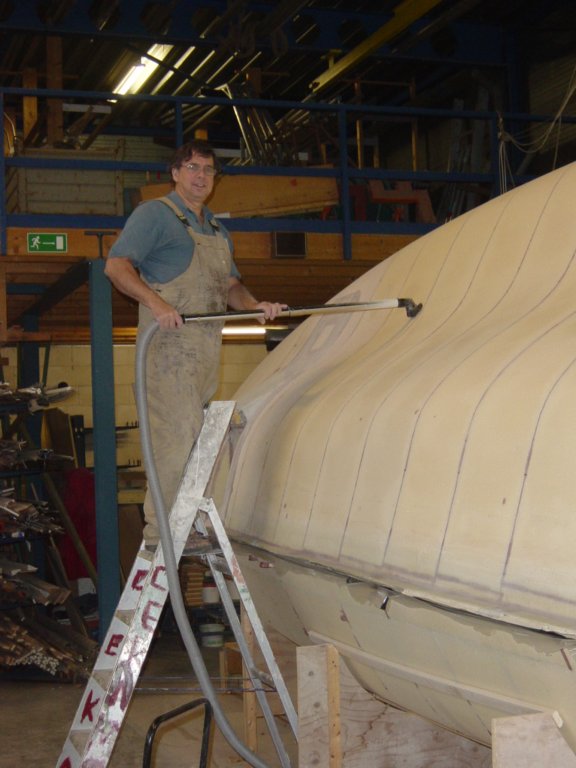
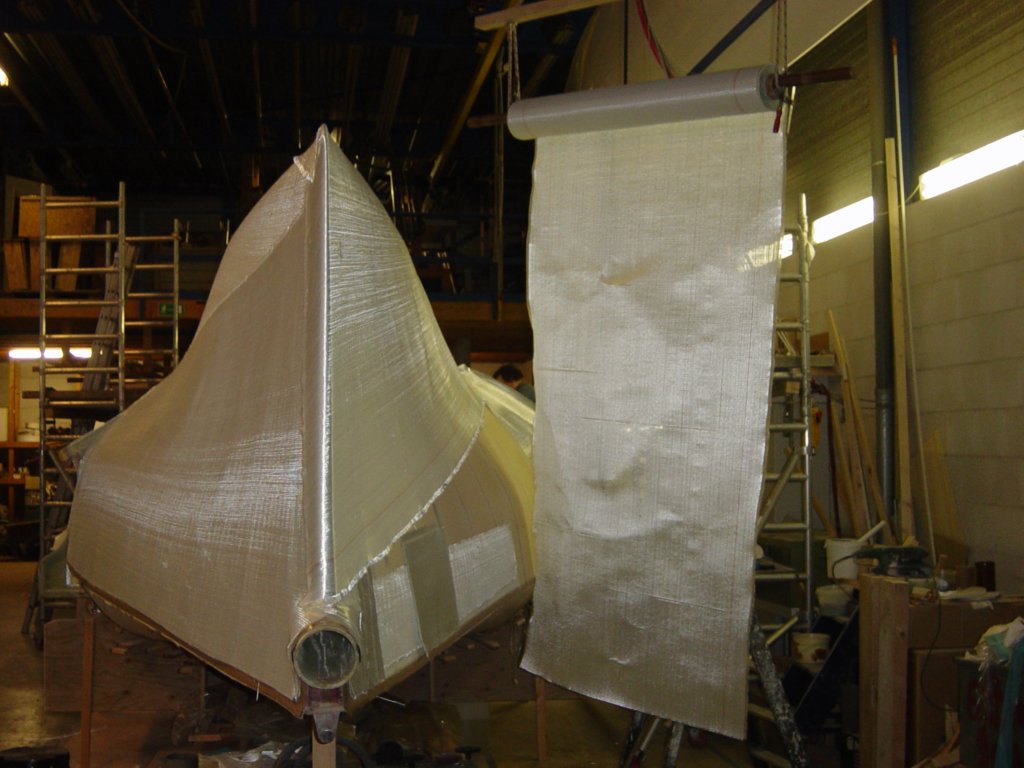
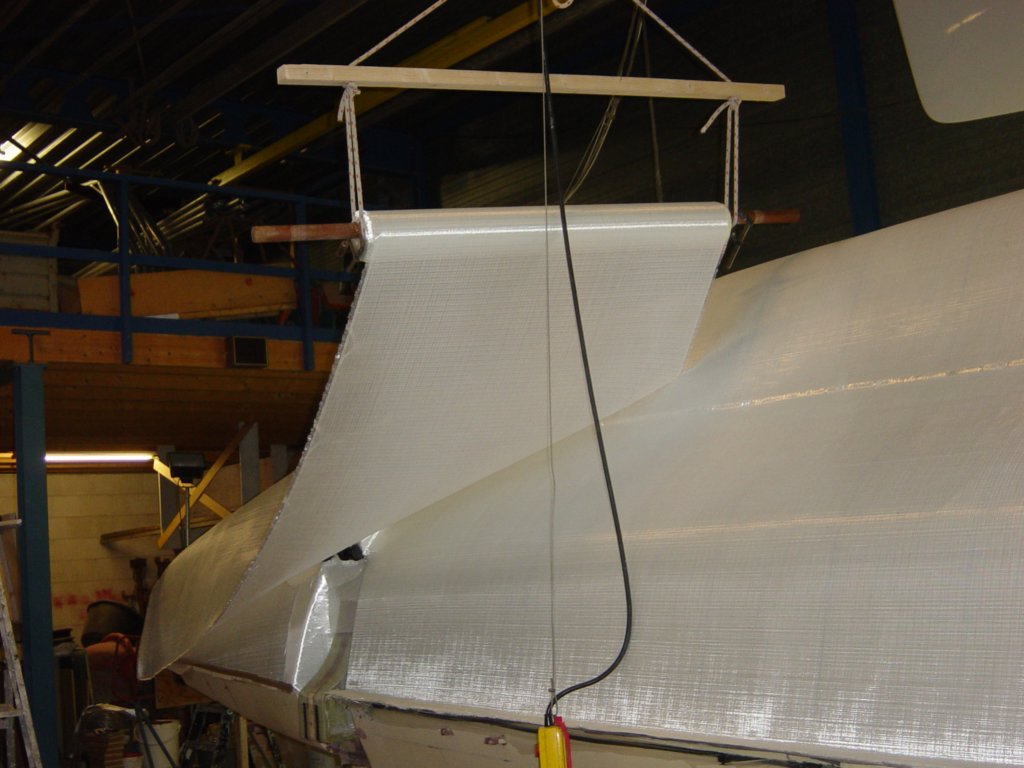
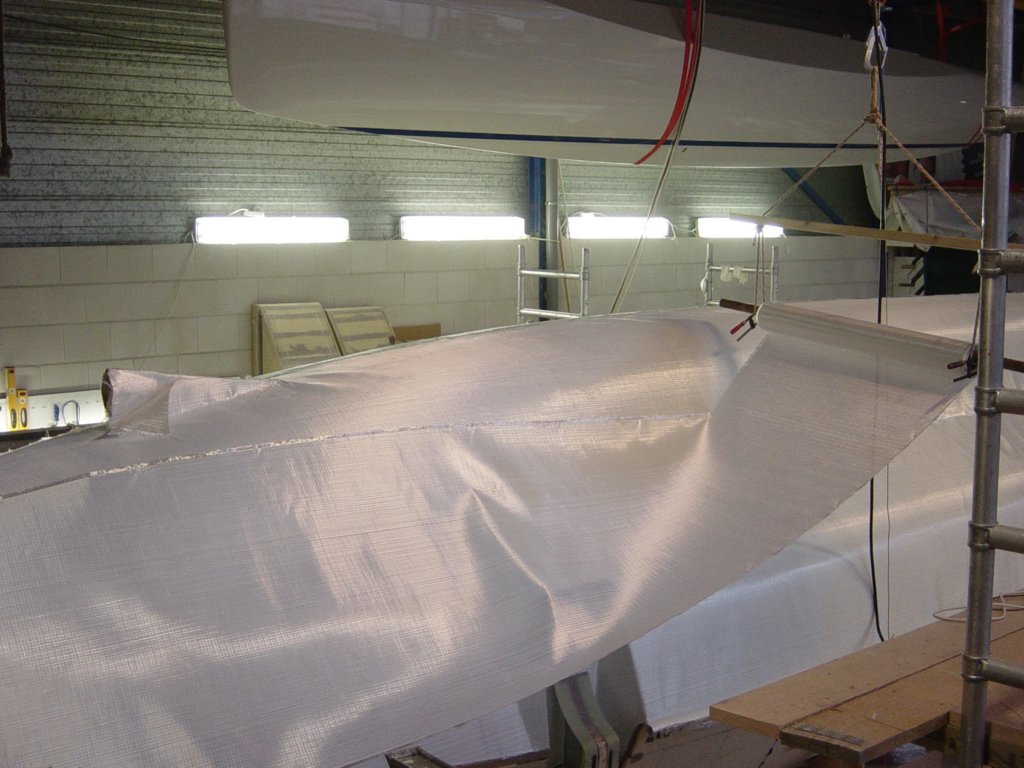
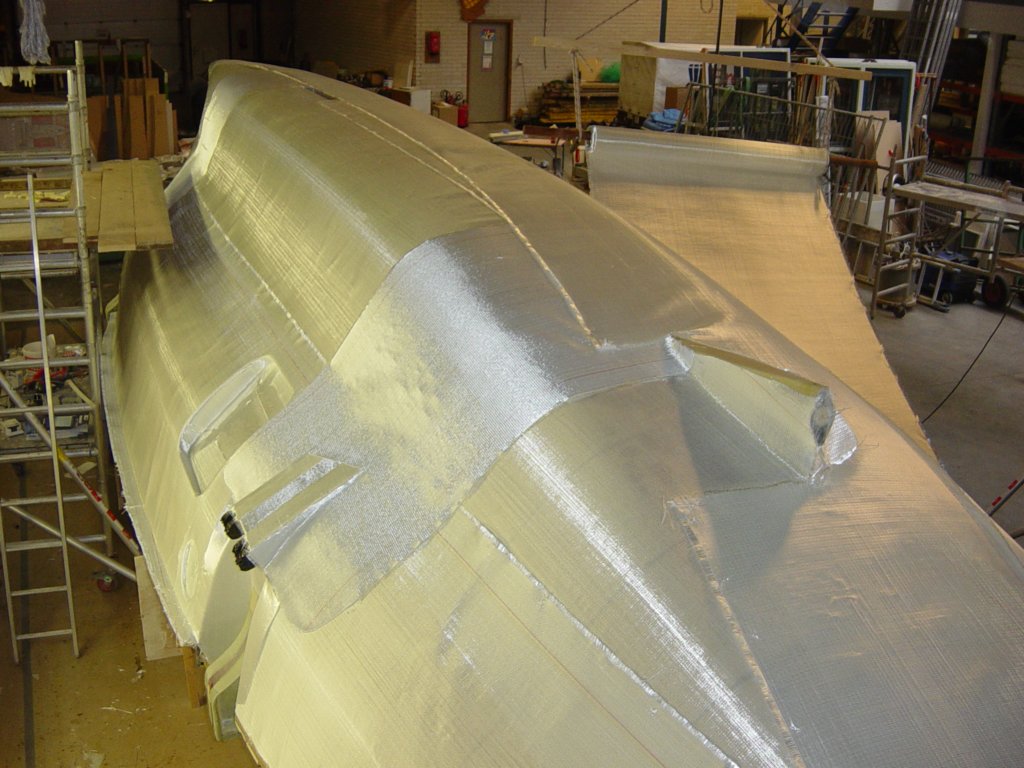
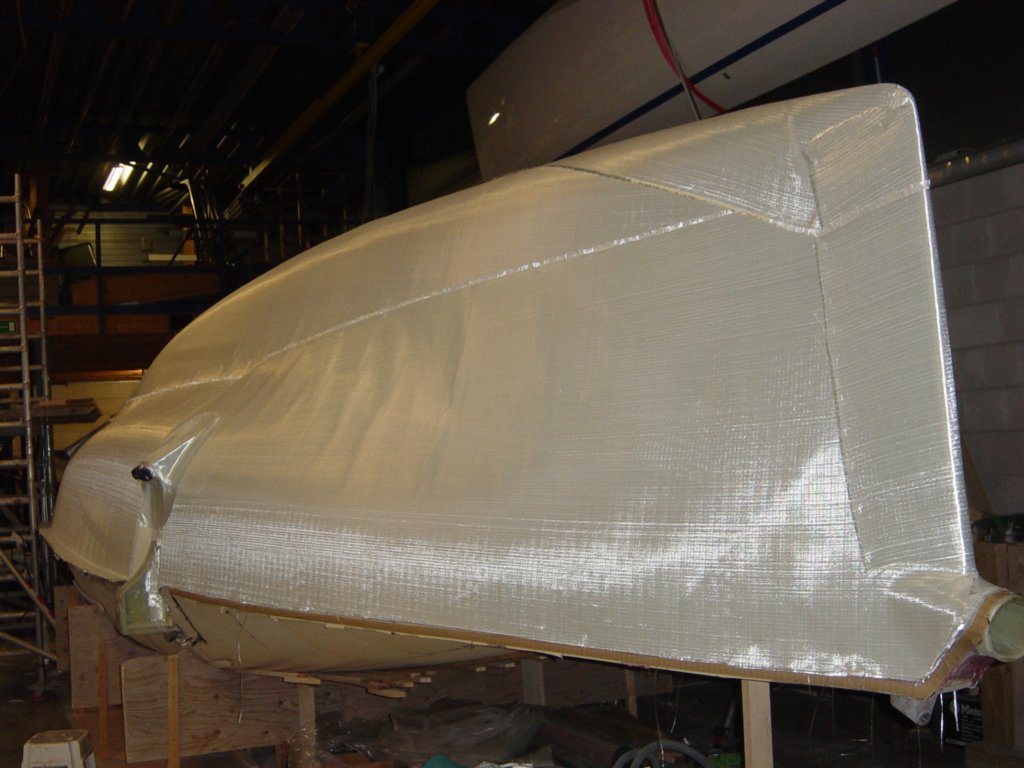
This photo gallery (75 images) documents the prep work and reinforcements leading up to the big outside lay-up, and the first stages of laminating from gunwale down to the keel.
