Choosing flush-mounted deck hatches adds complexity to the build, but results in a clean deck layout and improved aesthetics. This page documents the design, moulding, drainage, and installation of the deck hatches throughout the main hull.
Deck hatches
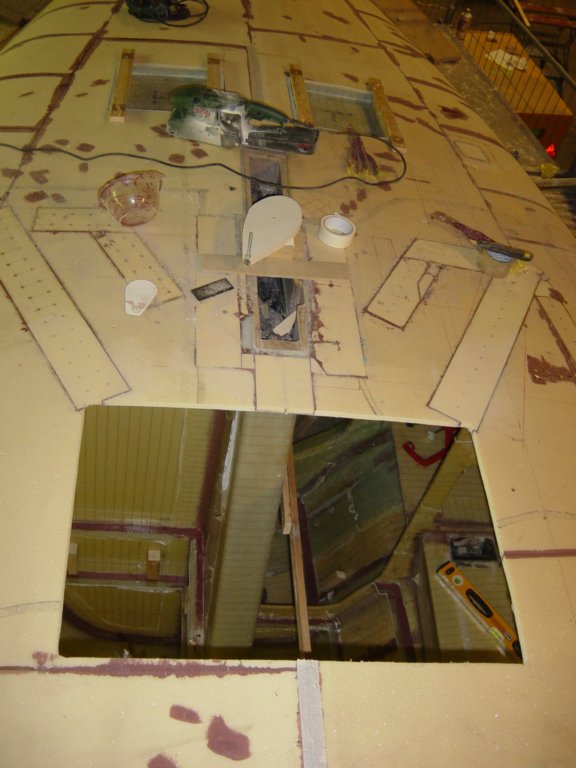
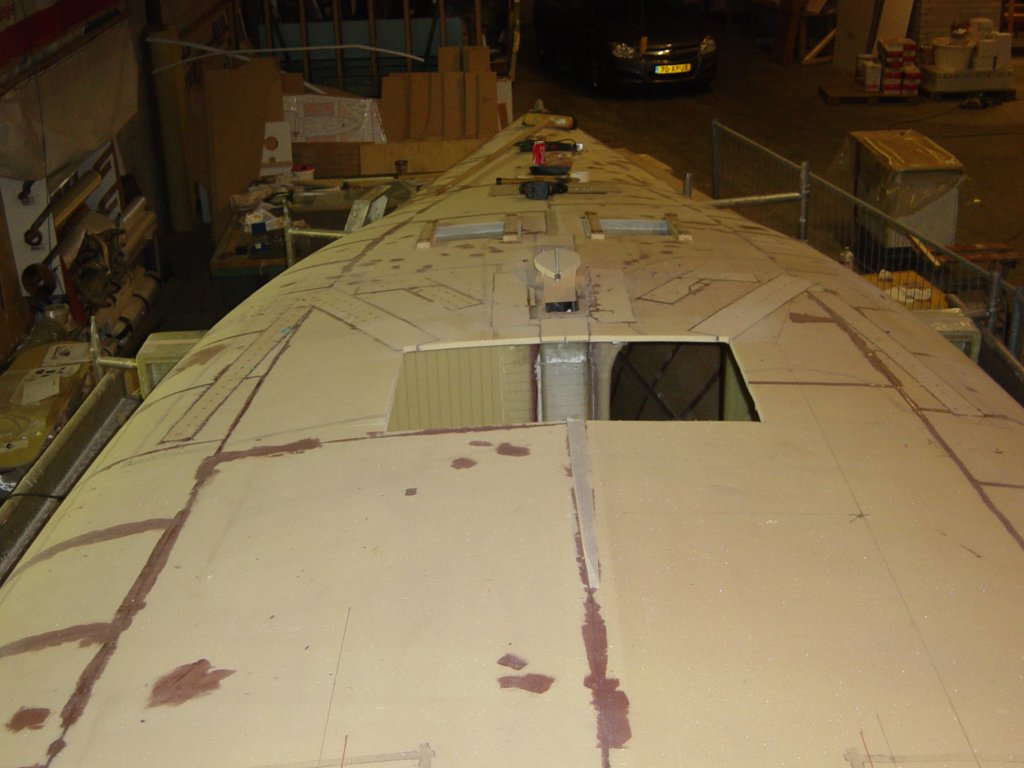
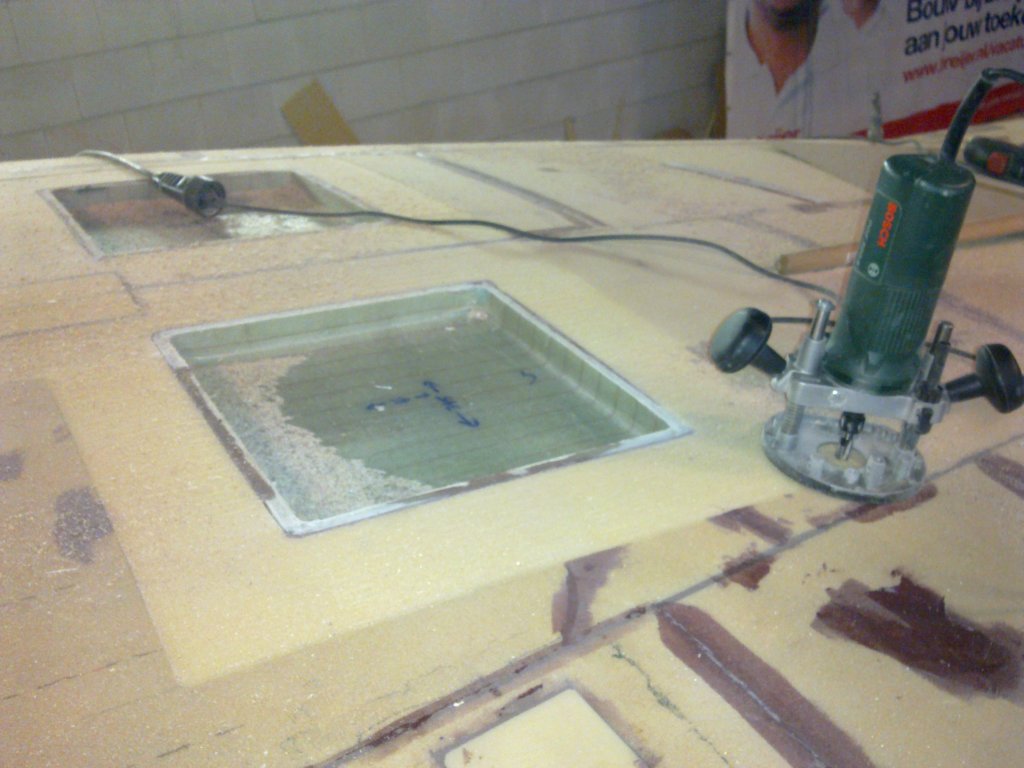
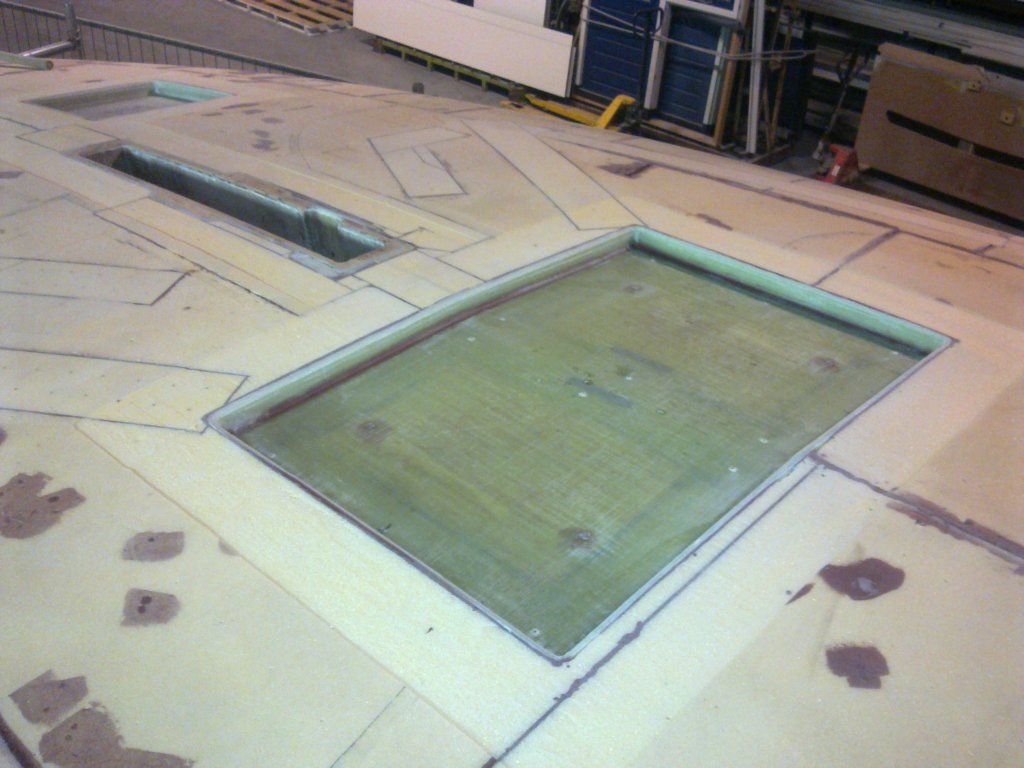
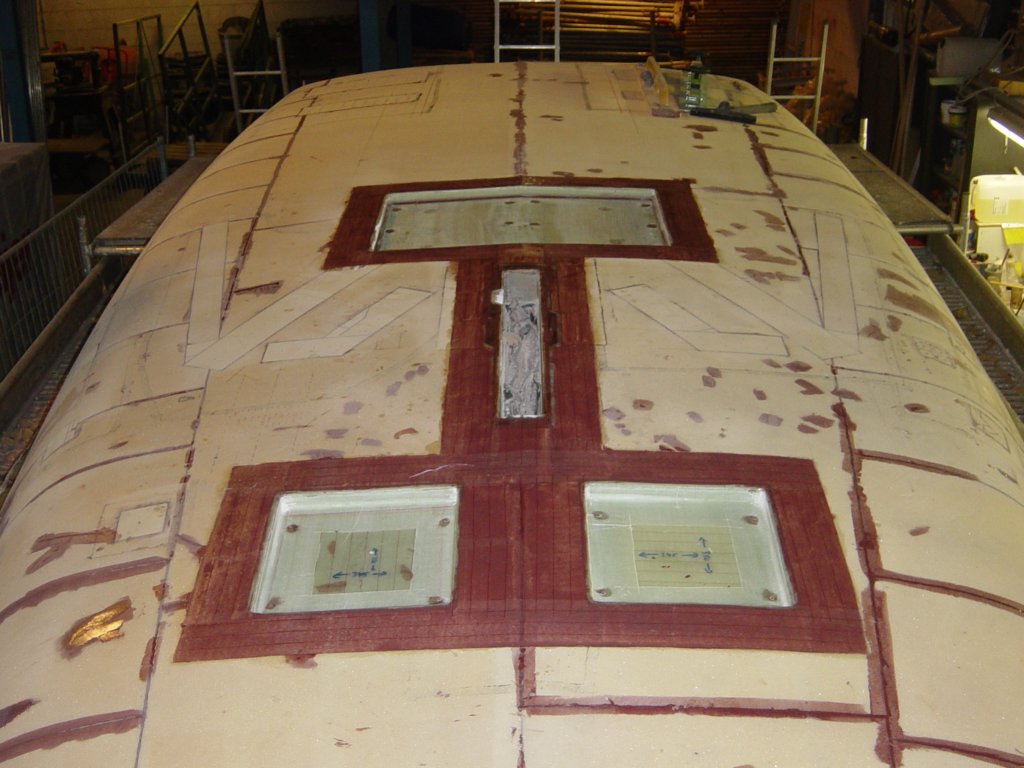
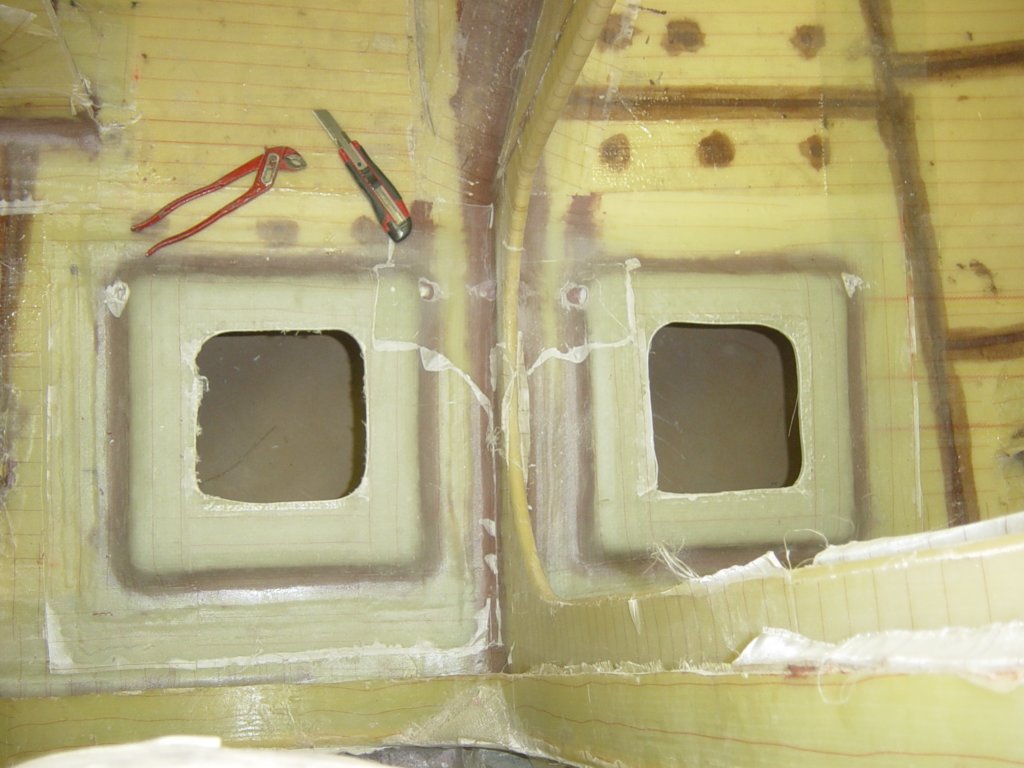
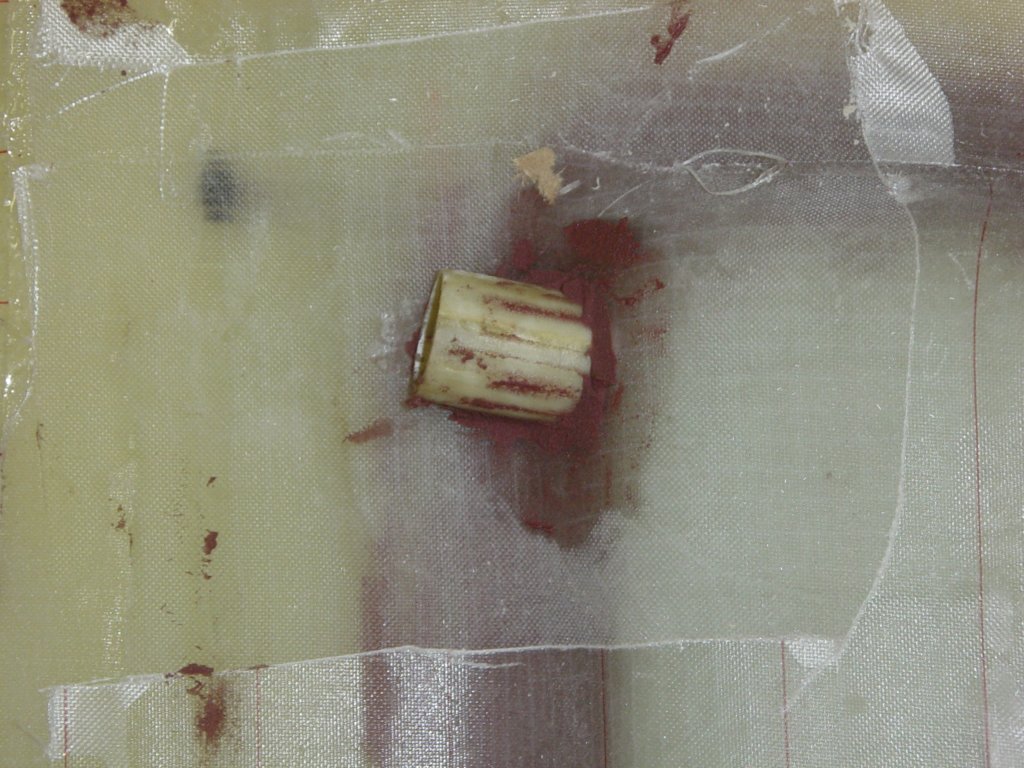
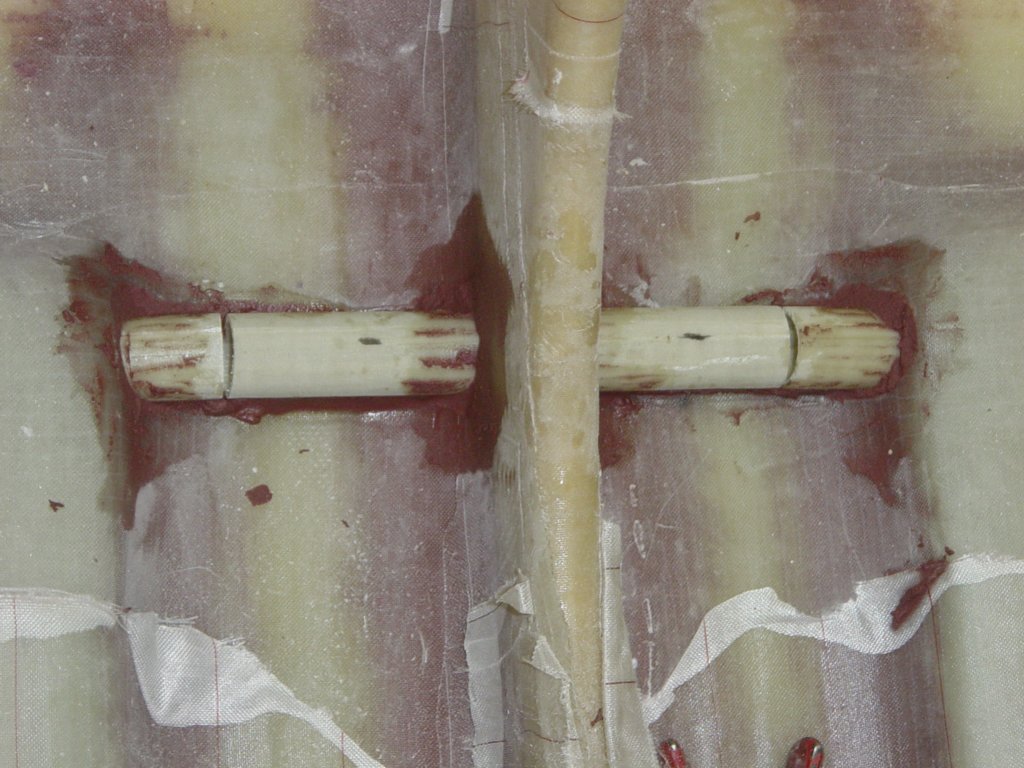
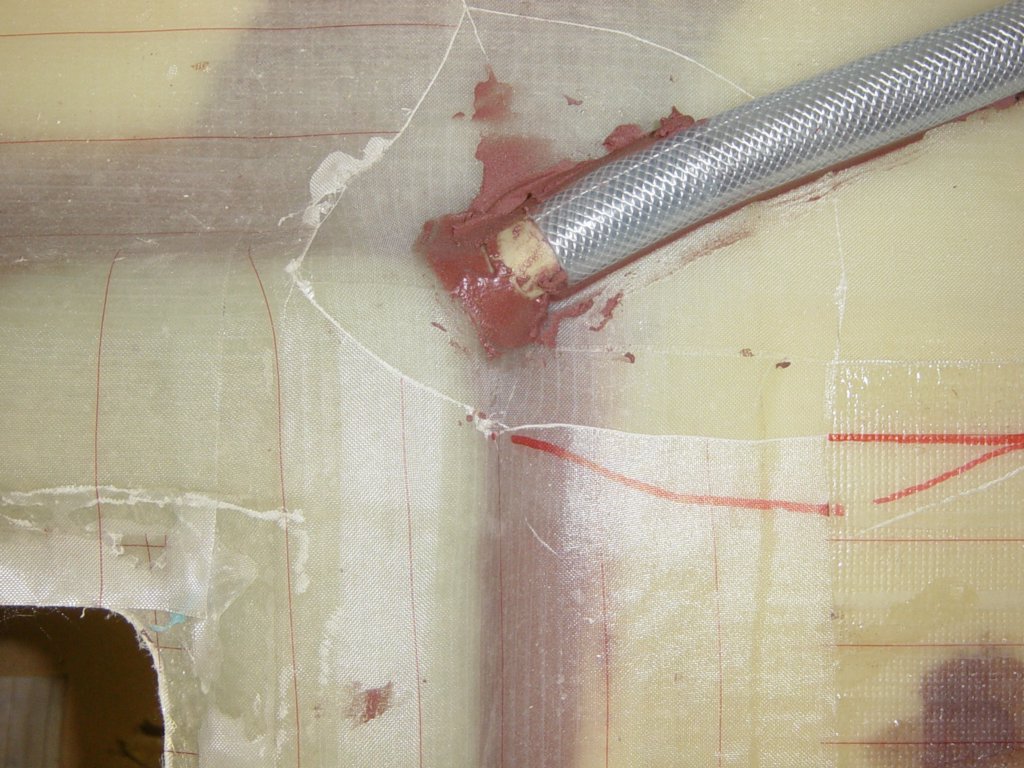
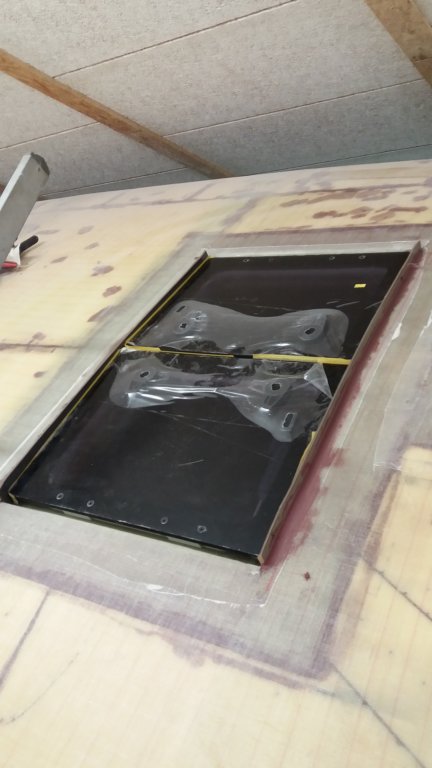
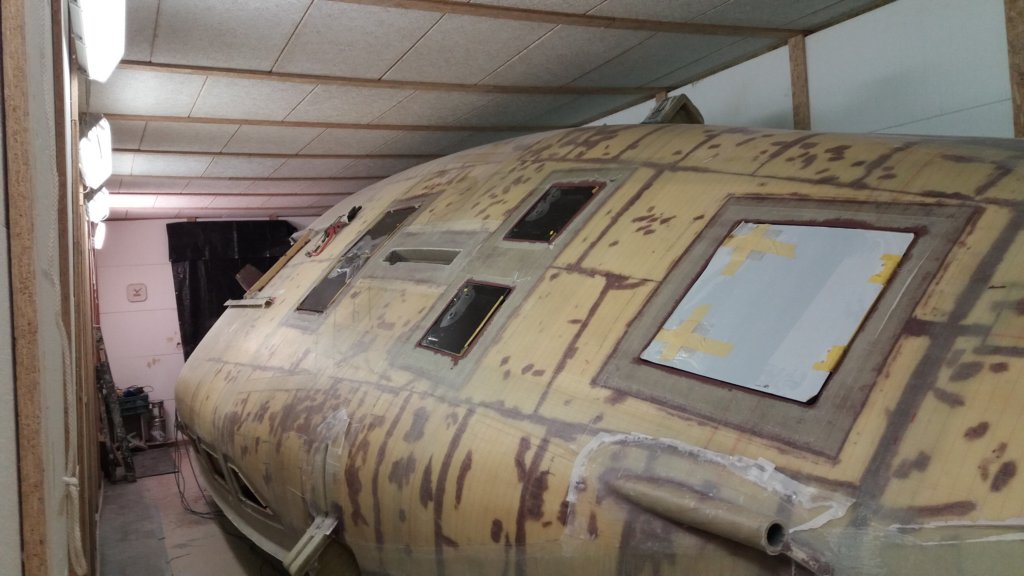
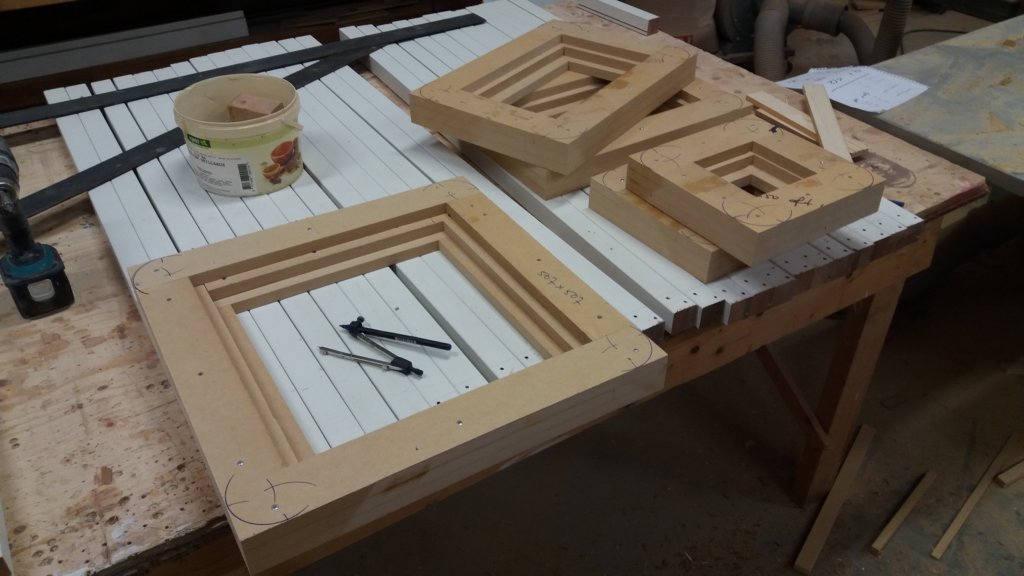
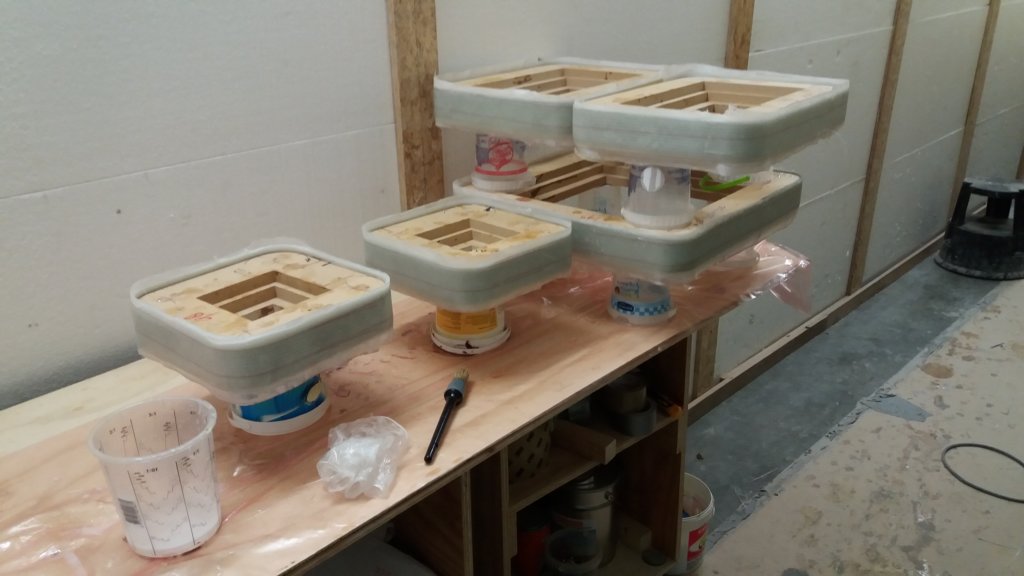
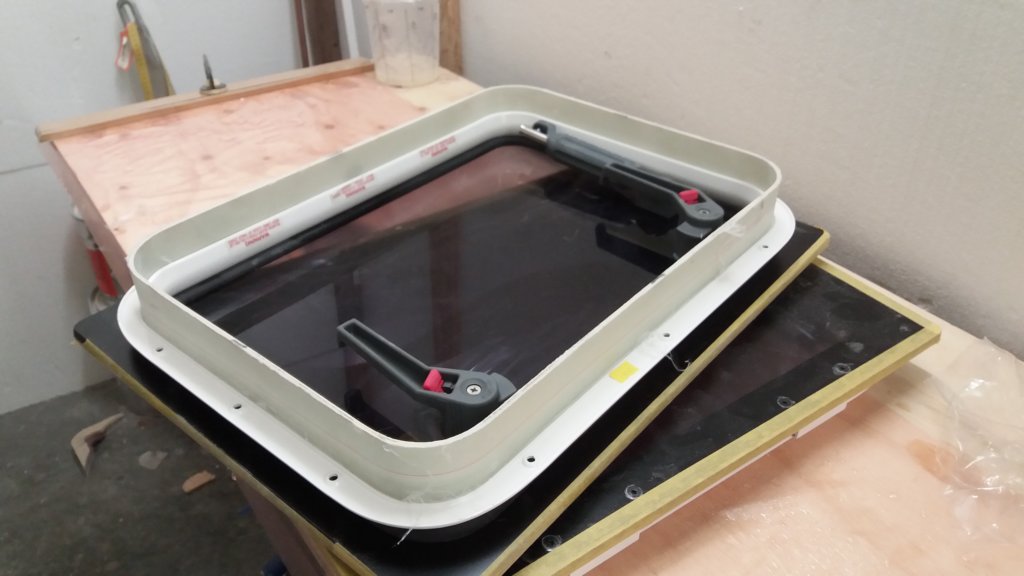
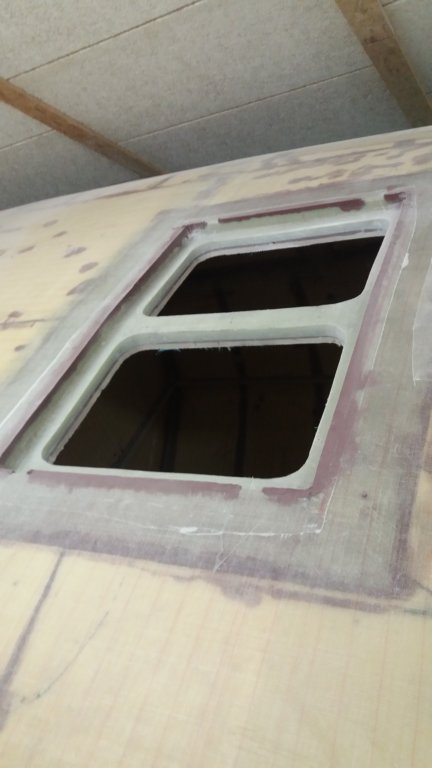
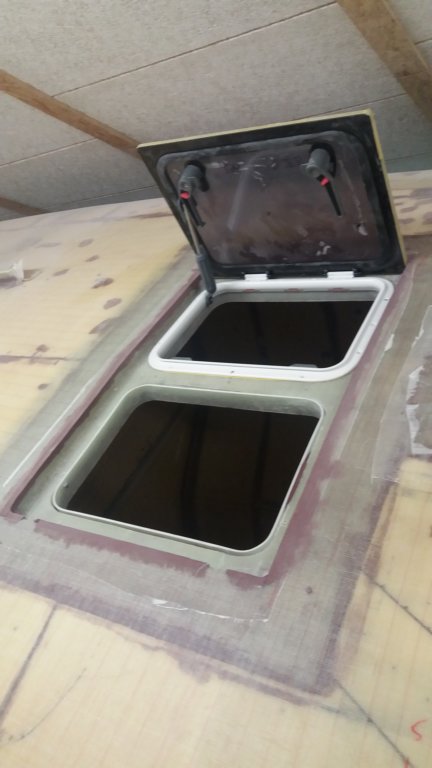
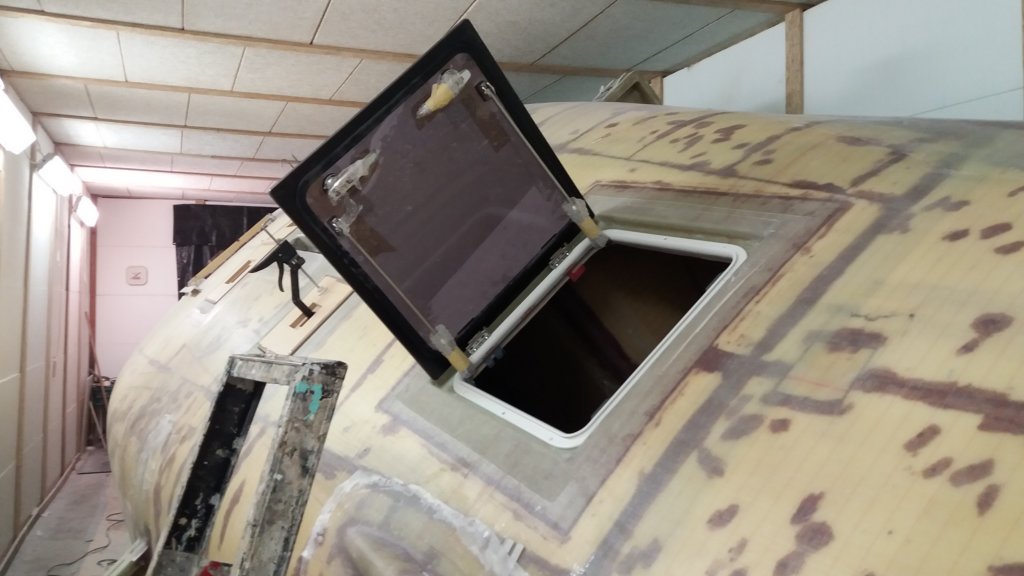
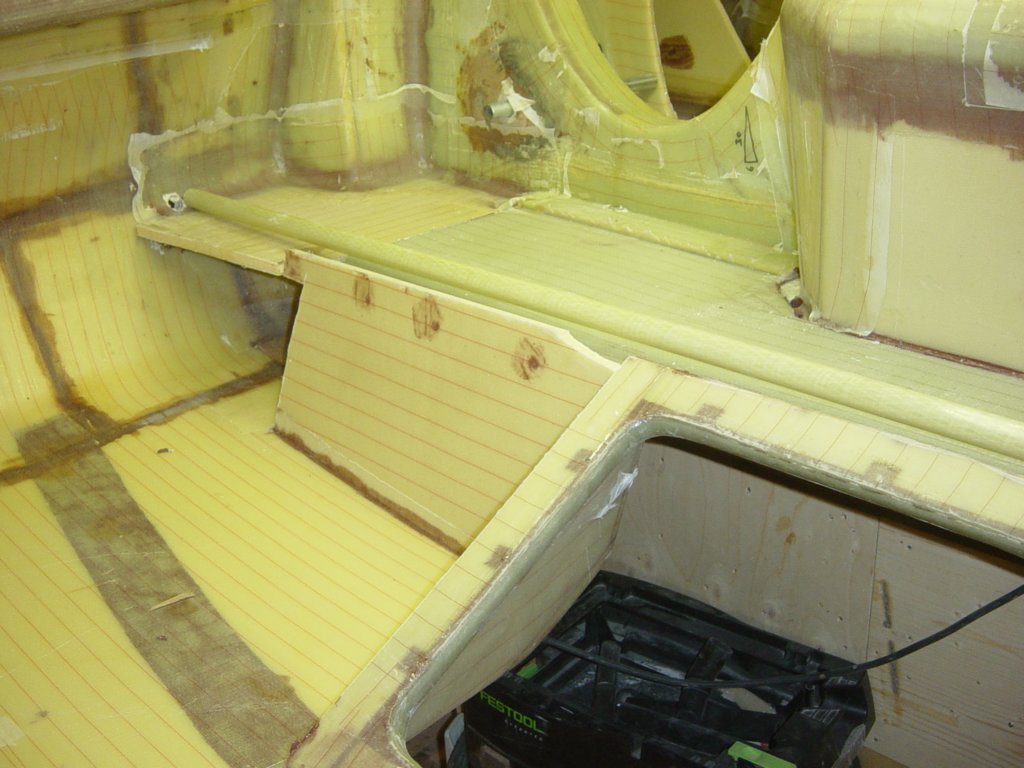
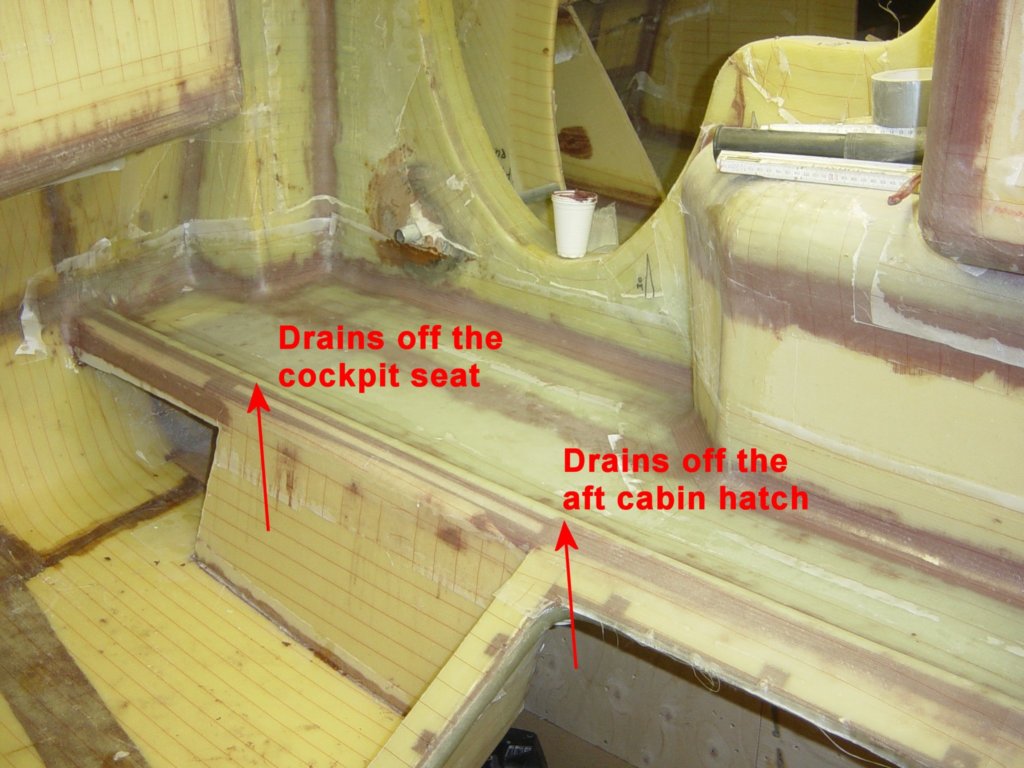
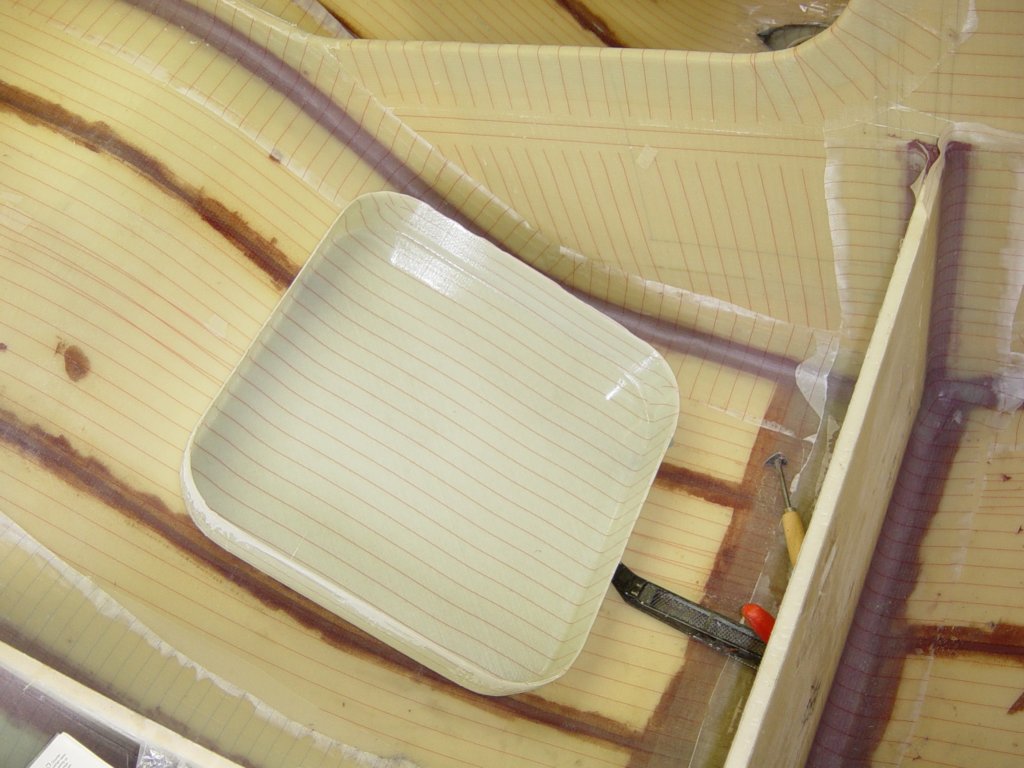
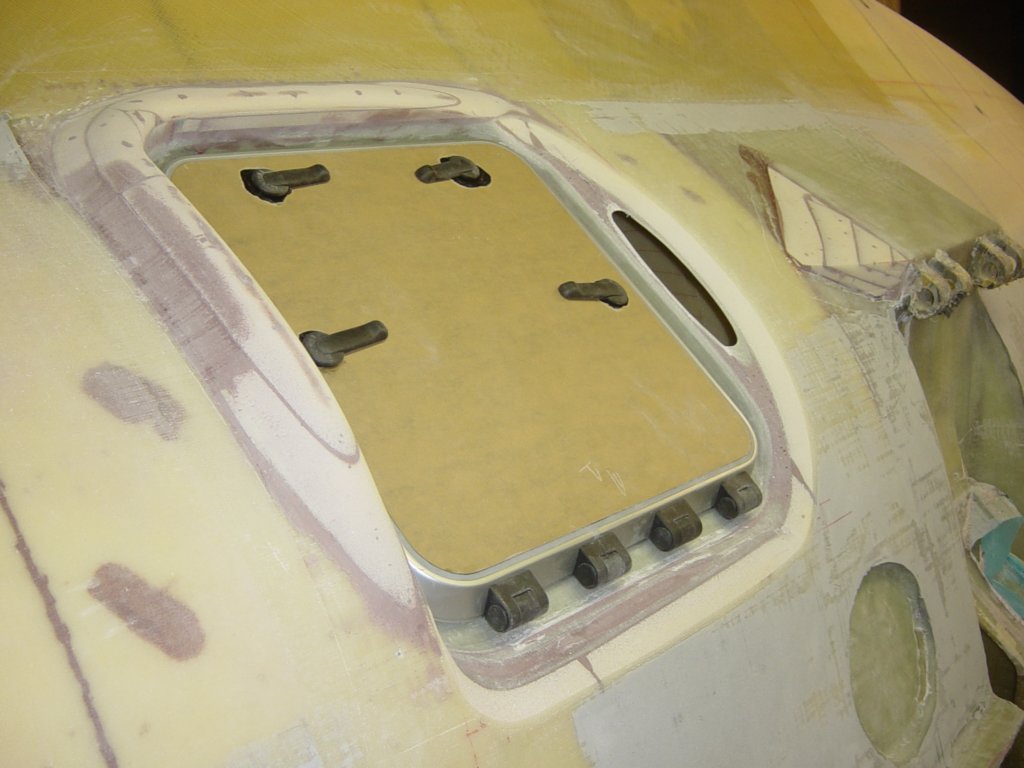
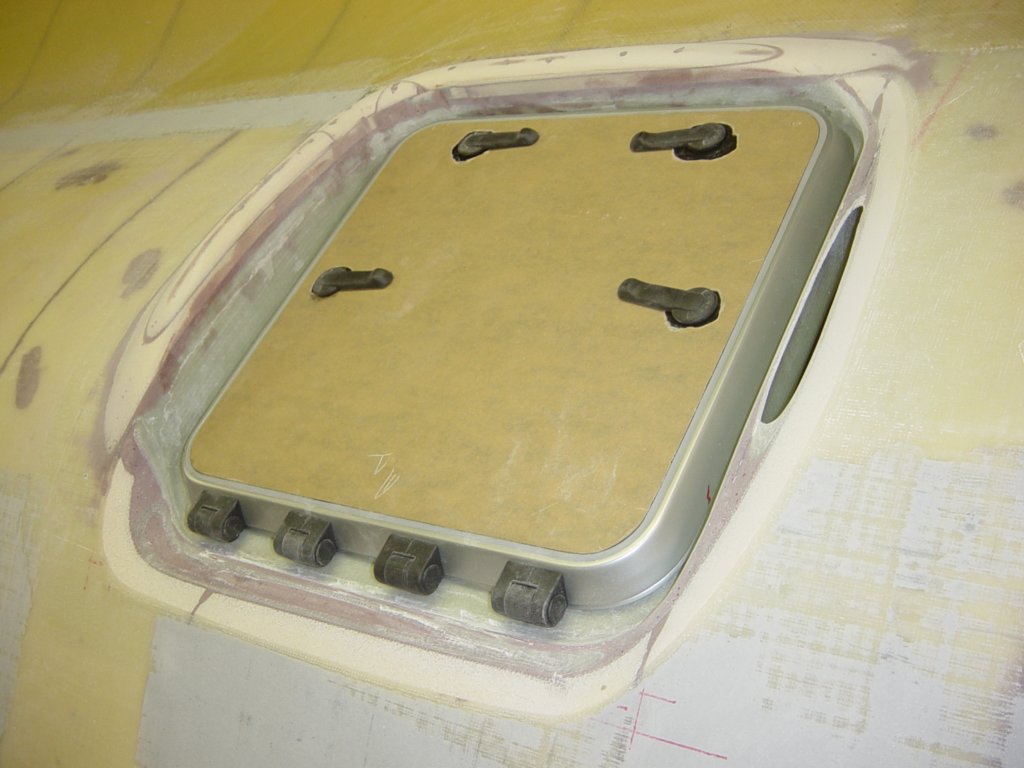
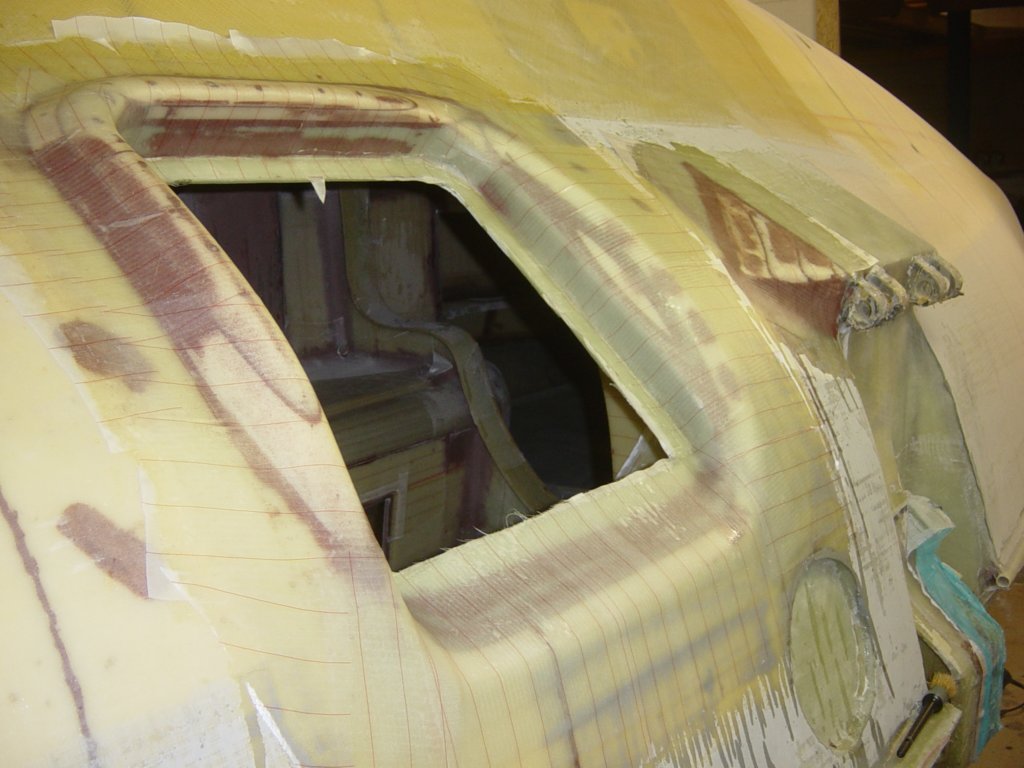
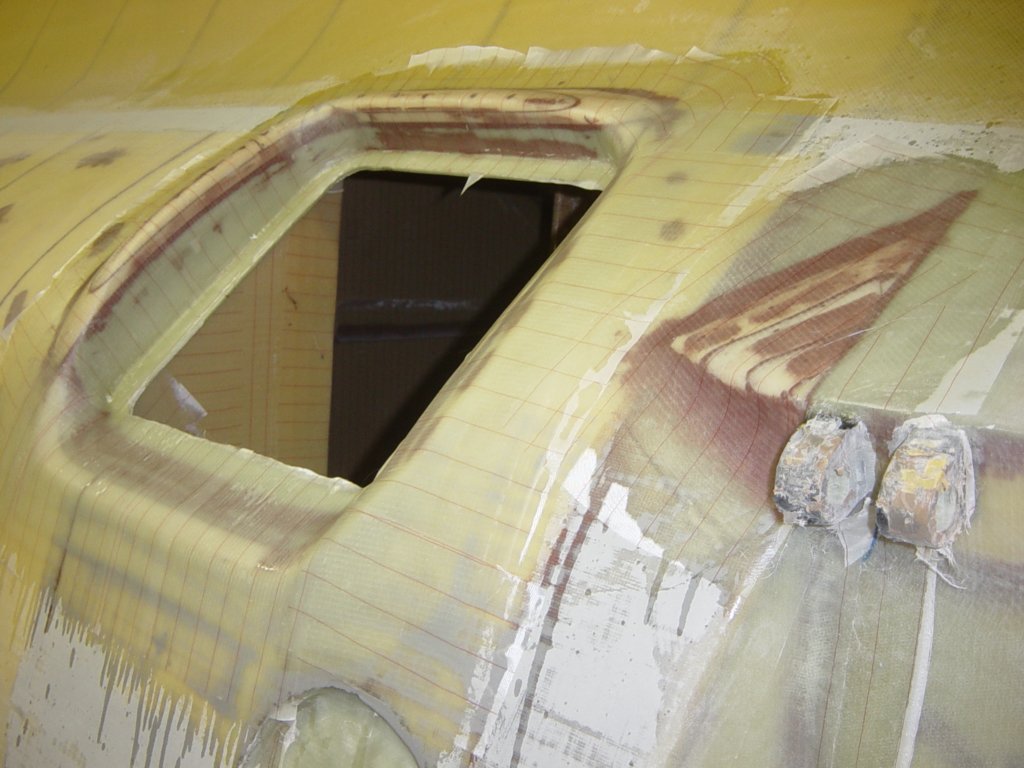
This was a one-time opportunity, so I chose the difficult option: flush-mounted deck hatches. I selected the Lewmar Flush series as the most economical solution. I like fresh air and plenty of light, so the layout consists of one size 60 hatch in the foredeck, two size 10 hatches in the head and opposite passageway, two size 30 hatches in the cabin roof, and one size 54 hatch in the aft cabin. Making the hatches flush with the deck also means that water drainage has to be arranged below deck, which adds an extra challenge.
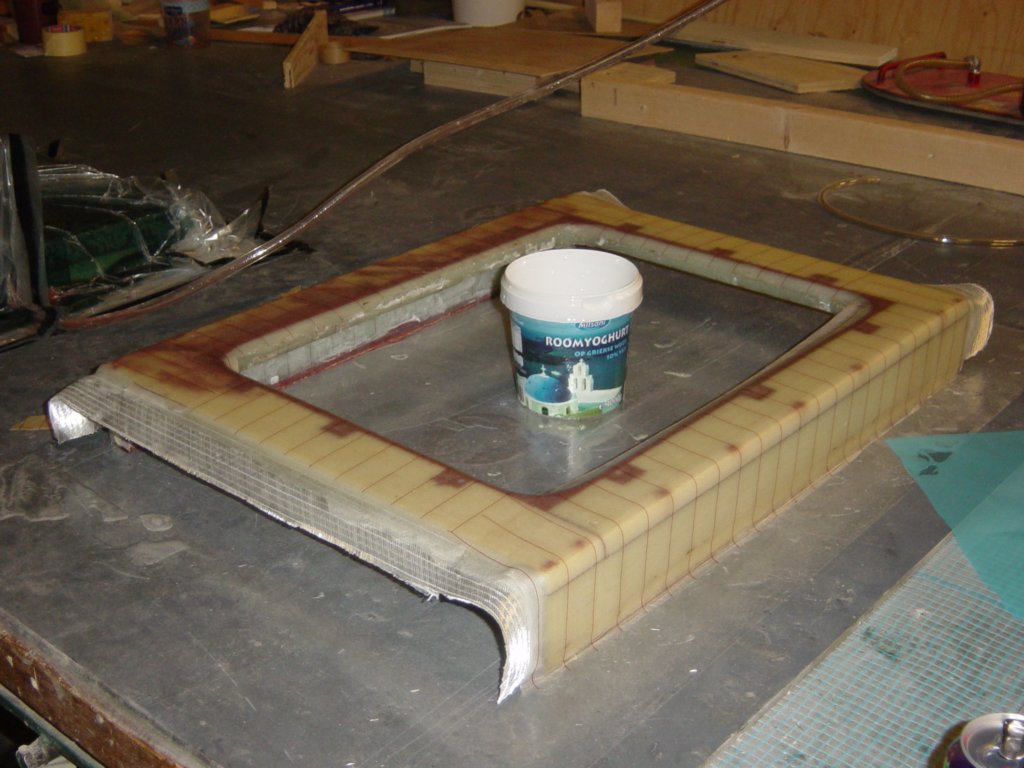
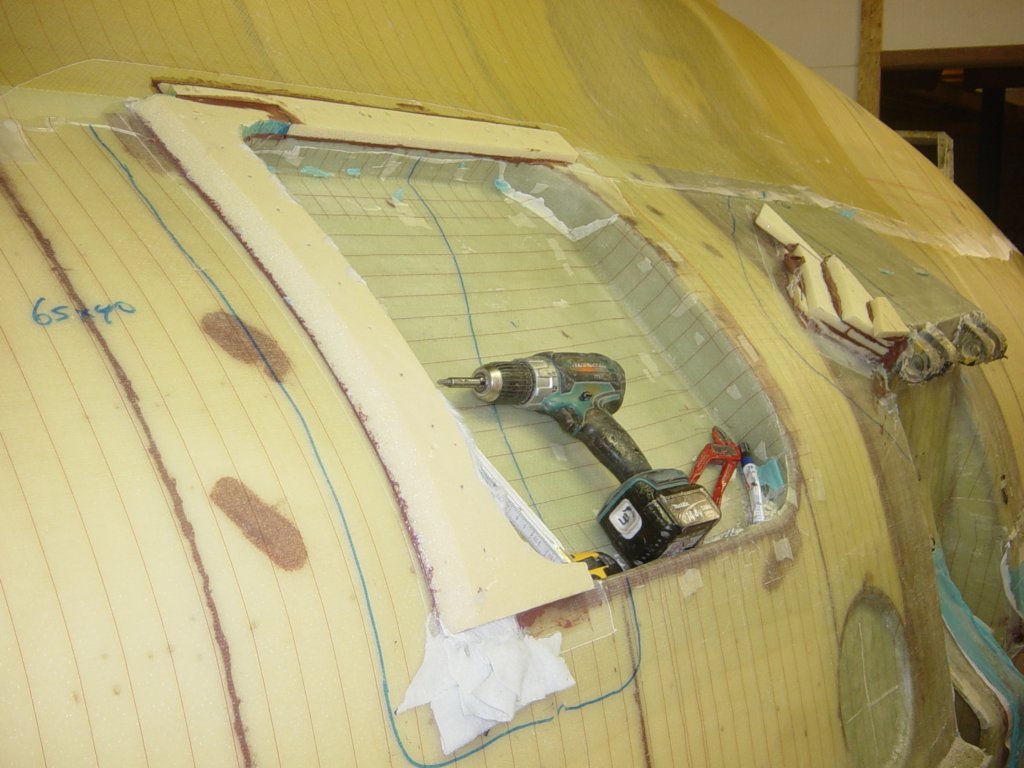
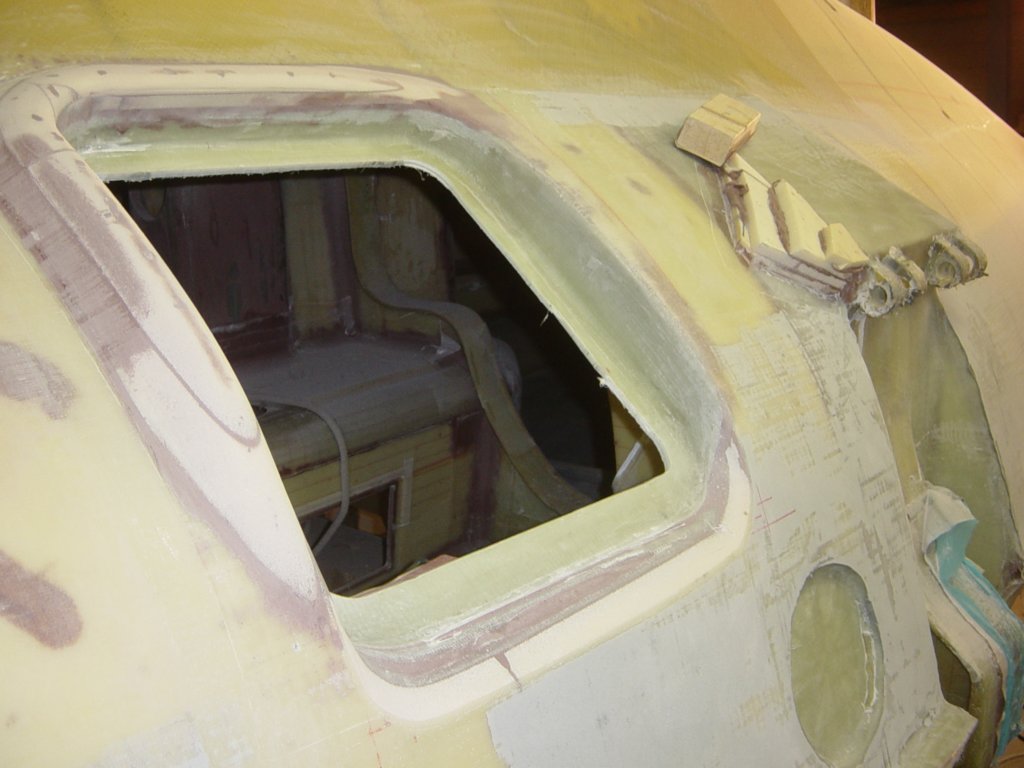
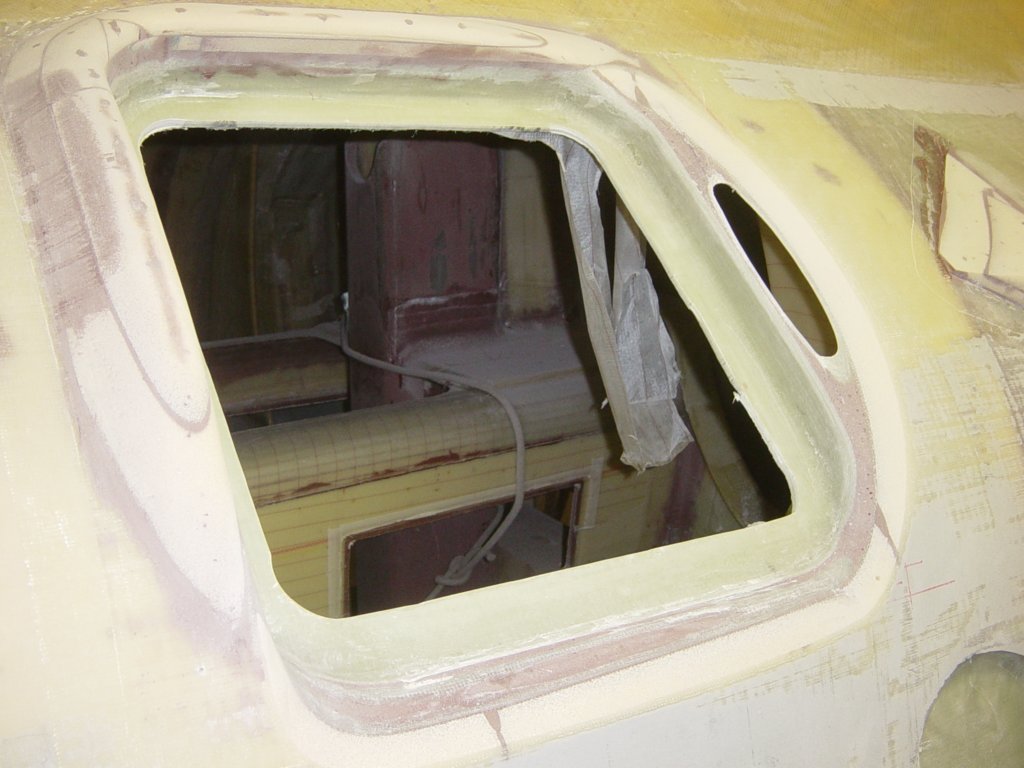
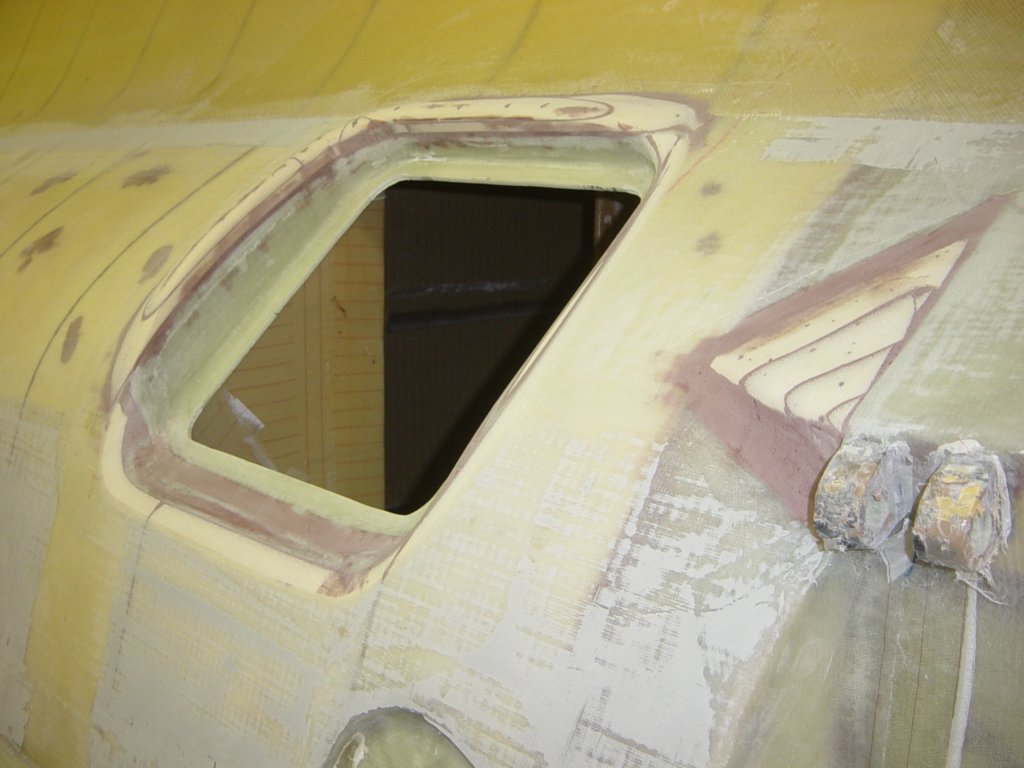
At an earlier stage I made the escape hatch coaming. In this gallery you will find several images documenting the construction of this part. At the time, the dimensions were based on a heavy-duty Lewmar hatch model. Unfortunately, when the hatch was actually needed, this model had been taken out of production. I eventually found a suitable alternative in the Vetus Magnus hatch, which is also approved for the A1 location in the lower part of the hull.
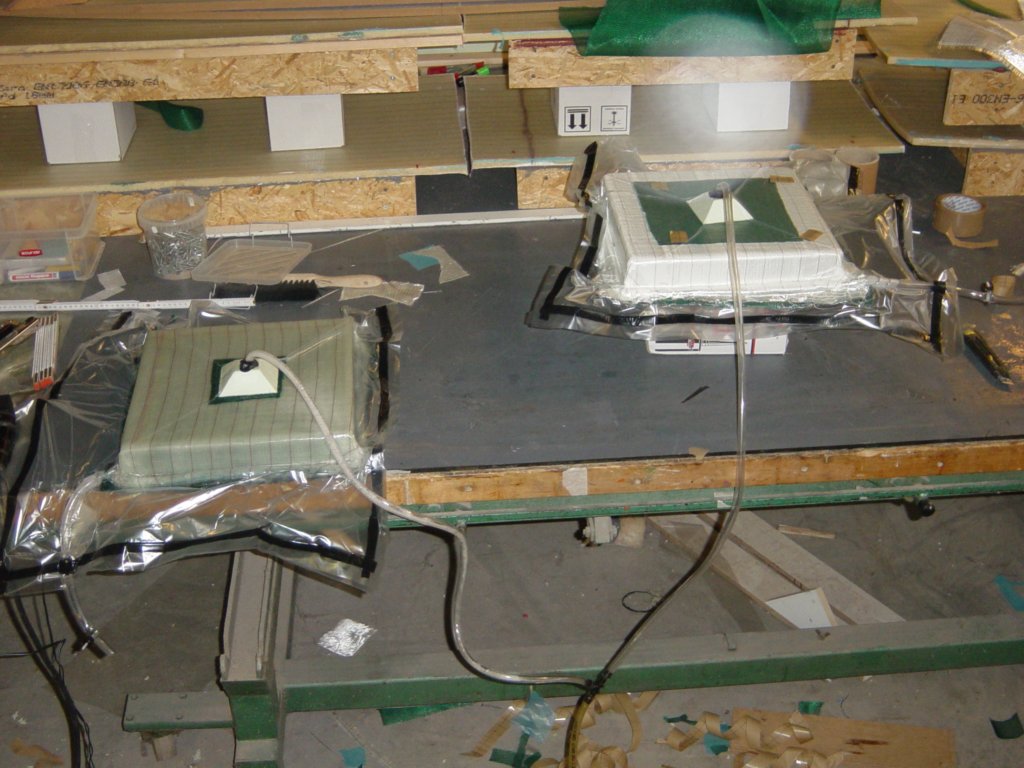
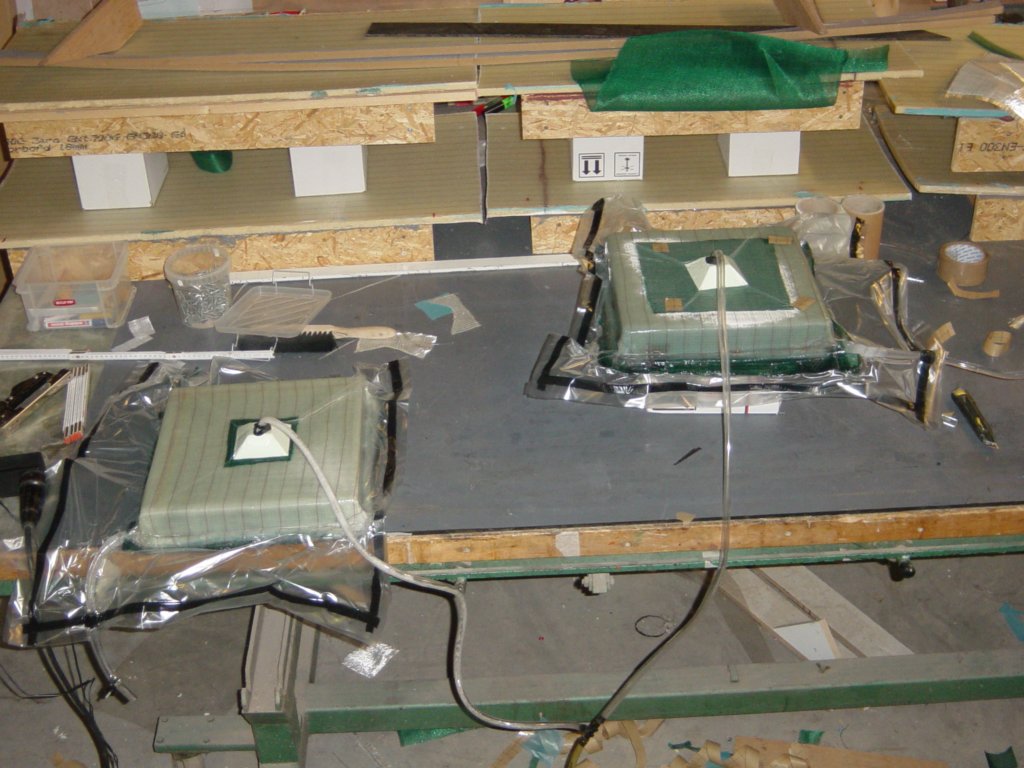
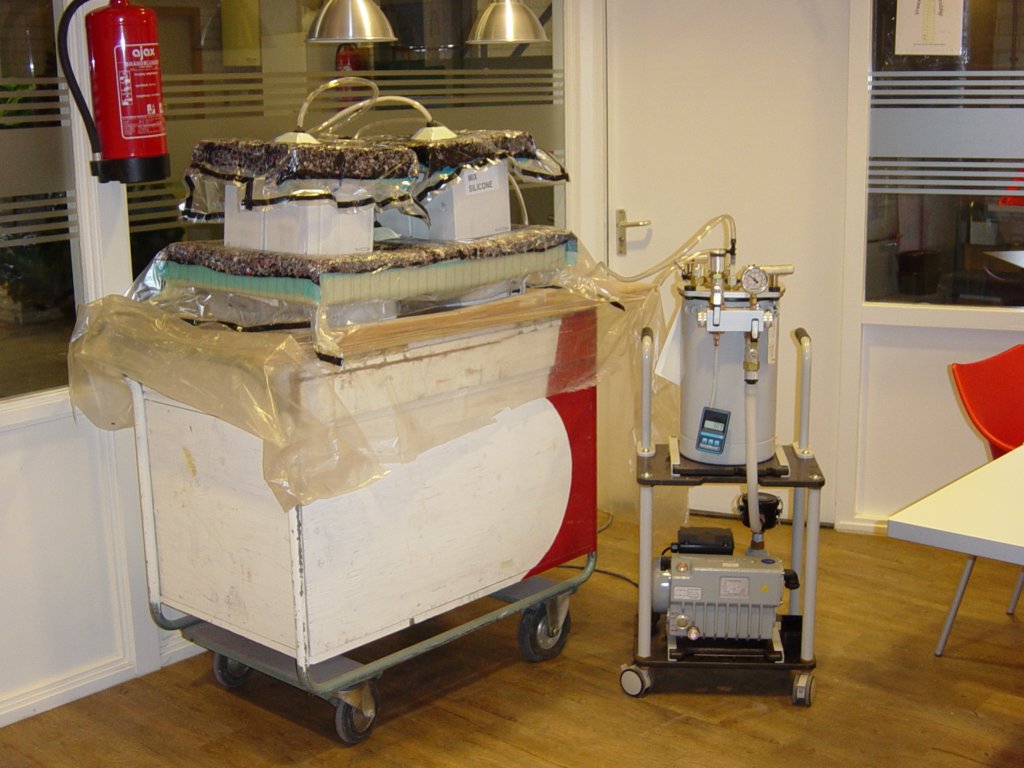
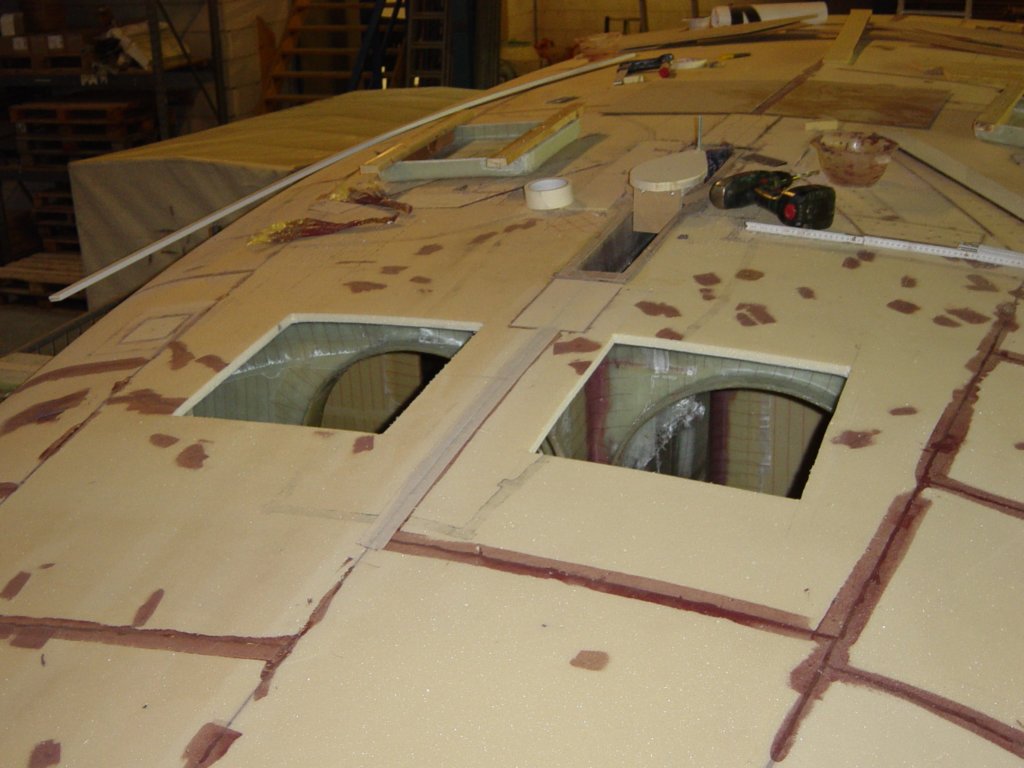
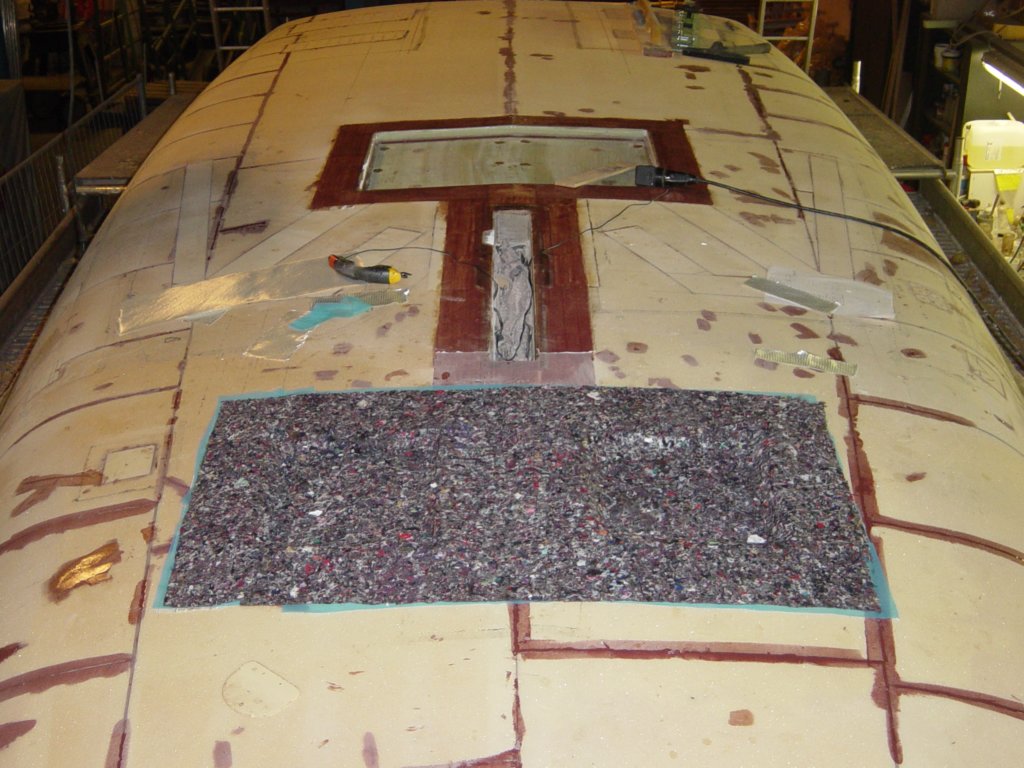
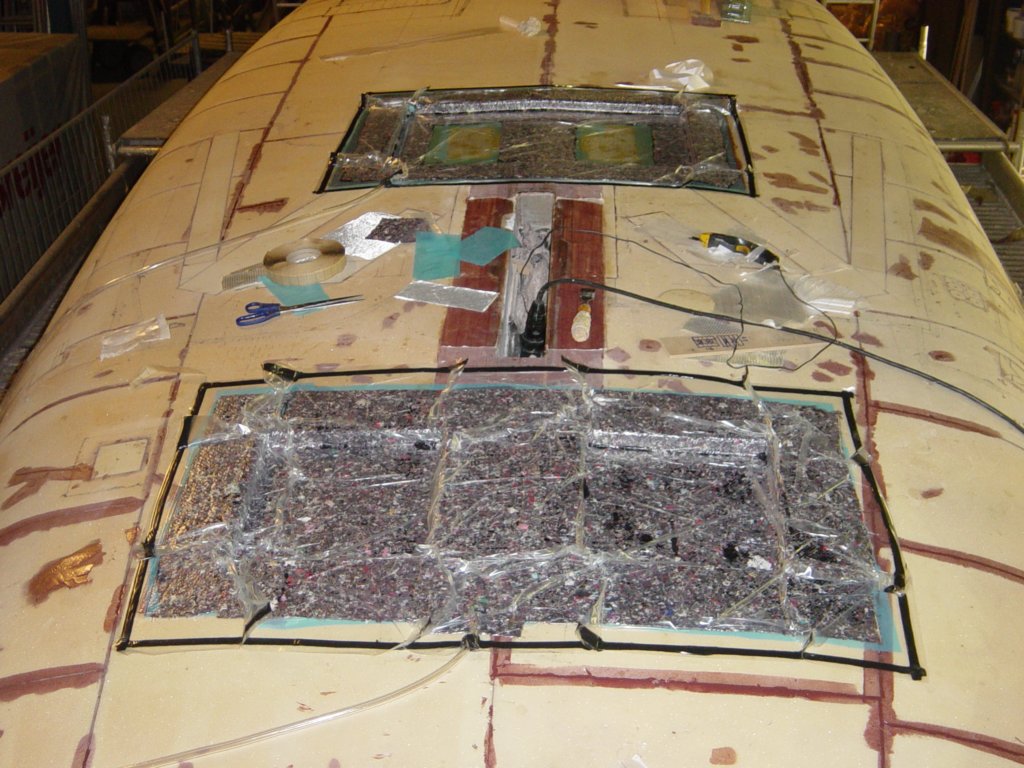
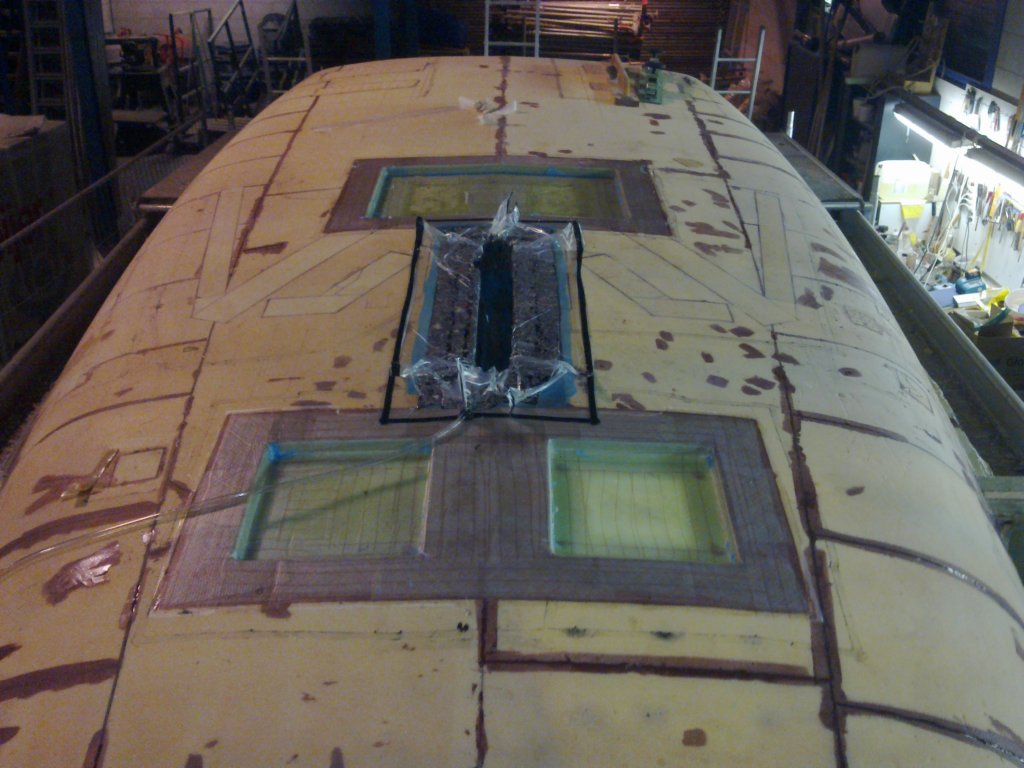
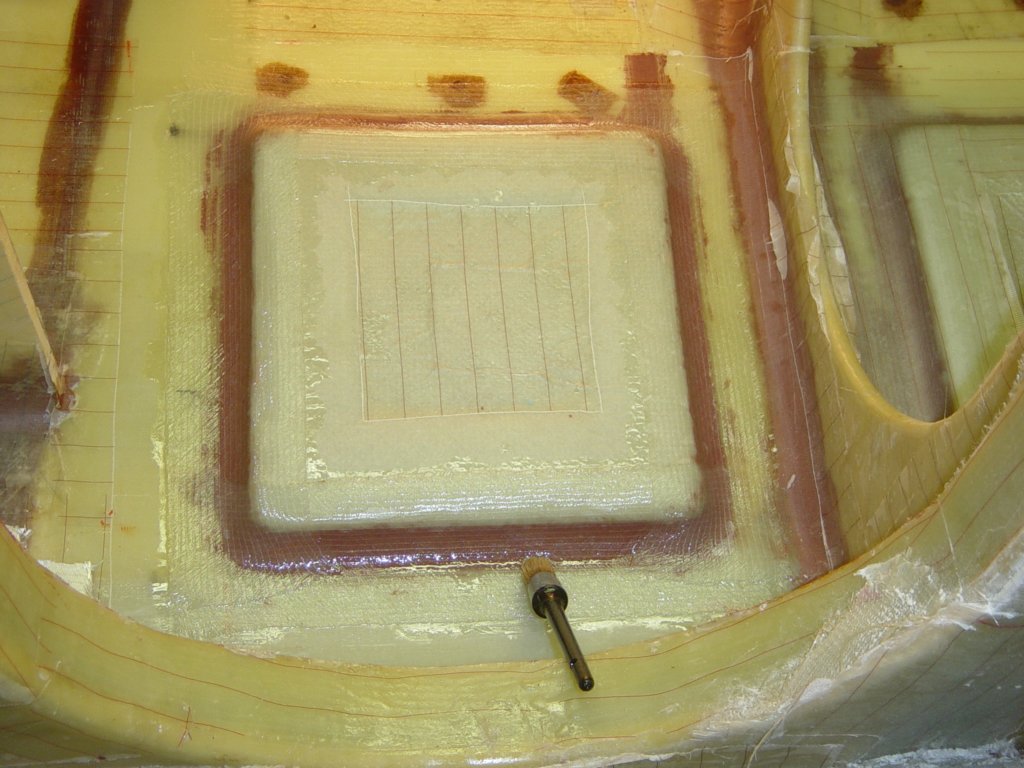
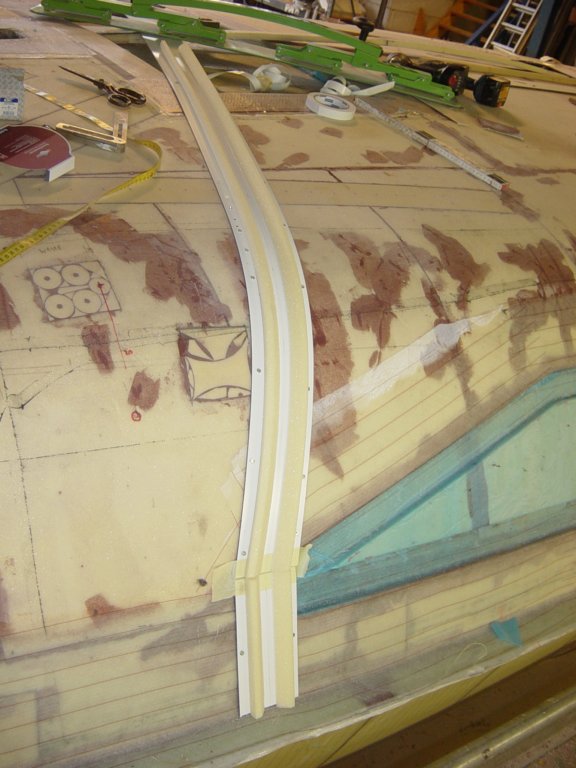
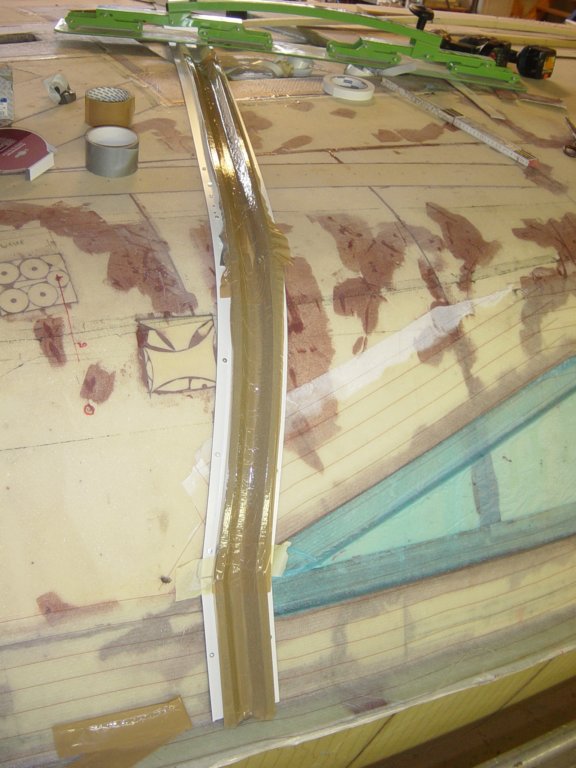
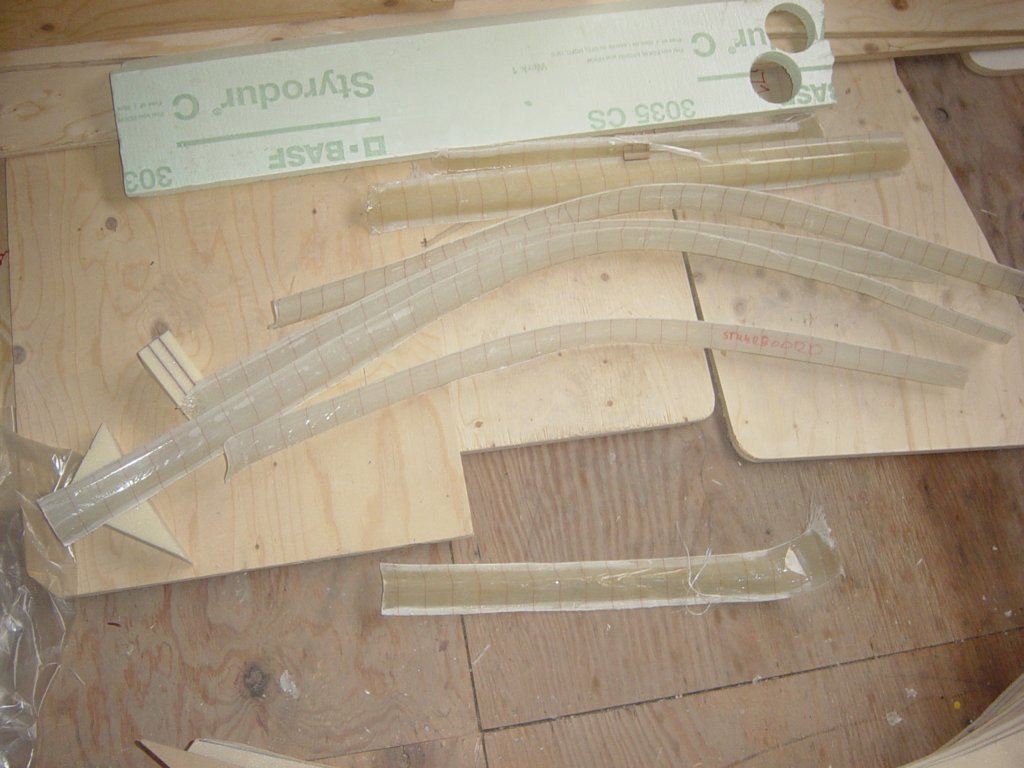
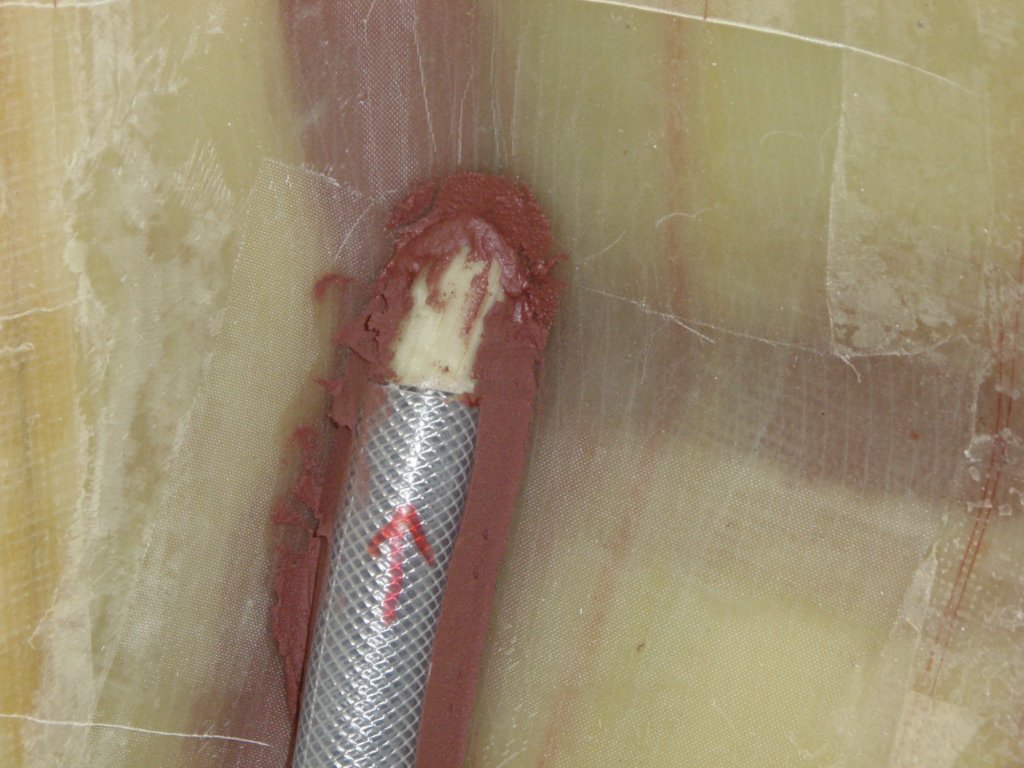
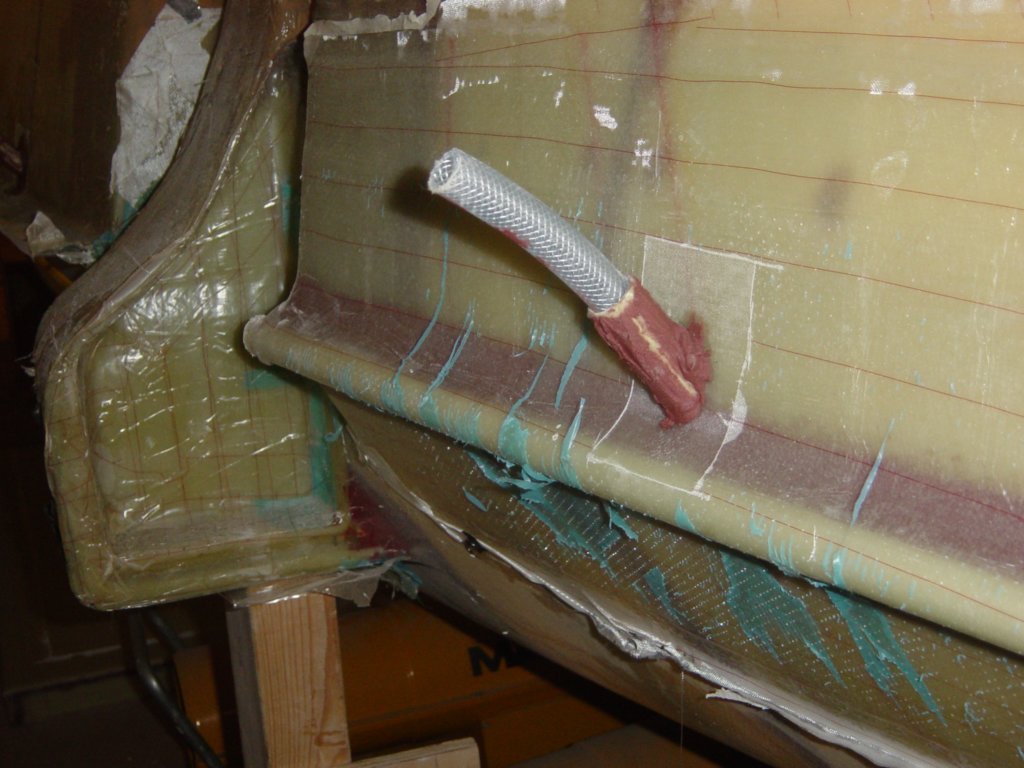
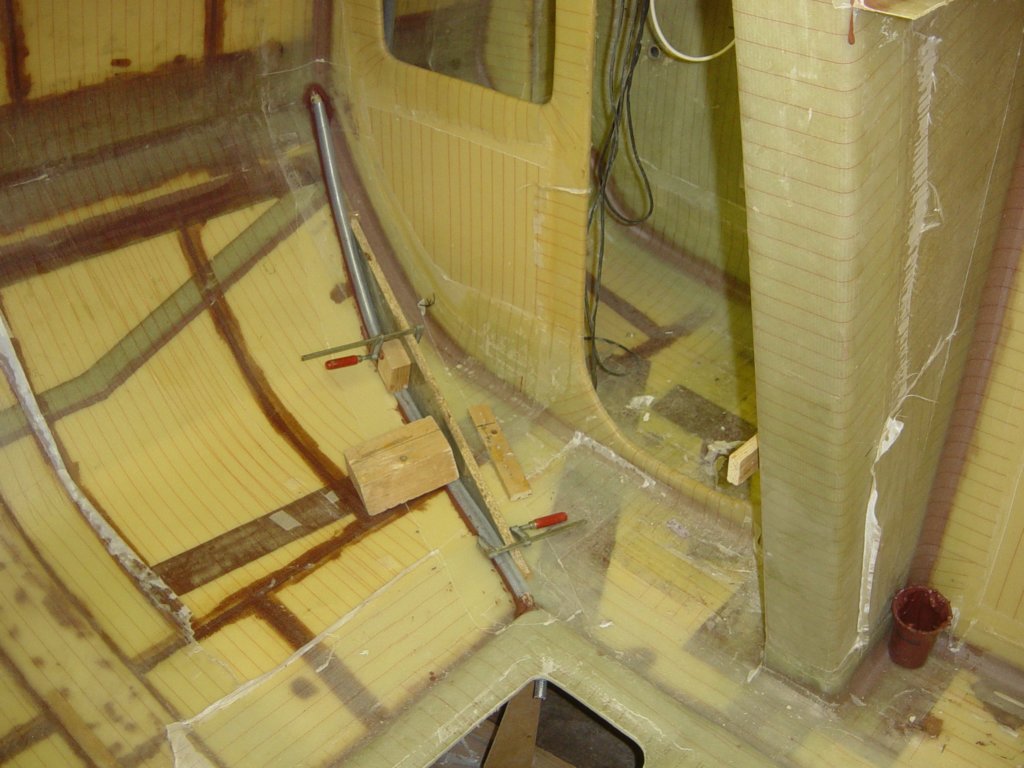
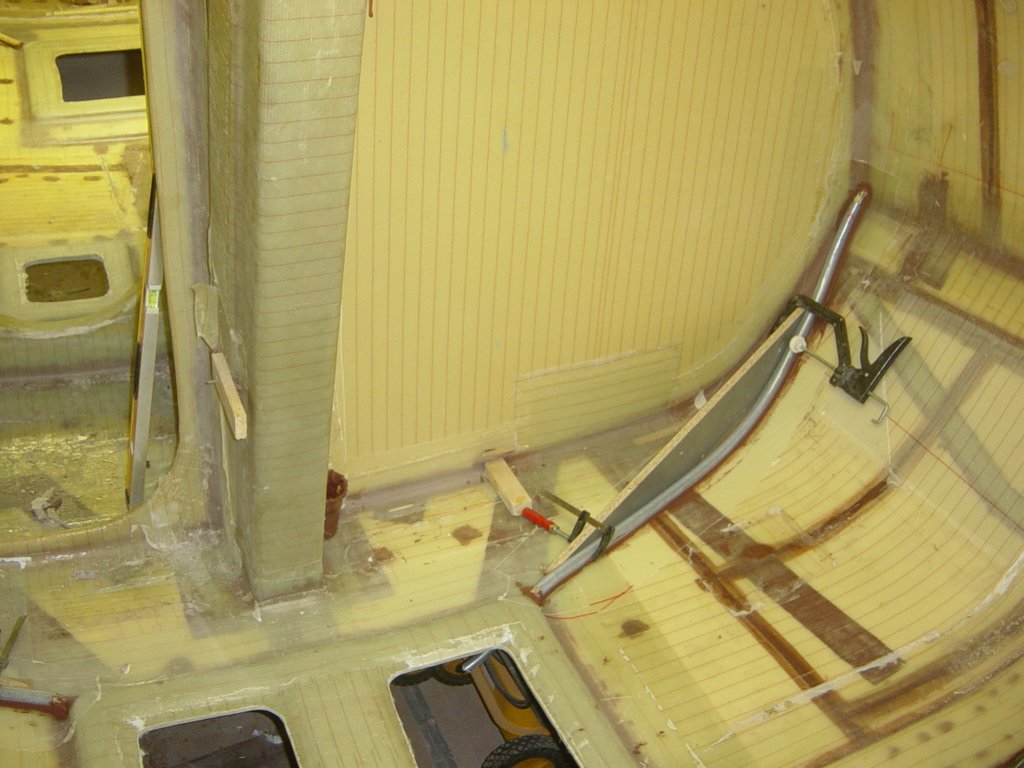
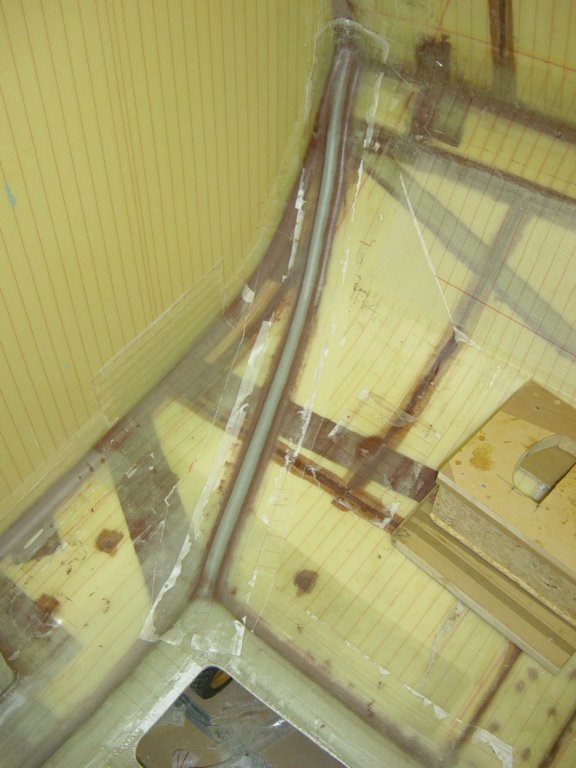
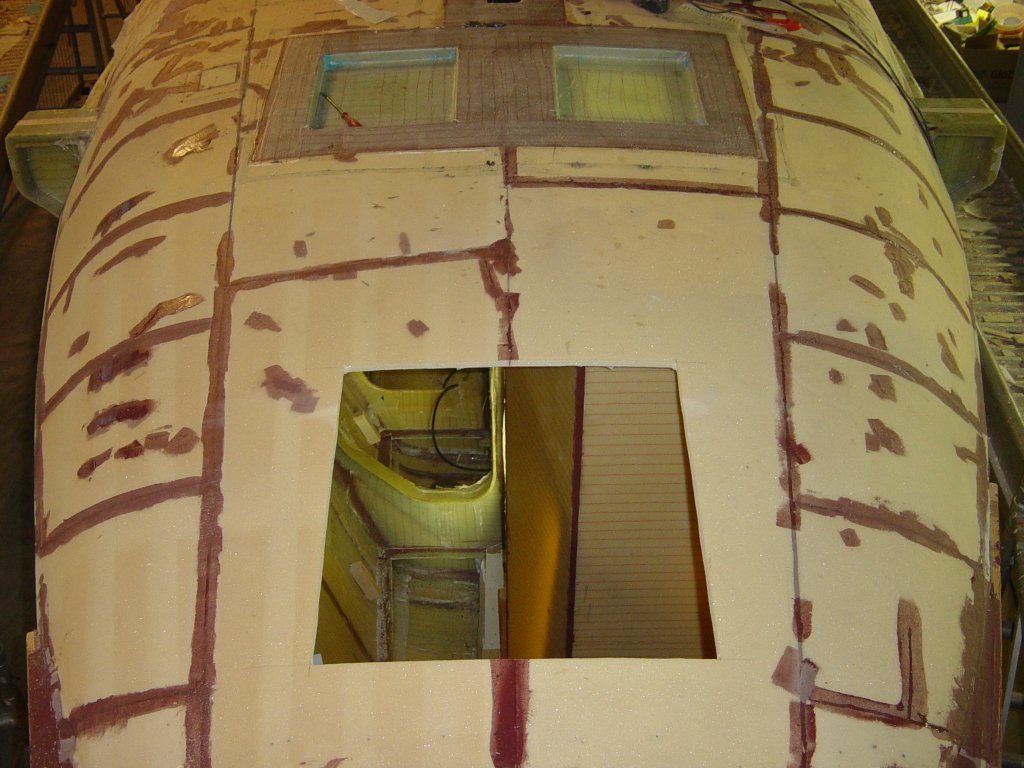
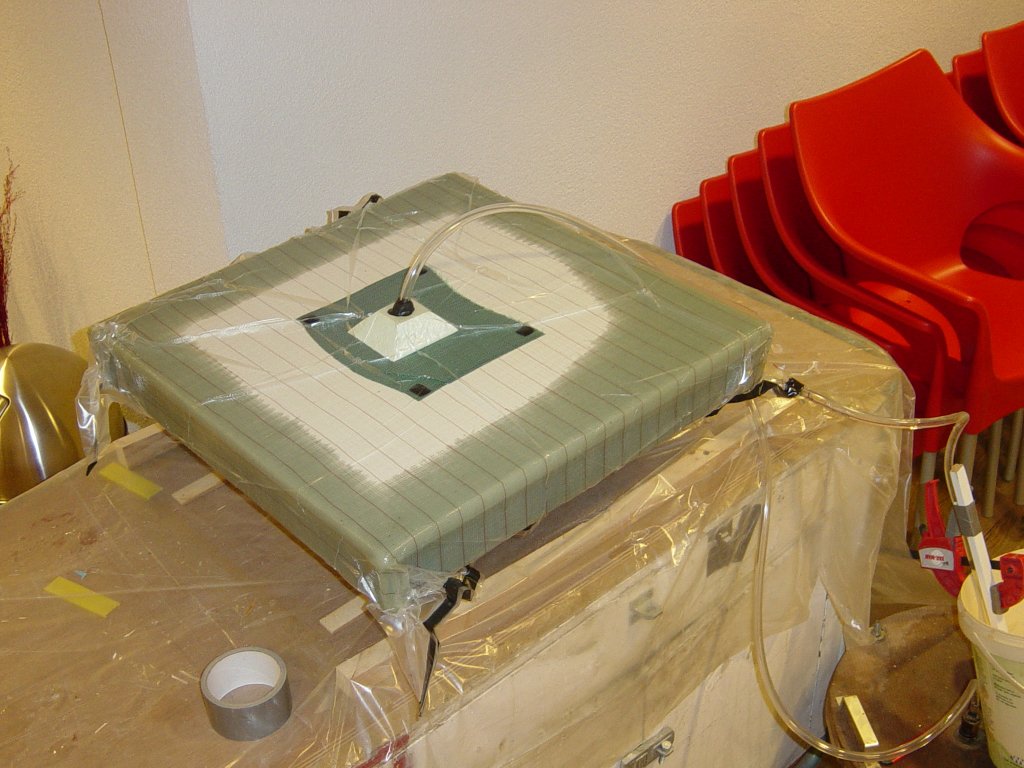
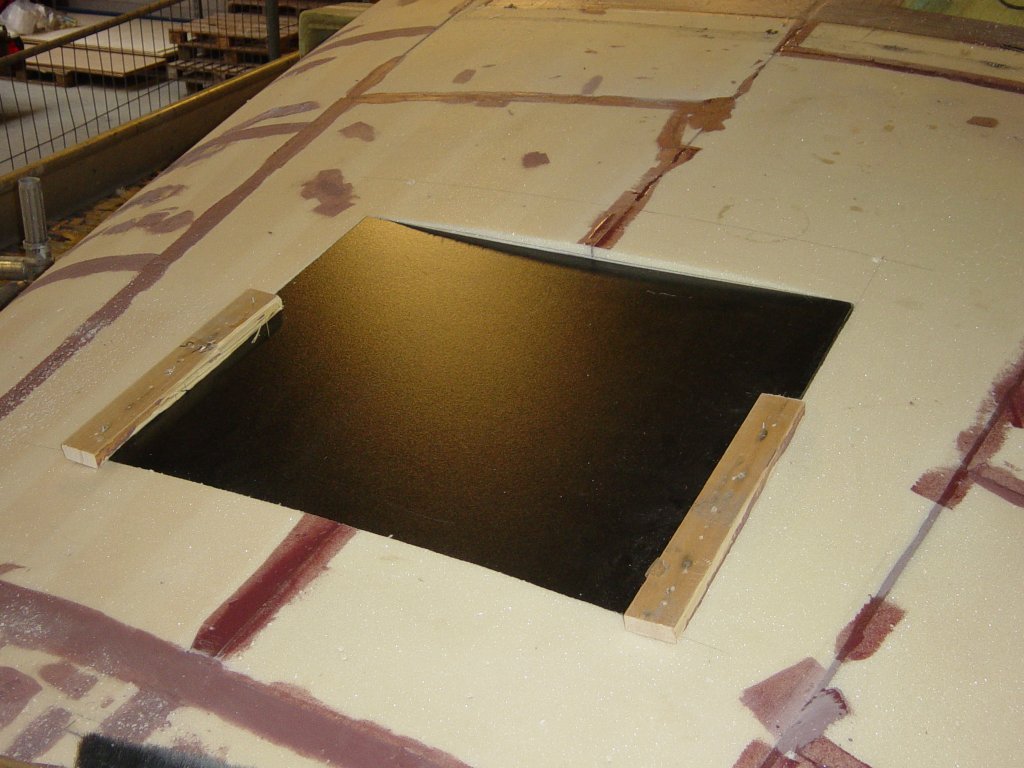
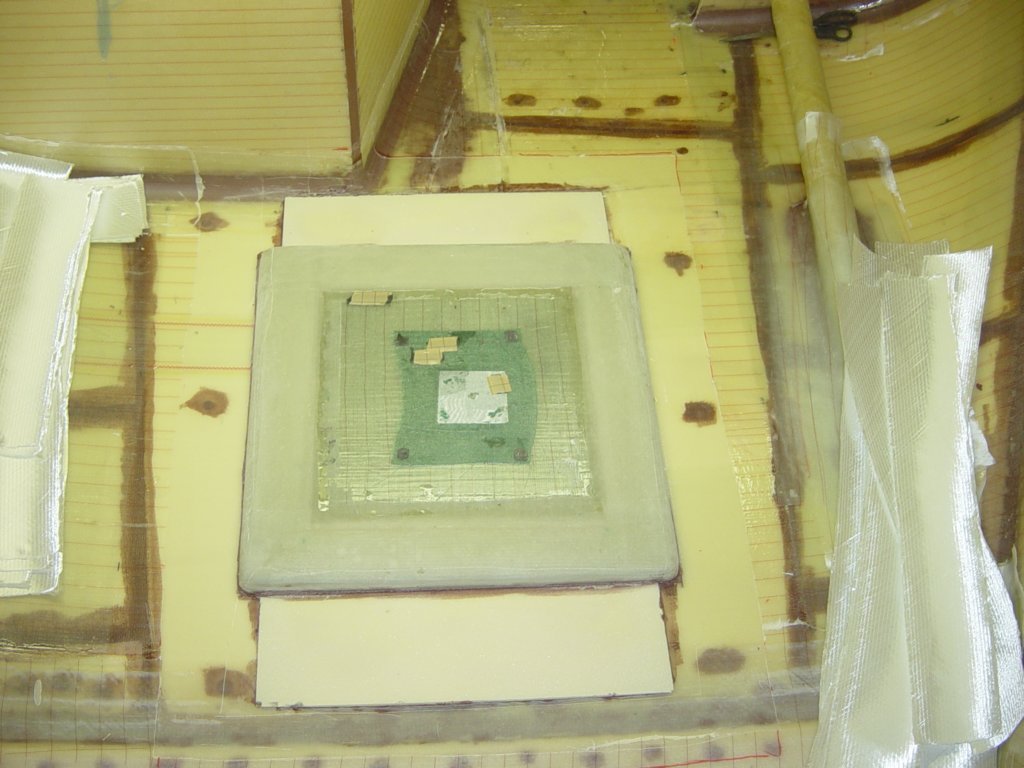
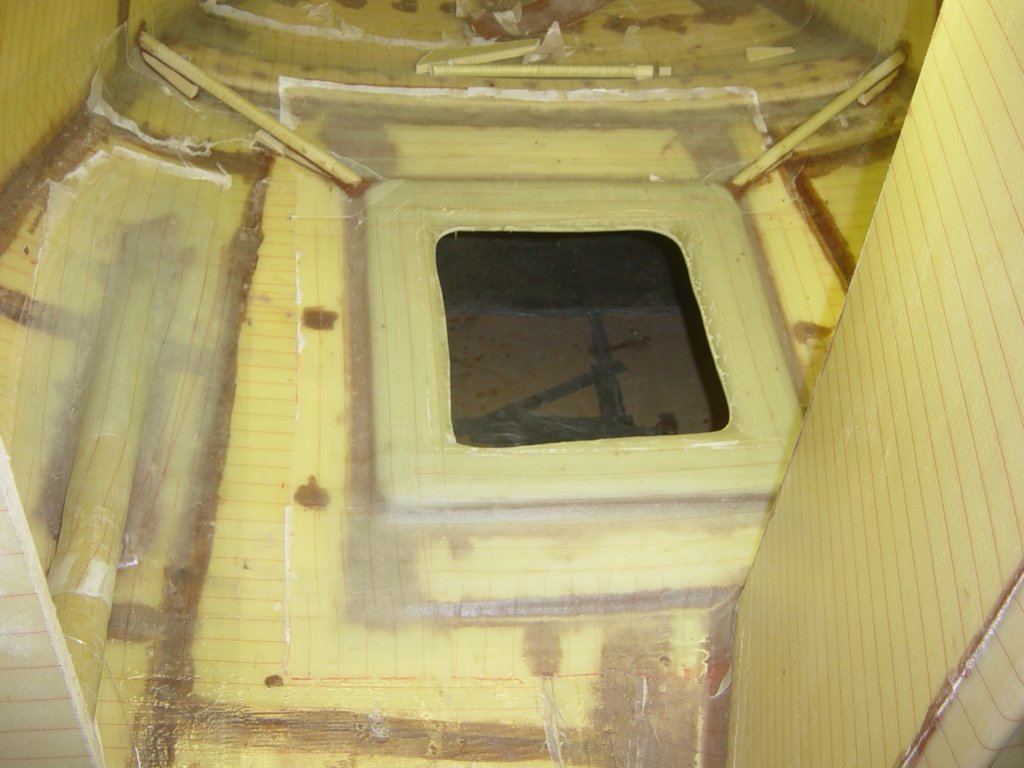
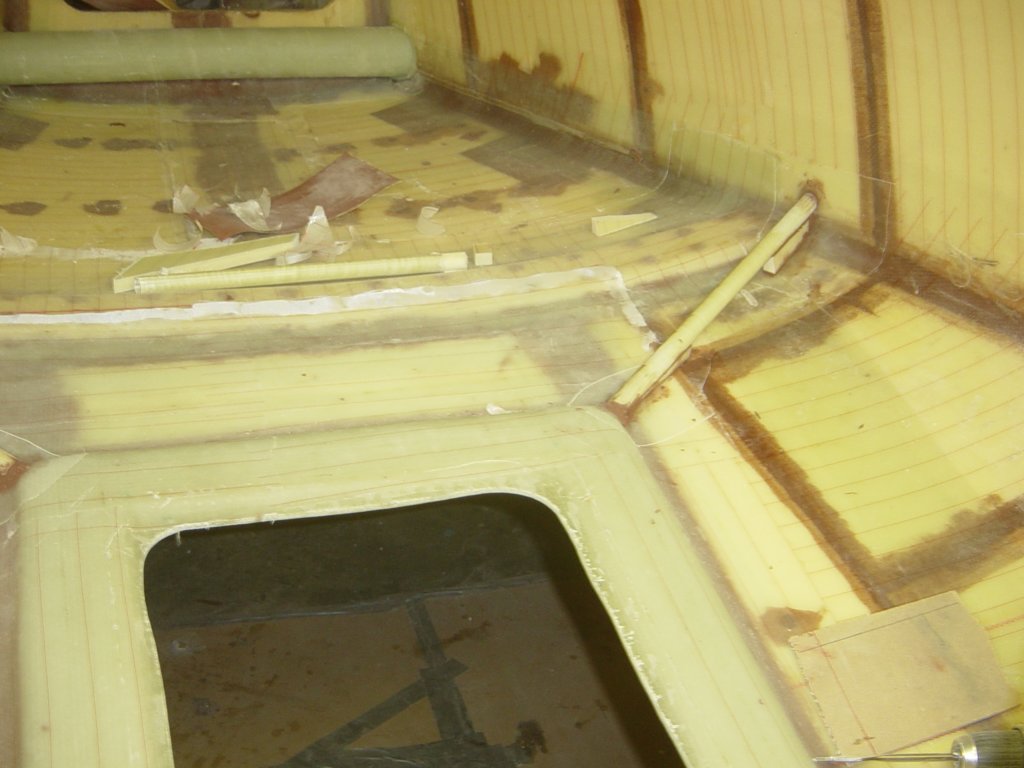
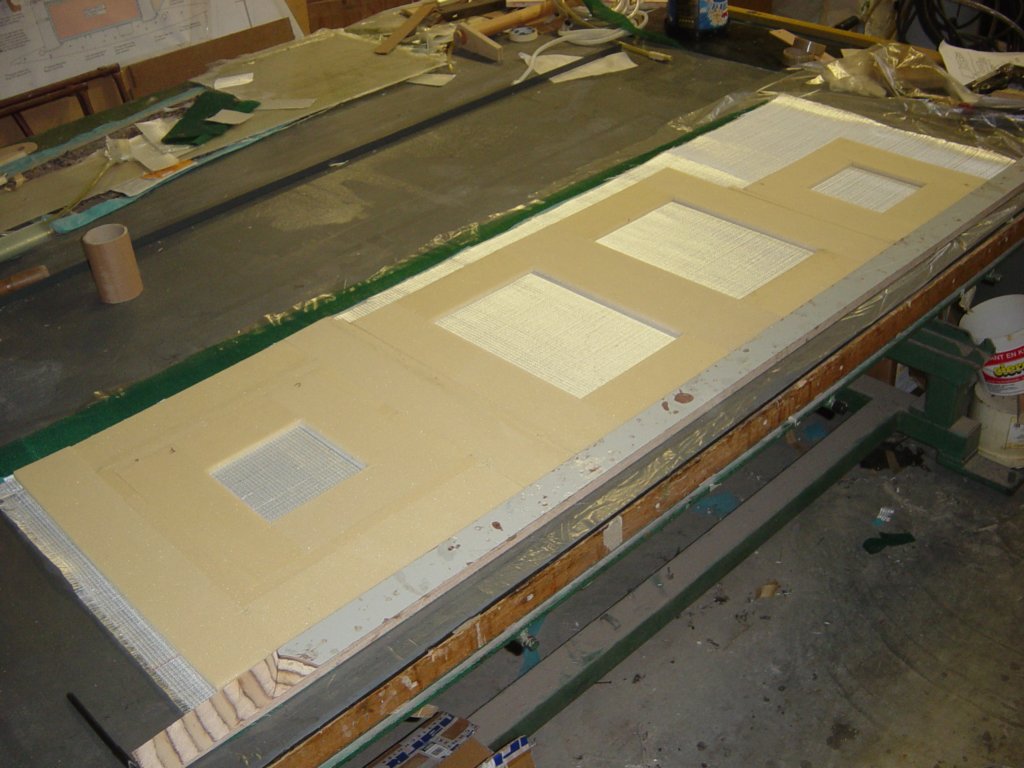
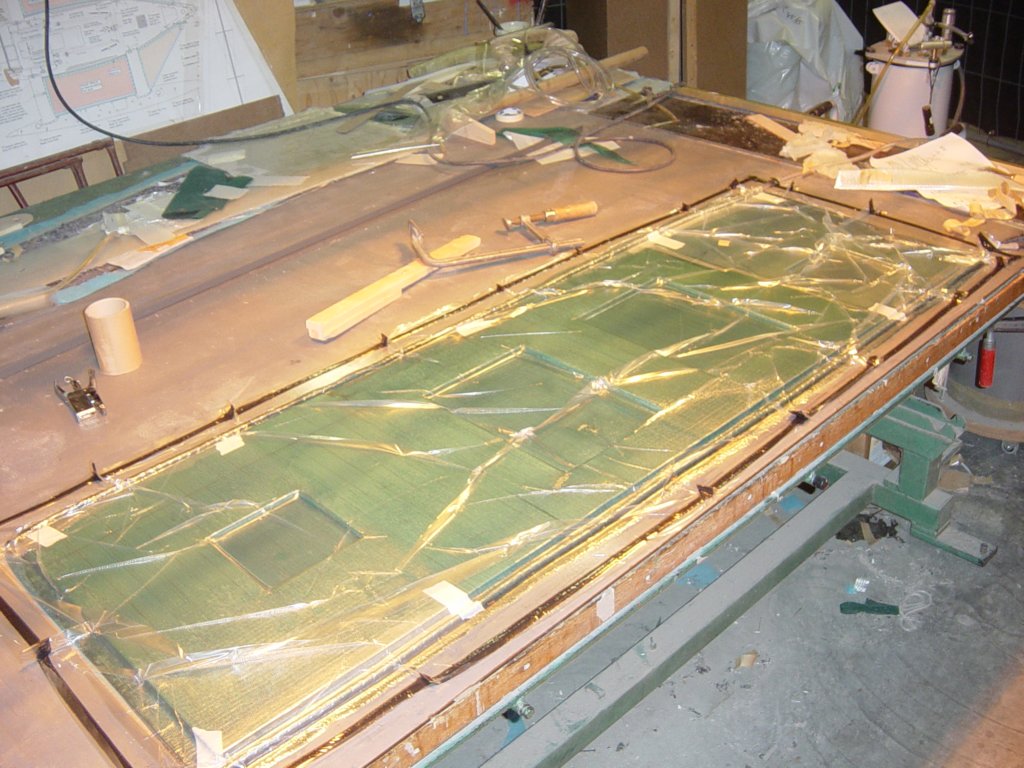
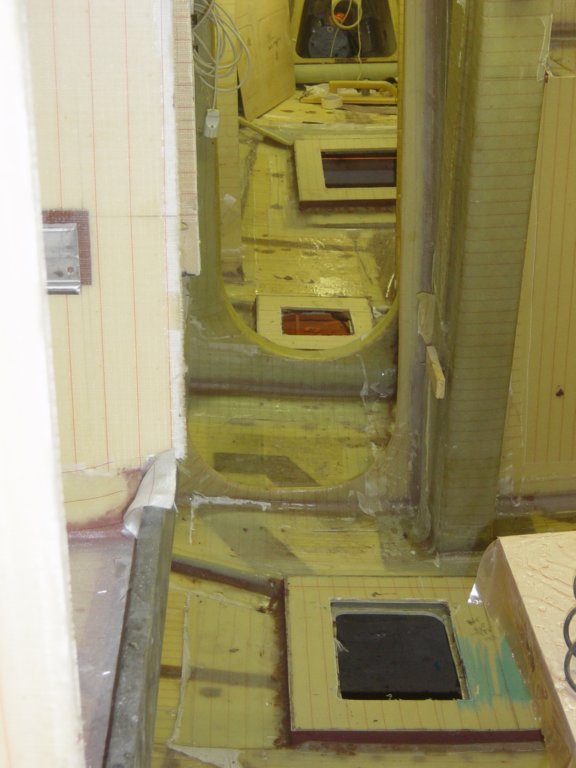
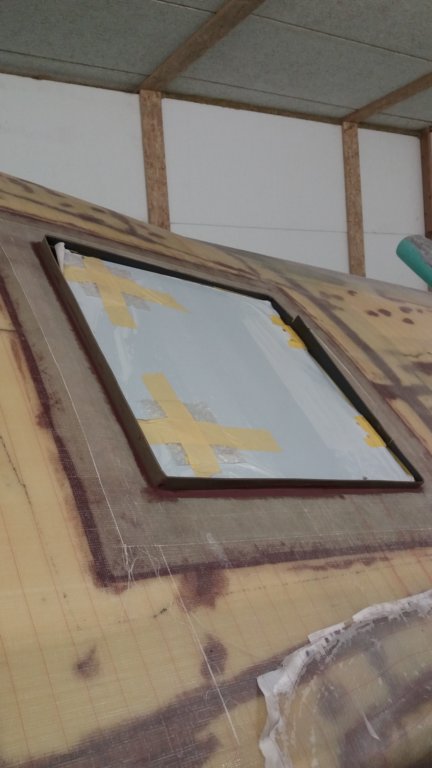
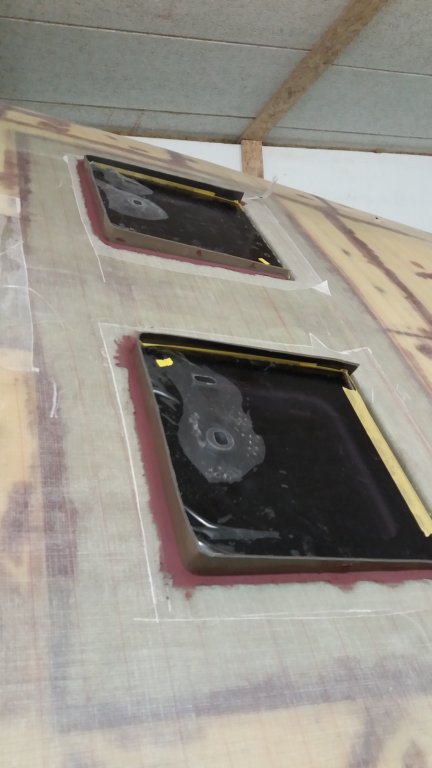
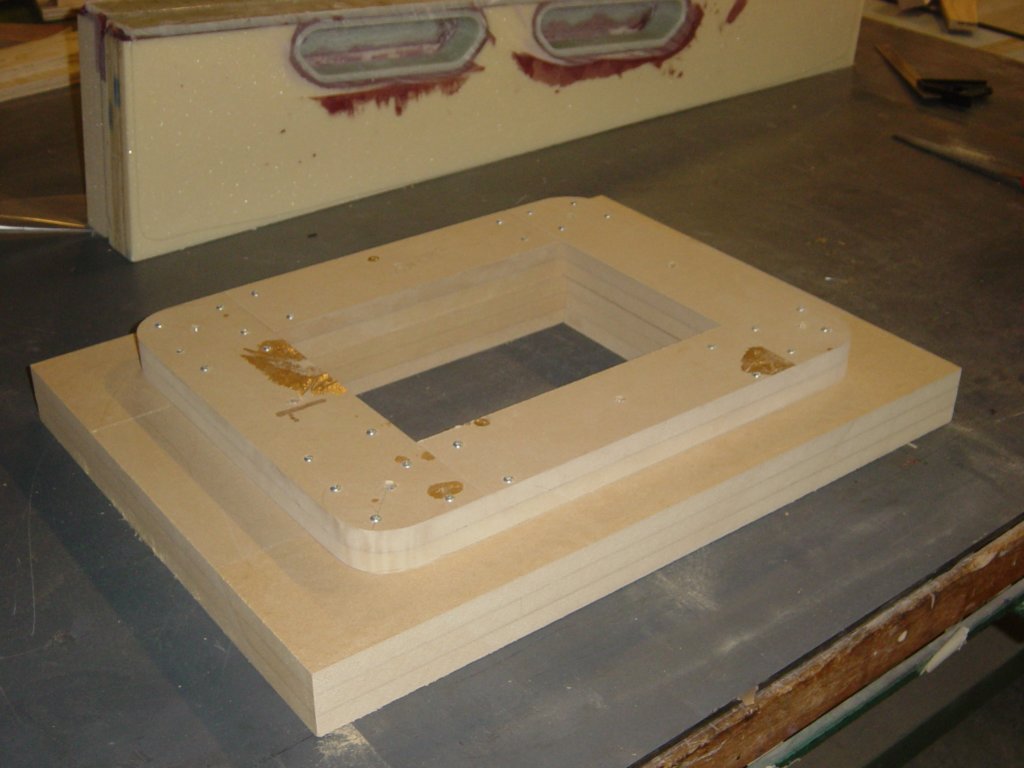
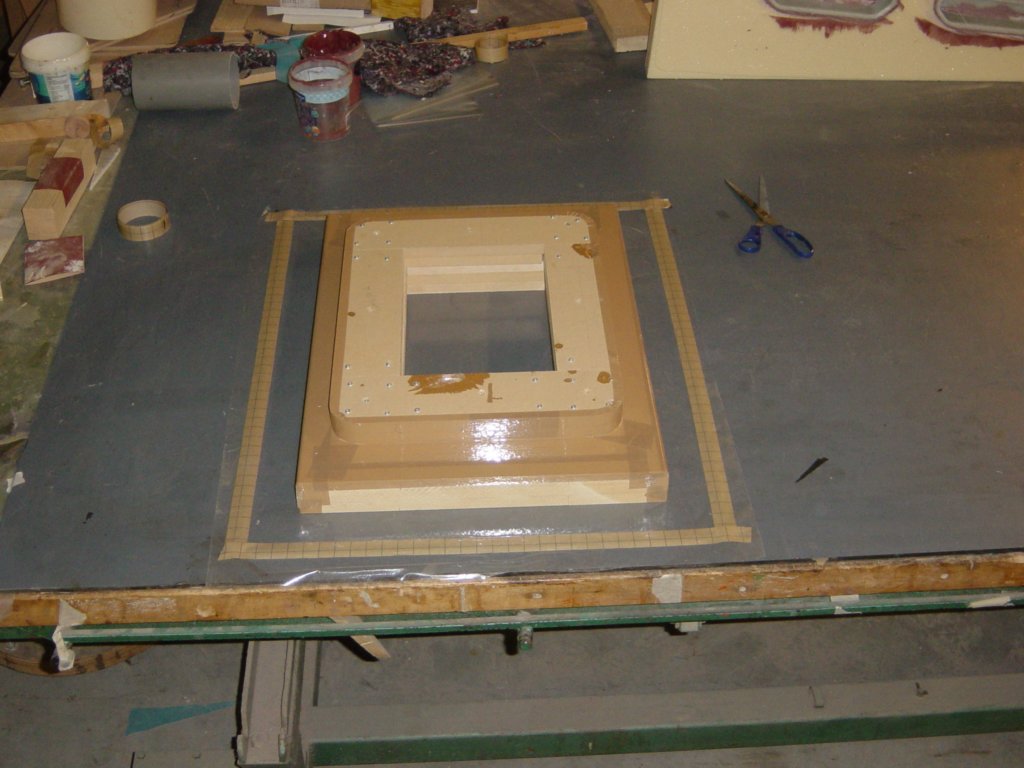
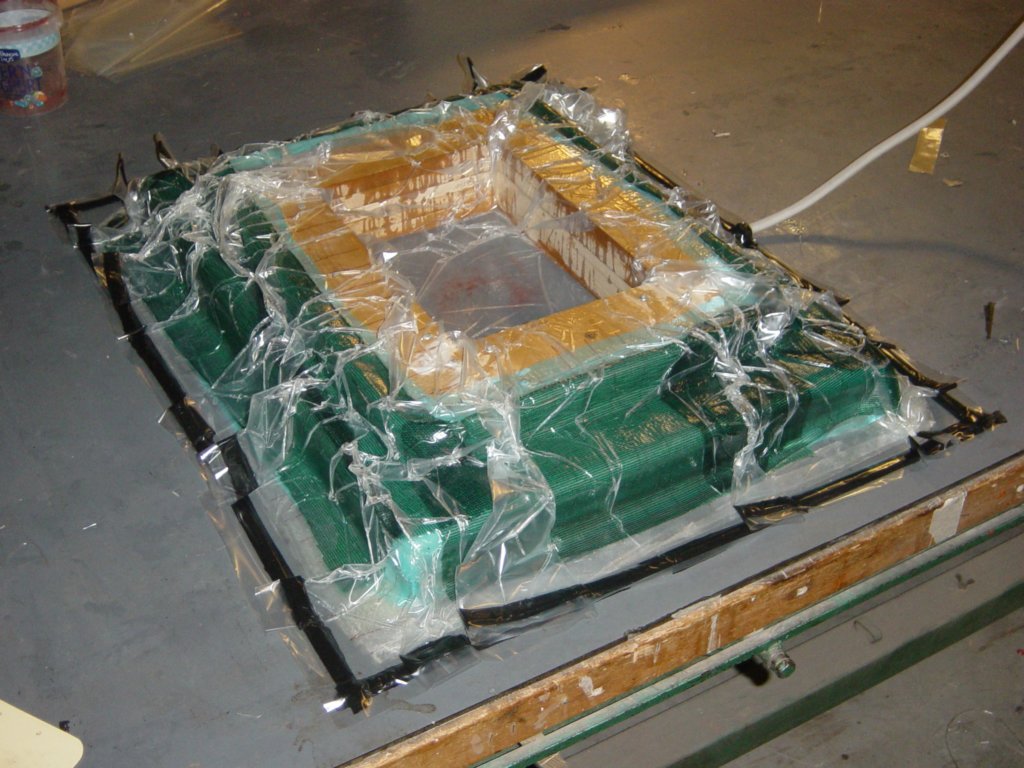
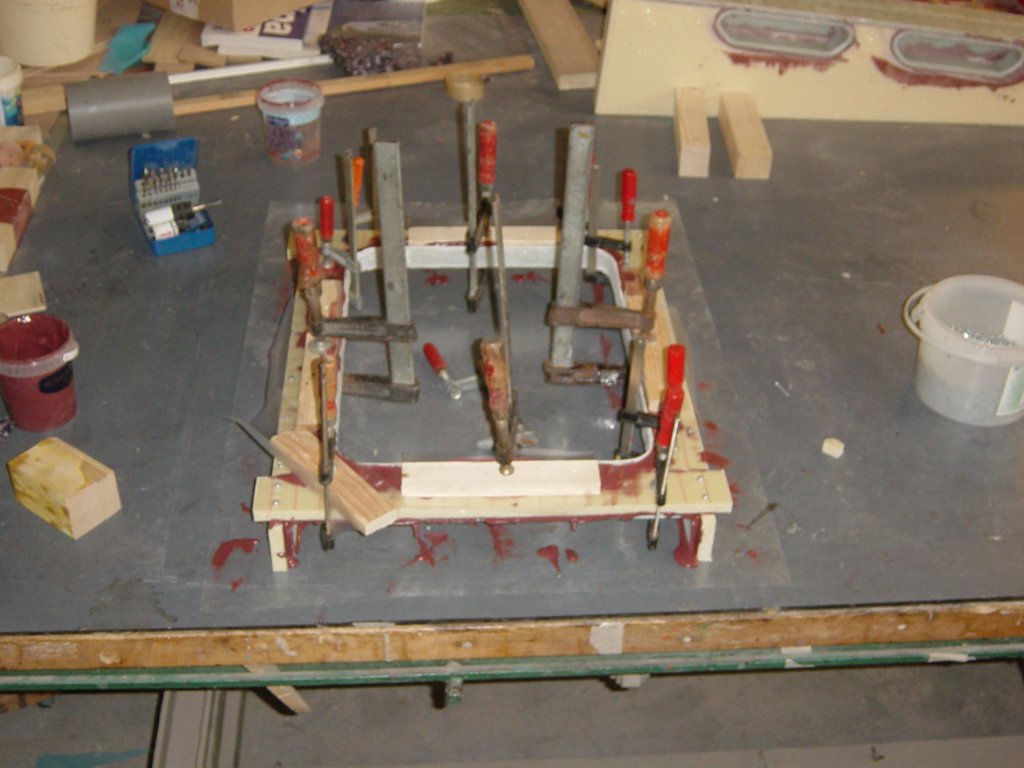
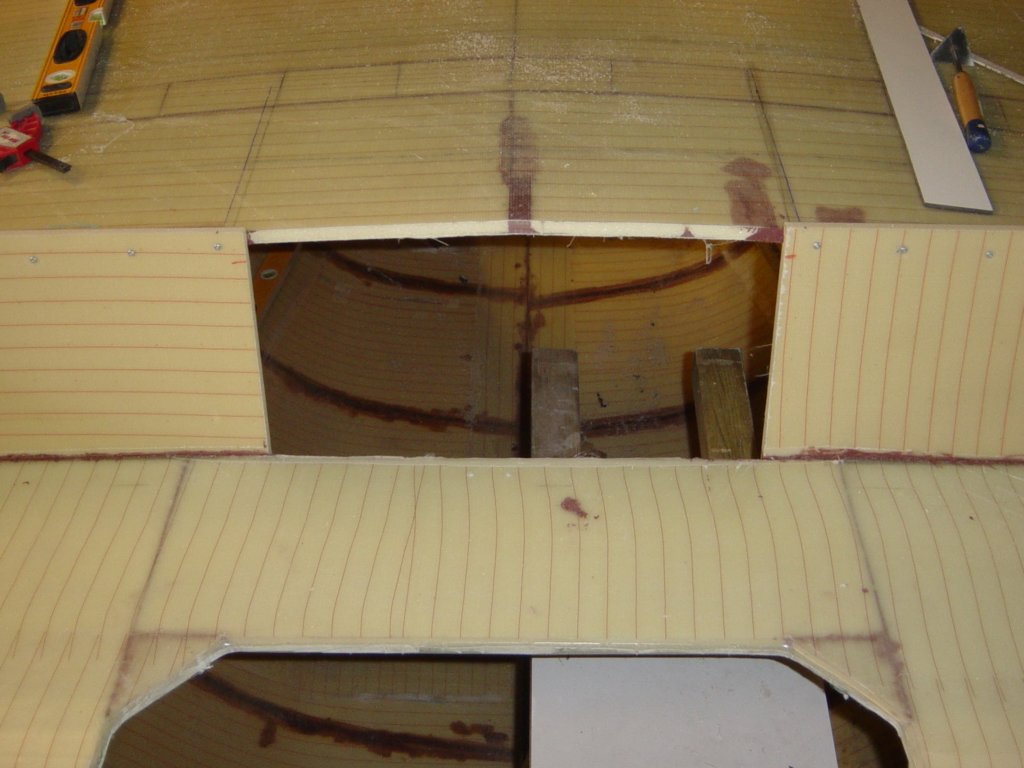
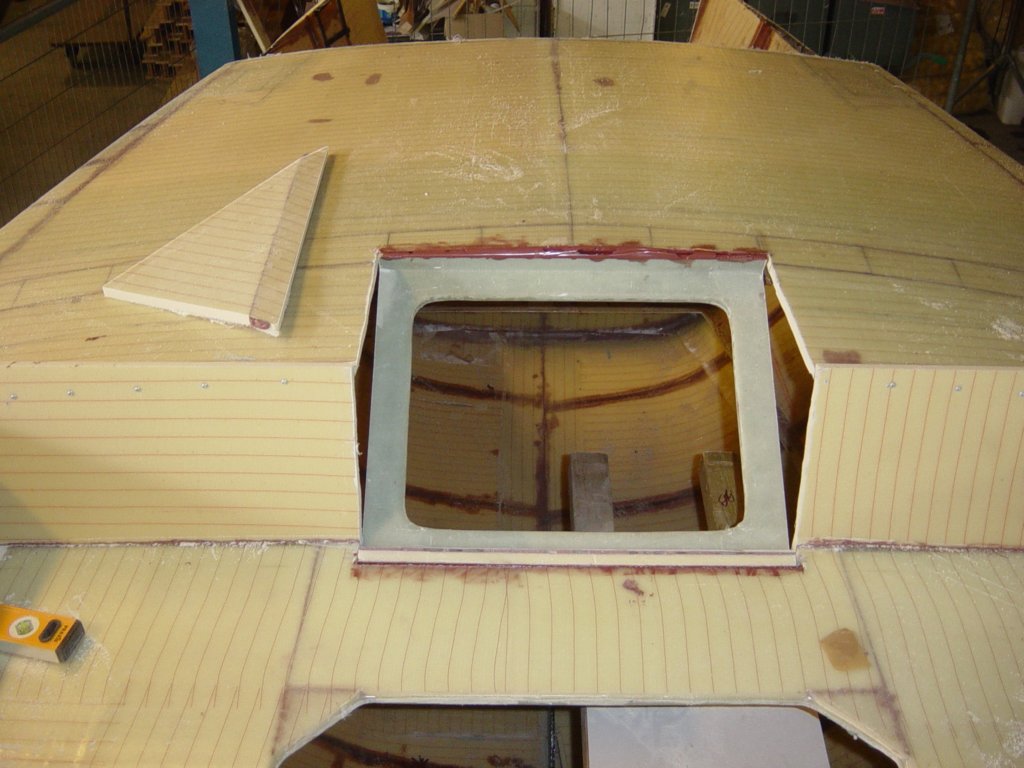
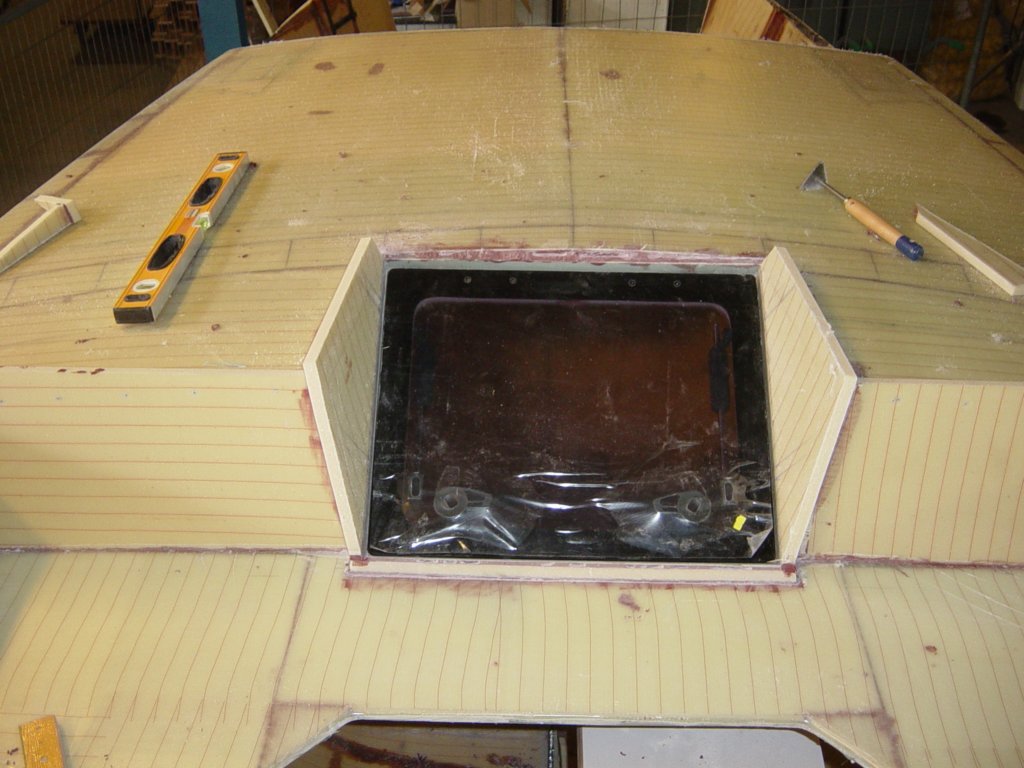
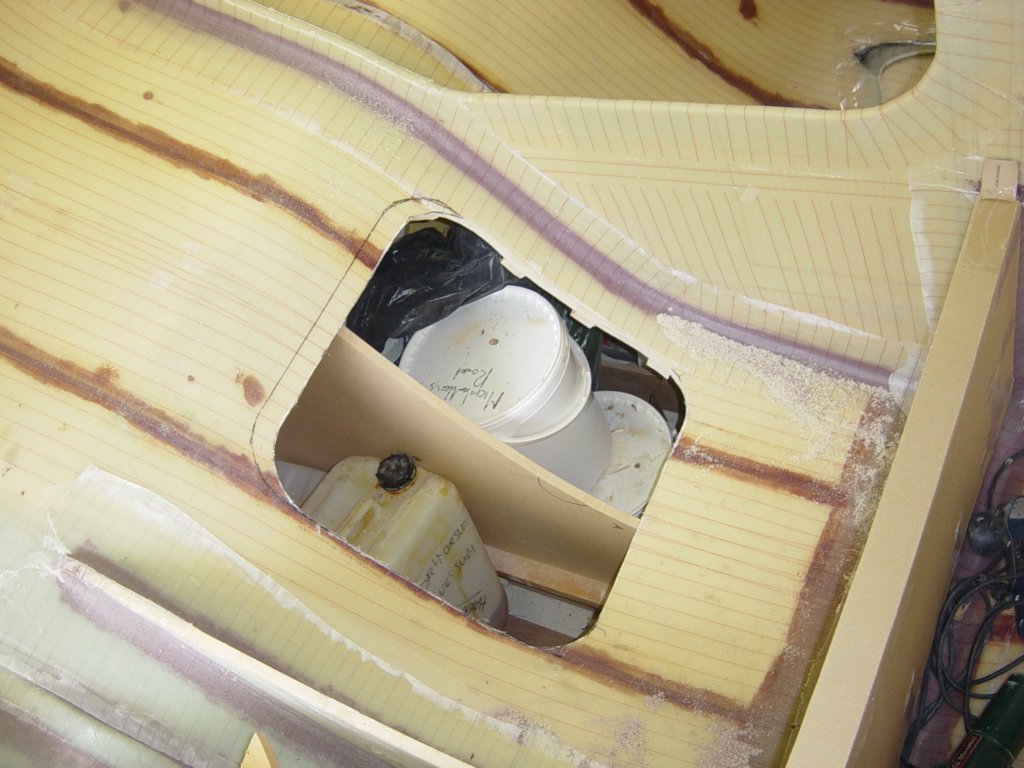
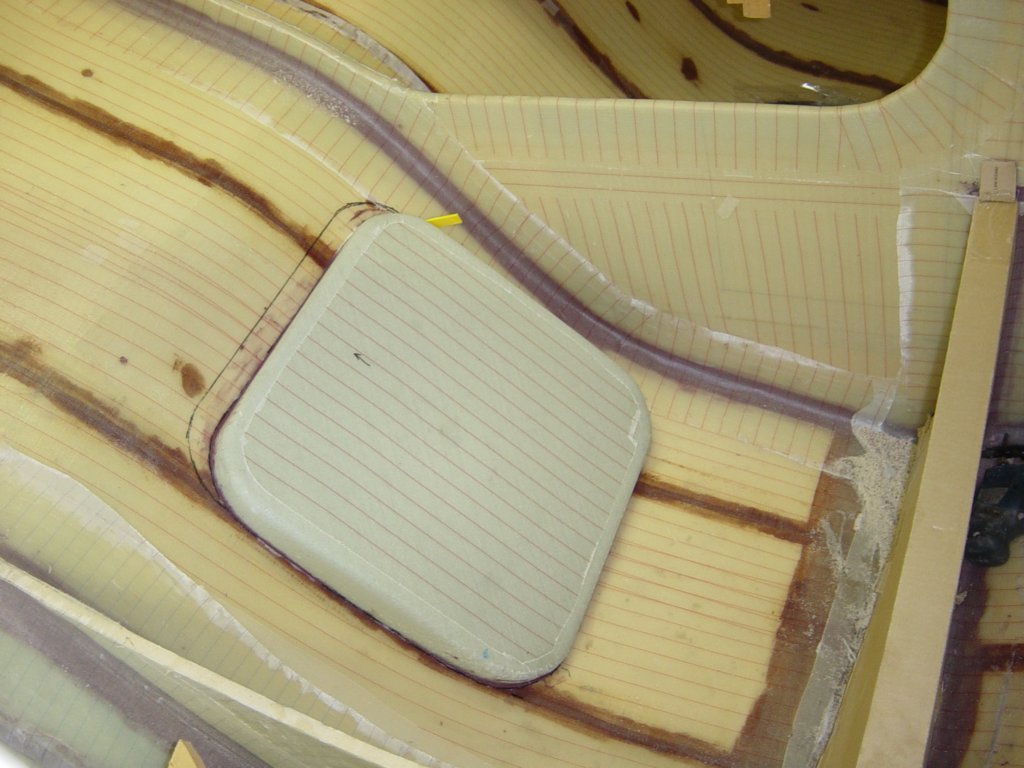
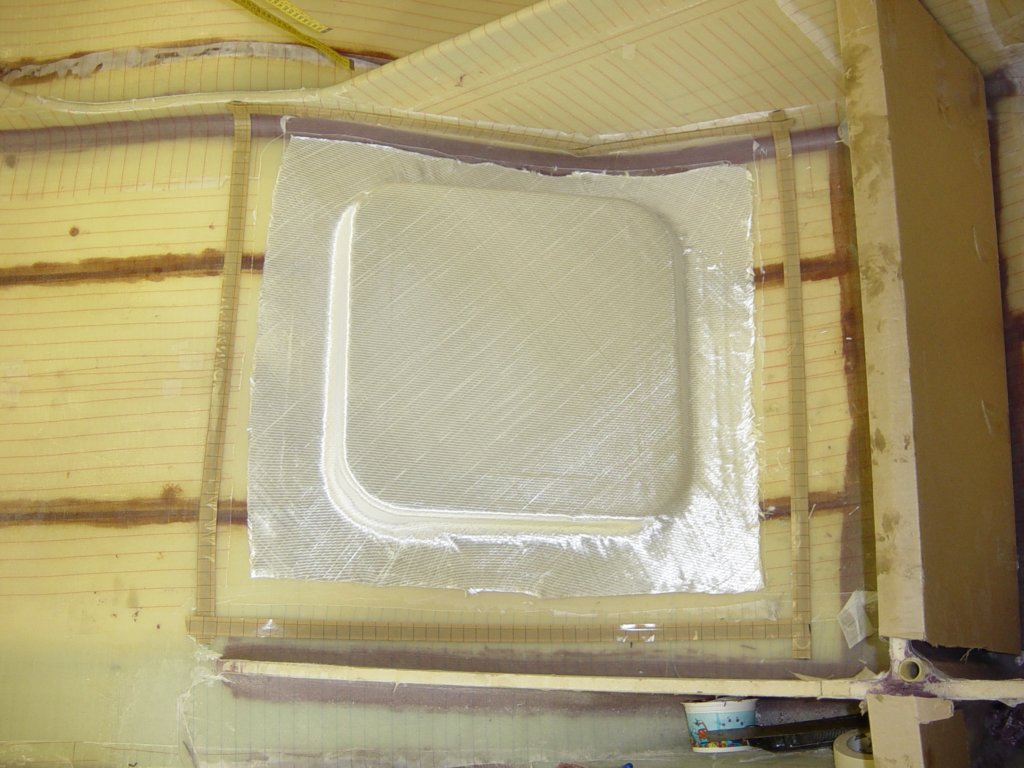
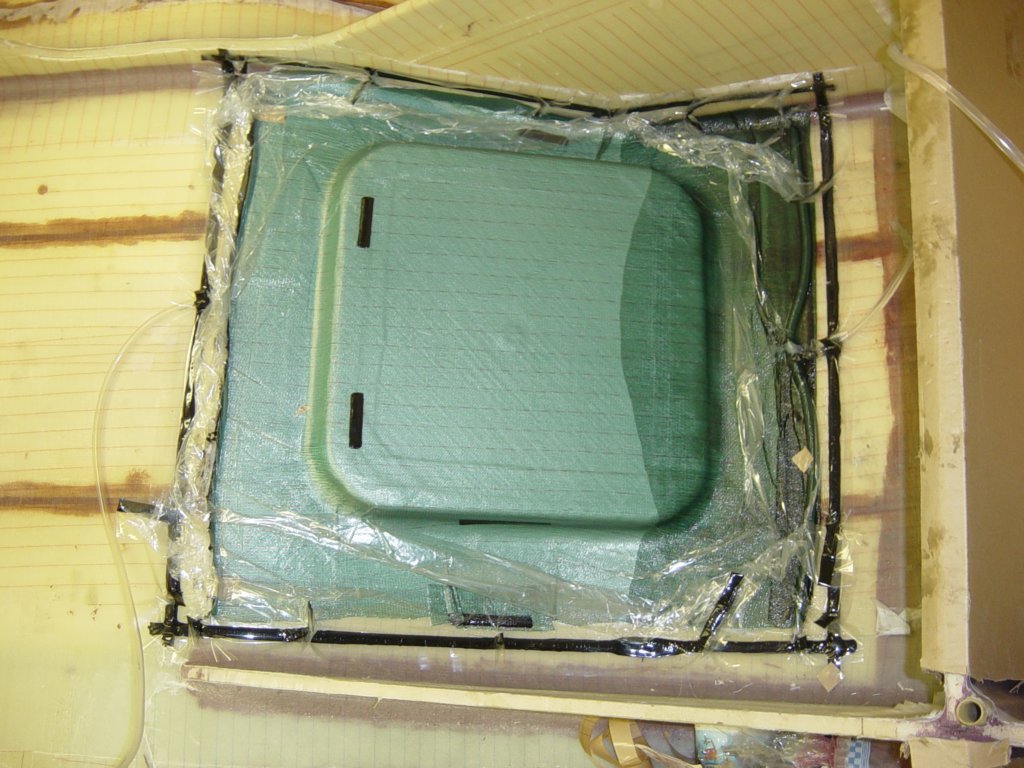
This photo gallery (70+ images) documents the complete process of designing and building the flush deck hatches, including moulded recesses, structural reinforcements, drainage solutions below deck, and the final installation of the hatches.
