Although the build log follows the construction of the main hull in largely chronological order, the cabin windows are developed over several phases. This page brings those steps together: from mould making and rebates to bonding the finished acrylic windows flush into the hull.
Cabin windows
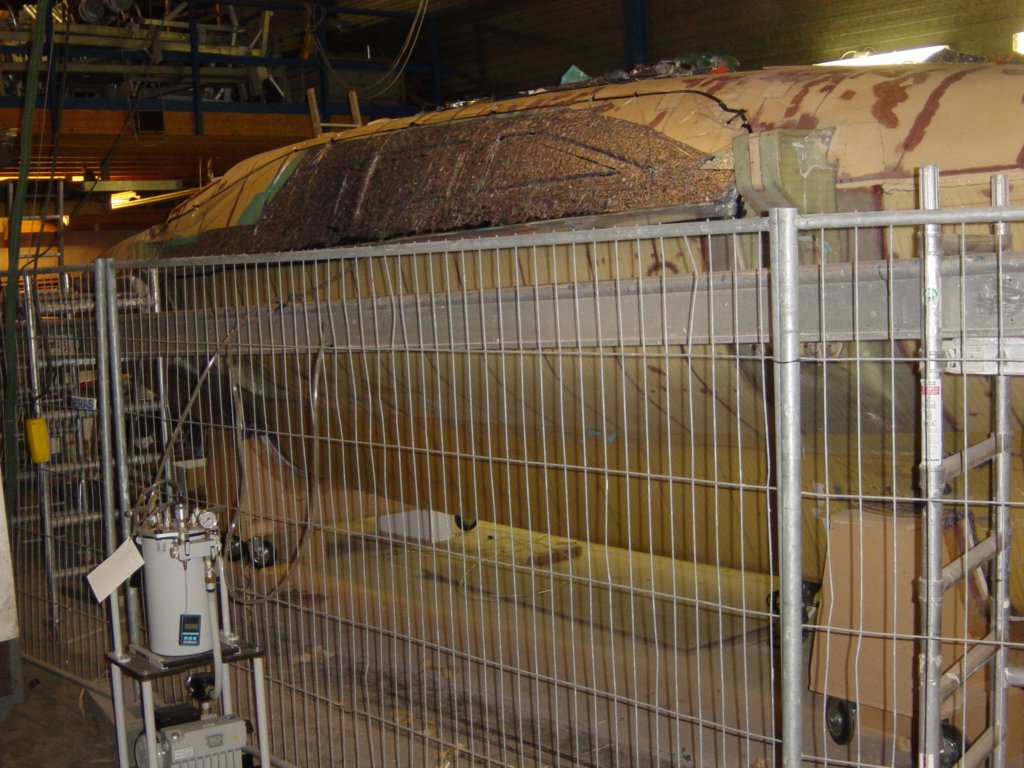
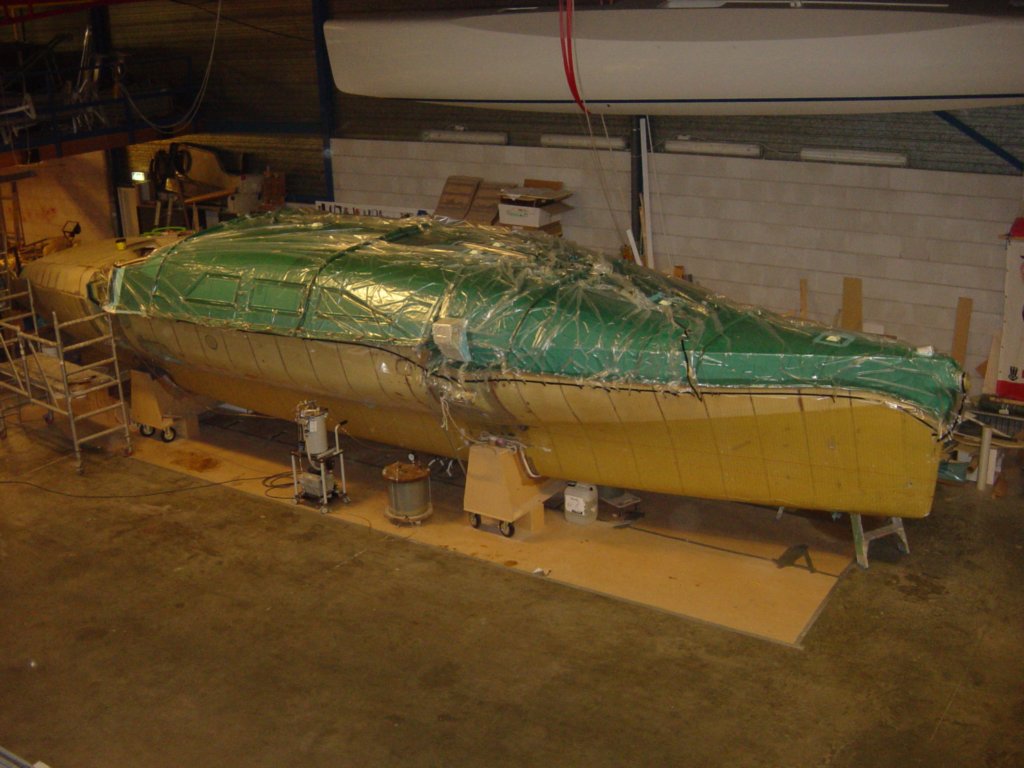
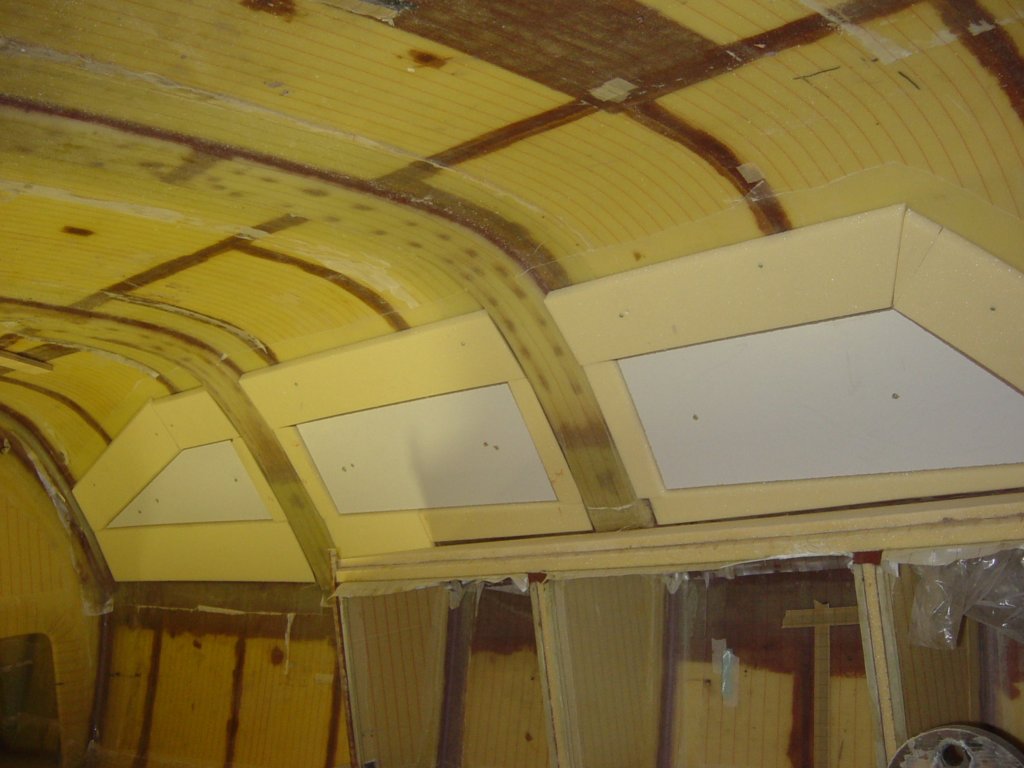
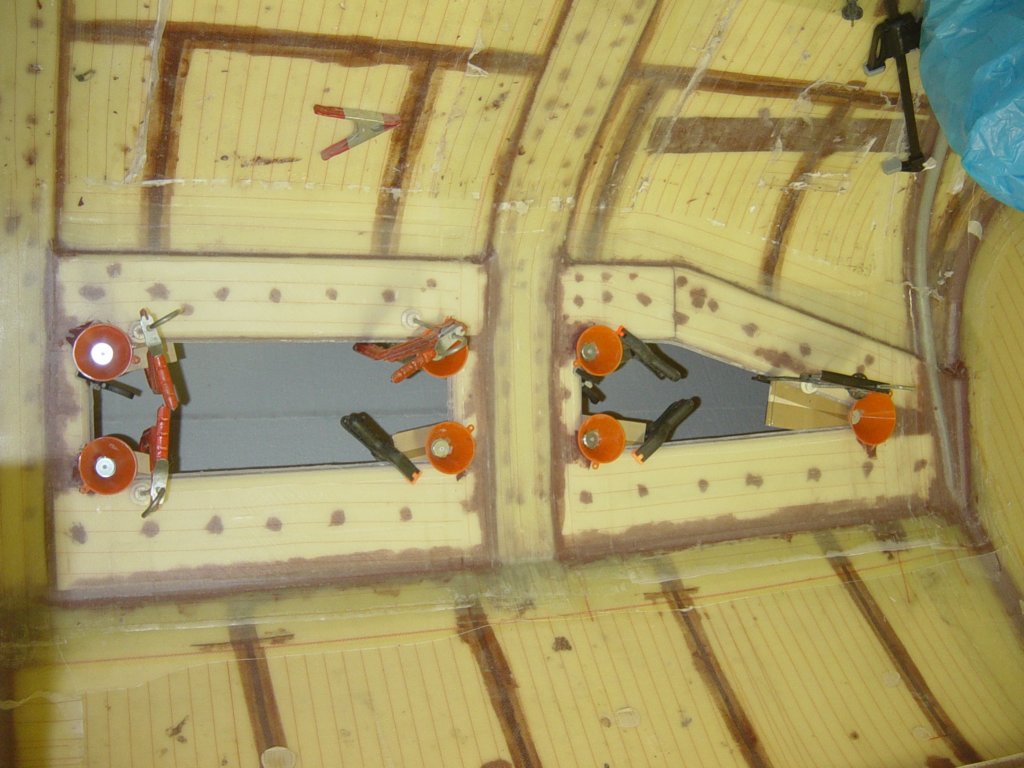
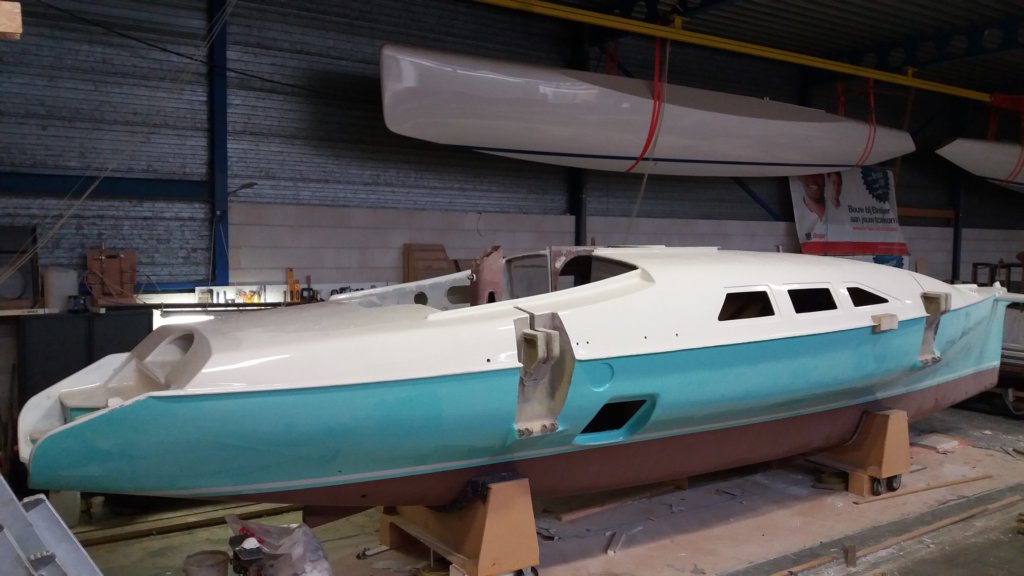
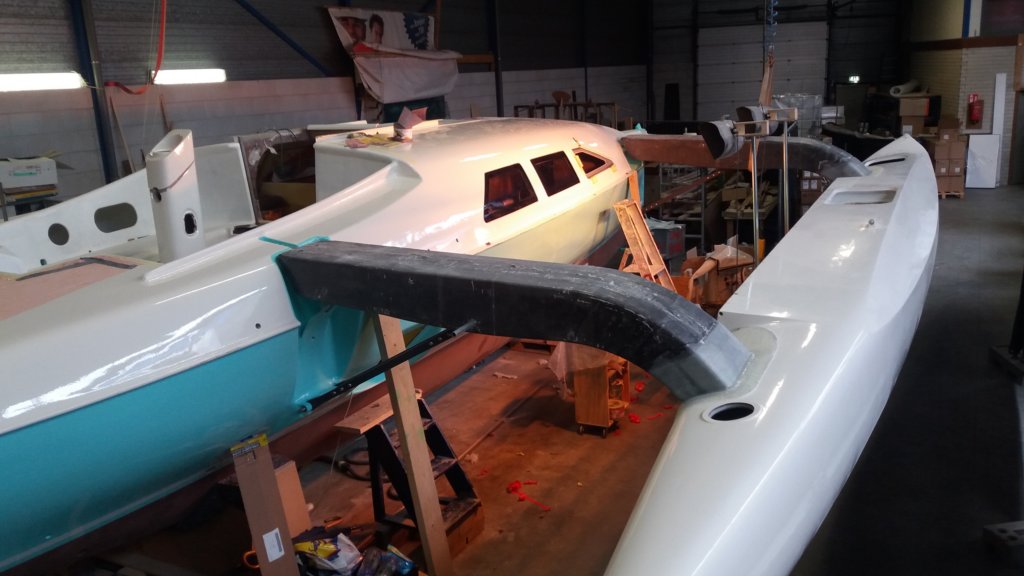
The content on this page follows the progress of the construction of the main hull in an almost chronological order. However, the work on the cabin windows was carried out in several phases. As a result, the photo gallery contains images that actually belong to later stages of the build, but are collected here for completeness.
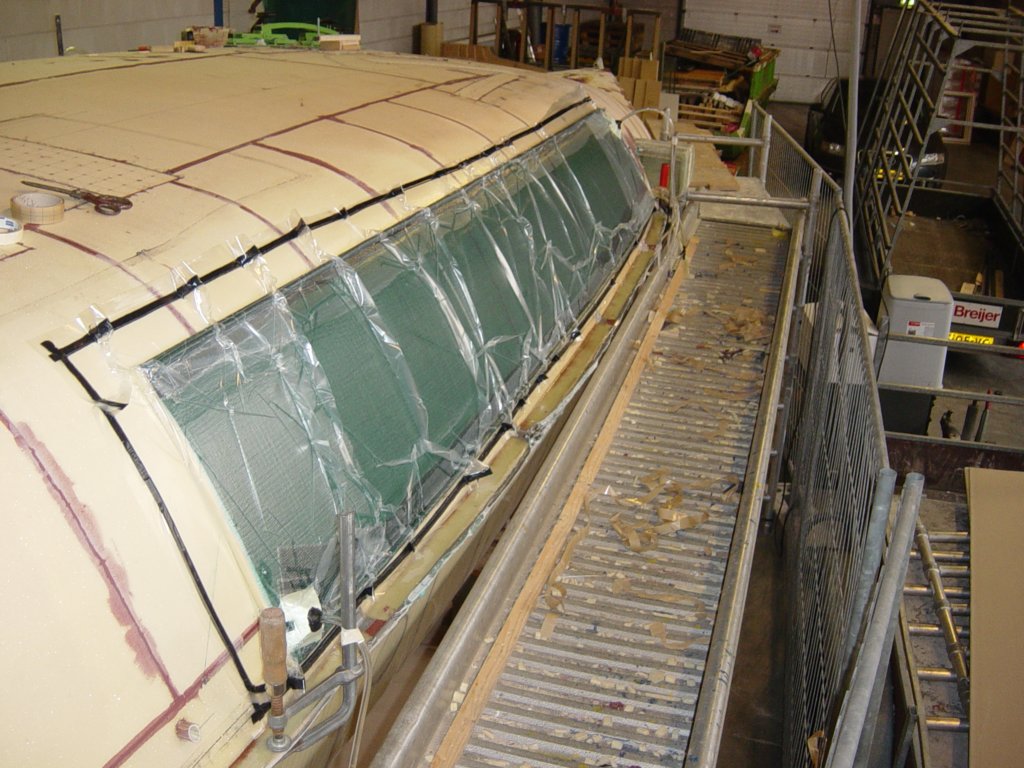
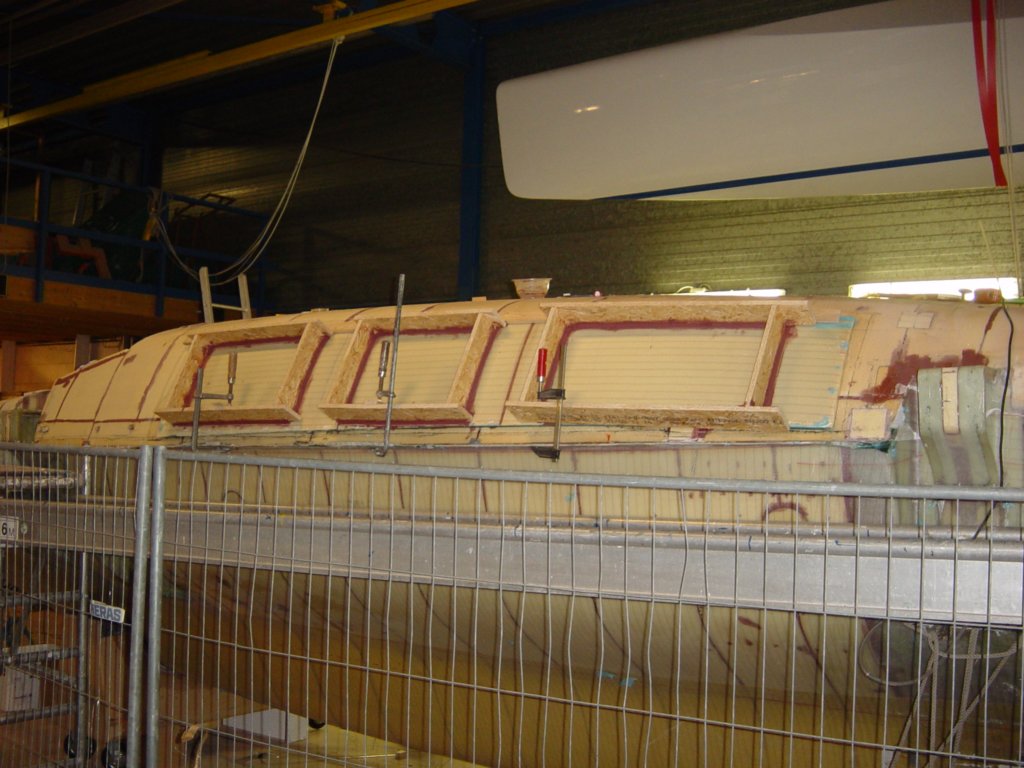
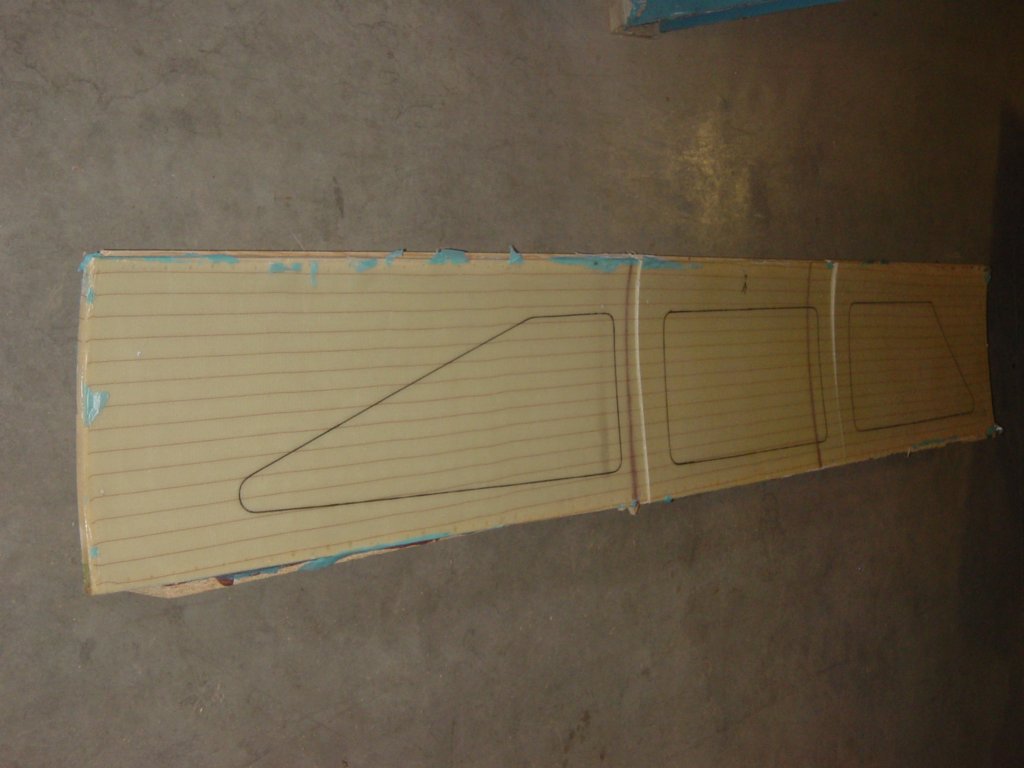
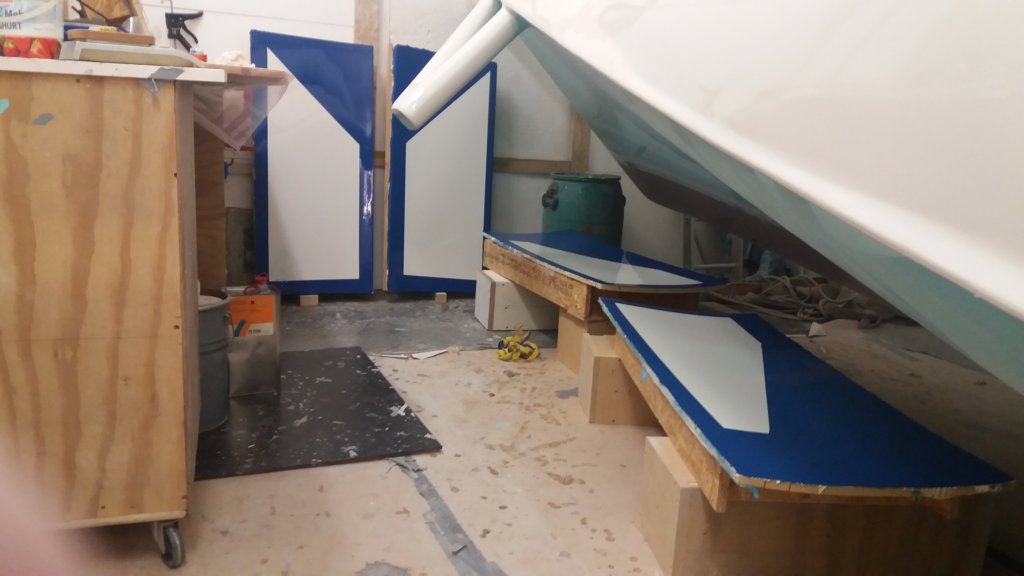
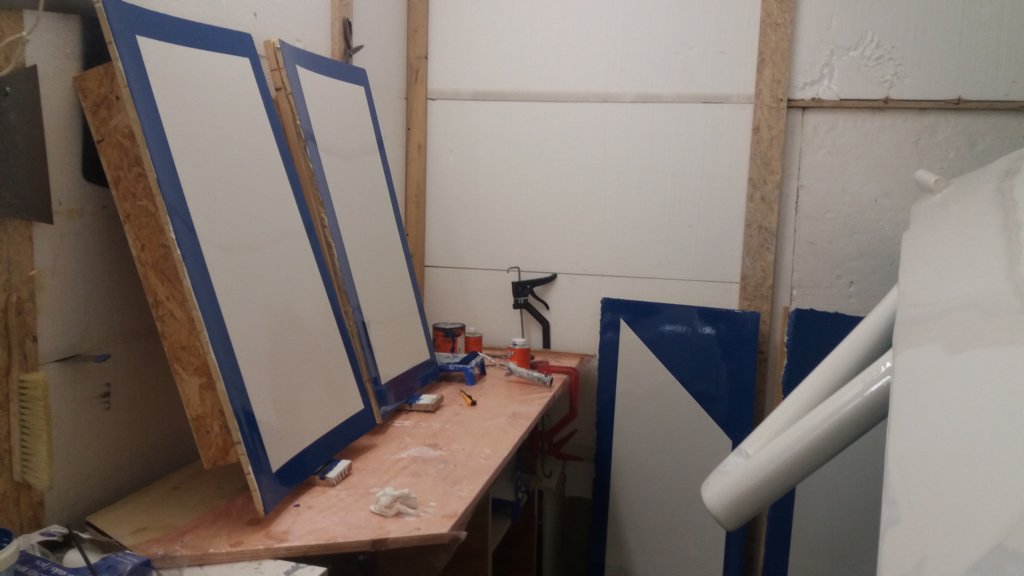
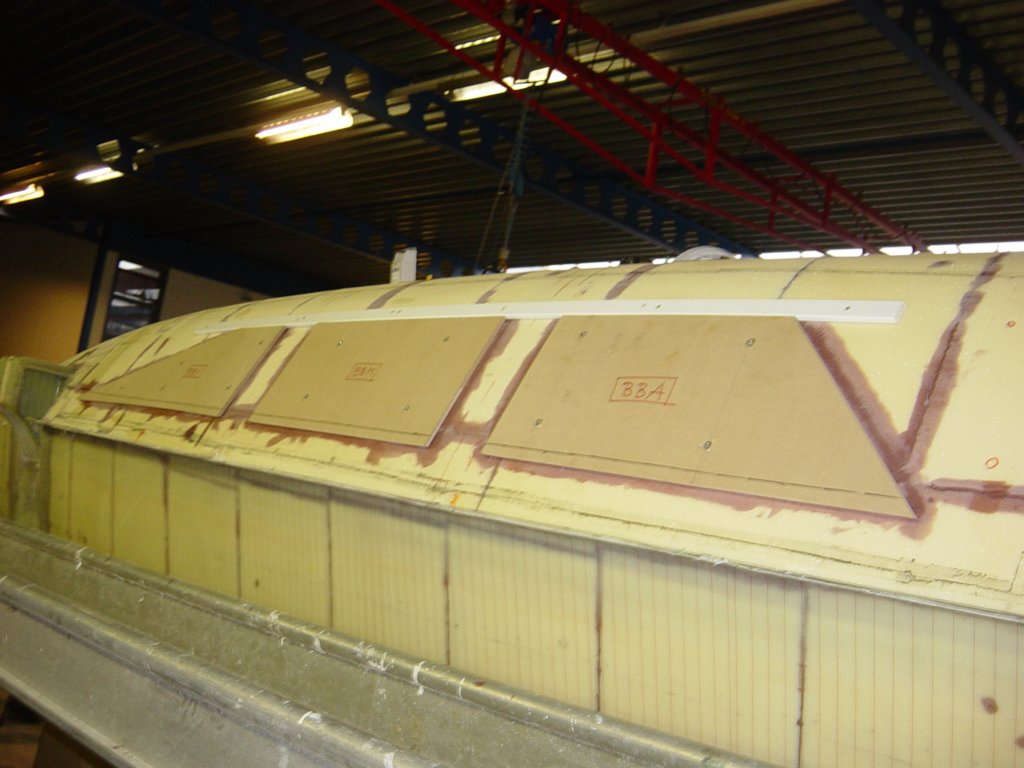
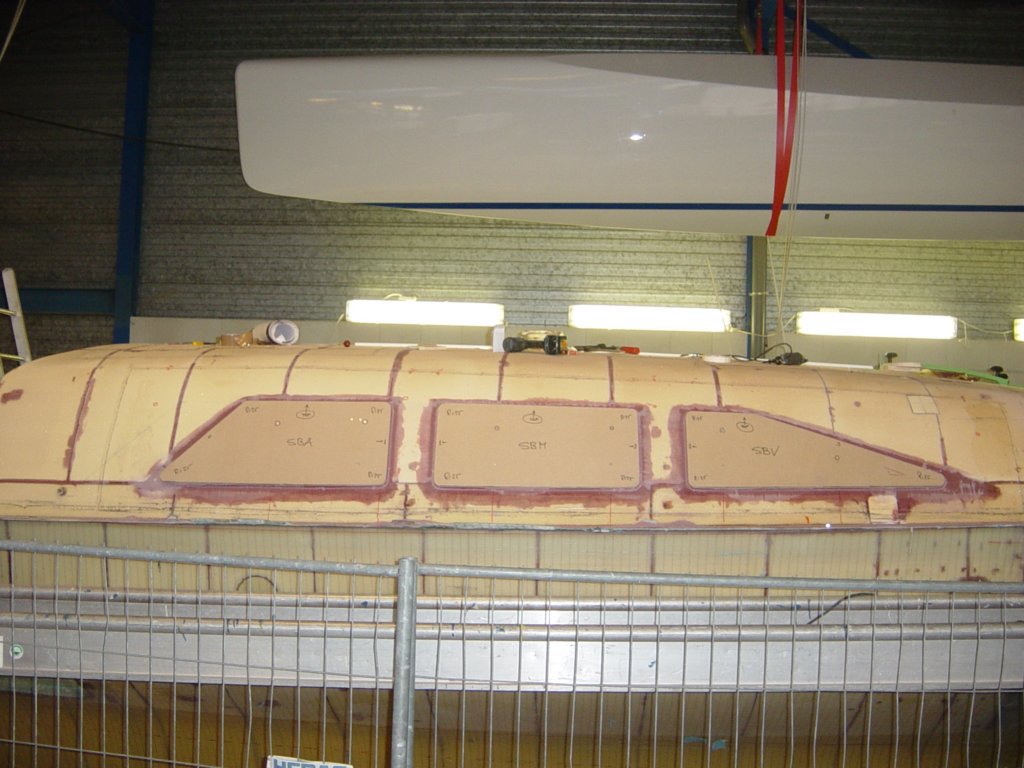
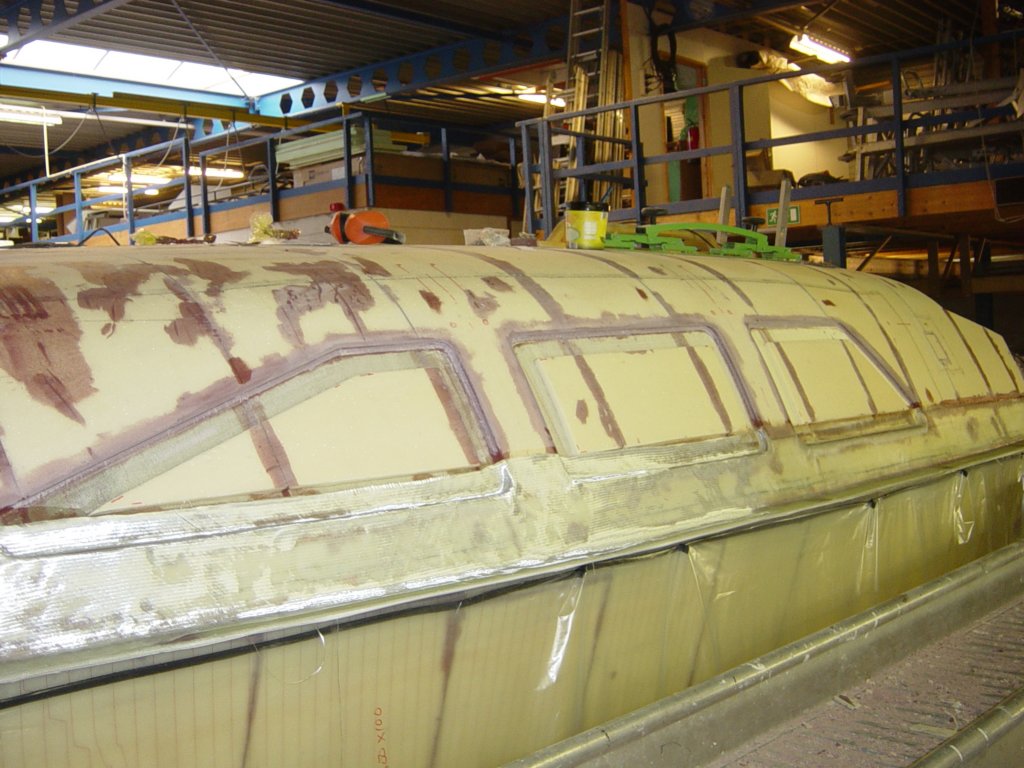
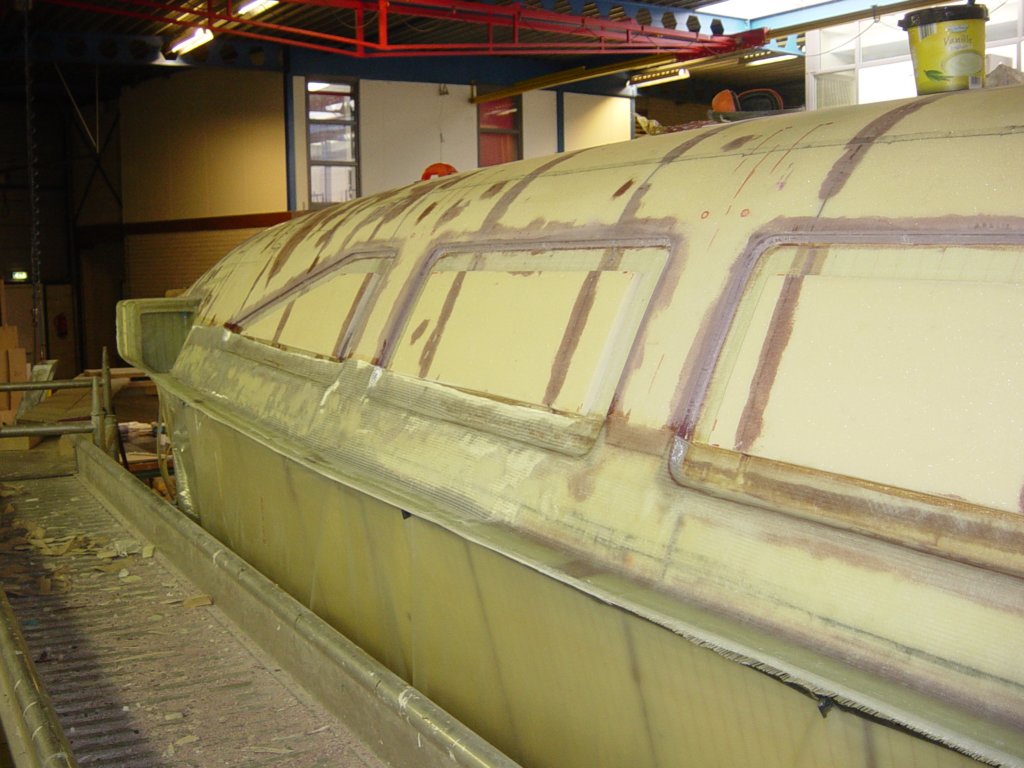
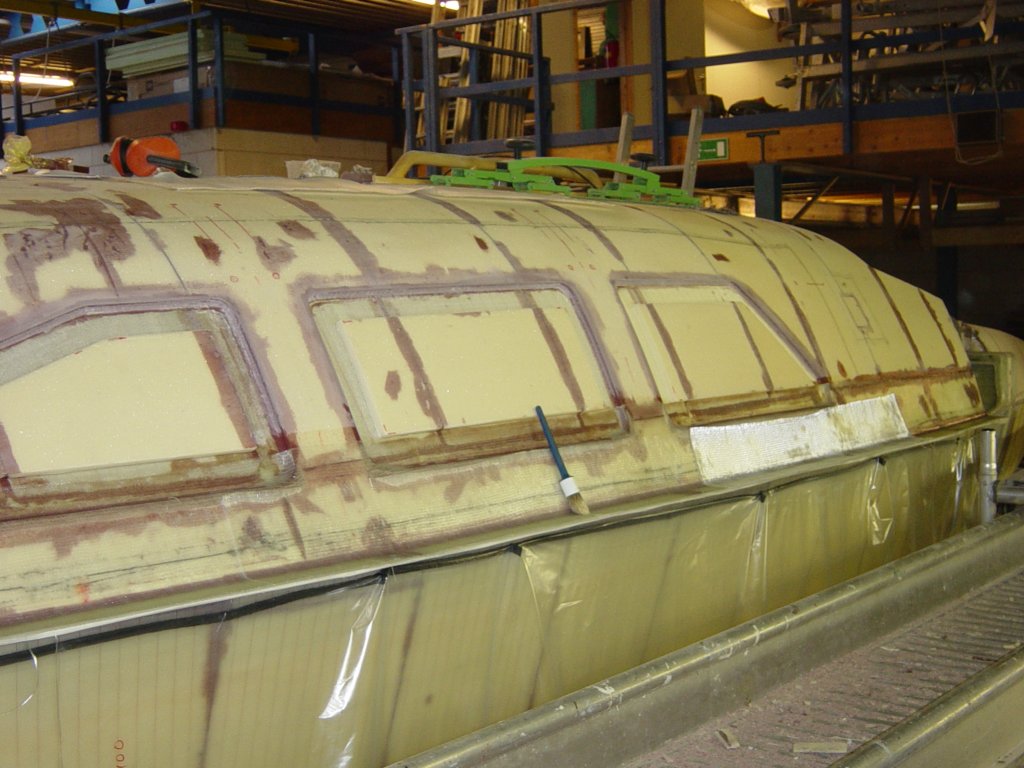
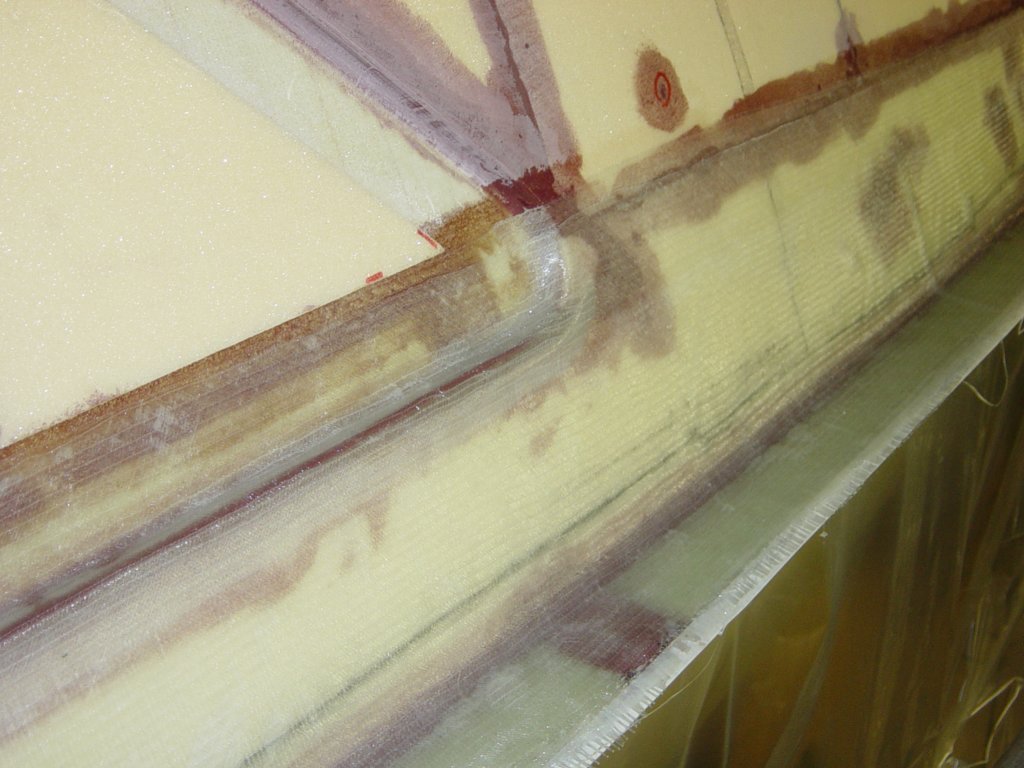
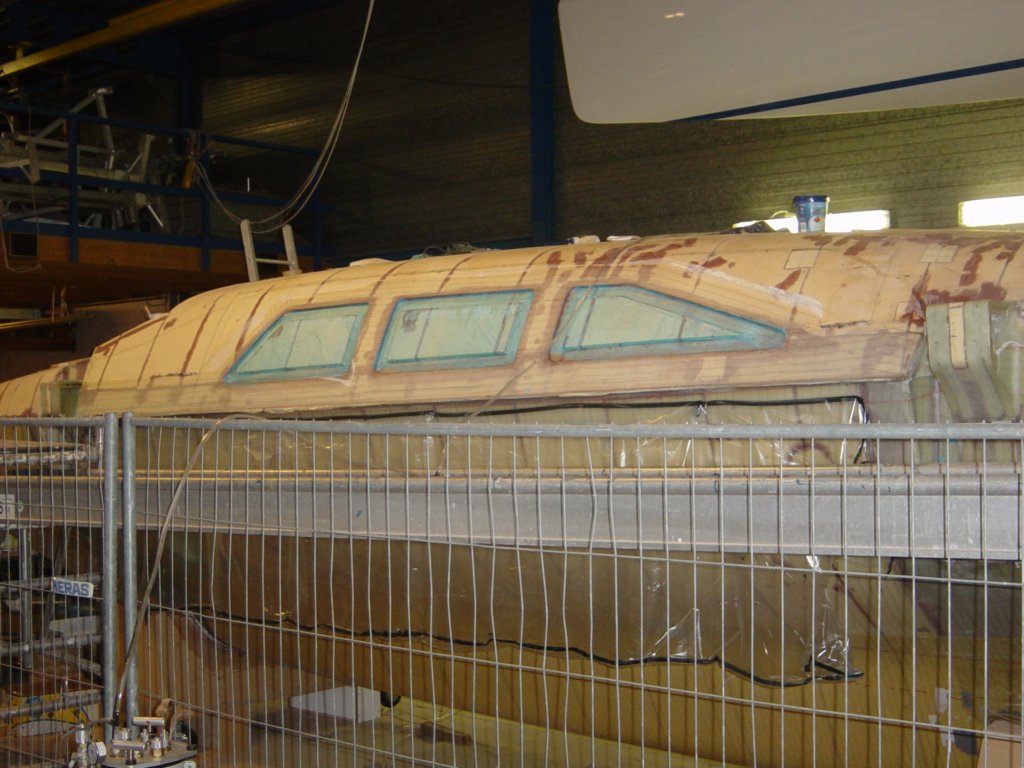
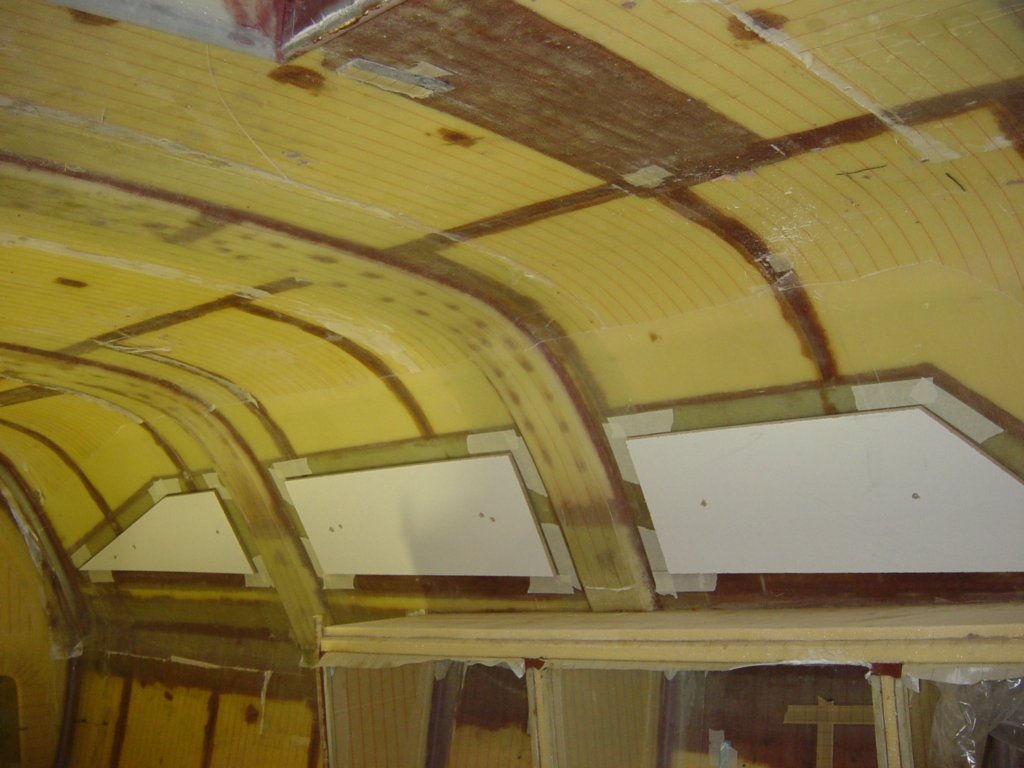
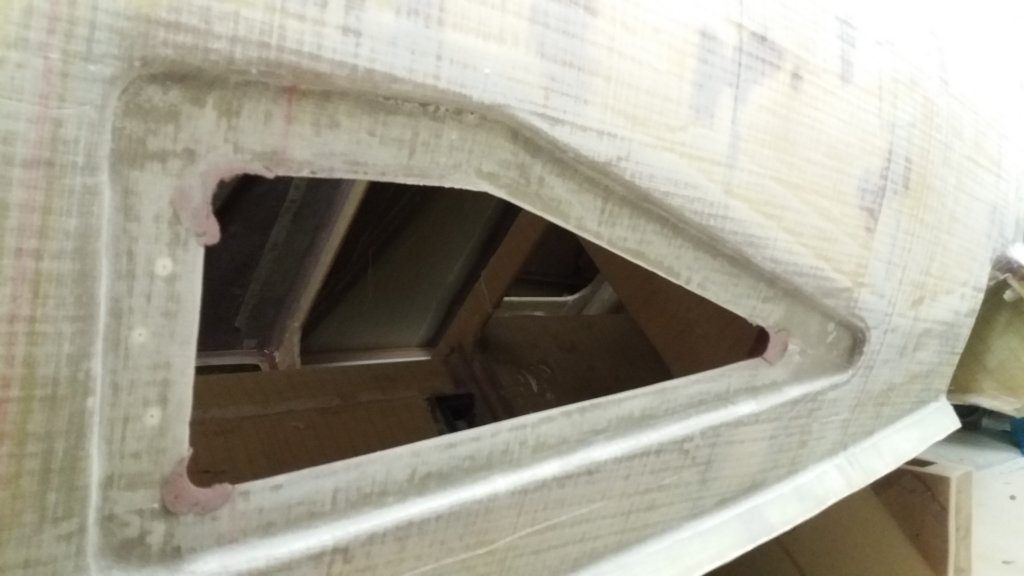
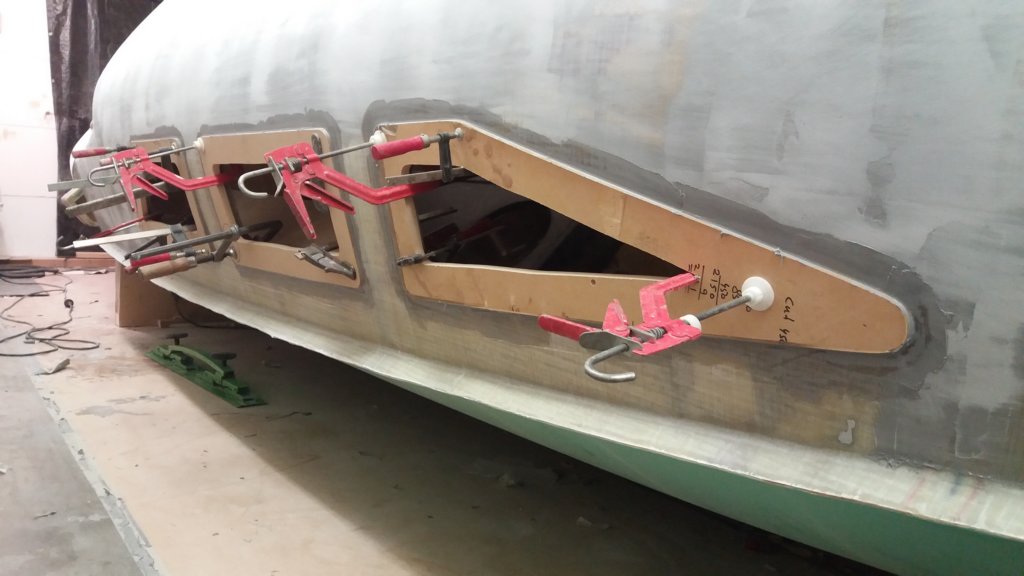
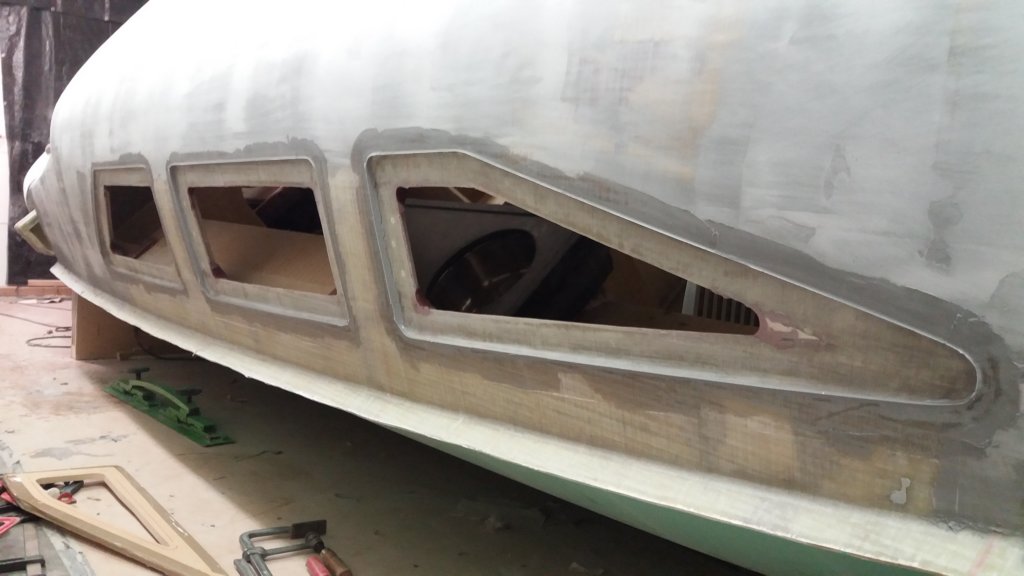
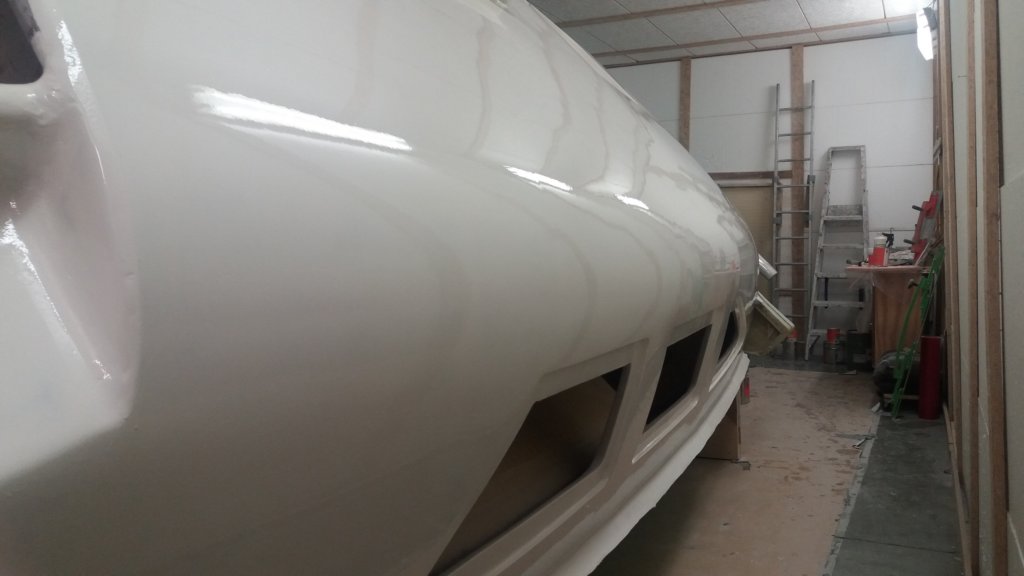
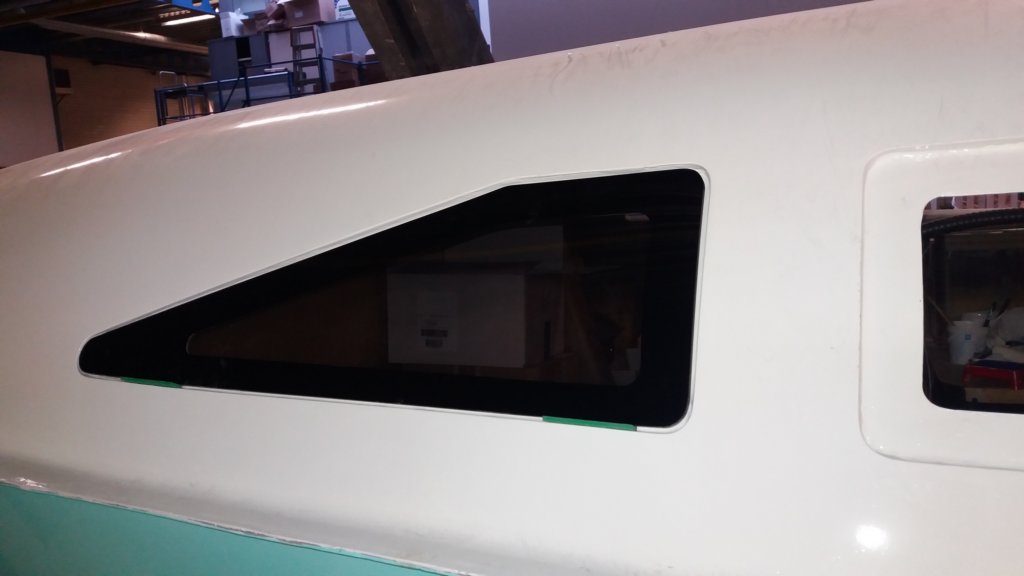
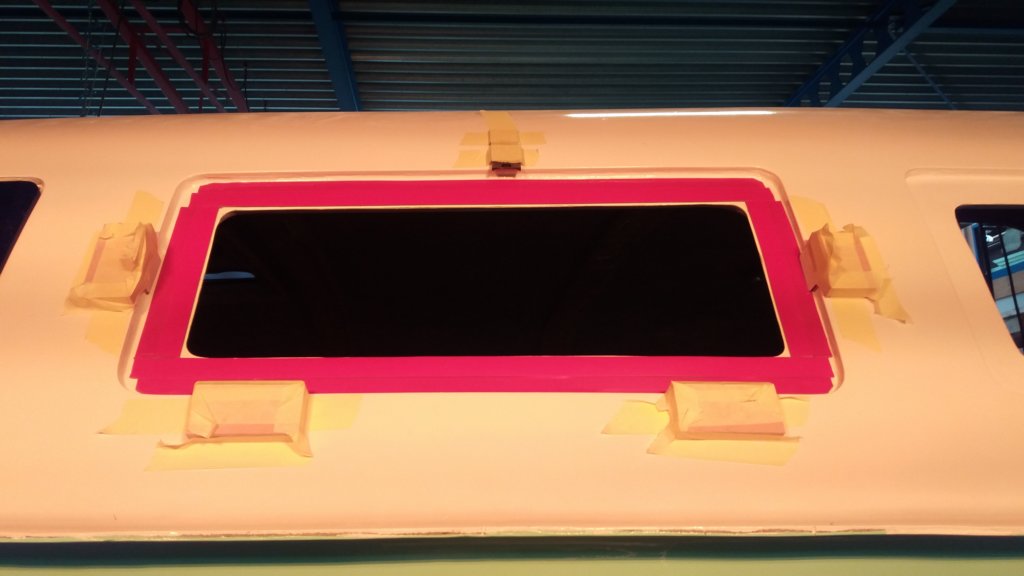
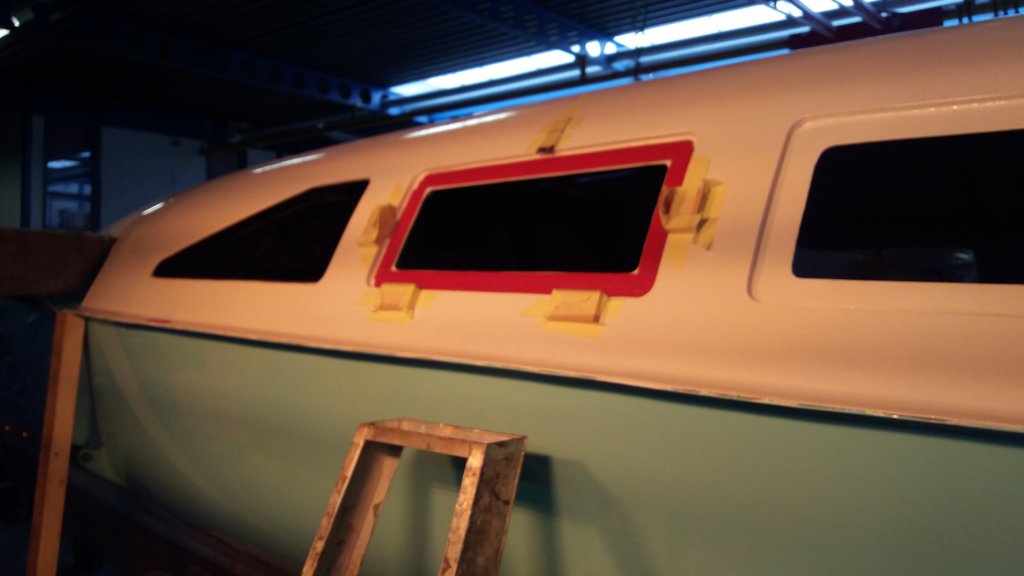
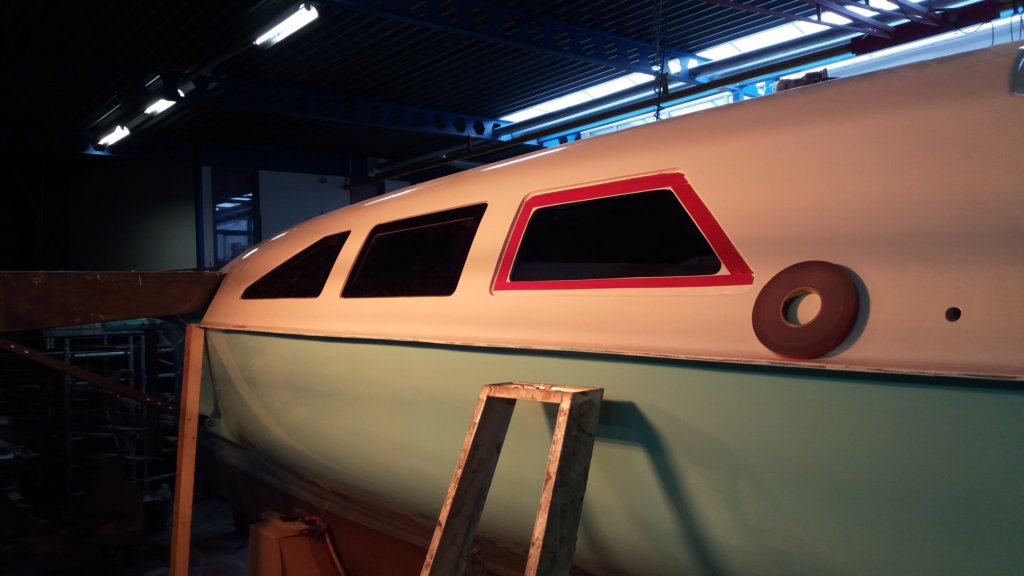
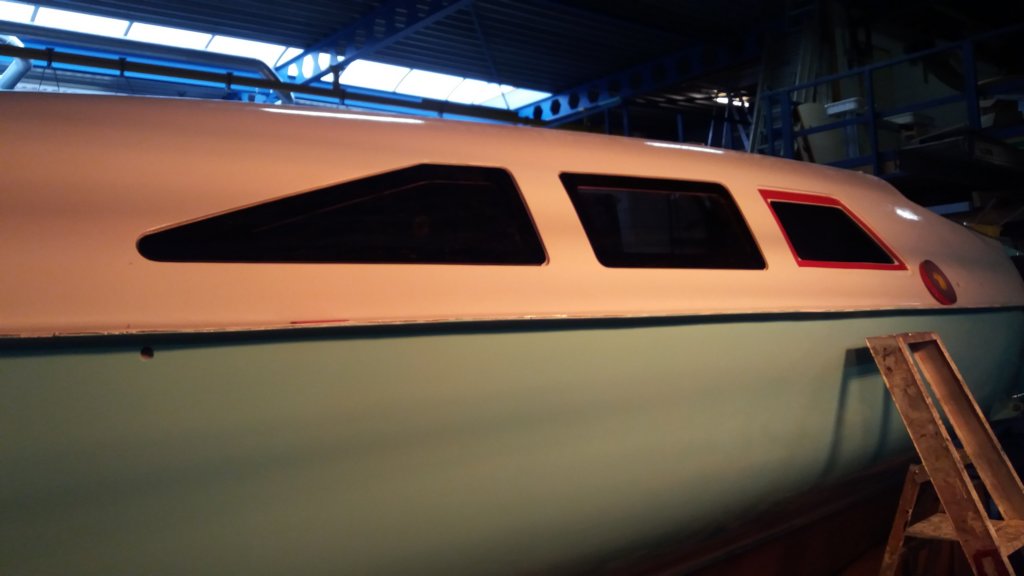
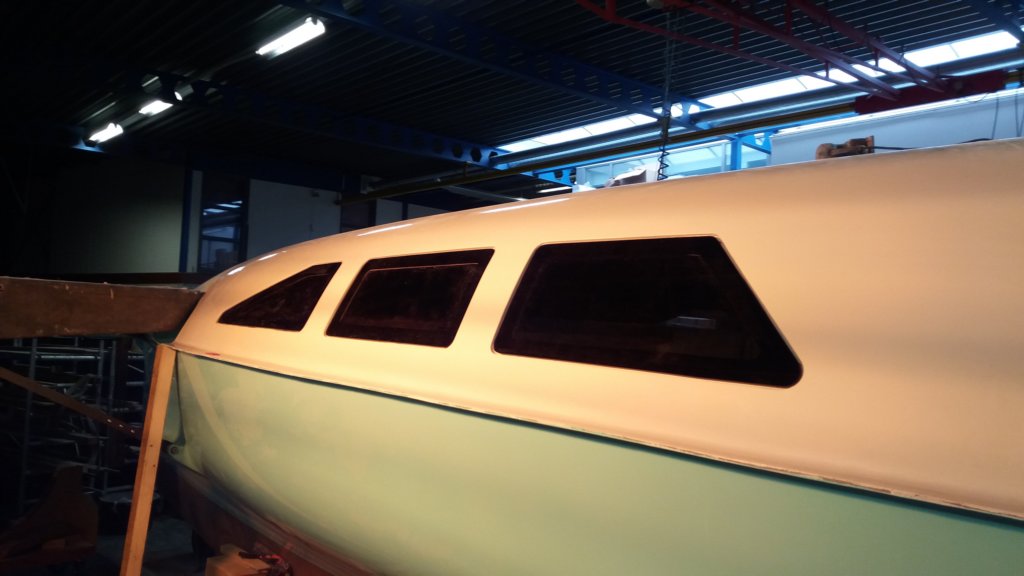
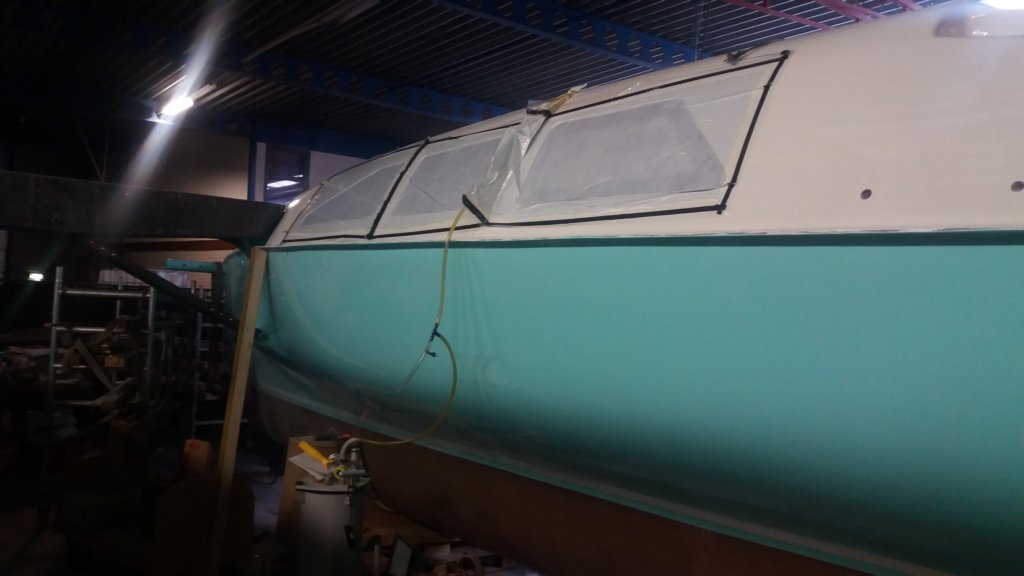
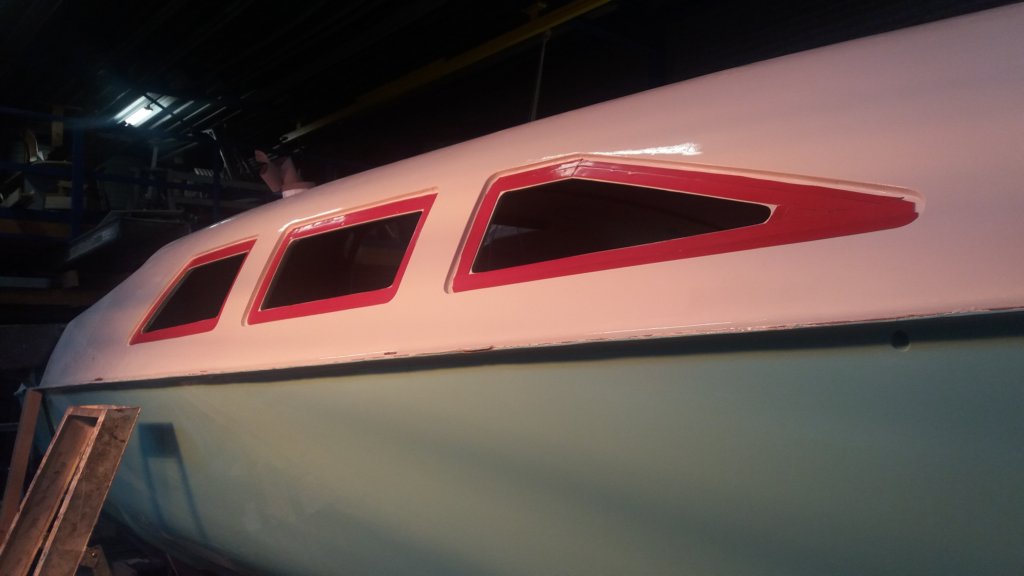
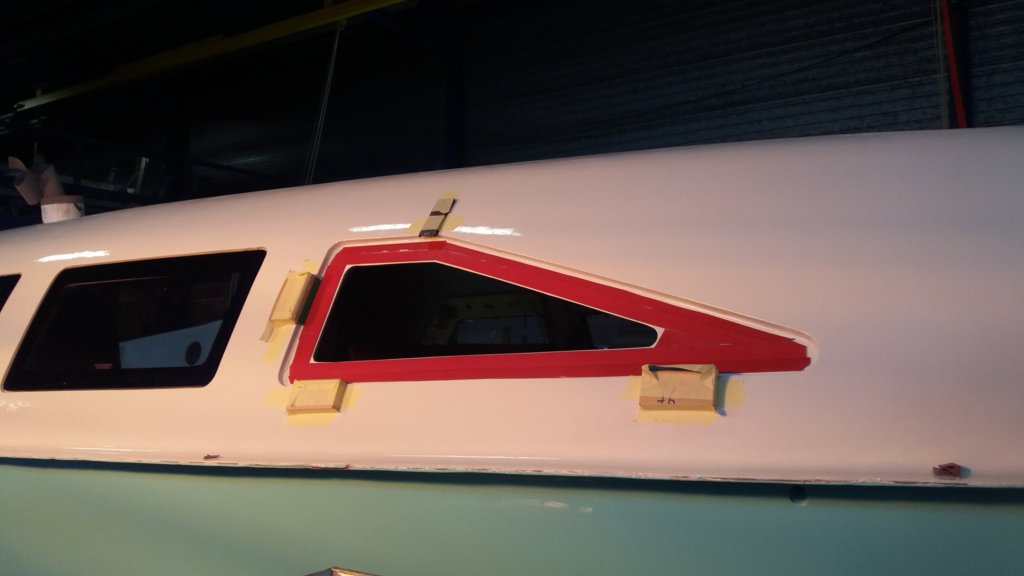
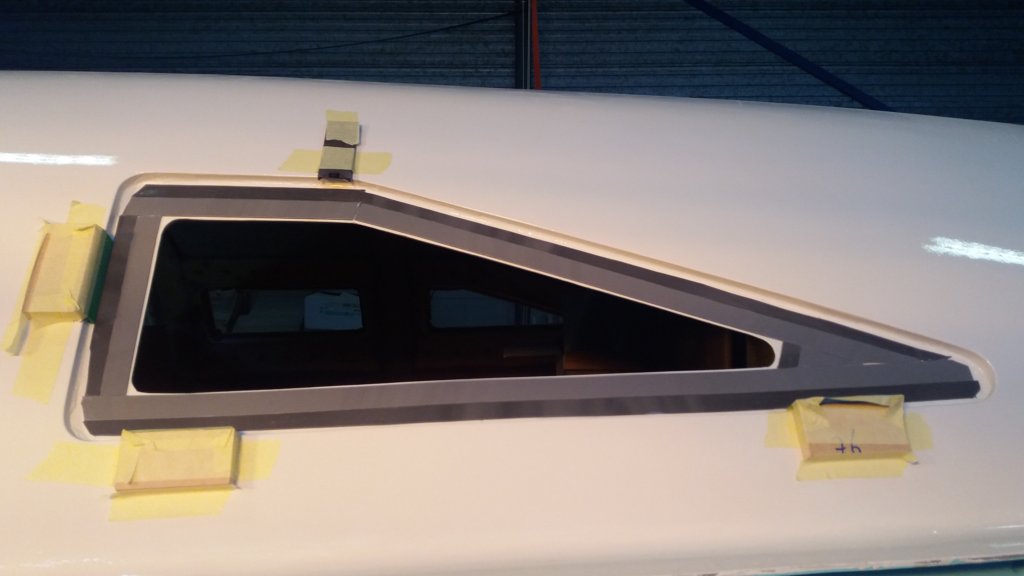
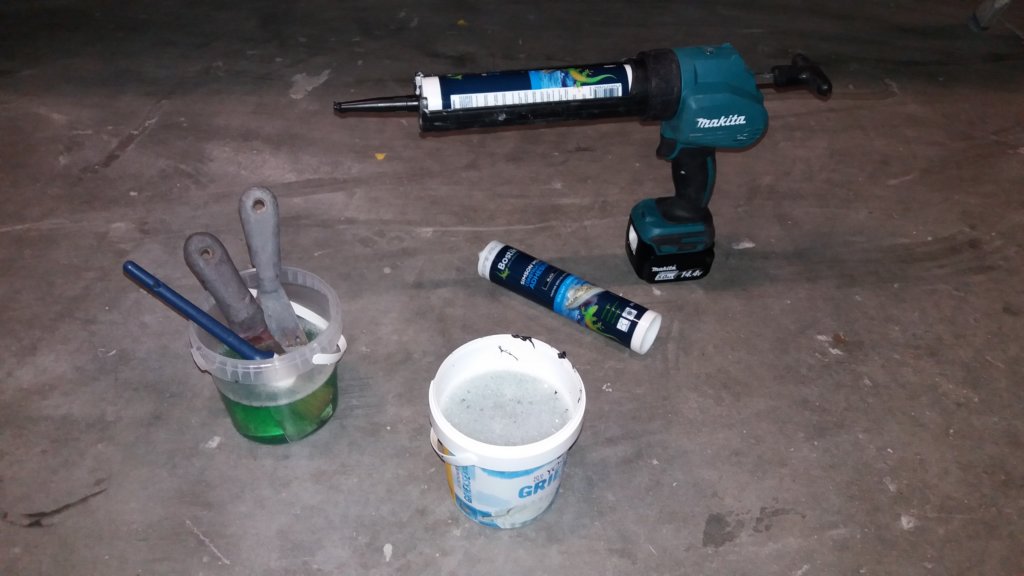
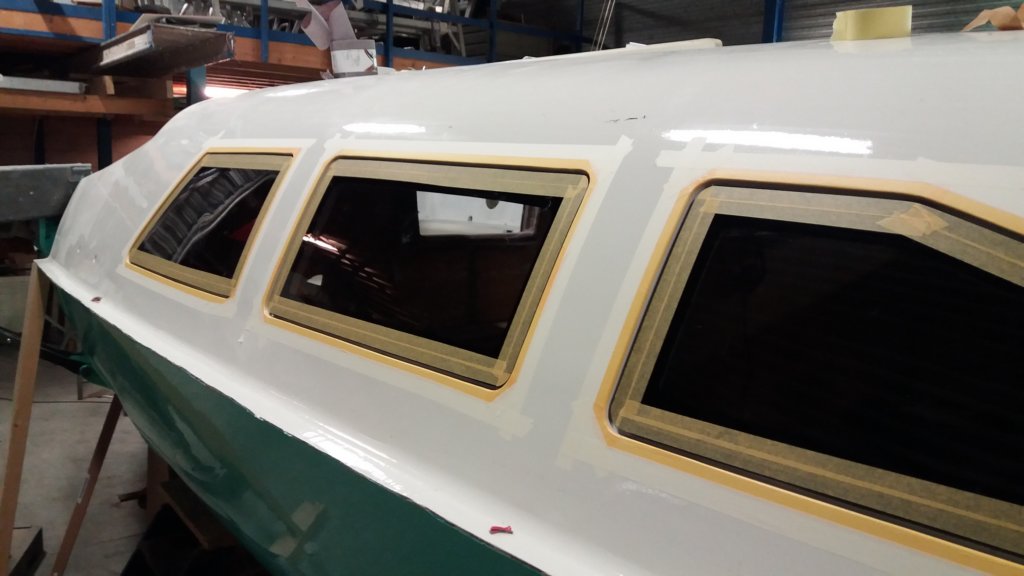
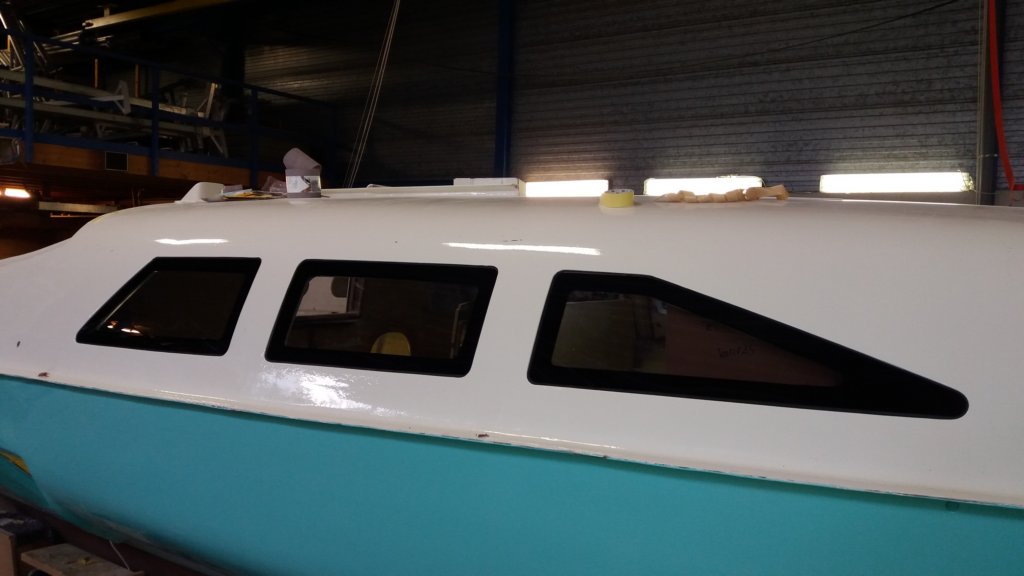
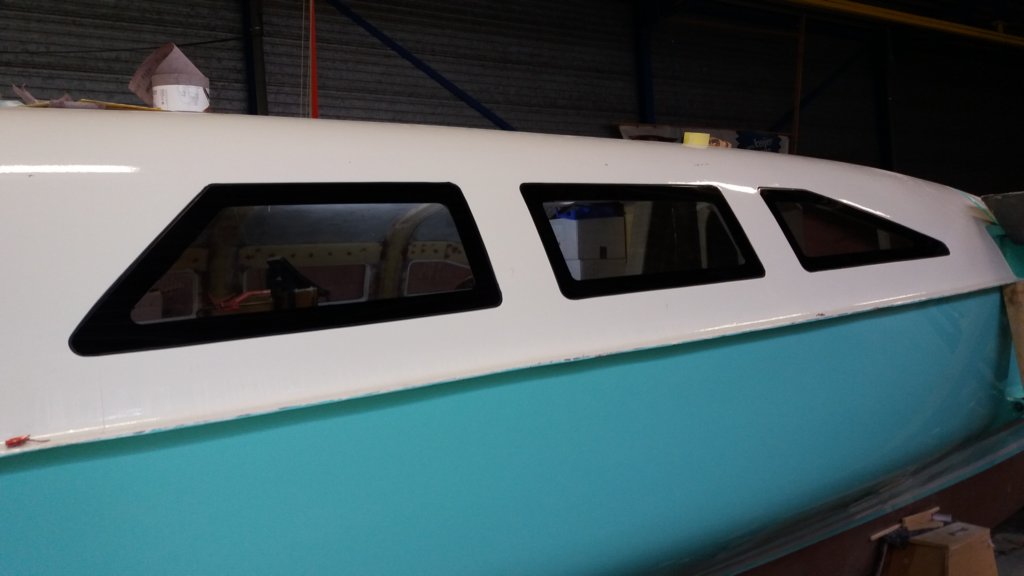
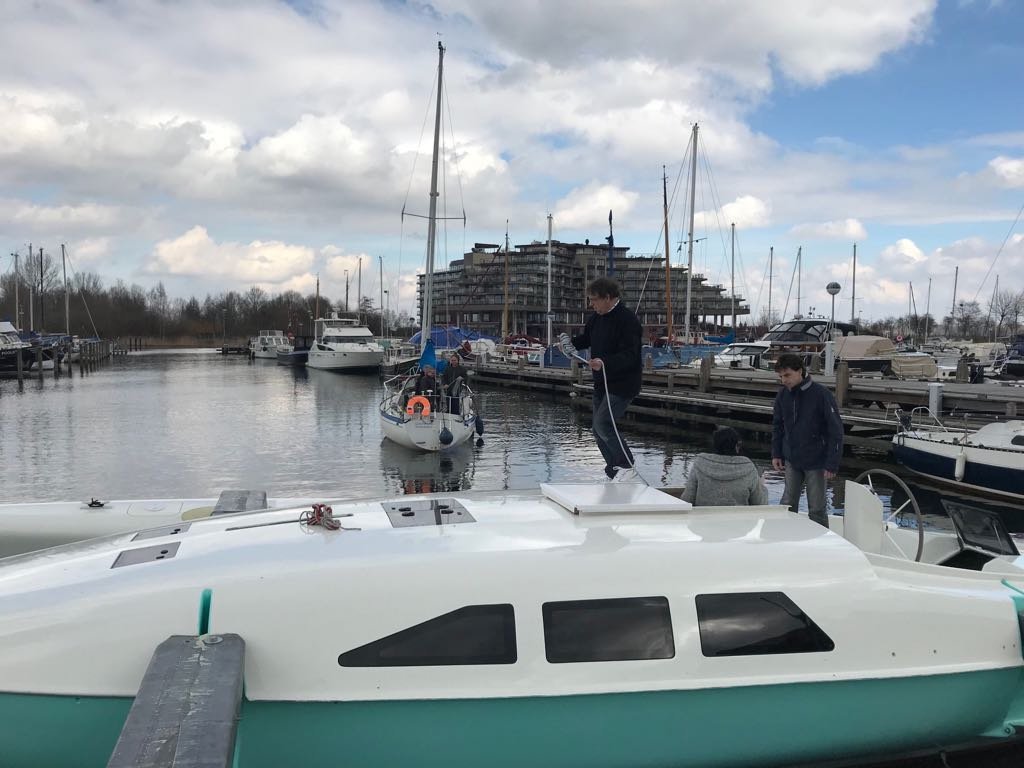
The design calls for bolted windows, but I did not like that solution. Instead, I chose to glue the windows into a rebate, resulting in an outside surface that is almost flush with the hull. Determining the final window dimensions — slightly different from the plans — proved to be a challenge. Eventually I found that the best visual balance was achieved when the window length, measured halfway up the height, was equal for all three windows.
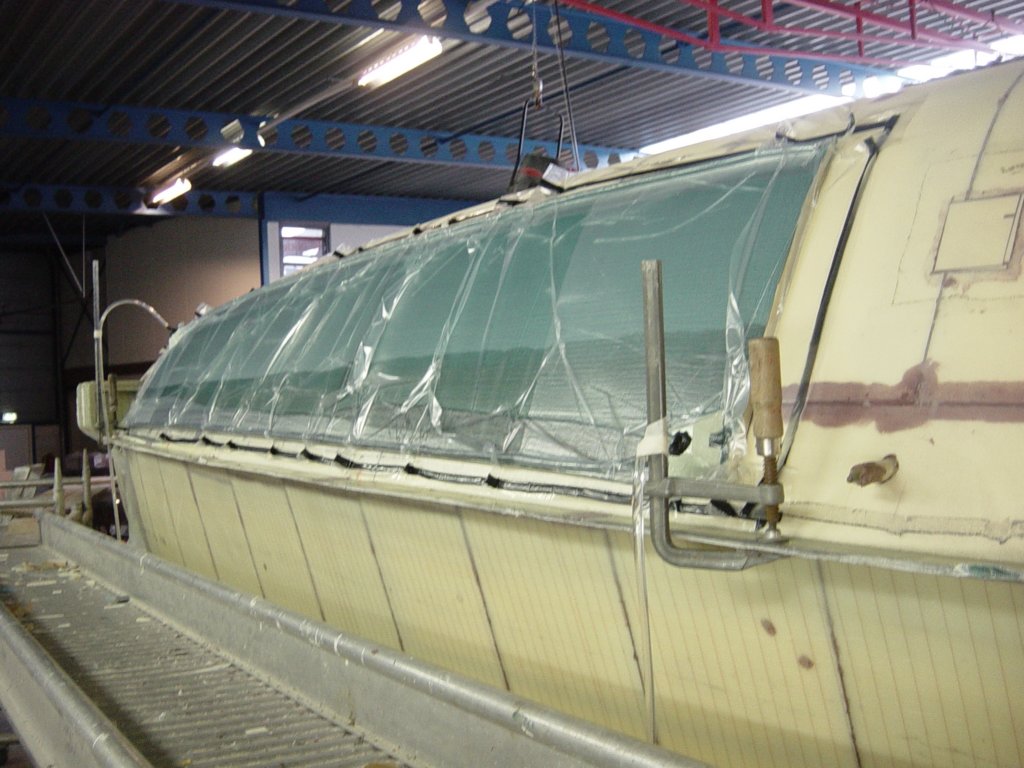
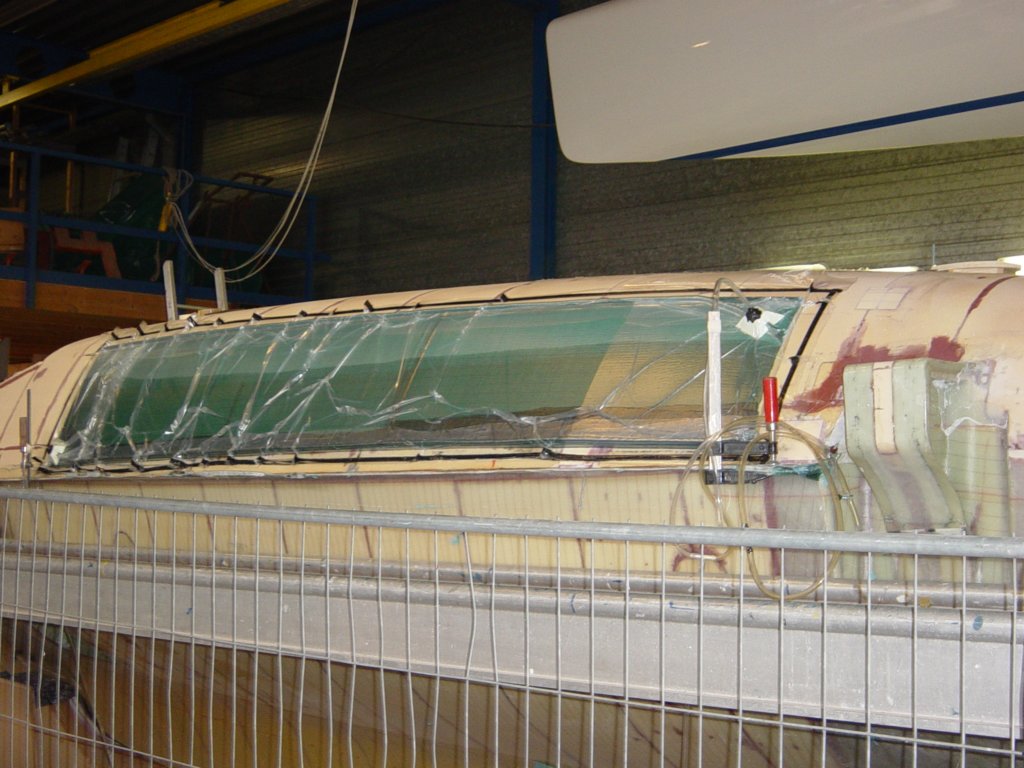
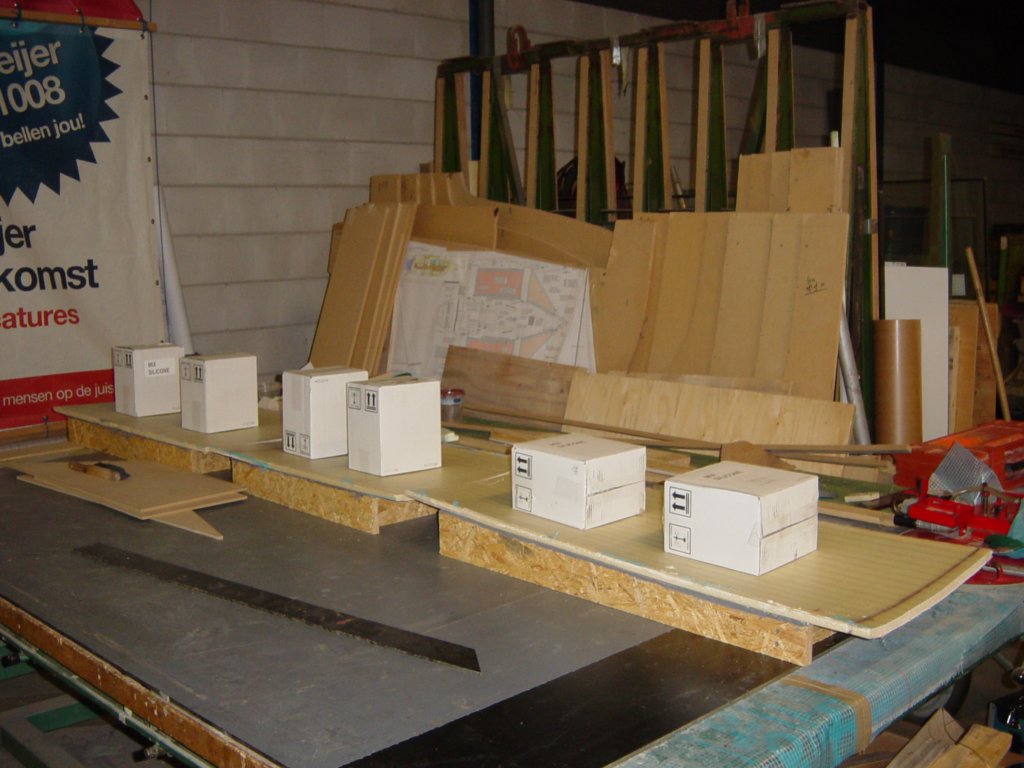
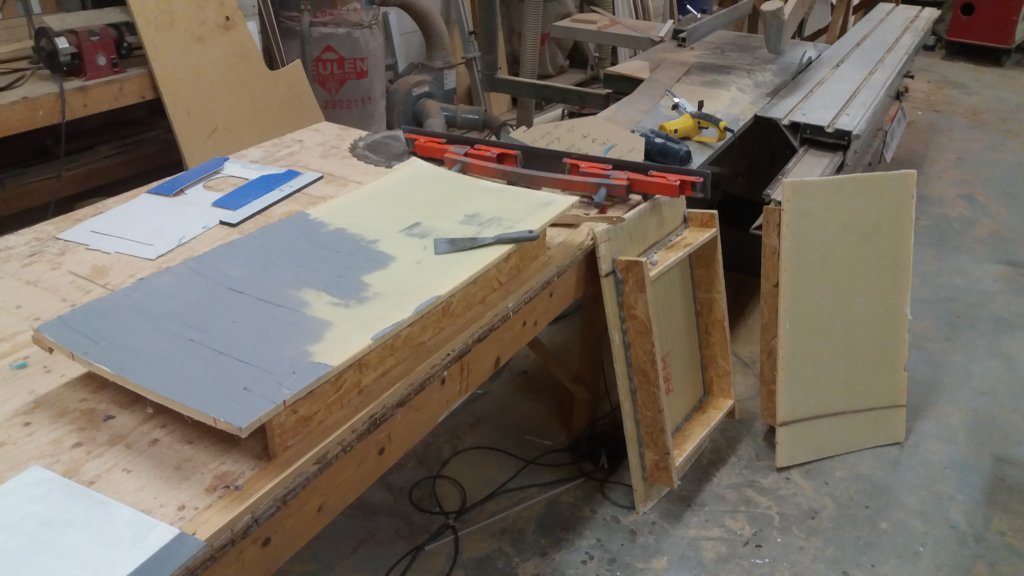
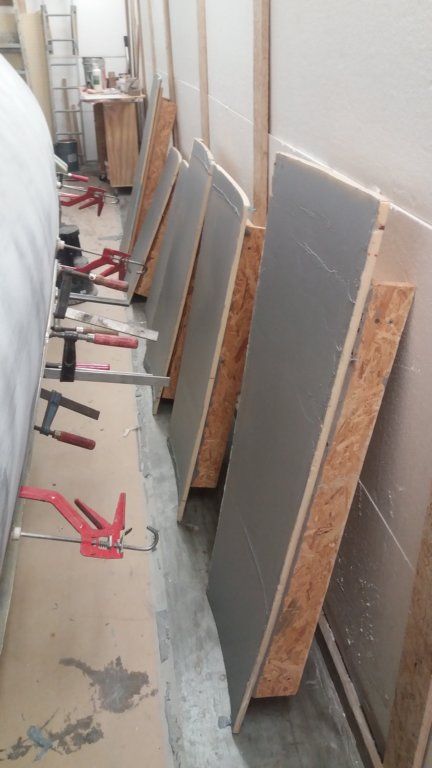
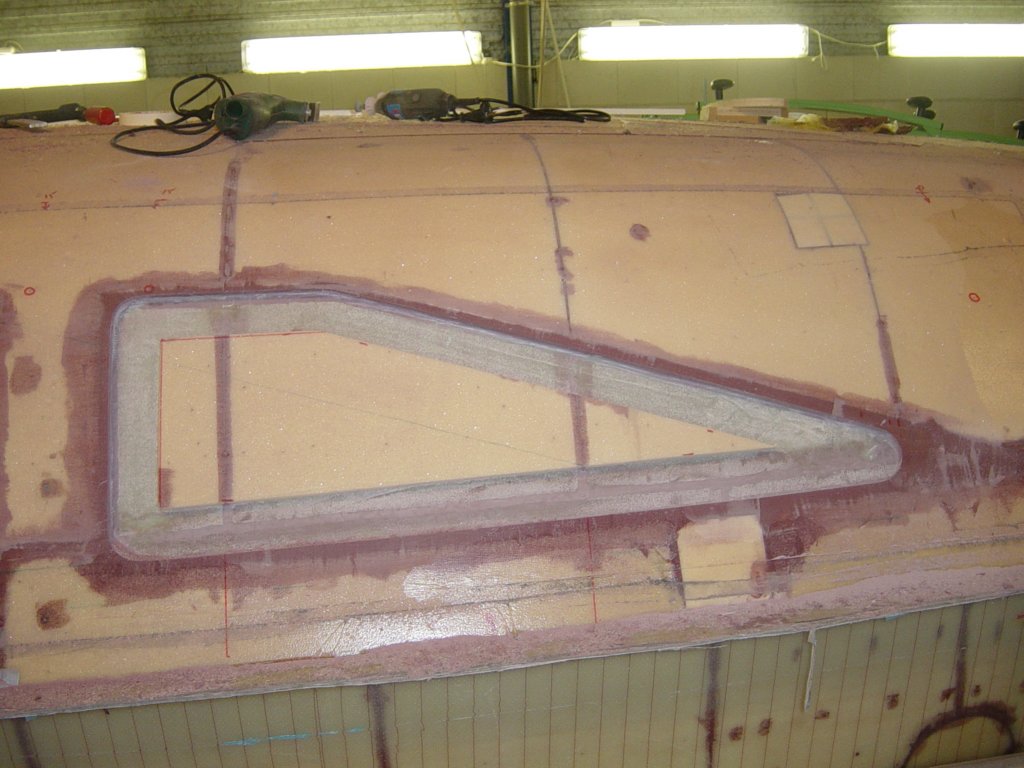
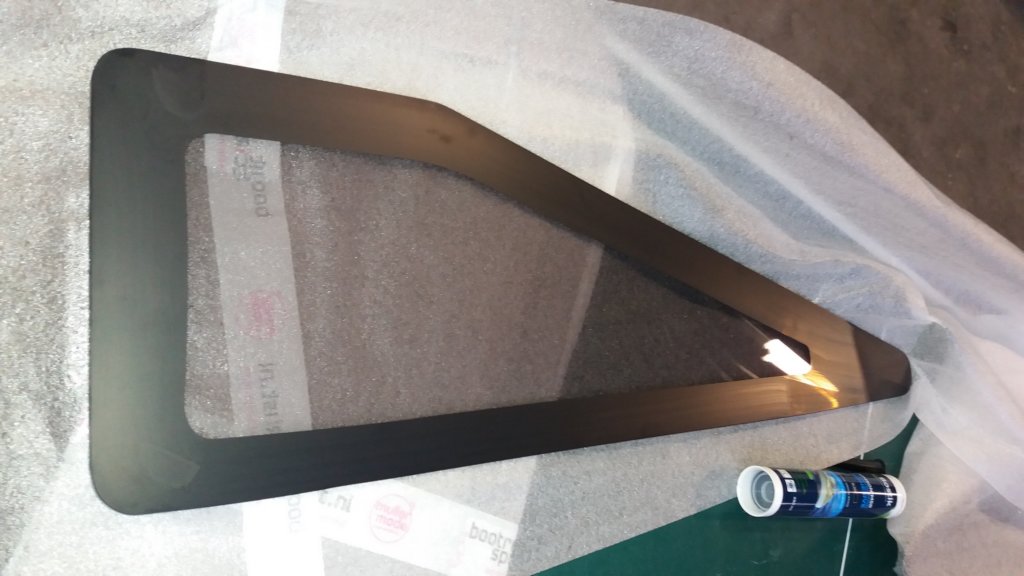
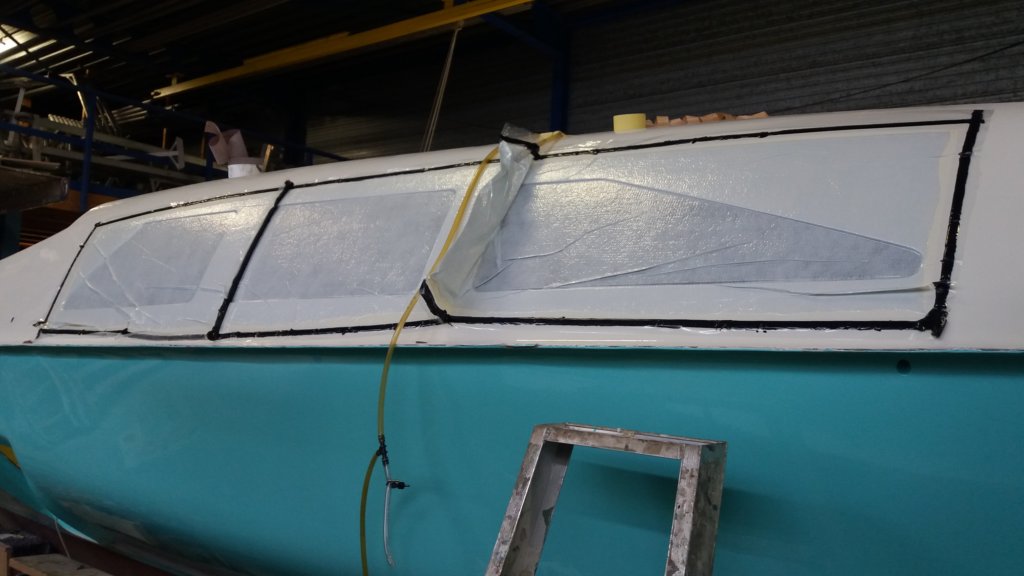
The glazing material is smoke grey acrylic. The windows are curved in two directions, and I preferred to have them pre-curved rather than forcing them into shape during installation (which would not be possible in the vertical direction anyway). To achieve this, I first made moulds with the correct double curvature by infusing sandwich panels directly against the outside of the cabin wall.
The windows themselves were outsourced to a local specialist, de bootruitenspecialist. They thermoformed the acrylic sheets in an oven using my moulds to achieve the exact curvature. The window dimensions were digitised and stored in their database. The result is excellent: the windows fit perfectly.
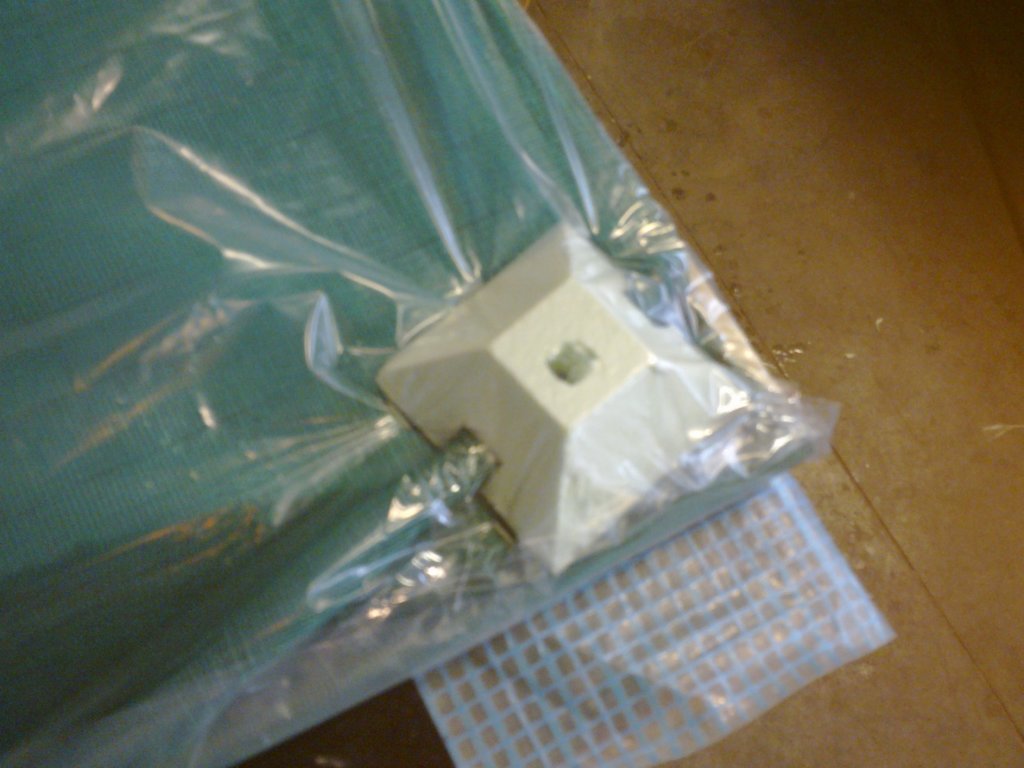
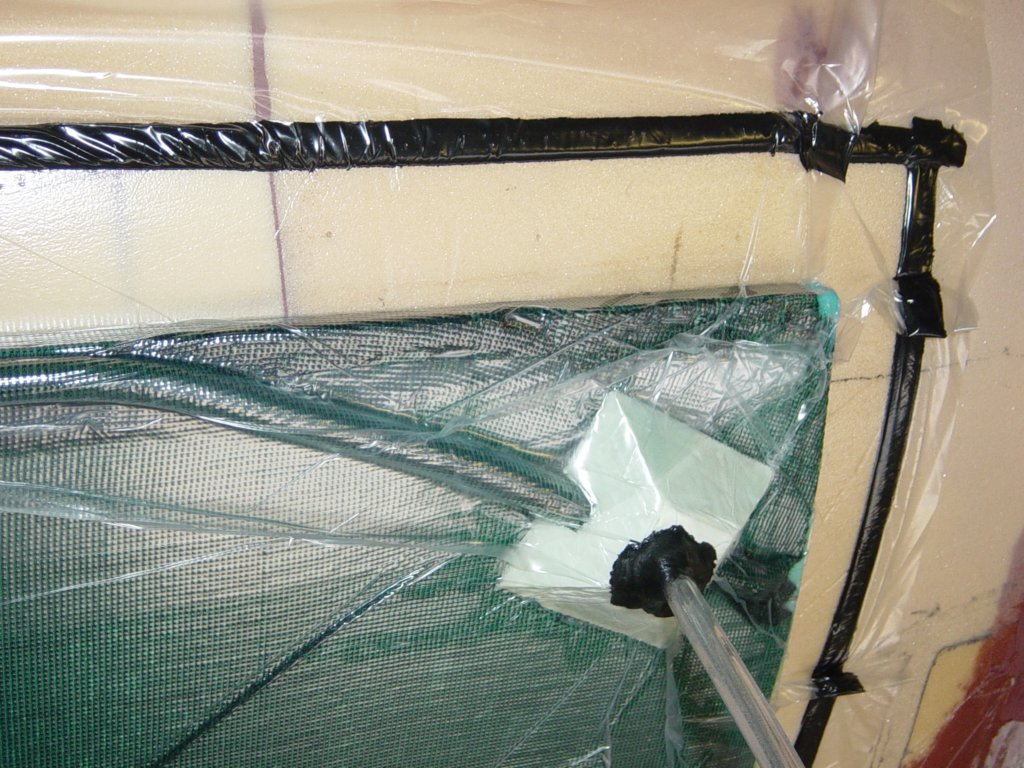
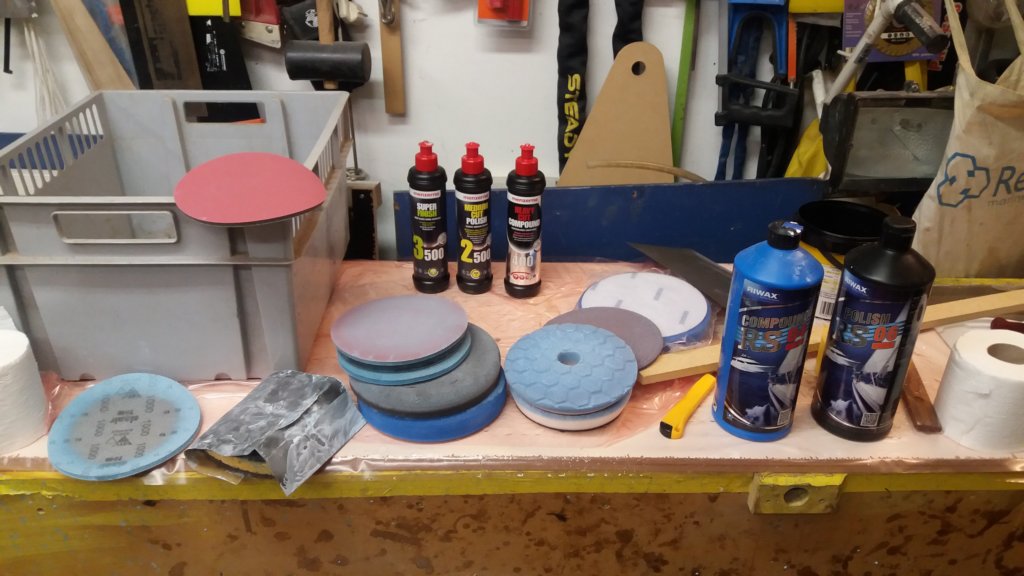
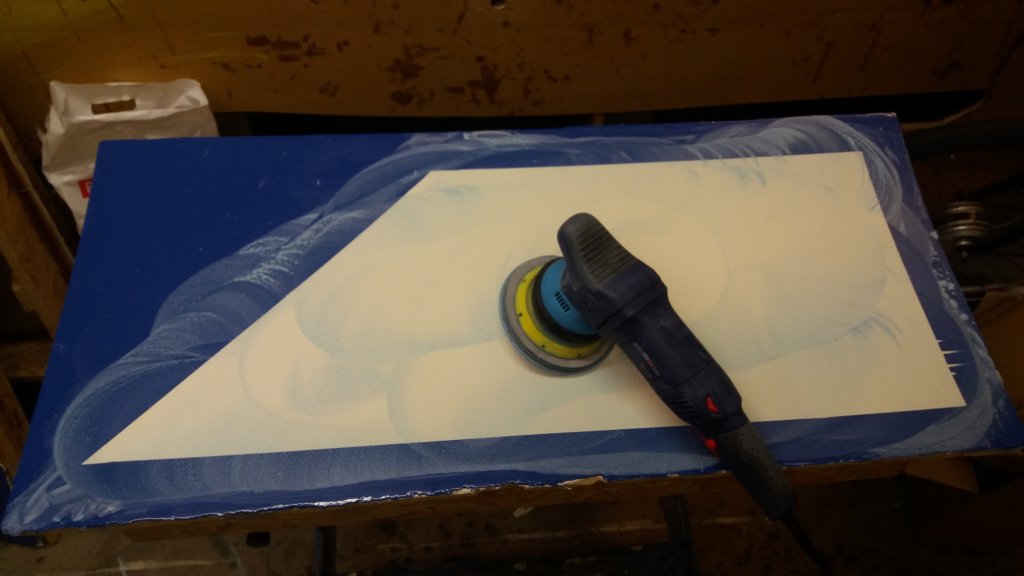
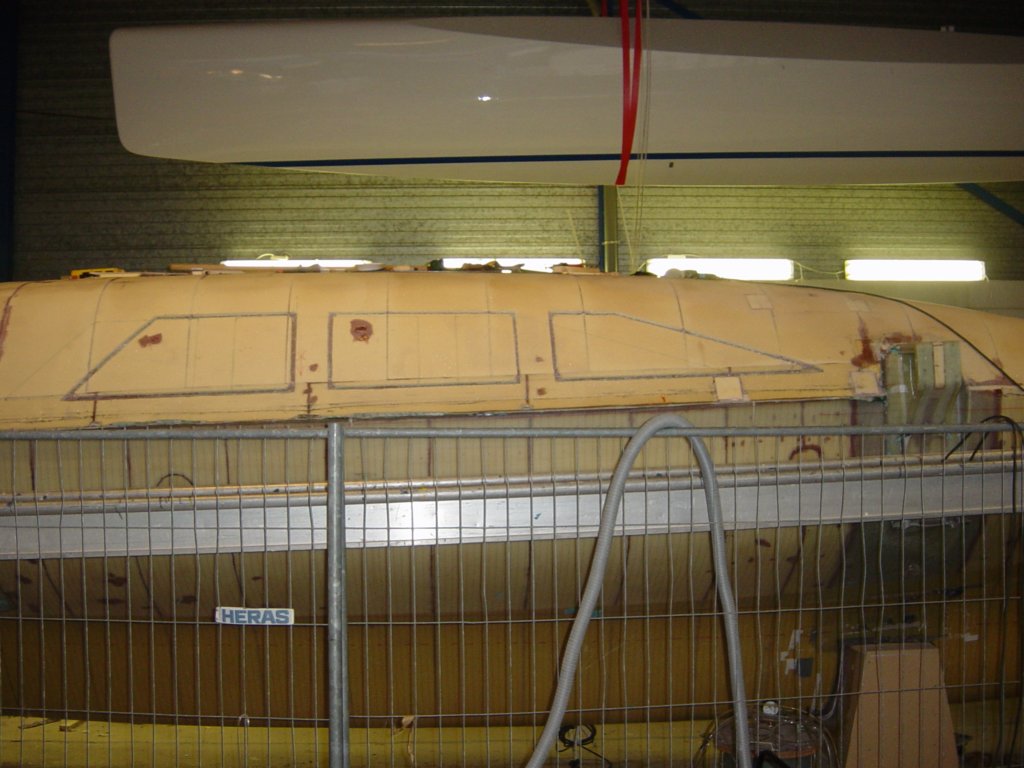
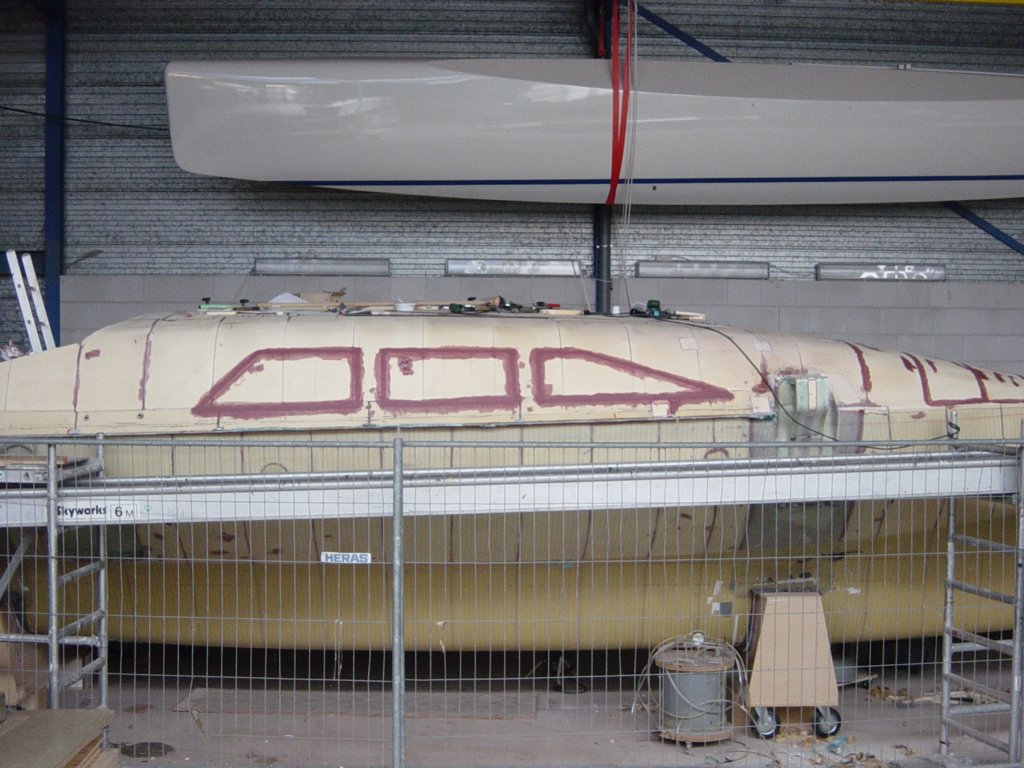
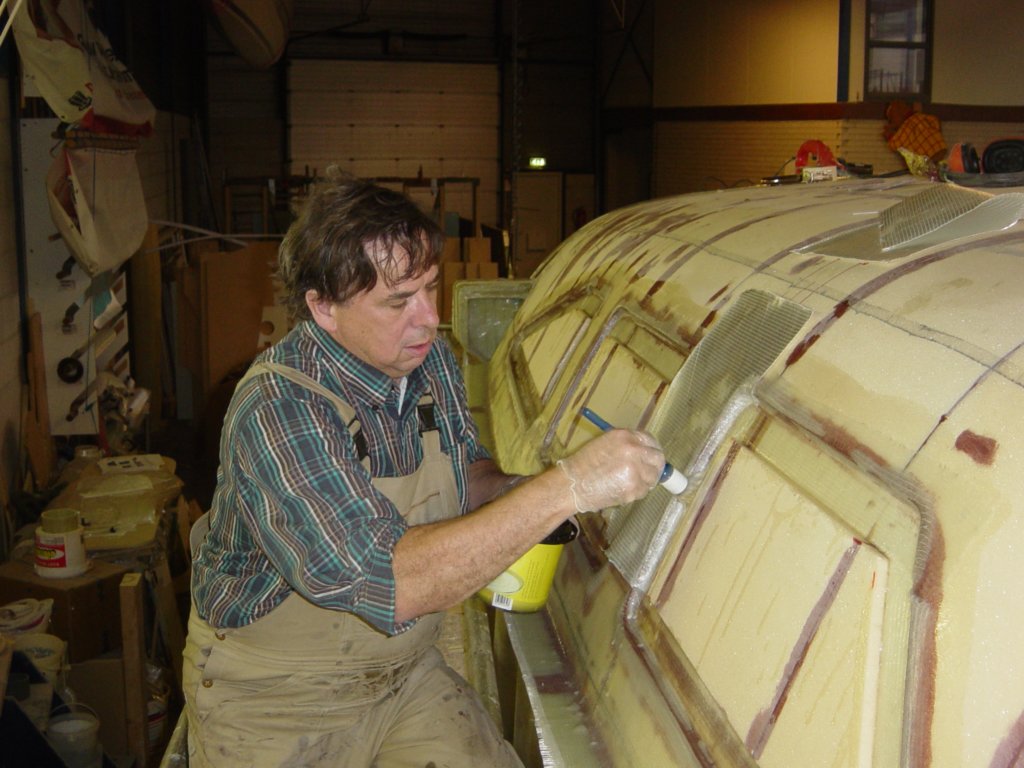
This photo gallery (55 images) documents the complete process of making the cabin windows, from mould construction and rebate preparation to laminating, bonding, sealing, and the final installation of the thermoformed acrylic windows.
