Before the main hull setup started, I built the beam bulkheads first. They are structural, they define the folding system geometry, and they are a major composite job: infused panels, heavy reinforcements, and—unavoidably—vacuum bagging.
Beam Bulkheads
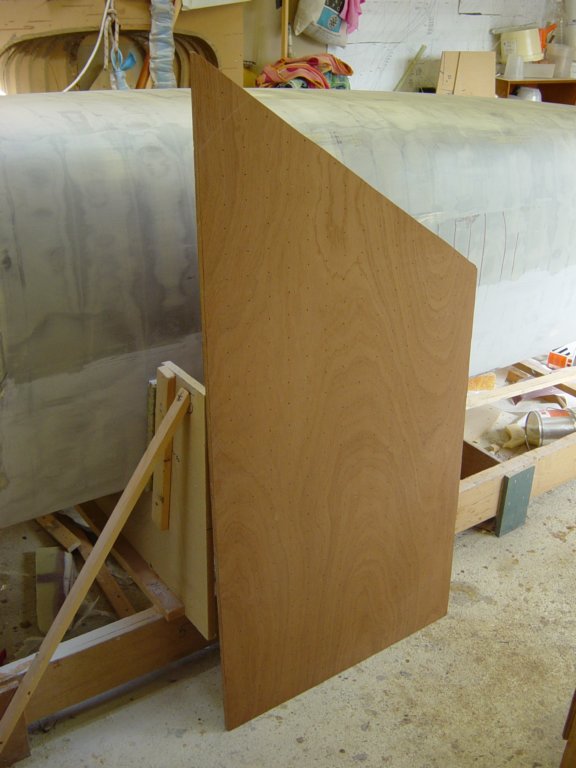
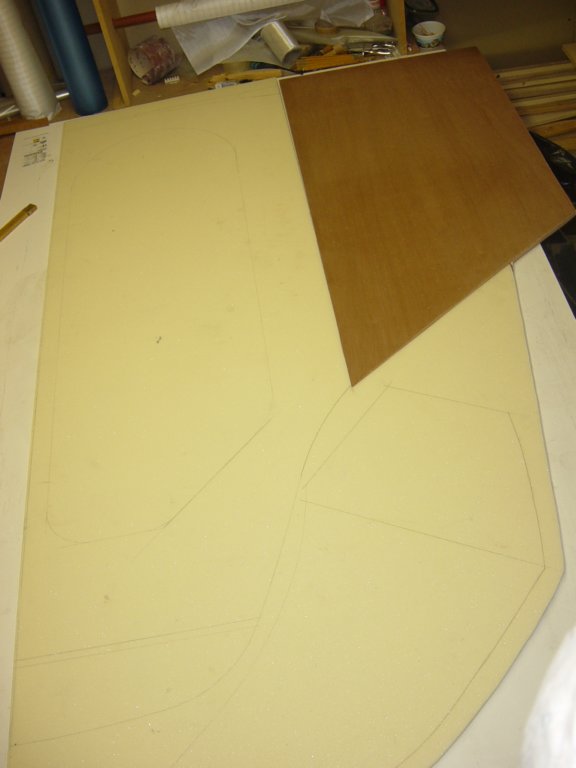
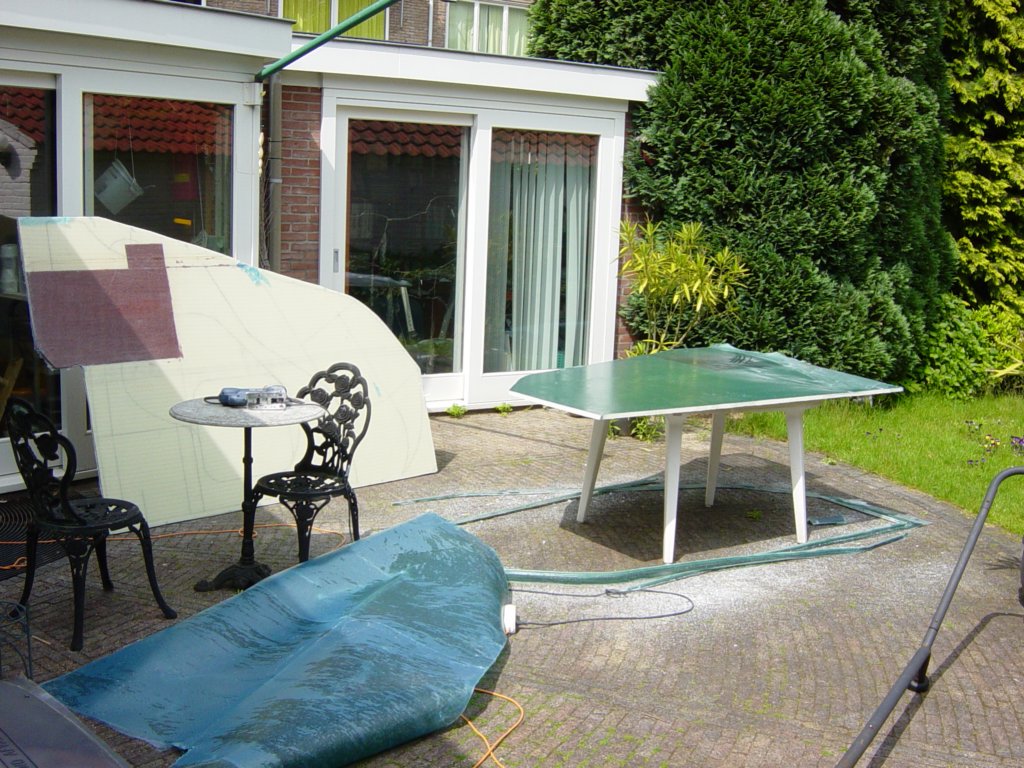
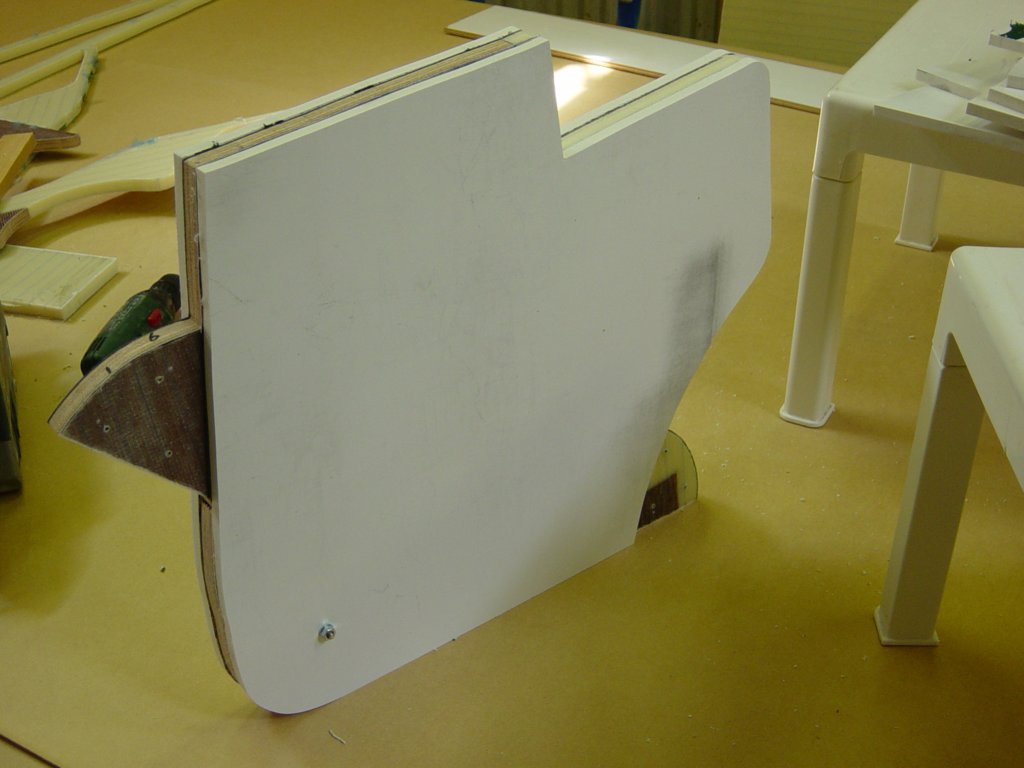
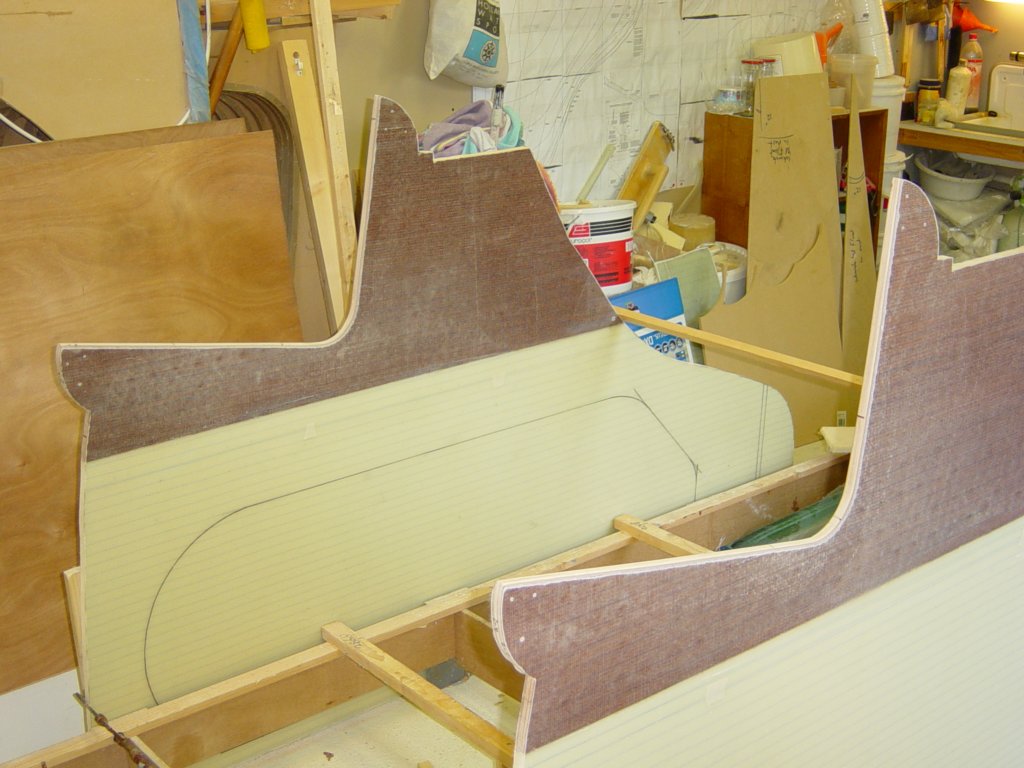
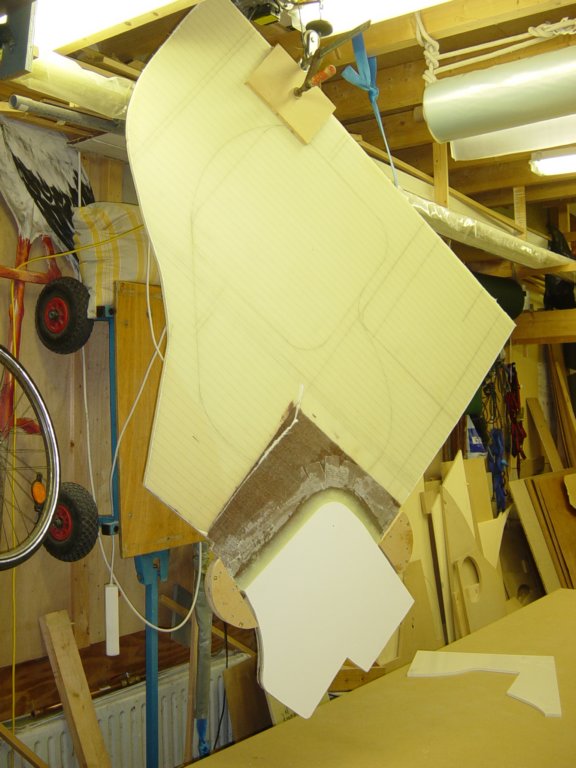
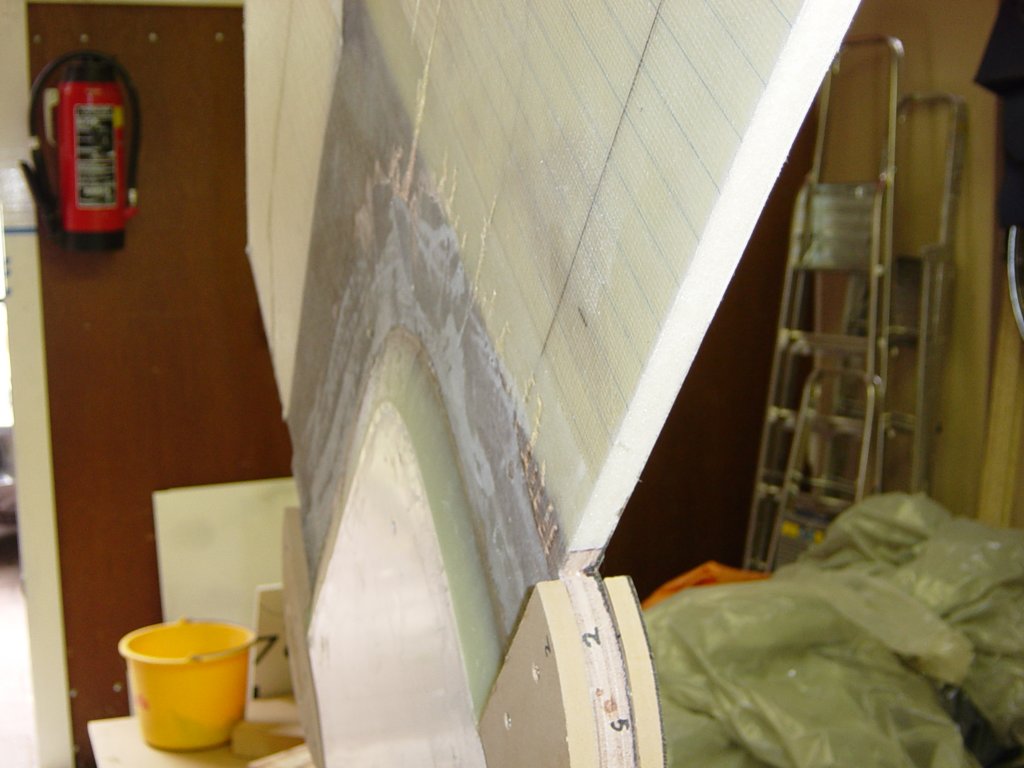
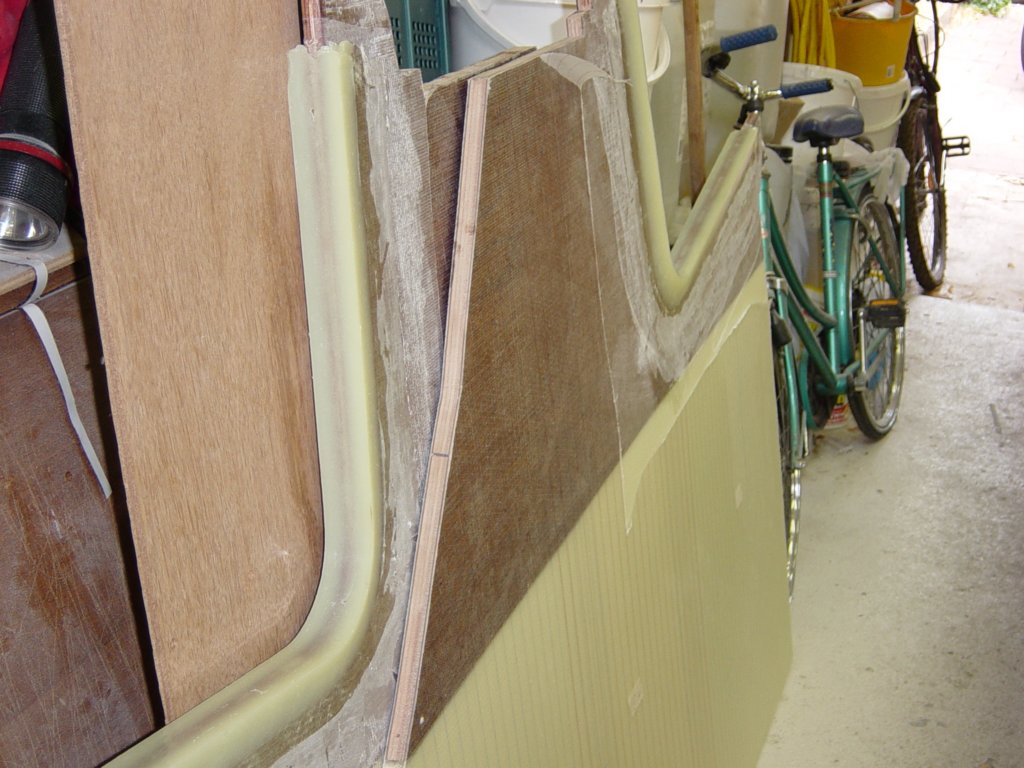
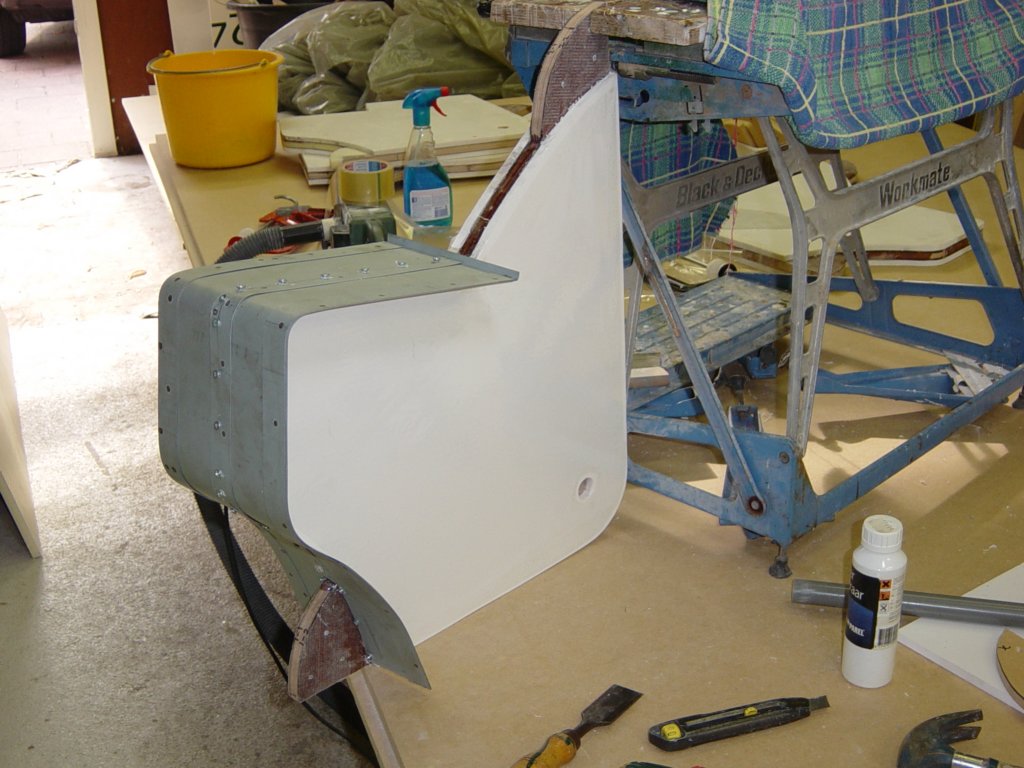
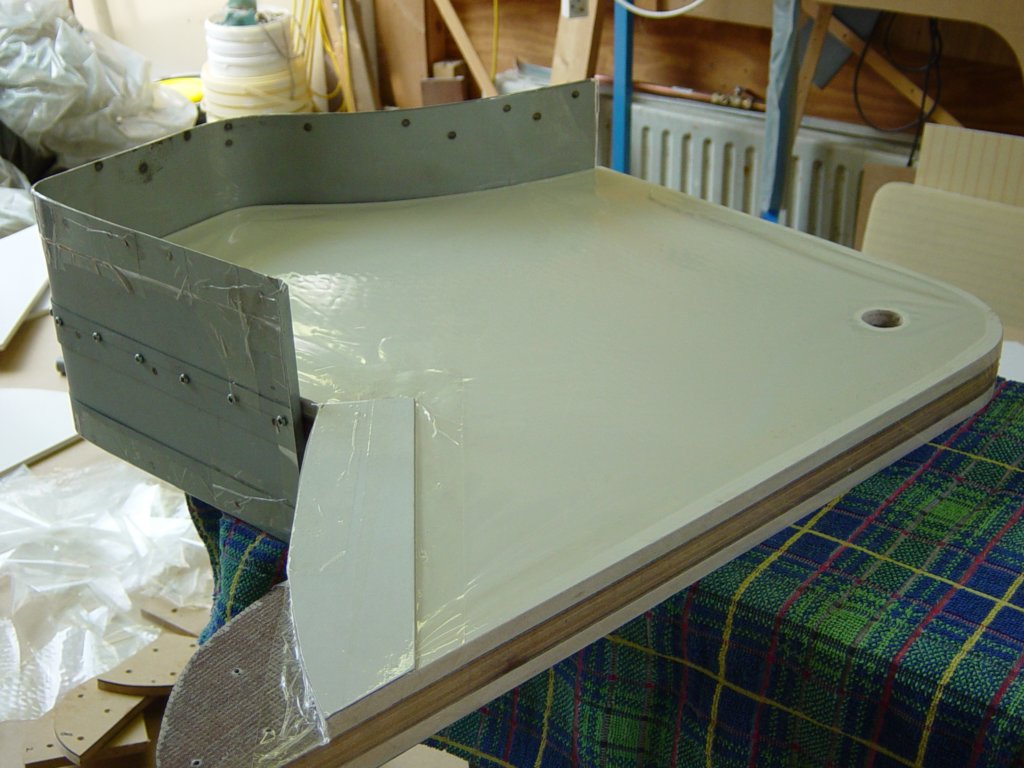
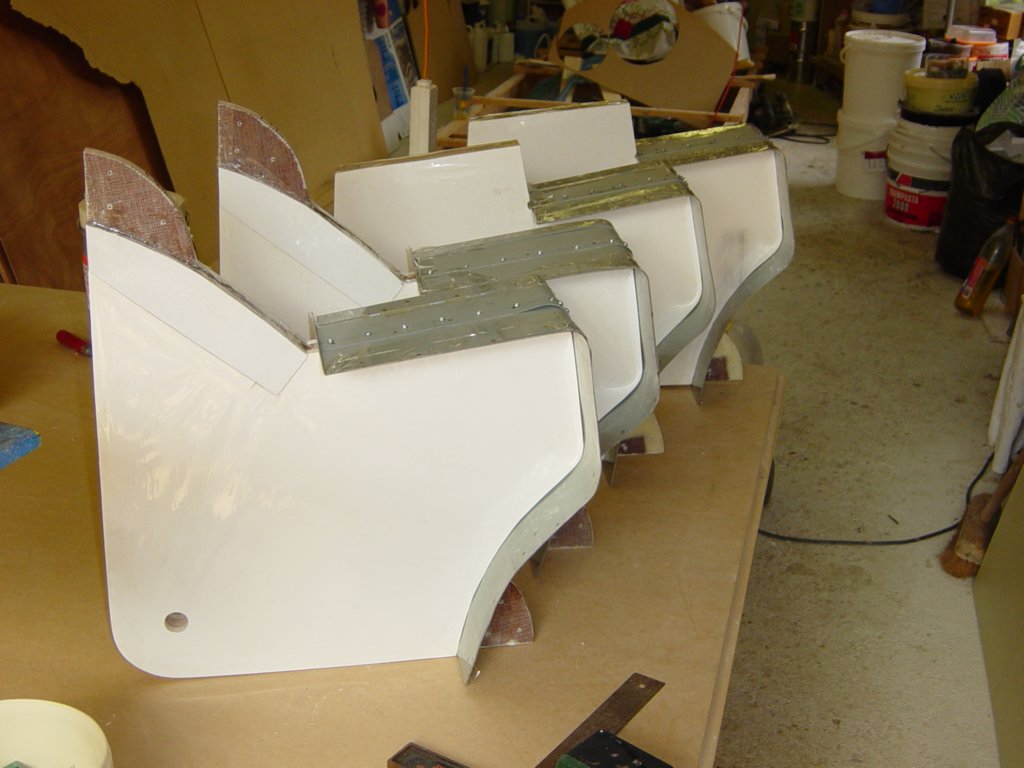
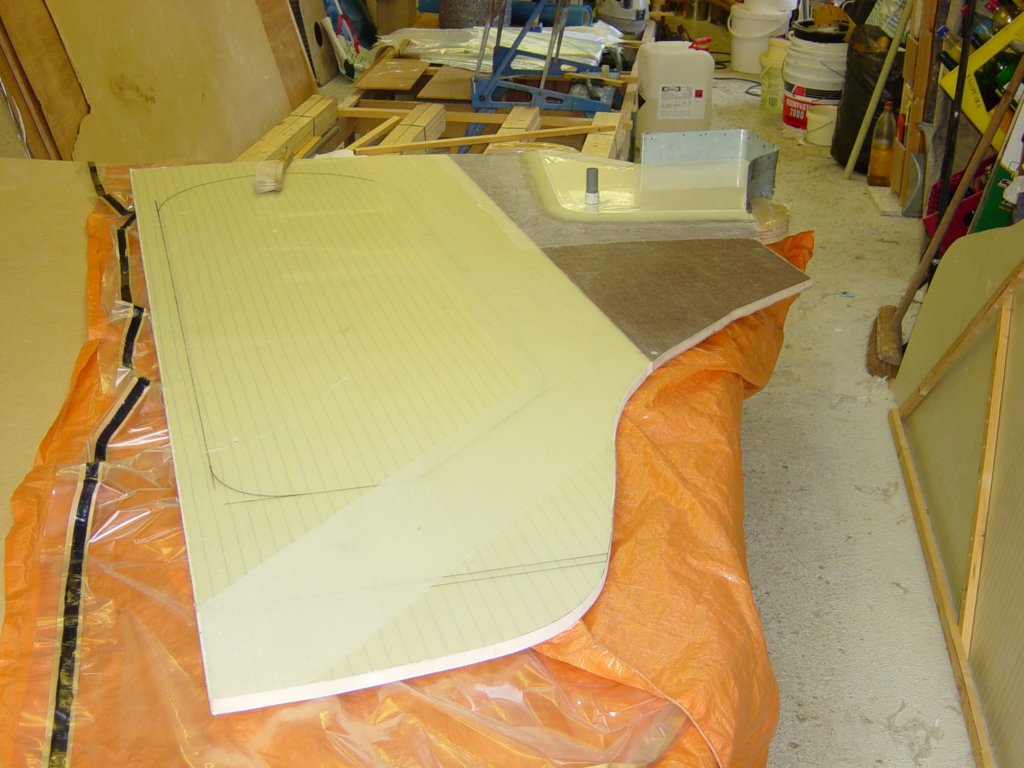
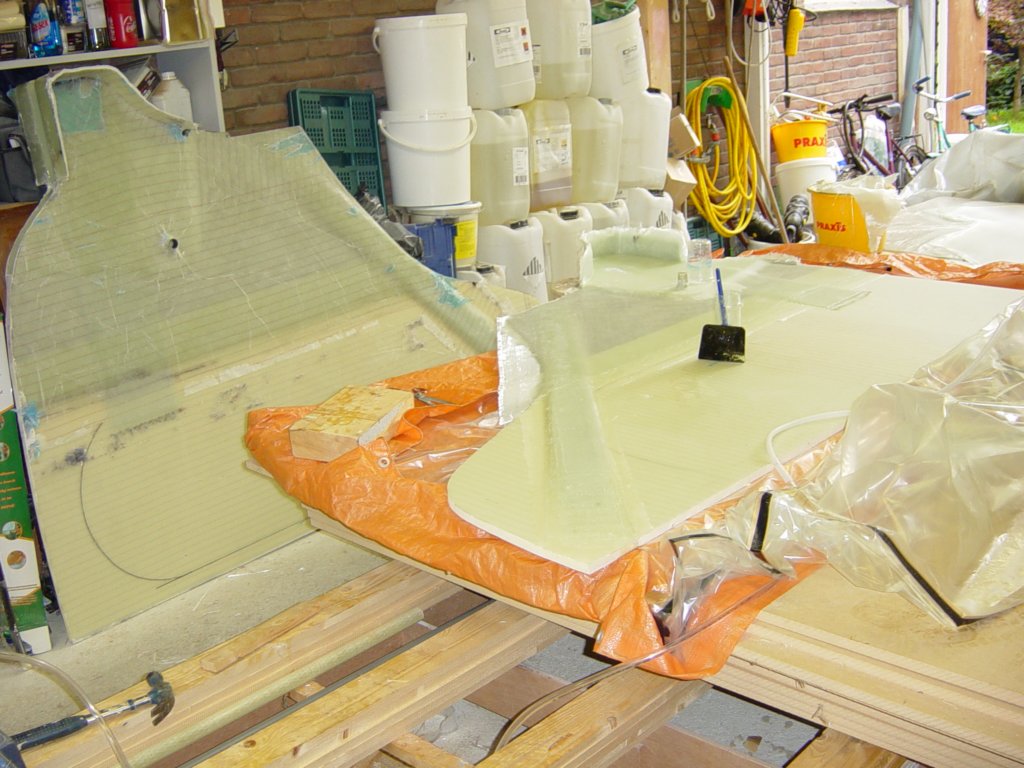
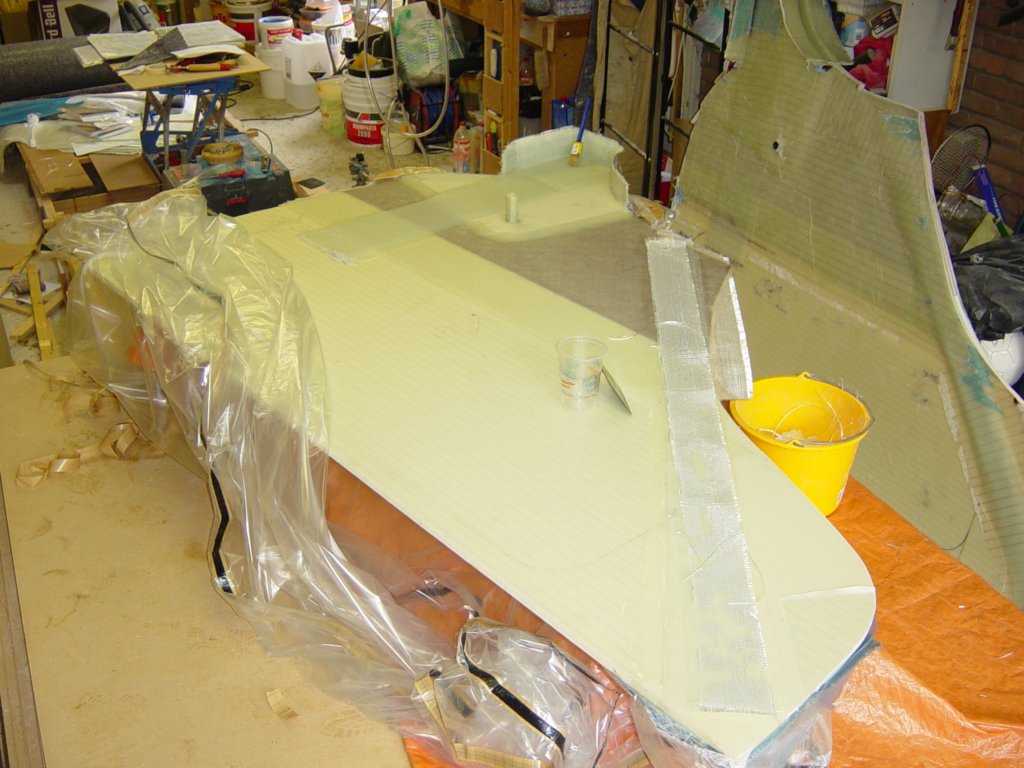
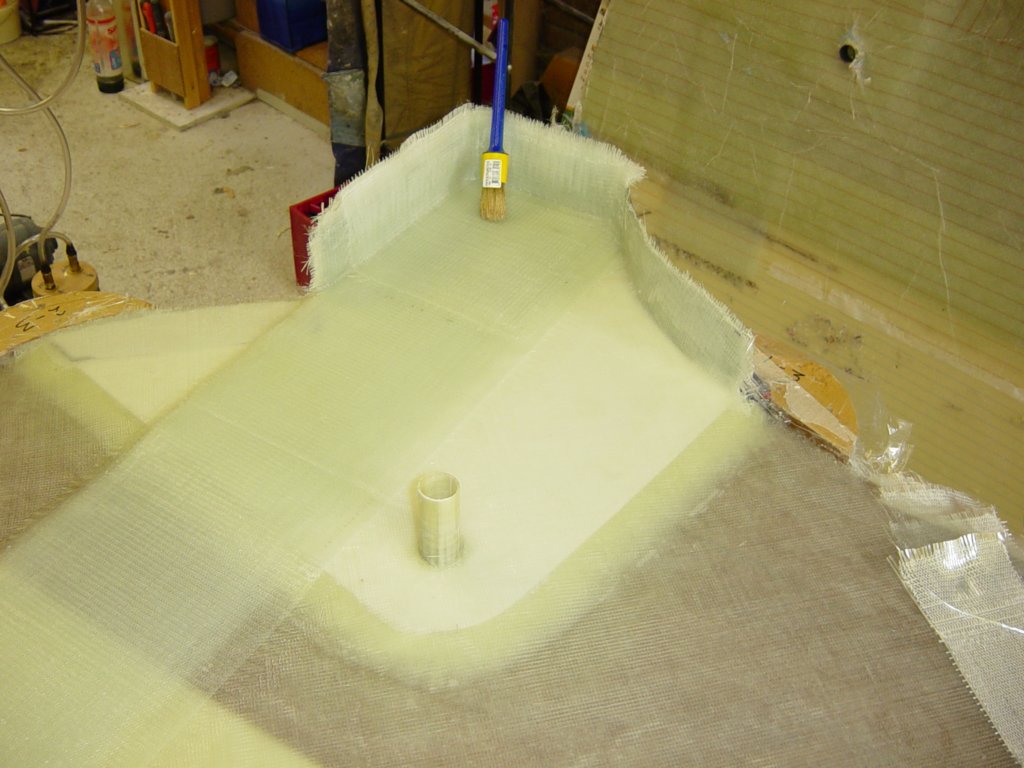
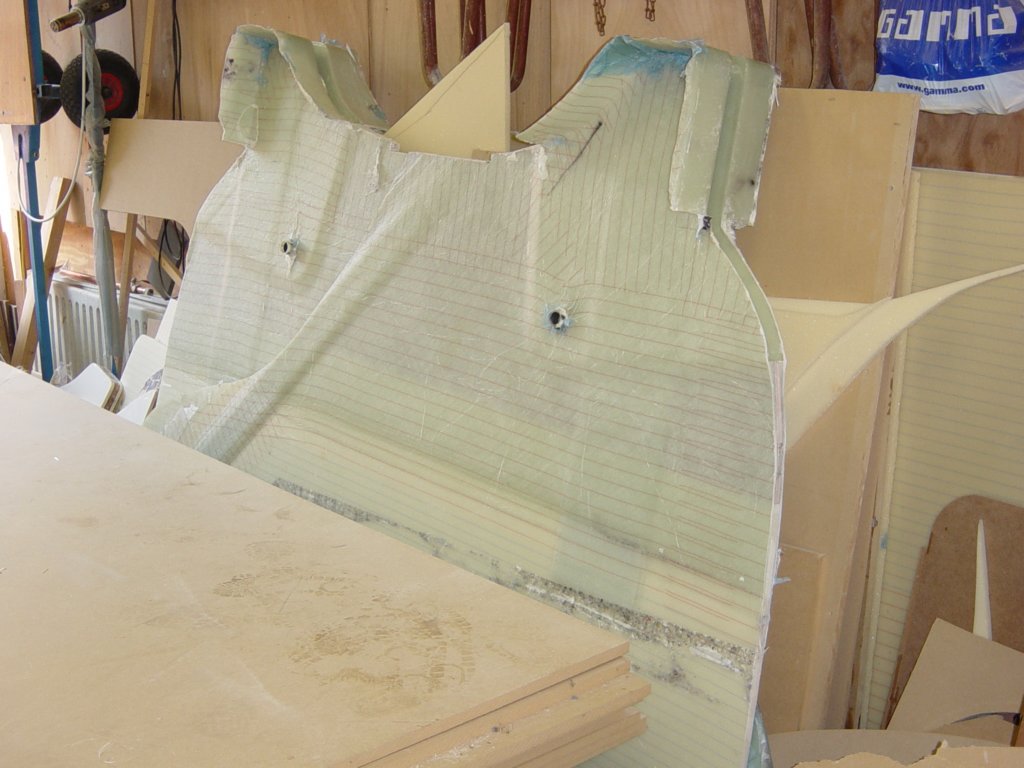
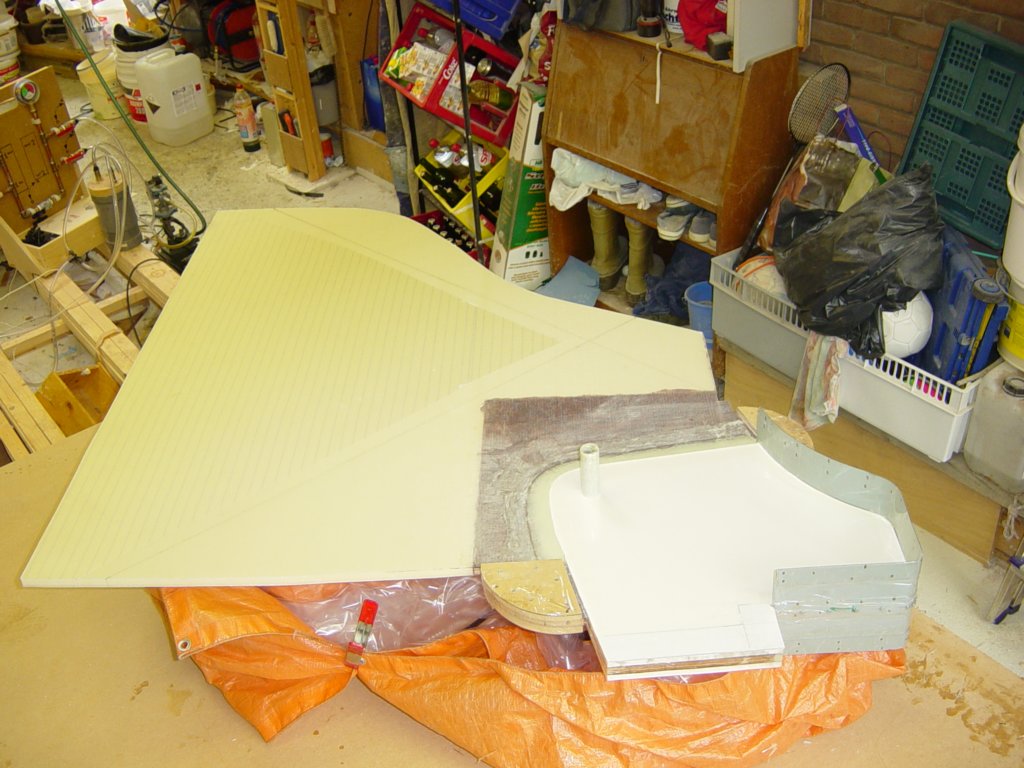
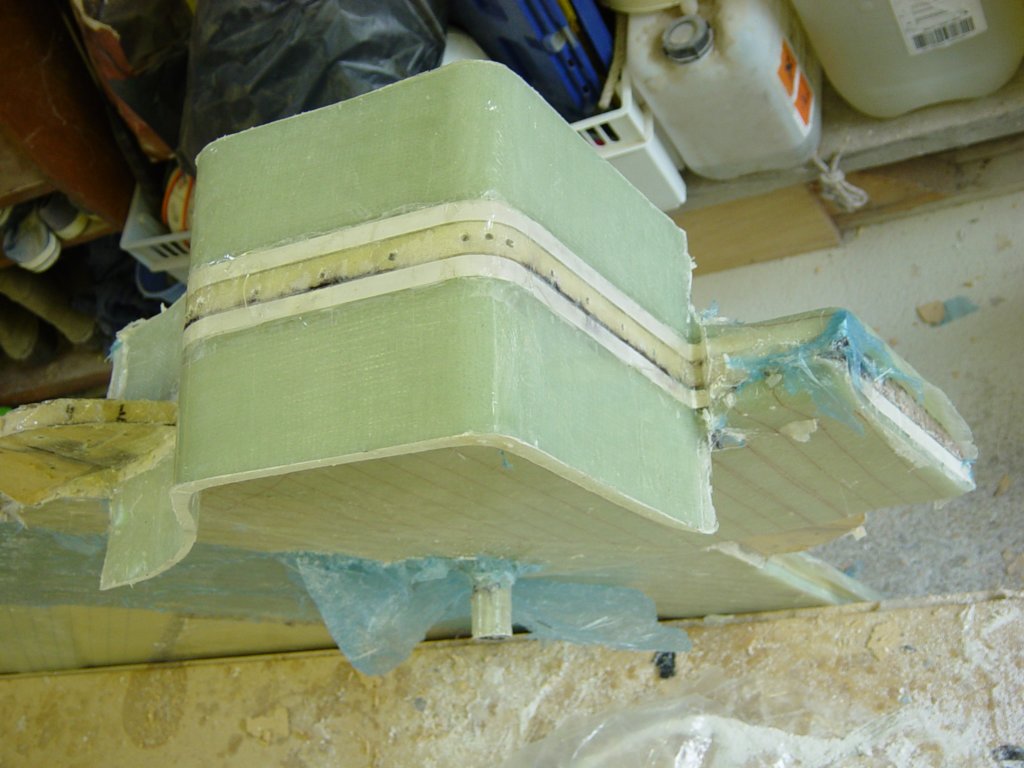
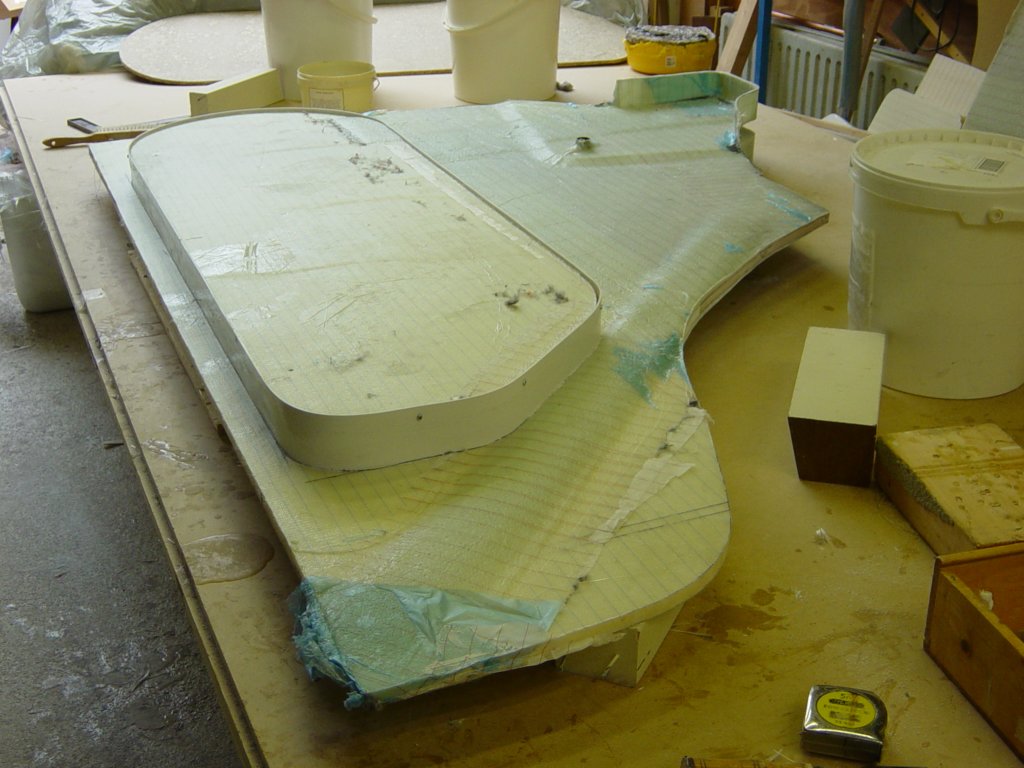
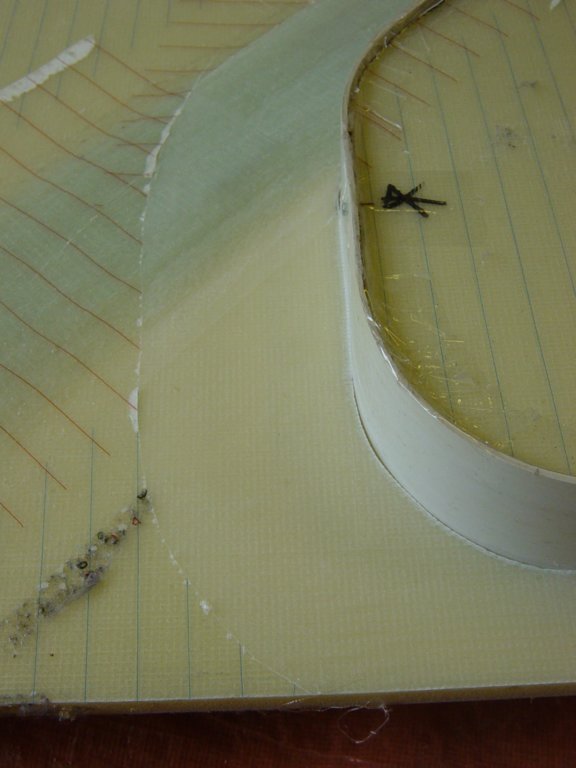
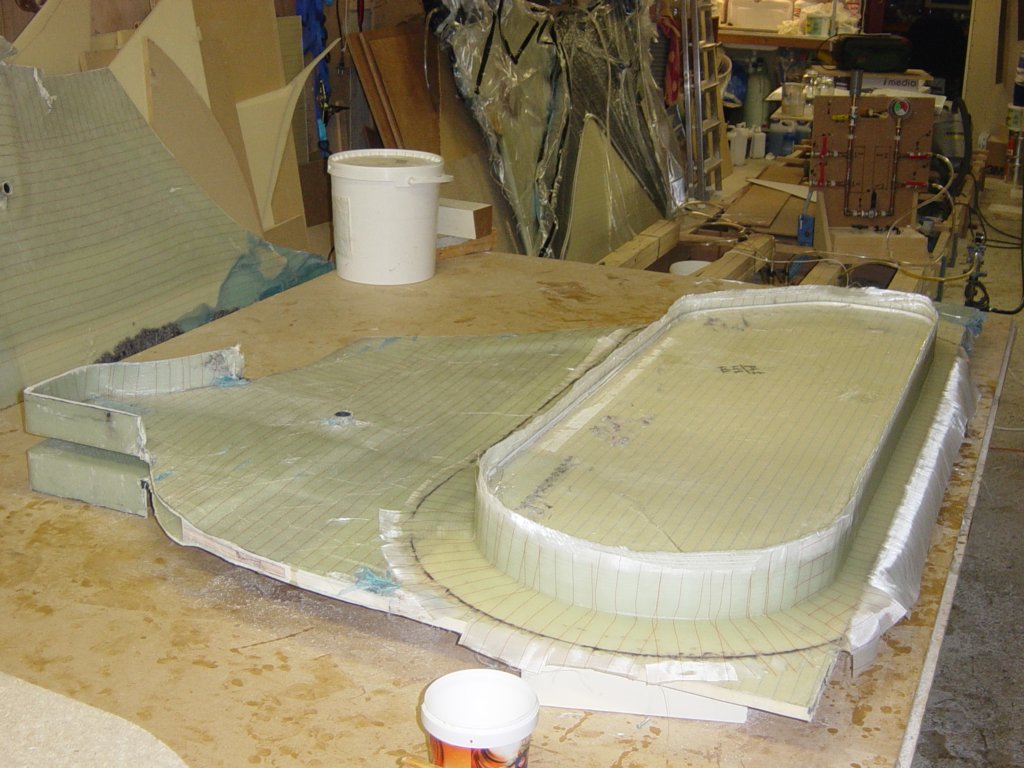
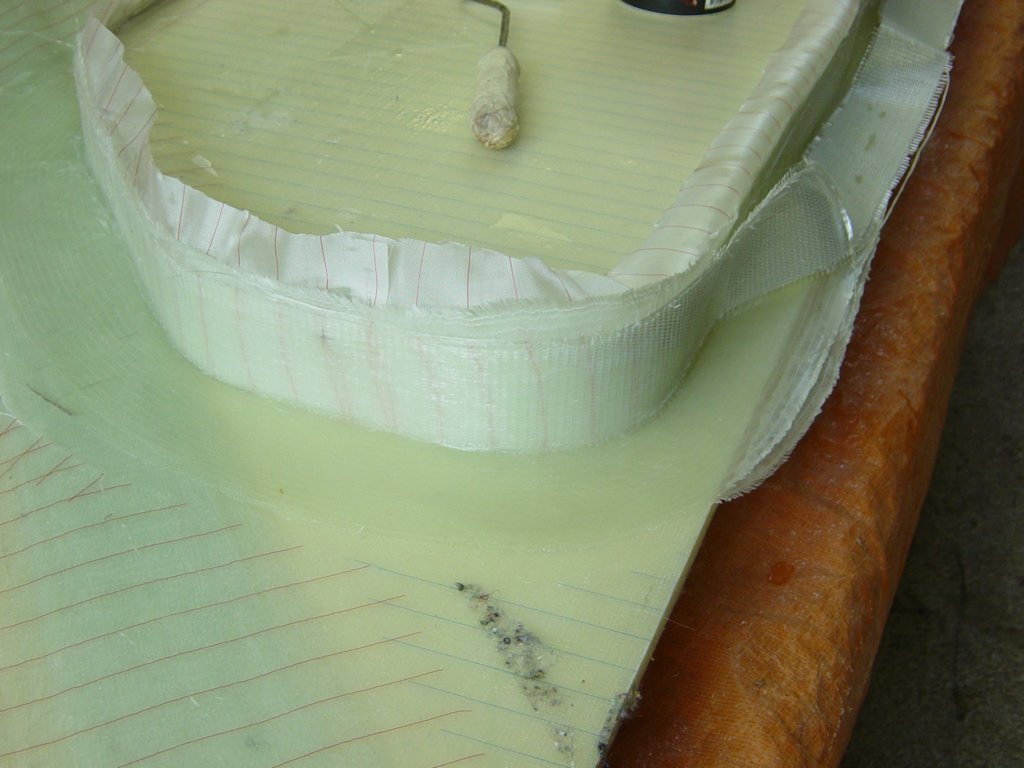
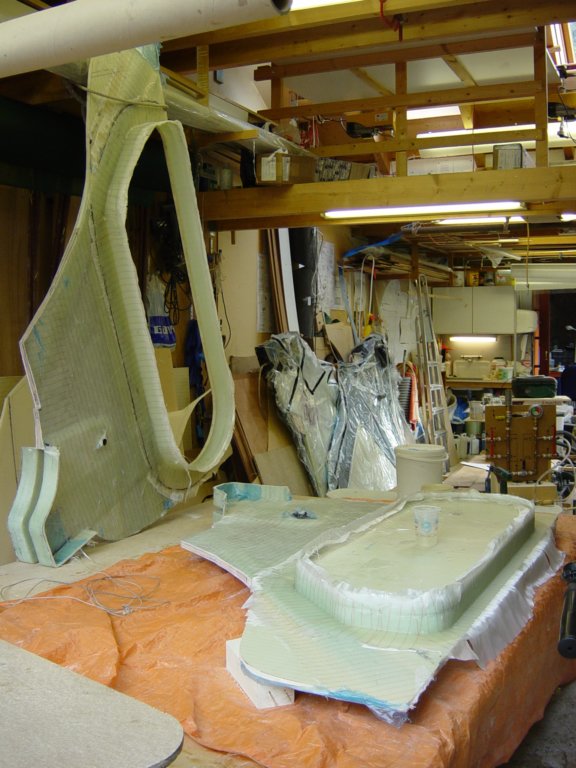
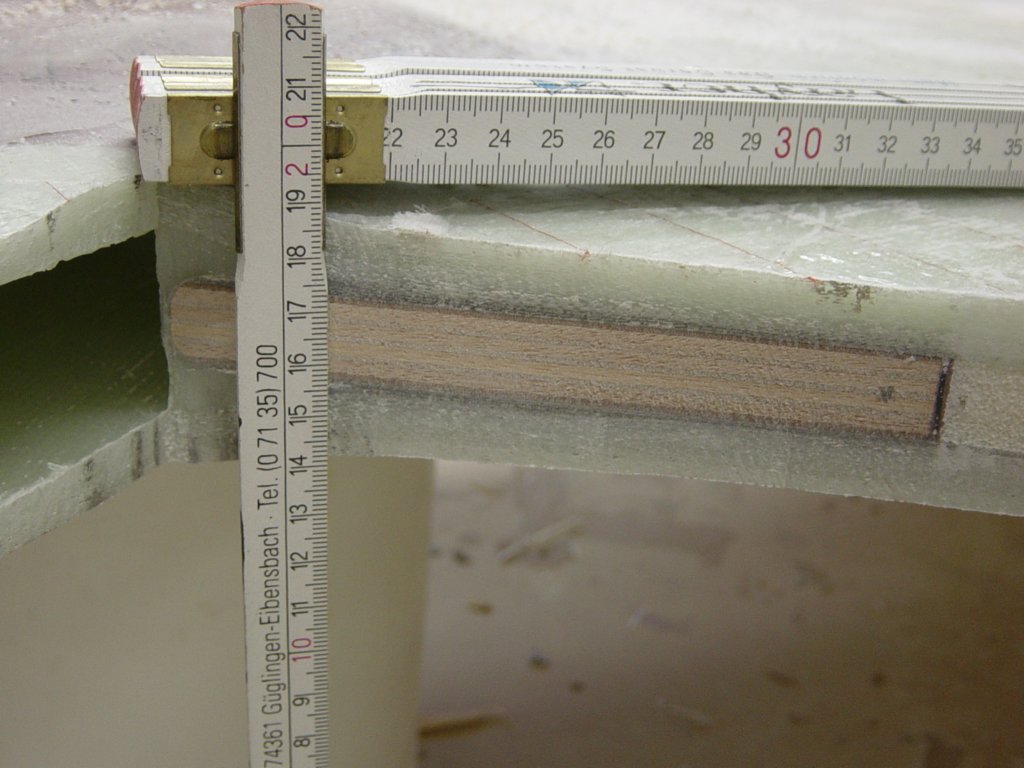
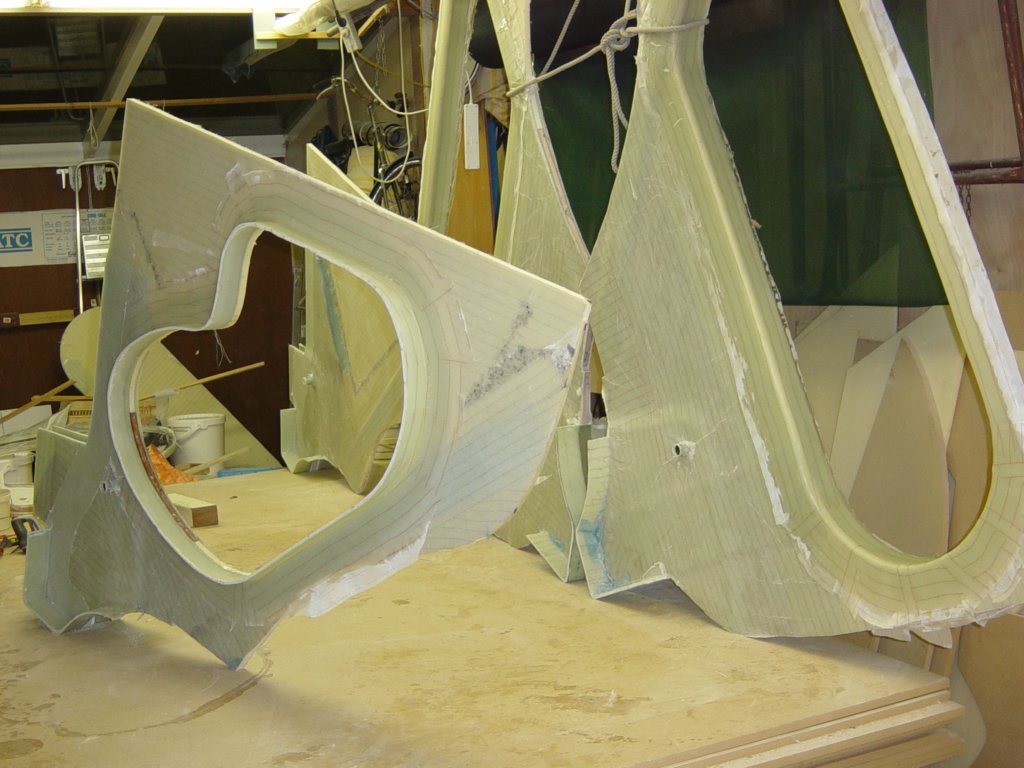
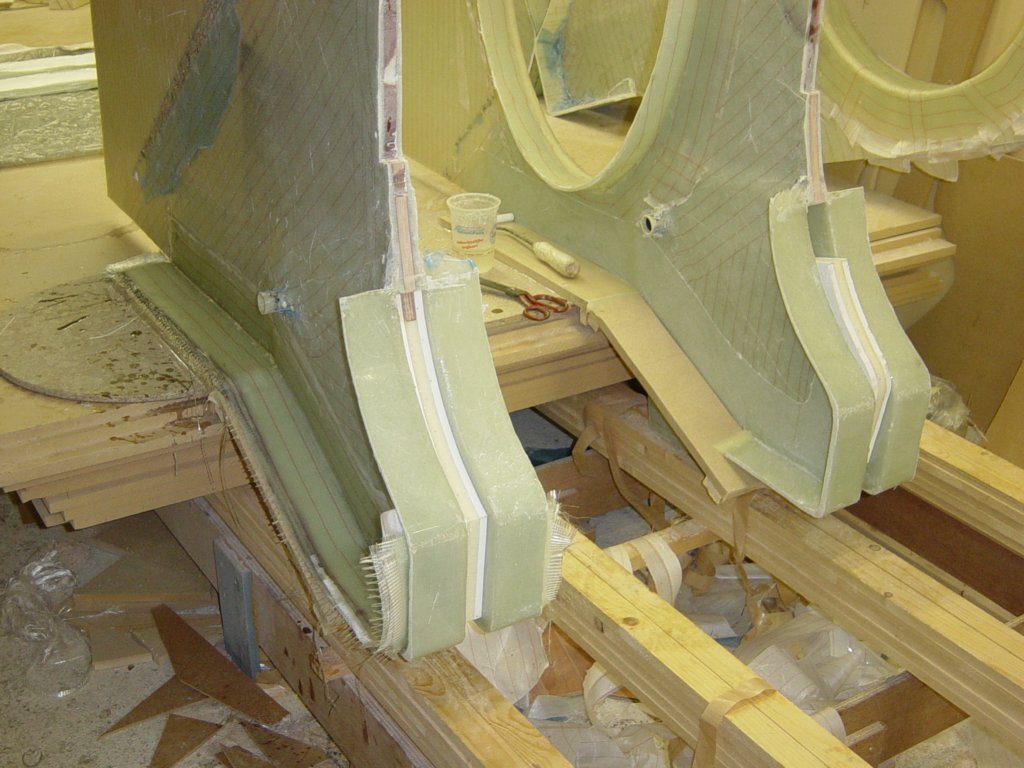
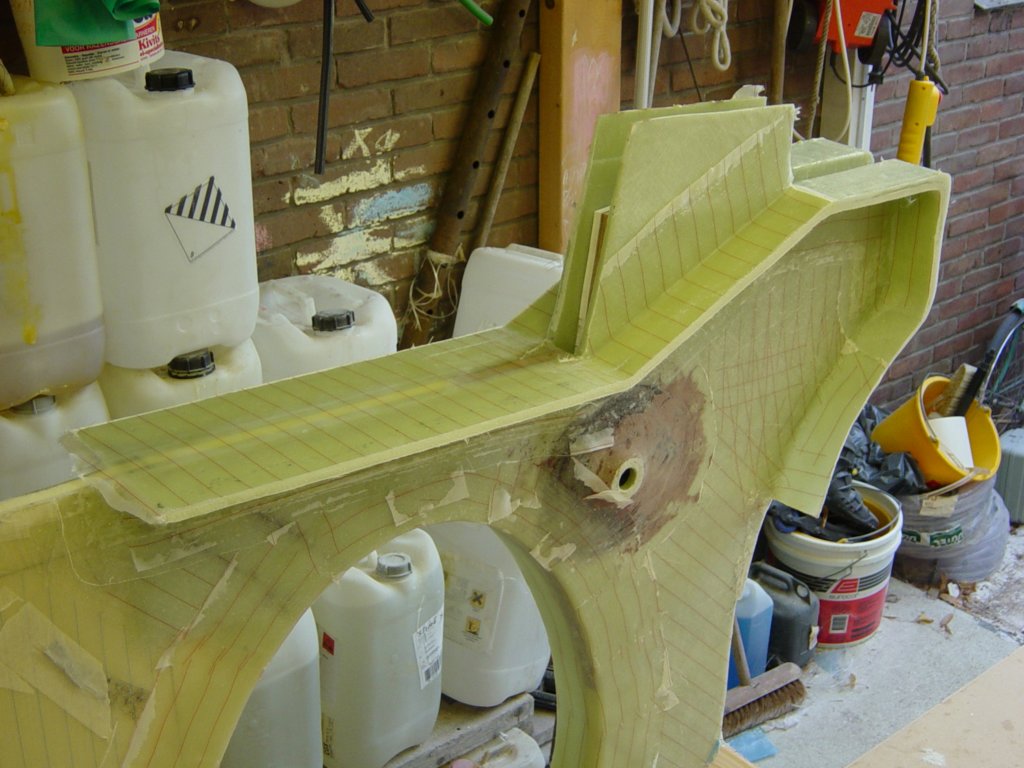
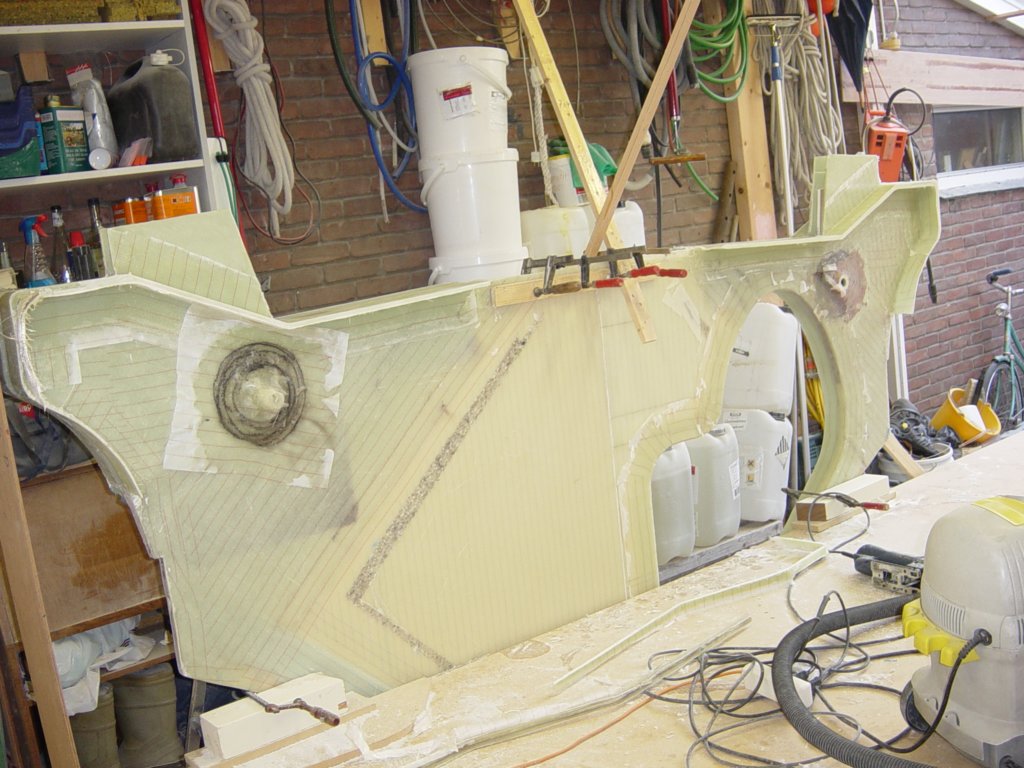
Before setting up the main hull — and while I still had the space — I built the beam bulkheads first. They are structural elements, but they also require dedicated geometry and reinforcements for the folding mechanism. In practice, this became a substantial composite job: infused panels for the basic bulkhead blanks, followed by extensive local build-ups and secondary laminations.
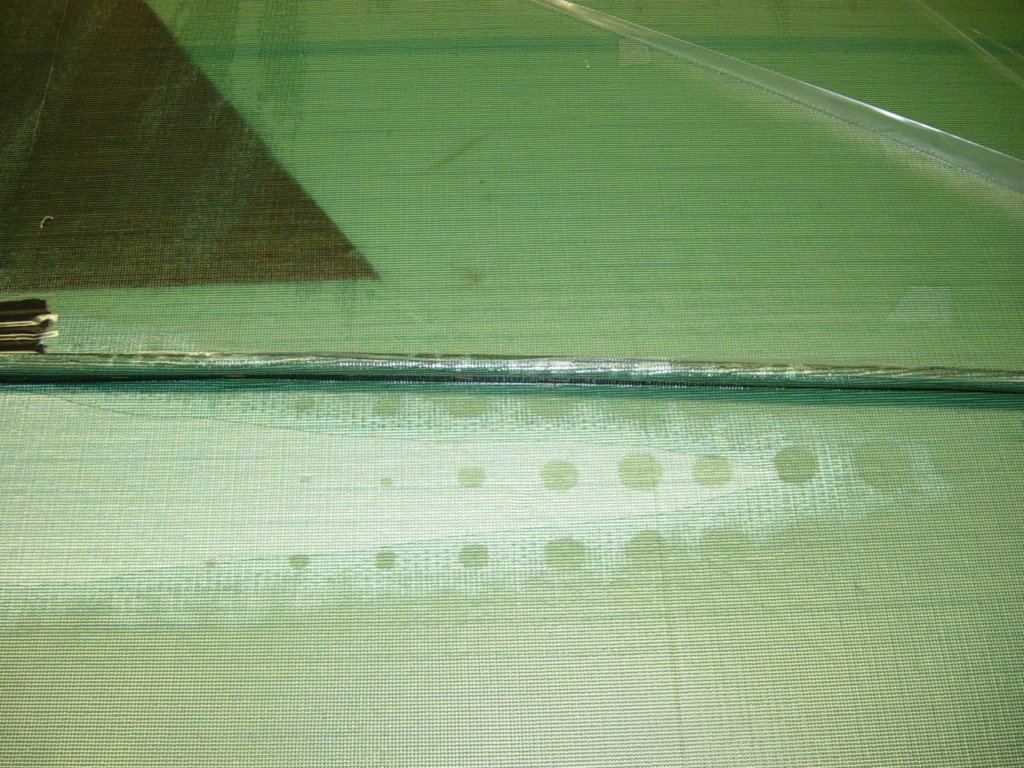
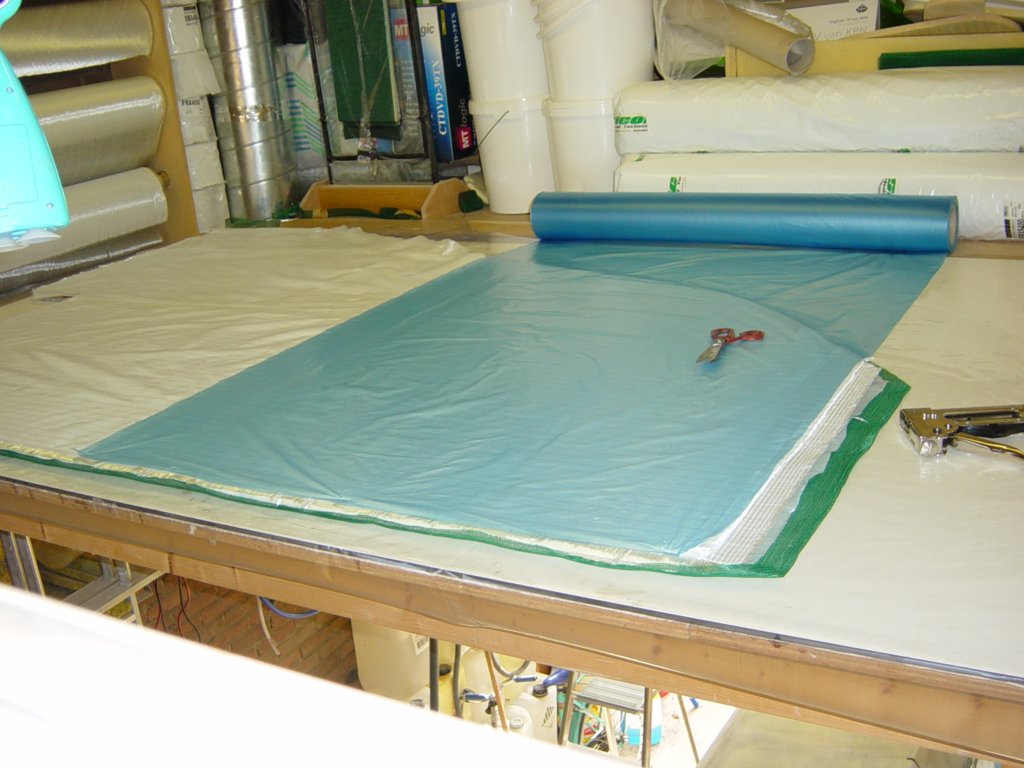
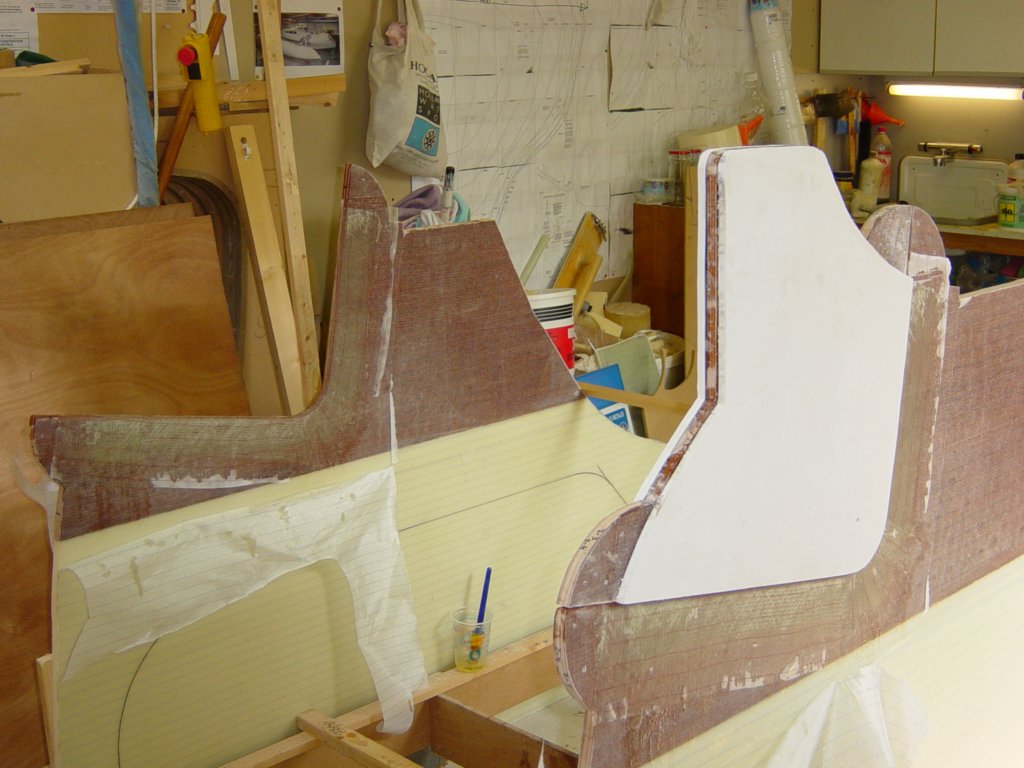
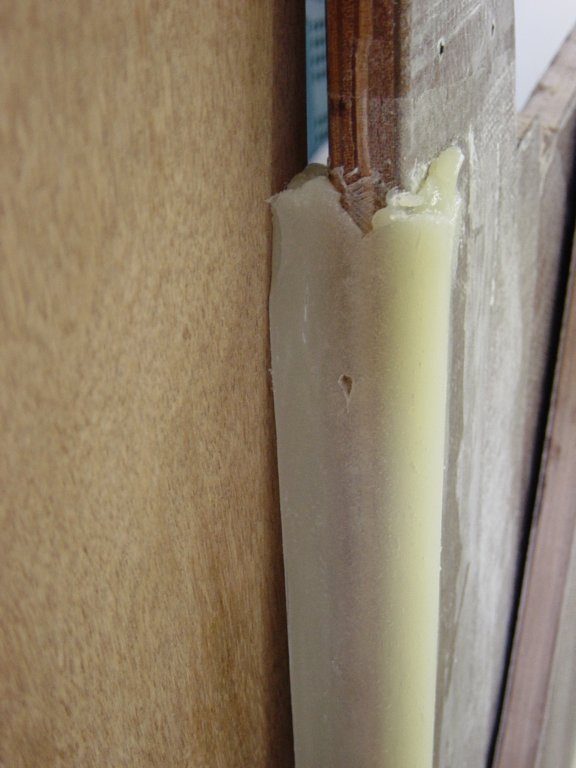
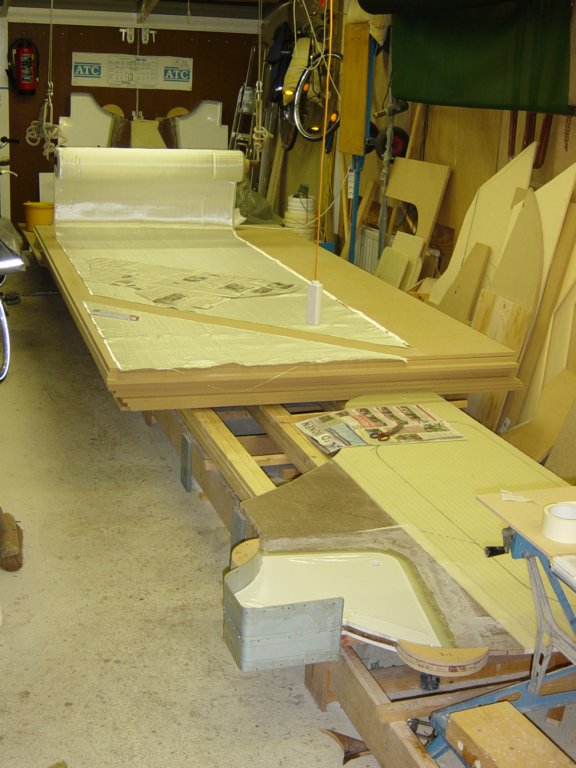
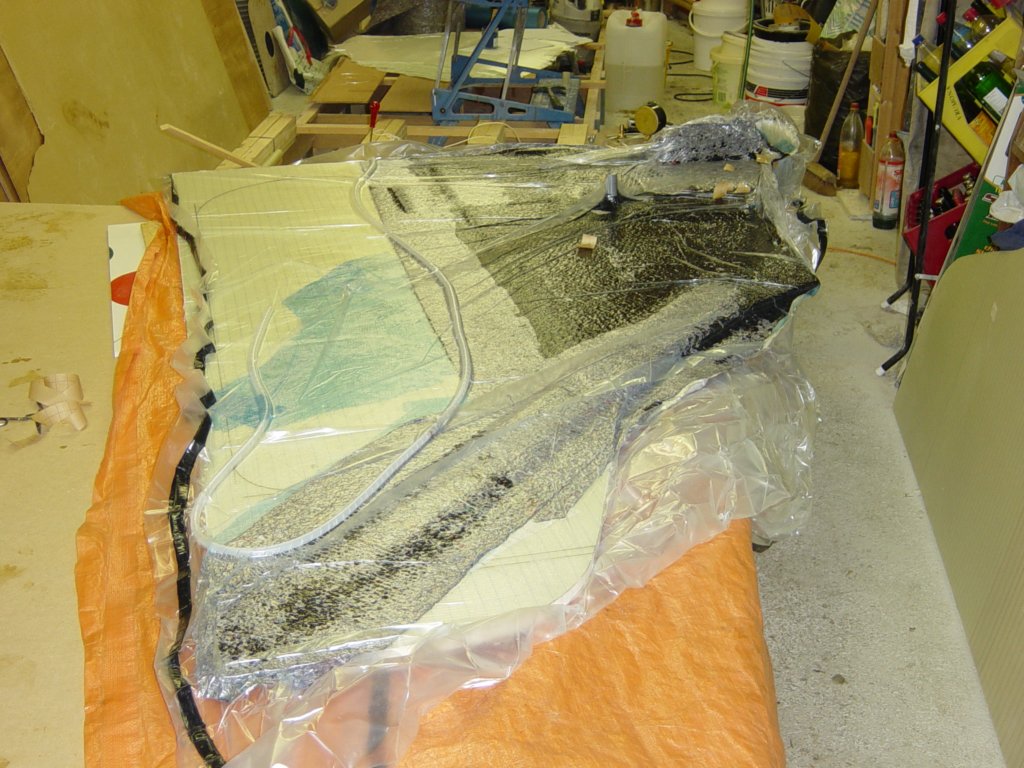
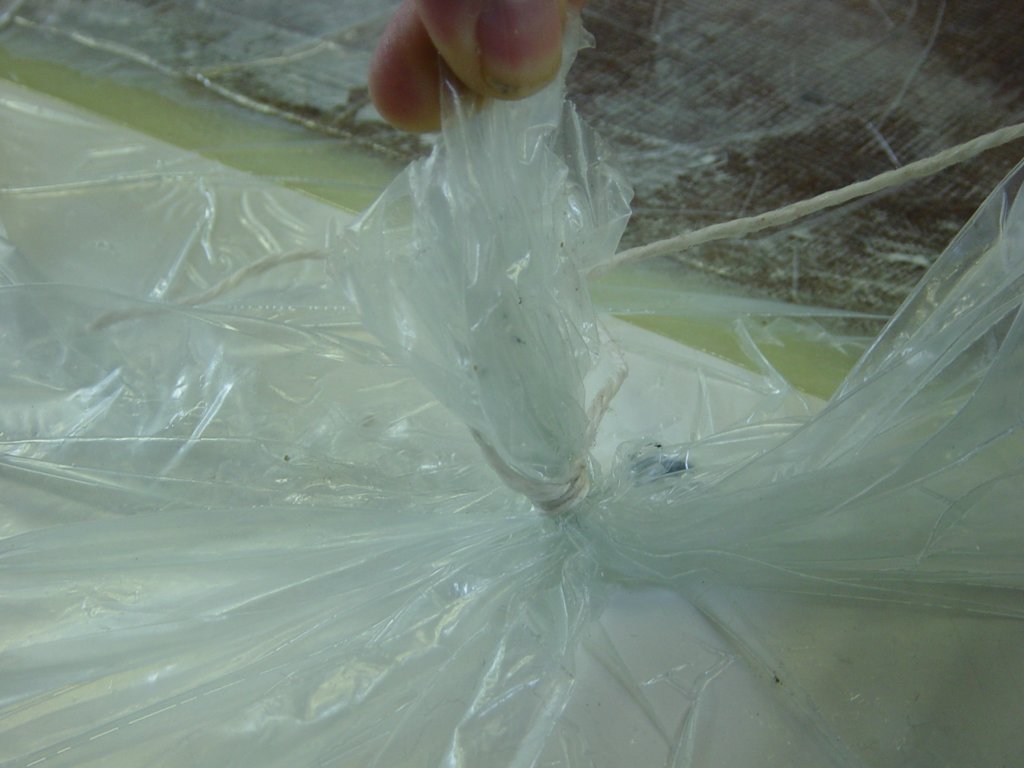
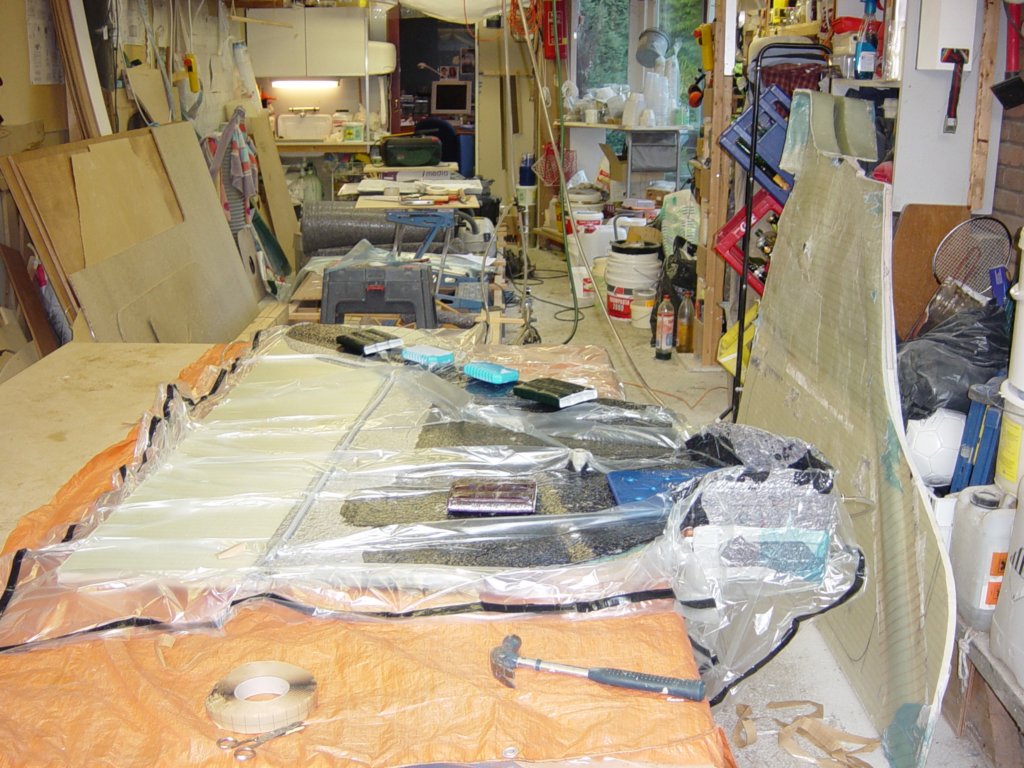
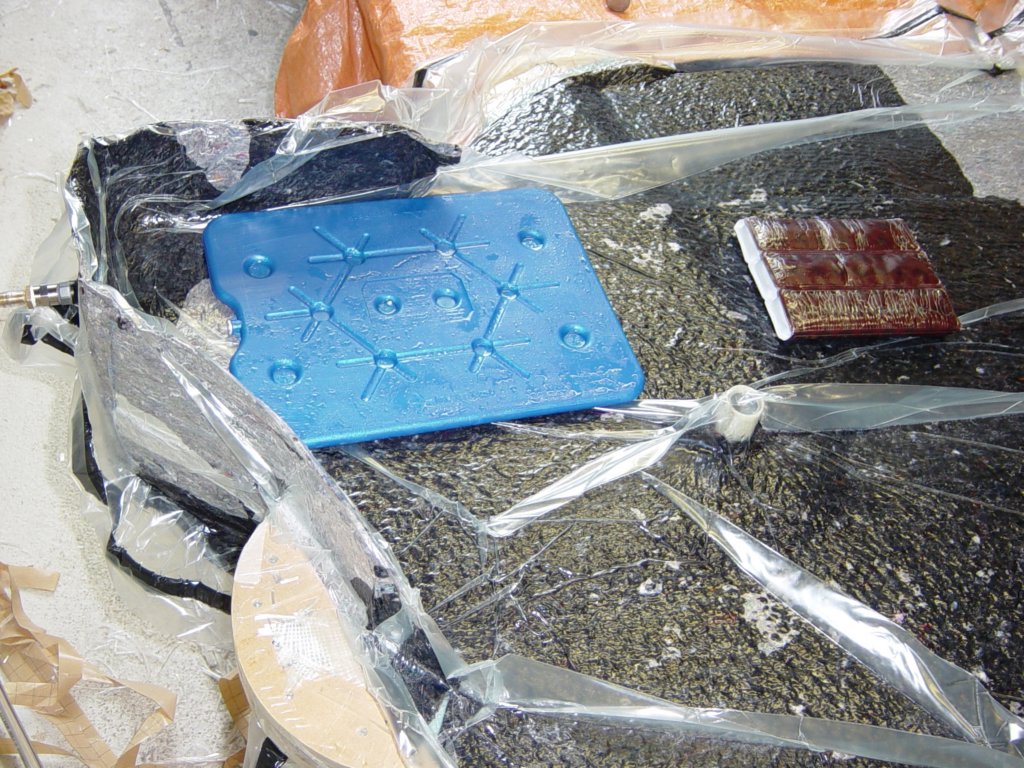
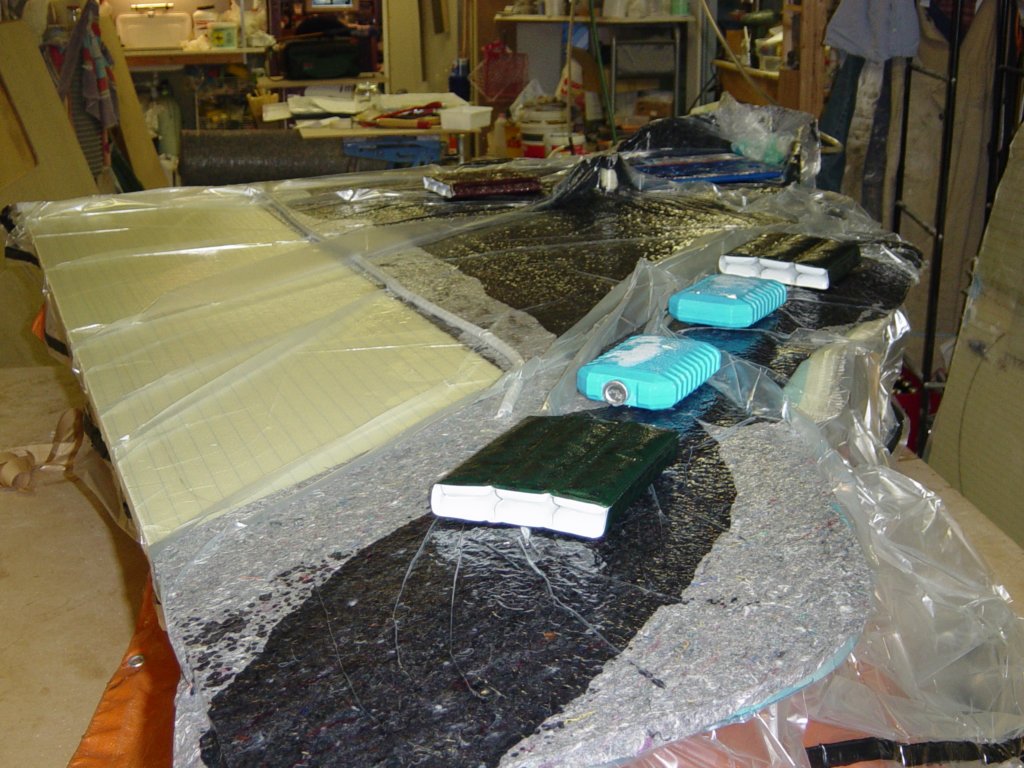
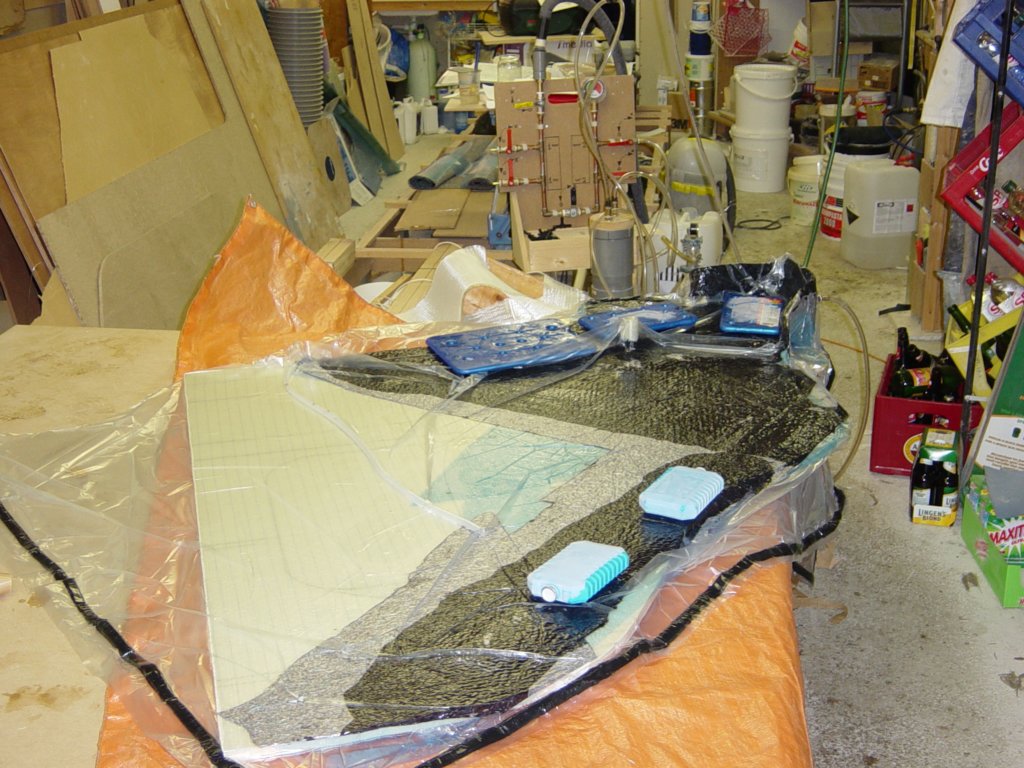
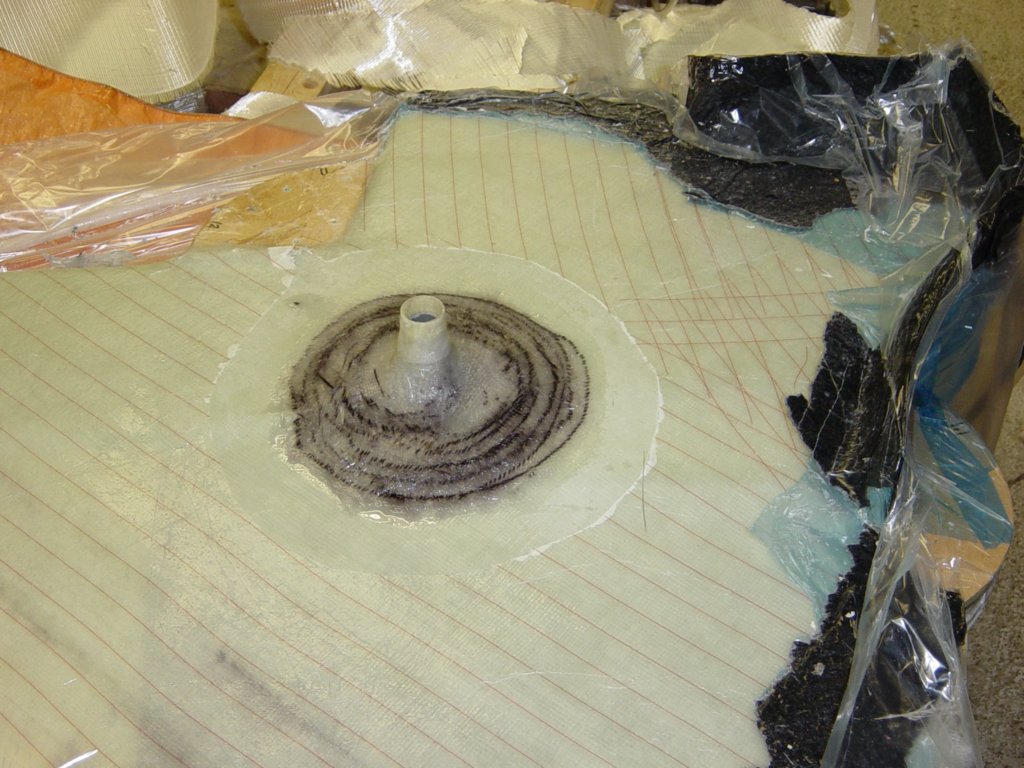
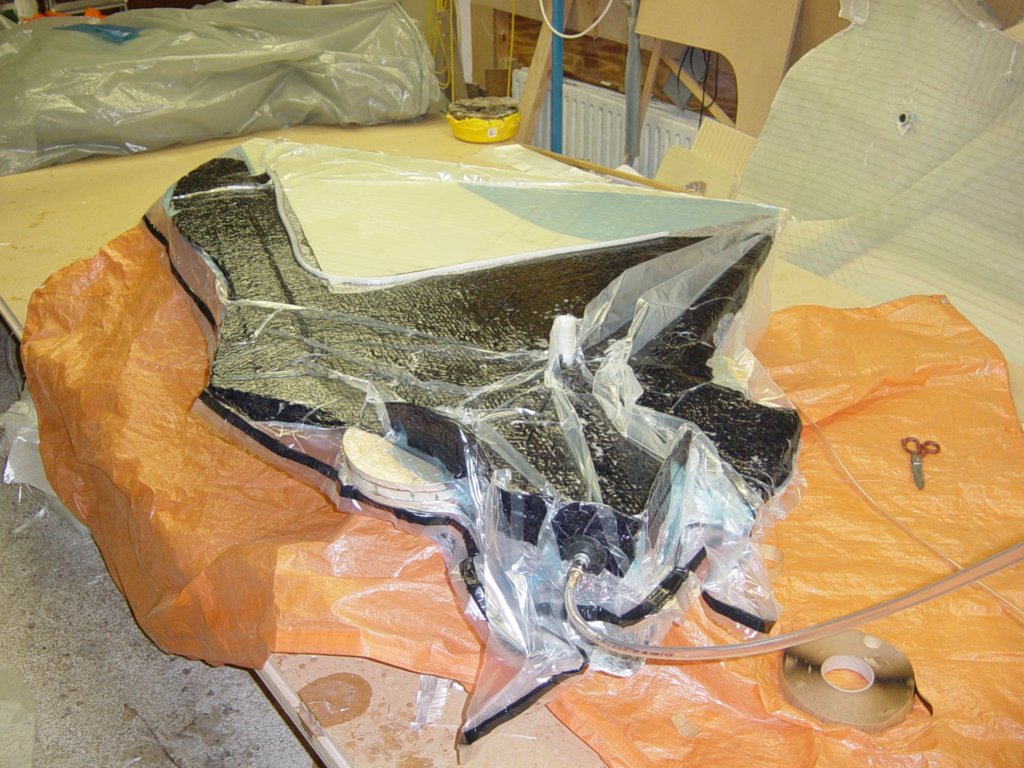
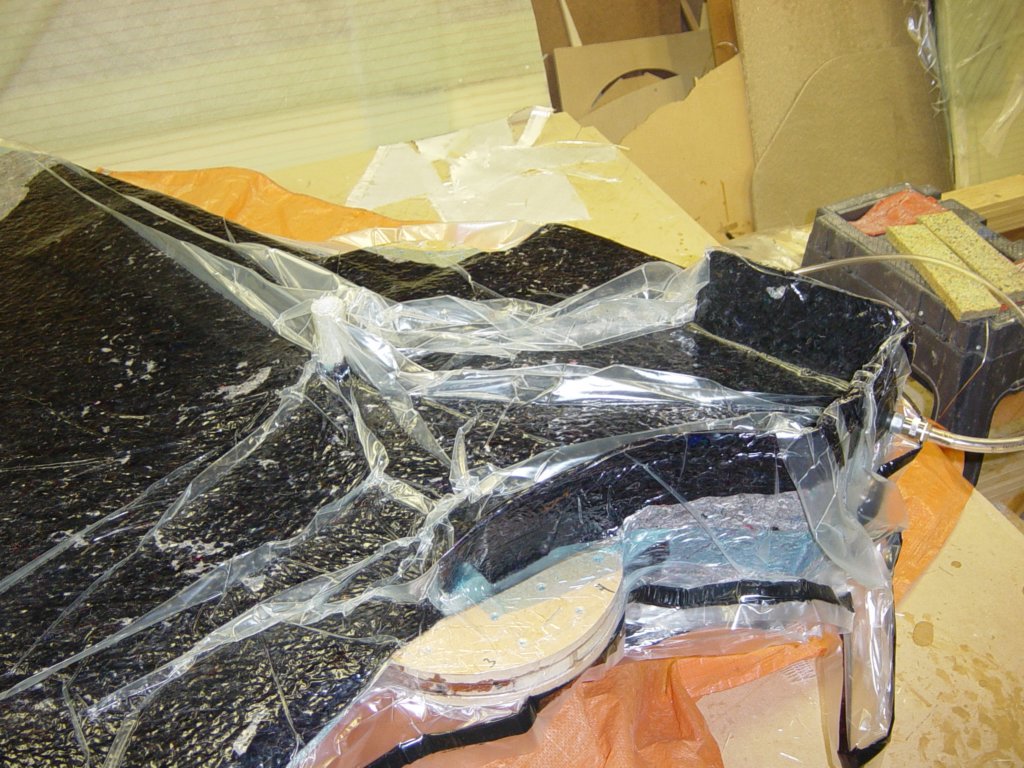
The infused panels themselves went well. The more challenging part was the heavy reinforcement work that followed, where vacuum bagging was the most practical route. My first attempt was, frankly, discouraging: epoxy everywhere — on the part, on the bench, and on me. A sharp edge on the moulded flange punctured the underside of the vacuum bag, and repairing a wet bag while the resin clock keeps running is a special kind of chaos. I left the workshop in my underpants, with epoxy in my hair (it is shorter now).
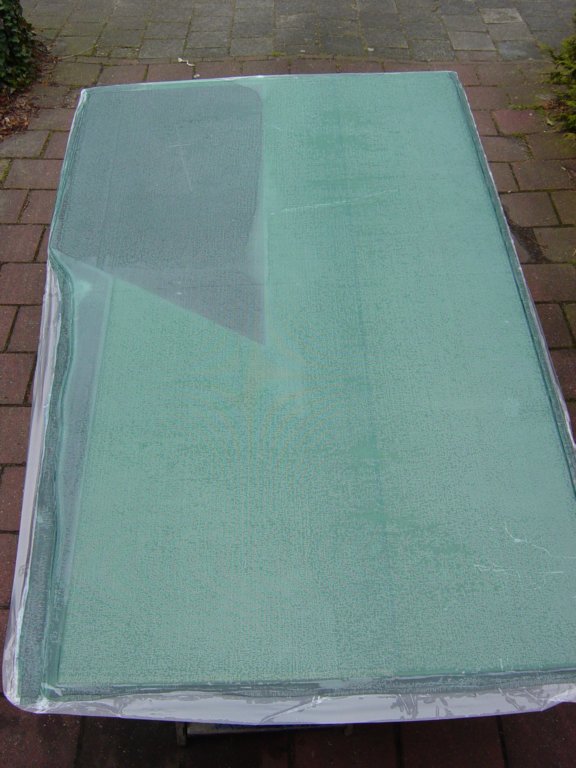
Moments like that remind me why I strongly prefer controlled vacuum infusion. The quality is predictable, the working pace is calmer, and the process is cleaner. But for this particular job — awkward shapes, thick local build-ups, and tight corners — vacuum bagging (or hand lay-up) is simply the workable option. Once you get used to vacuum-treated laminates, it is hard to accept anything less.
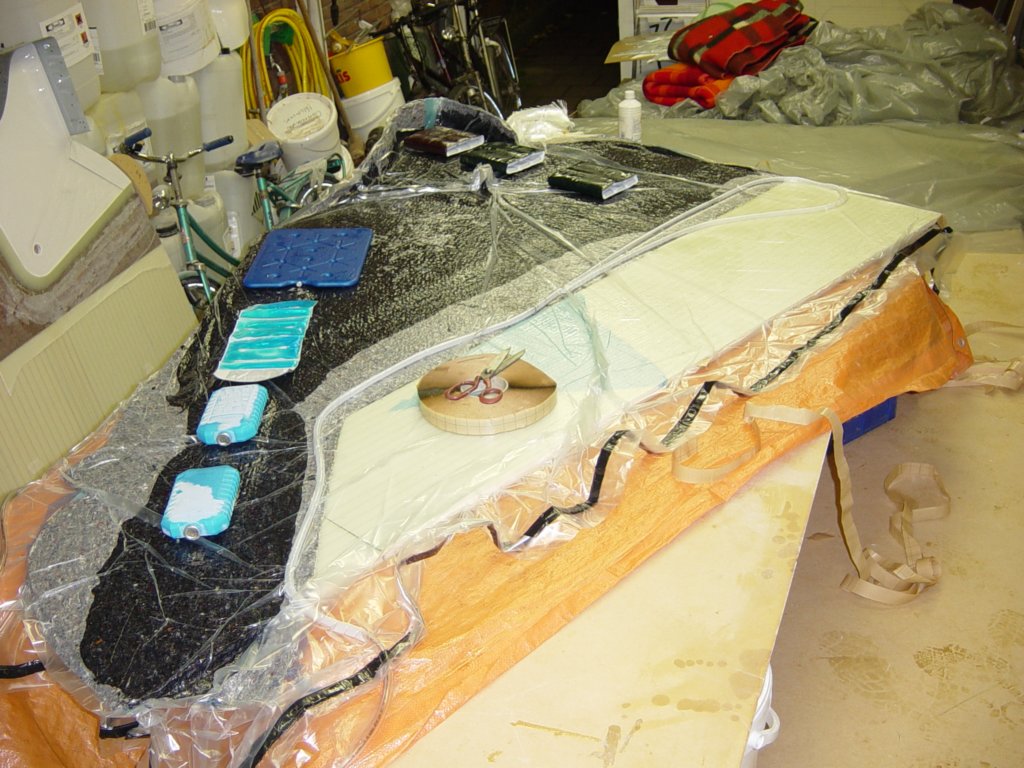
After eight vacuum bags it became more routine: less mess, fewer surprises, and better vacuum integrity. Practice, practice…
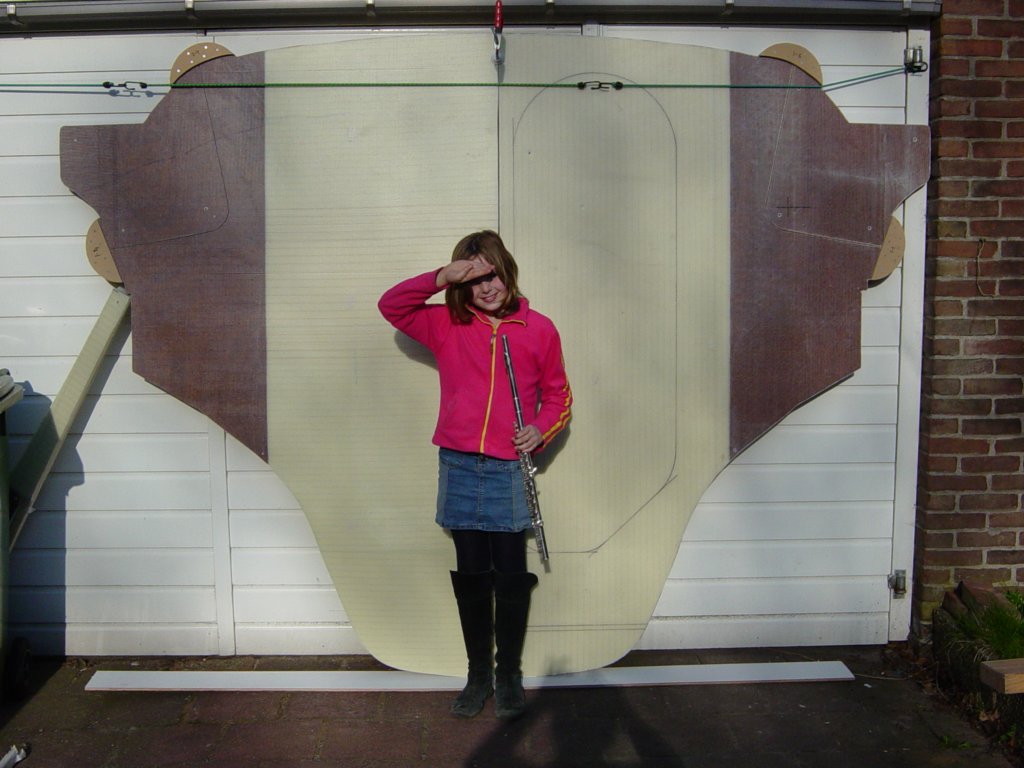
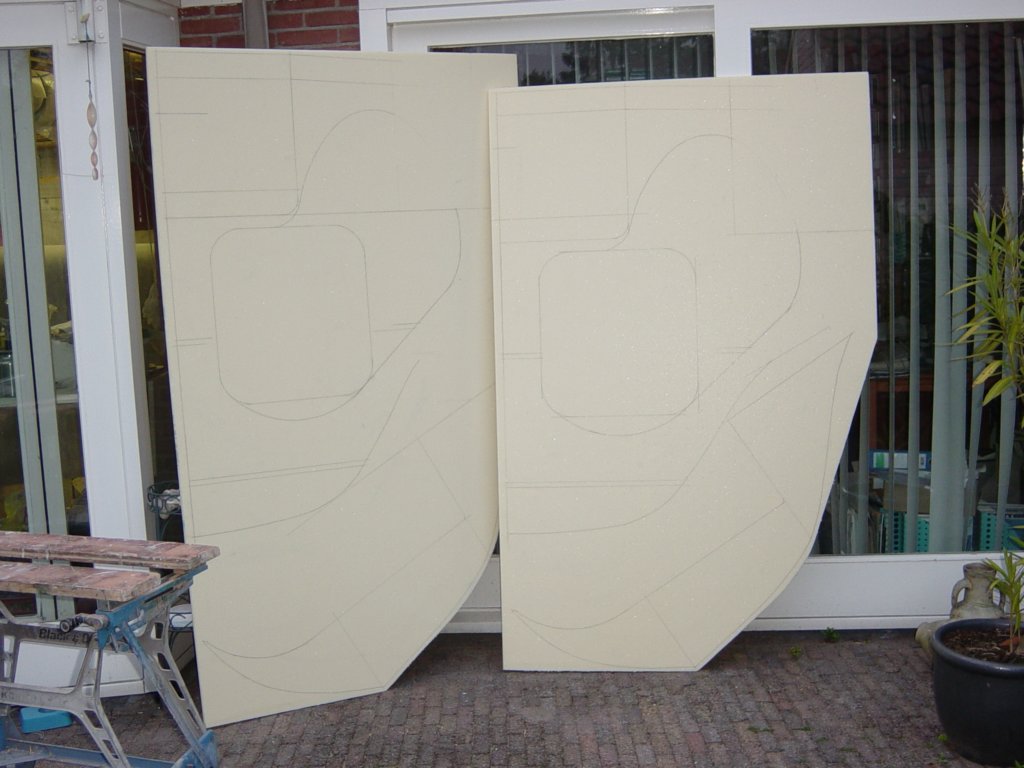
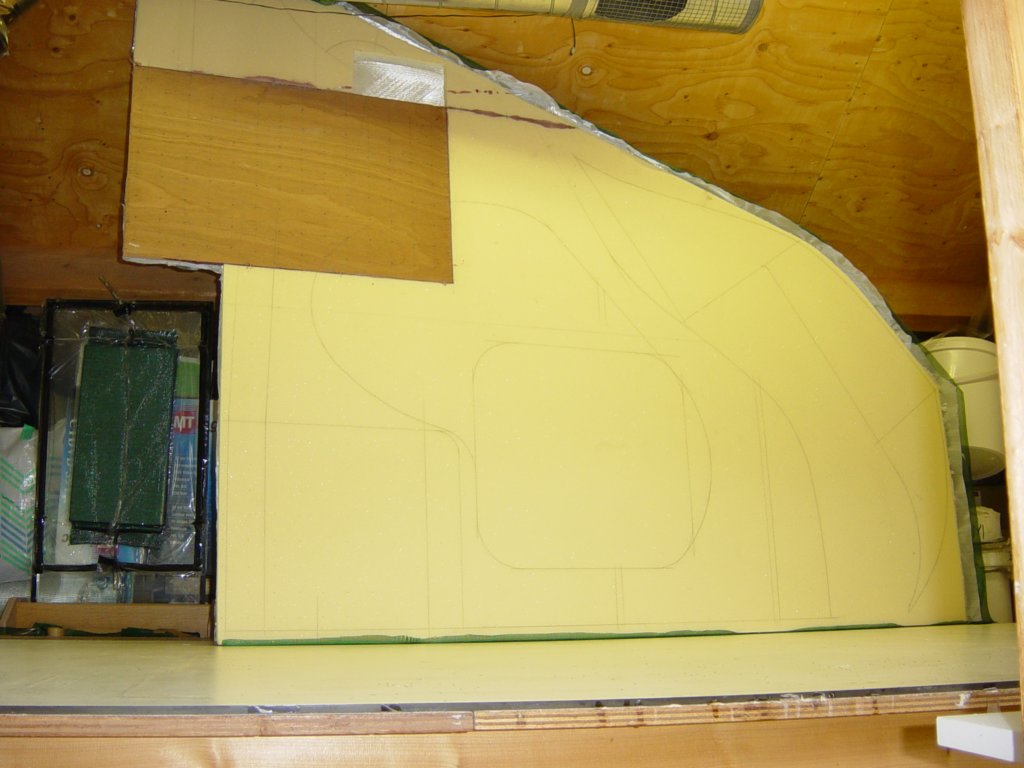
This photo gallery (50 images) shows the full beam bulkhead process: making the HD inserts, preparing the infused panels, the heavy reinforcement work, and the vacuum bagging sessions — including the occasional epoxy chaos.
